By Steve MacLauchlan
At long last, our belongings are home and my game room is 80% unpacked! With all of my desert terrain and armies ready to go, I couldn't wait to throw down. Sean and I decided to do a '42ish game. We rolled randomly to see who would play what, and then rolled for the mission. We came up with Fighting Withdrawal, which felt just right for the matchup!
The Lists:
So without further ado, let's get started!
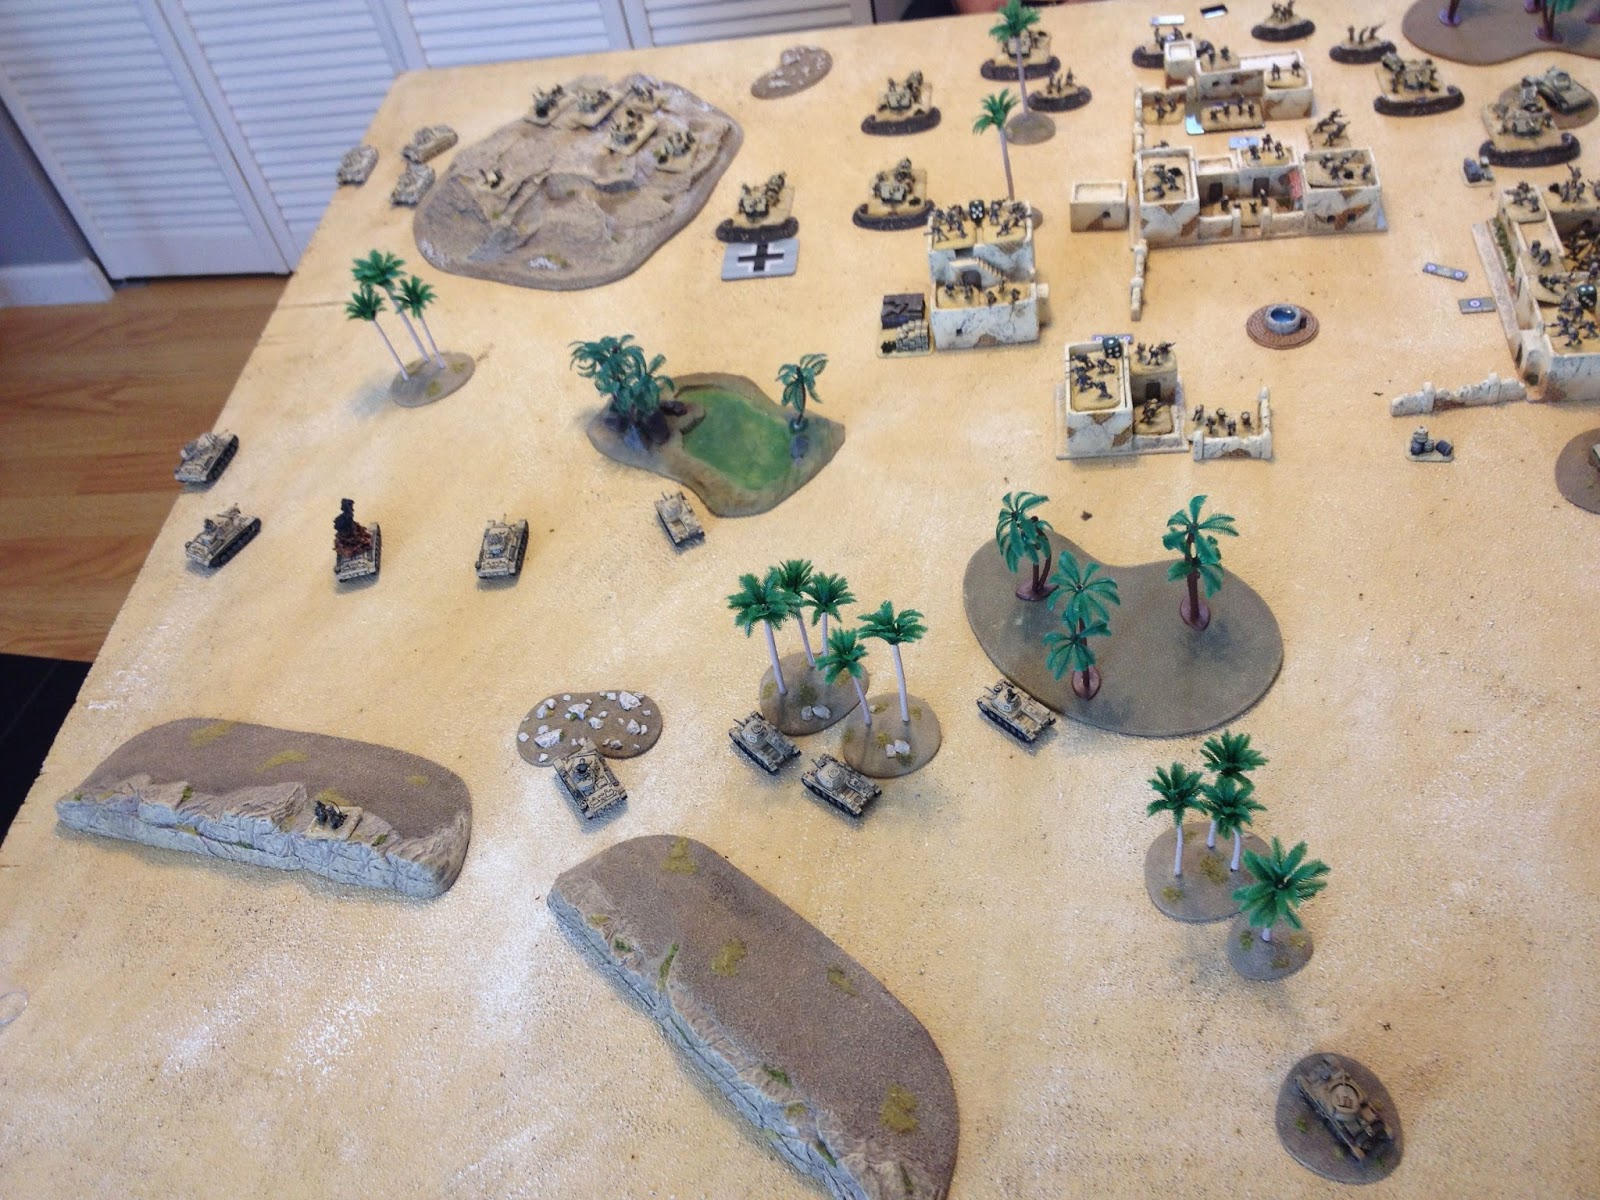
The right side of the board. German 10.5s in the bottom right, Panzer IIIs in the center, Panzer IIs to the left.
Looking all the way to the right: The Panzergrenadiers mounted up and a Panzer IV Kampfgruppe just behind them.
And all the way on the left we have more Panzer IIIs.
Opposite those Panzer IIIs we have Matildas and Scouts.
While all the way on the other flank we have Valentines.
25 Pounders deploy behind the town, concentrated in the center of the British Deployment.
Panzer IIs are ready to roll out!
The order is given and the Panzergrenadiers drive forward!
With Panzer IVs bringing up the rear.
The CO rolls out, escorted by some light tanks.
Panzers on the left flank cautiously move forward.
The board looking FROM the German right.
Panzer IIIs move up on the right, and snipe a 25 pounder.
Another 25 pounder is under a smoke barrage from the 10.5cms.
The German left.
Sean ambushes with 6 pounders on the German left flank.
Knocking out one Panzer III and bailing the remaining 3.
After failing to Stormtrooper, the Panzergrenadiers suffer the wrath of the Valentines. Thankfully, it's nowhere near as bad as it could be. In the end 4 teams are killed (along with 3 trucks!) and 4 teams survive.
A 25 pounder barrage peppers the Panzer IVs, bailing one.
The German right at the bottom of 1
The German left on the bottom of 1.
The German 10.5cms drop on the Valentines, and bail two!
The Panzer IVs follow up with the Valentines...
And knock out two of them, including the command tank!
Panzer IIIs pull back, attempting to get out of range of the 6 pounders after all 3 remaining tanks remount. Go go protected ammo!
Two 6 pounders are knocked out by some very lucky shooting from the Panzer IIIs!
The Valentines are broken. Note the Scouts sneaking up in the background- Sean knew right away he'd need them on this flank to keep the objective alive!
The Infantry (which dismounted under fire last turn) dig in and keep their heads down.
Which is fortunate, as Sean drops a 25 pounder barrage. One MG team is not fortunate, however, knocking the Panzergrens below half!
A Panzer III spots a British observer...
When suddenly a shell from a 25 pounder blows the turret clean off!
The crew of this 25 pounder are just getting warmed up!
The British troops in the town are getting restless as Panzers skirt the perimeter.
The Panzers are pushing hard up the right flank. Panzer IIs in the bottom double timed it over in the previous turn, to help push this flank, which looks like the British are not holding very well.
Only a handful of Panzers remain on the left flank.
10.5s foolishly fire on the Matildas, doing no harm whatsoever.
Sean's scout carriers contest the objective as Panzer IVs start nosing through the wreckage of the Valentines.
A lucky shot brews up one of the carriers.
Panzer IIIs on the left cease their withdrawal, and move close enough to the objective to tie down the infantry.
Sean withdraws the 6 pounders, as it is turn 3.
The 3 Panzers of the left flank.
The battle has entirely shifted away from the German left flank.
Sean comes rushing out!
And lays down a well placed smoke barrage.
Charge!
Sean makes it through the defensive fire with only one casualty!
When the fur stops flying, the brits are victorious!
The last Panzer III and the CO flee in terror!
The right.
The left
Everything is shifting right!
Panzer IIs throw themselves at the British Rifles.
The Panzer IIs are thrown back after doing very little damage.
Sticky Bombs for the win!
Another Rifle platoon comes rushing from the buildings!
The 2iC motivates the lads
Sean is looking to break the German company right here. Scouts aim to chew up the remaining infantry.
The hero 25 pounder from earlier bails a Panzer IV.
Another well place smoke barrage sees the infantry launch another successful assault against the remaining Panzer IIs.
One Panzer II goes down, but the others keep fighting in several turns of back and forth.
The 10.5cm battery commander gets involved!
Meanwhile, rifles assault the other Panzer IIIs as well!
Knocking one out, and forcing the other to fall back!
The surviving Panzer IIs run away, while the Brits hold tight.
The Germans' time window for grabbing the objective is NOW, if they can't grab it this turn, the chances of winning the game dwindle significantly.
10.5s pin down the infantry that is doggedly hounding the remaining Panzer IIIs.
The board from the left hand side. The two remaining Panzer IIIs move closer to the objective in case they have to make a last ditch assault, though all hope now lies on the far objective on right flank.
Panzer IVs knock out the scouts.
The Panzergrenadier platoon commander assaults the 25 pounder!

And knocks it out, though the battery fights on. The Germans are holding the objective now with 1 panzergrenadier team and 1 panzer IV (both fail stormtrooper so we can't pile more on!)
Sean needs to hit them with everything he can to blast them off the objective, as no one is in range of contesting. In comes a 25 pounder barrage...
That bails the one Panzer IV contesting the objective!!
Finally, Sean pours every small arms fire he can into the Panzergrenadiers, popping the command team. The platoon was already below half strength! At this point it's late and we decide that the game hinges on their morale check. With 2 stands remaining, one of which is contesting the objective, they must fight on, or the British have successfully withdrawn...
And the Germans roll a 6!
Closing Thoughts
Wow! What a great game to return on. In the end, the Germans are left with 1 operational Panzer IV, 2 operational Panzer IIIs, 2 Panzergrenadier stands, and the 10.5s. Sean's last two turns were well executed, very nearly winning him the game!