by Dirty Jon
Sean and I decided to get in a
Flames of War on a weekend. We were both itching to play something different, so I went with my Accidental American Tanks and Sean made up some Germans. We wanted to play some Mid War so that I could actually get an army together - we settled on something from North Africa.
We decided on 1500 points to make sure we could get in a quick, enjoyable game. I have been playing at this point level recently, and I am really liking it. I like the fact that the games go quicker and that there have to be some choices that matter when picking a list. Good times!
 |
| "Move Out!" formation for the US Tanks. |
In honor of Steve-O, we did a completely random mission and rolled up Dust Up.
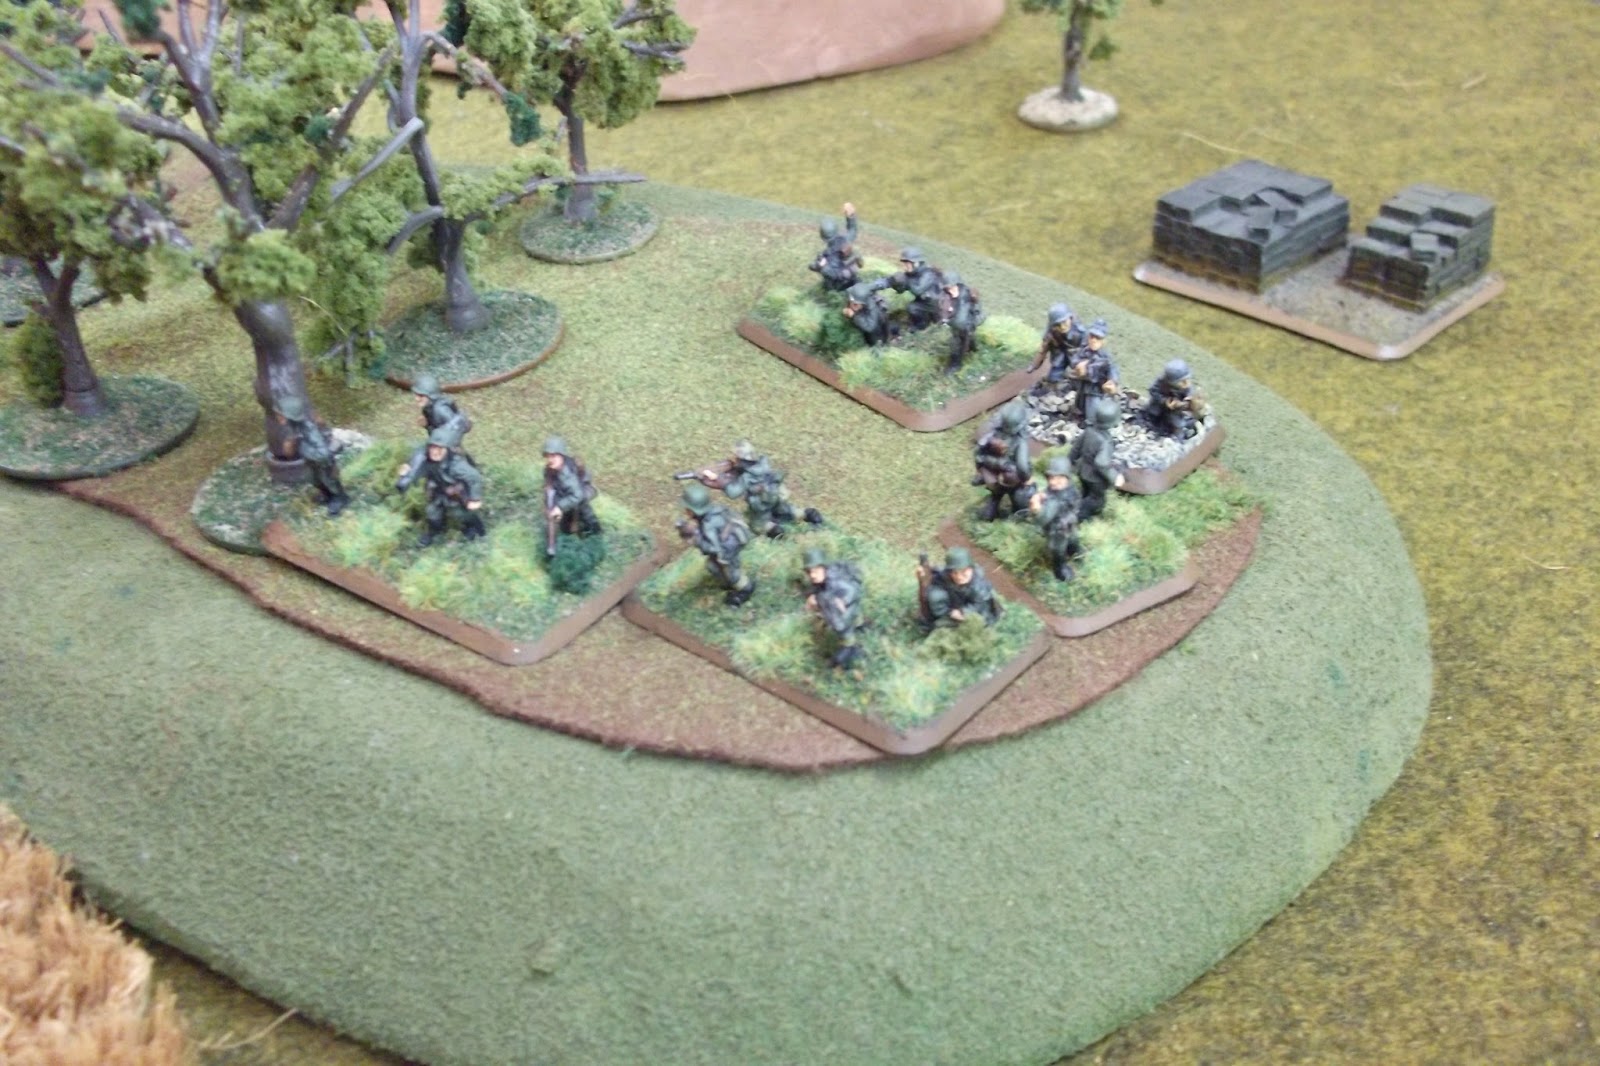
Sean puts a platoon of infantry in the woods to hold both objectives. Notice Sean's excellent placement of his objective -- smack in the middle. I forgot to do this and ended up with some fairly spread out placement. D'oh! That Tiger I E is a big problem for my Shermans: side-shots are a must.
 |
| Infantry and the Neb observer on the objective. |
My plan is simple: "Engage the Enemy More Closely!" I want to take full advantage of stabilizers by getting in Sean's face from the get-go. Being Confident Trained, I will take some licks, but being able to run around the sides will be key. Also, with four platoons, I basically cannot defend my own objectives -- this will be a win or a loss real fast.
TURN 1
I got to go first, so I just push everything forward. Sean has some great planes, so I am just going to have to weather the storm. I try to avoid the Tiger and the Marders and do a pretty good job of that. I don't have any shots on Sean.
Sean goes ahead and digs in the infantry on the objectives. Good move with tons of MGs bearing down on him.
Sean is able to move around a bit and get some shots on my Stuarts with the Marders. The Marder on the right is hull-down, as the model just would not sit on the hill. The Marders miss.
The Tiger pulls out and takes a clean shot at the Shermans. Sean has "Every Shot Counts' and crushes one Sherman in the face.
I have pushed forward and drawn out both the Marders and the Tiger. I should get some shots next turn if I can get close enough. Miraculously, Sean has missed all dice on his planes! The US tanks are saved...for now.
TURN 2
The Stuarts race forward to engage the Marders. I am thinking that if I can just get the Marders down, then the Tiger, I can force a company check. This is my best option, as I have left my objectives completely uncovered.
 |
| The Marders prepare to take incoming Stuart and Sherman fire. |
 |
| I manage to get three hits and kill one and bail two. Great shooting! |
The Stuarts are on the objective and have killed the Marders. This is looking a little grim for Sean right now, but he does have powerful infantry dug in. He still has three platoons in Delayed Reserves, so there will be some reinforcements coming soon.
Sean, again gets three planes and moves them in on the Stuarts. Sean measures carefully and decides that he will need to.....
...move the infantry back a bit to get out of the way of the aircraft. This is a bit of a gamble, as he has to move out of foxholes AND poke out of the woods. With the Stuarts in the open AND getting three planes, Sean decides that the risk is worth it.
The attacks on the Stuarts are fairly disappointing, resulting in only one killed and two Bailed -- not even a Platoon Morale Check!
TURN 3
 |
| Reinforcements. I forgot my Recovery Vehicle, so I just bring it on now. |
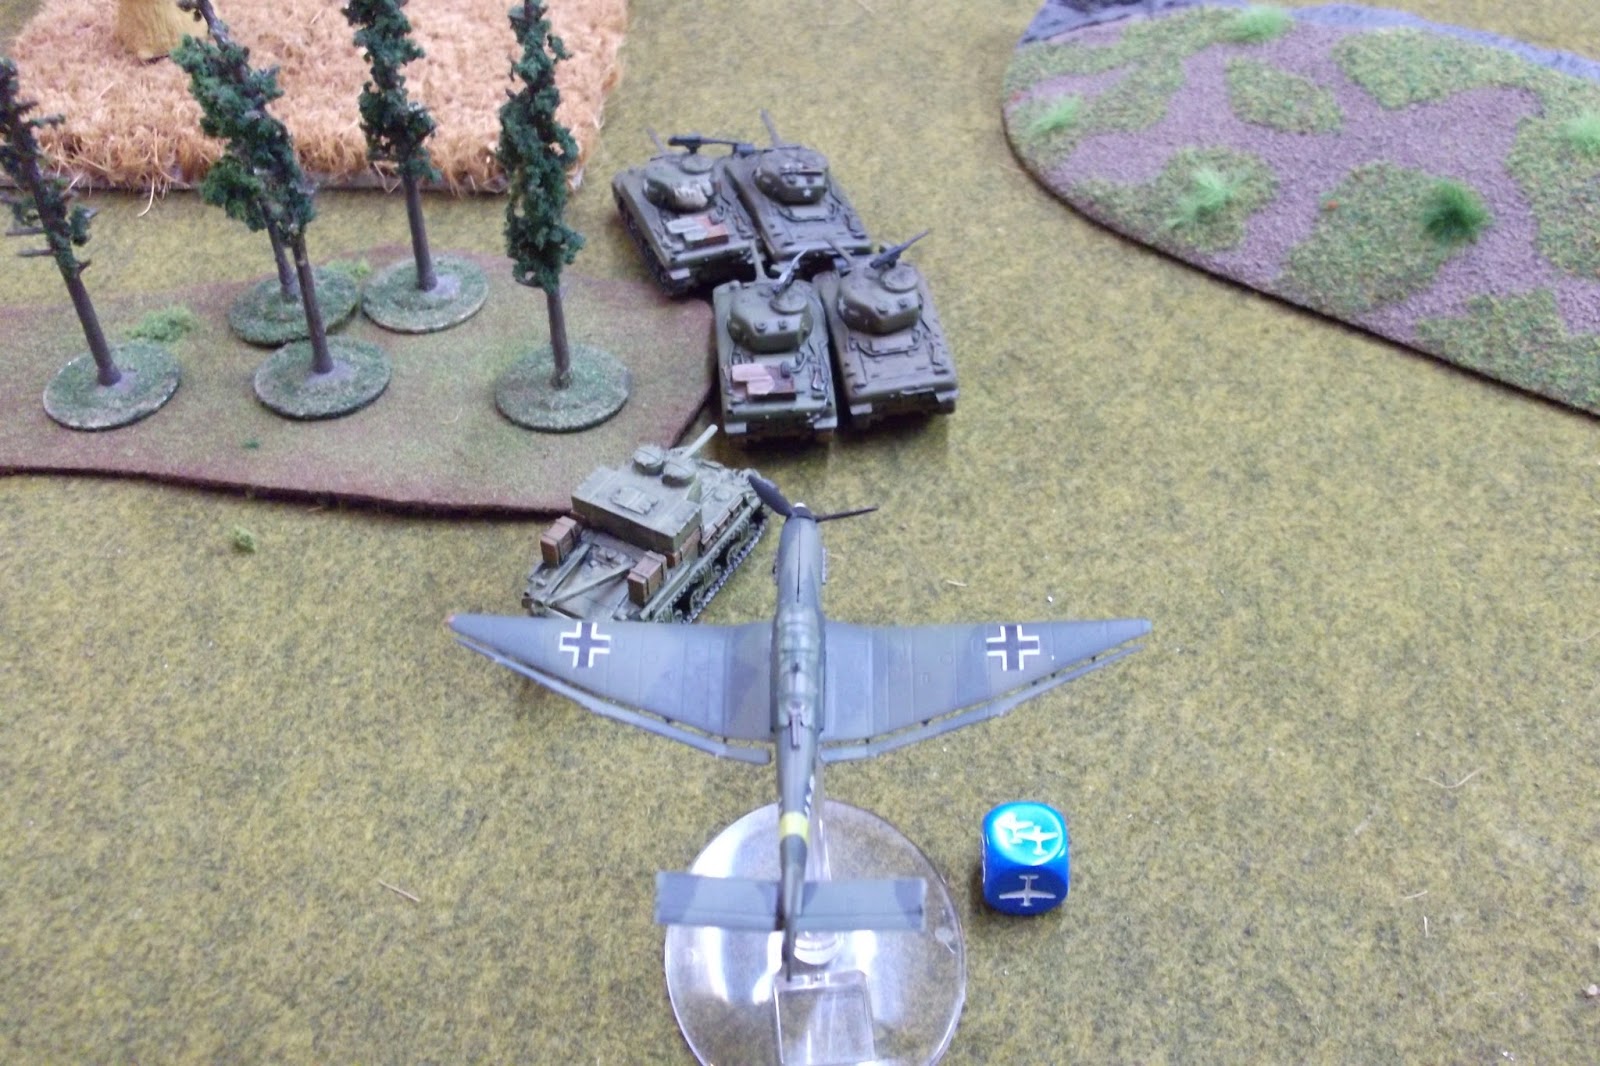
 |
| US Tanks face down the Tiger. |
 |
| I shoot at the Tiger to no result. The last unit to shoot is the 2iC, who puts smoke on the Tiger. |
 |
| um...where did those 8-rads come from? Better win now... |
I have nothing even close to the 8-rads. Looks like I am just going to have to press for a company check. This means taking out the Tiger AND the infantry. This is not good for the Yanks.
 |
| The Tiger blows up a Sherman. |
 |
| Planes try to kill the reinforcements, but do nothing. |
TURN 4
 |
| Tiger go BOOM! |
So, I hit Sean twice -- once from the front, once from the side. Sean rolls snake eyes for the armor saves. I proceed to make the front firepower, and fail the side. This results in a double-bail. Sean fails the morale check and the Tiger is killed.
 |
| Lining up the Assault --- I have a chance! |
 |
| I attached the CiC and 2iC to the Stuarts and go in. With 5 swings, I have a good chance to at least force a check as long as I don't bog too badly.... |
 |
| ....and I bog three of 5. D'oh! |
 |
| I kill a couple and Sean breaks off. |
 |
| 8-rads capture the objective. 4-3 for Sean. |
Closing Thoughts: I have been playing really aggressively lately. With the CT Yanks, I figured that was best. I think Steve-O was always in favor of this, so I tried to emulate him. I had a bit of a chance to win this one out-right, but I don't think it was likely. This list is obviously not optimized for tournaments, and is limited by the vary small amount of US forces I currently own. Having said that, this game was a blast! It went really fast and we both had our chances of winning.
From a strategy perspective, Sean and I both considered what might have happened if I had kept my 2iC back to defend the lone objective. That may have worked, but I was really using all the Shermans I had to press the Marders, Panzergrens and the Tiger - things may have gone pear-shaped if I held one back.
So, it was great to hook up with Sean again, play some Mid War and try out a new army. Got a story of your new army? Hit up our forums and tell us all about it!