


Jon had the chance to try out his accidental American armor list against my German Pioneers. Truthfully, this game was pretty short and (spoiler alert) did not go well for Jon. The mission was Fighting Withdrawal with the Germans as the defender. The center of the table was very dense with terrain.
Here's Jon's list:
U.S. Armor from North Africa
CiC and 2iC Sherman M4
M31 TRV Recovery Vehicle
4 M4 Shermans
4 M4 Shermans
4 M5A1 Stuarts
Recon Platoon 3 Rifle teams, 1 Bazooka team, 2 Jeeps and 1 Halftrack
Points: 1490
Here's Luke's List:
Pioneers out of East Front
Command 1iC and 2iC with panzerknackers
2x Full Pioneer Rifle platoons with Flame throwers - 1 pioneer supply cart
1 Captured T-70
4 Panzerwerfers w/Pak 36
1 Tiger
4 Marder III's
Points: 1510


I placed barbed wire in every gap I could find. This will keep Jon from being able to use the movement of his Shermans, and especially his Stuarts, to out flank me and get side shots on the Tiger.

 |
| The Board. We have to stop putting terrain all the way down the middle of the board, which effectively cuts the table in half. |


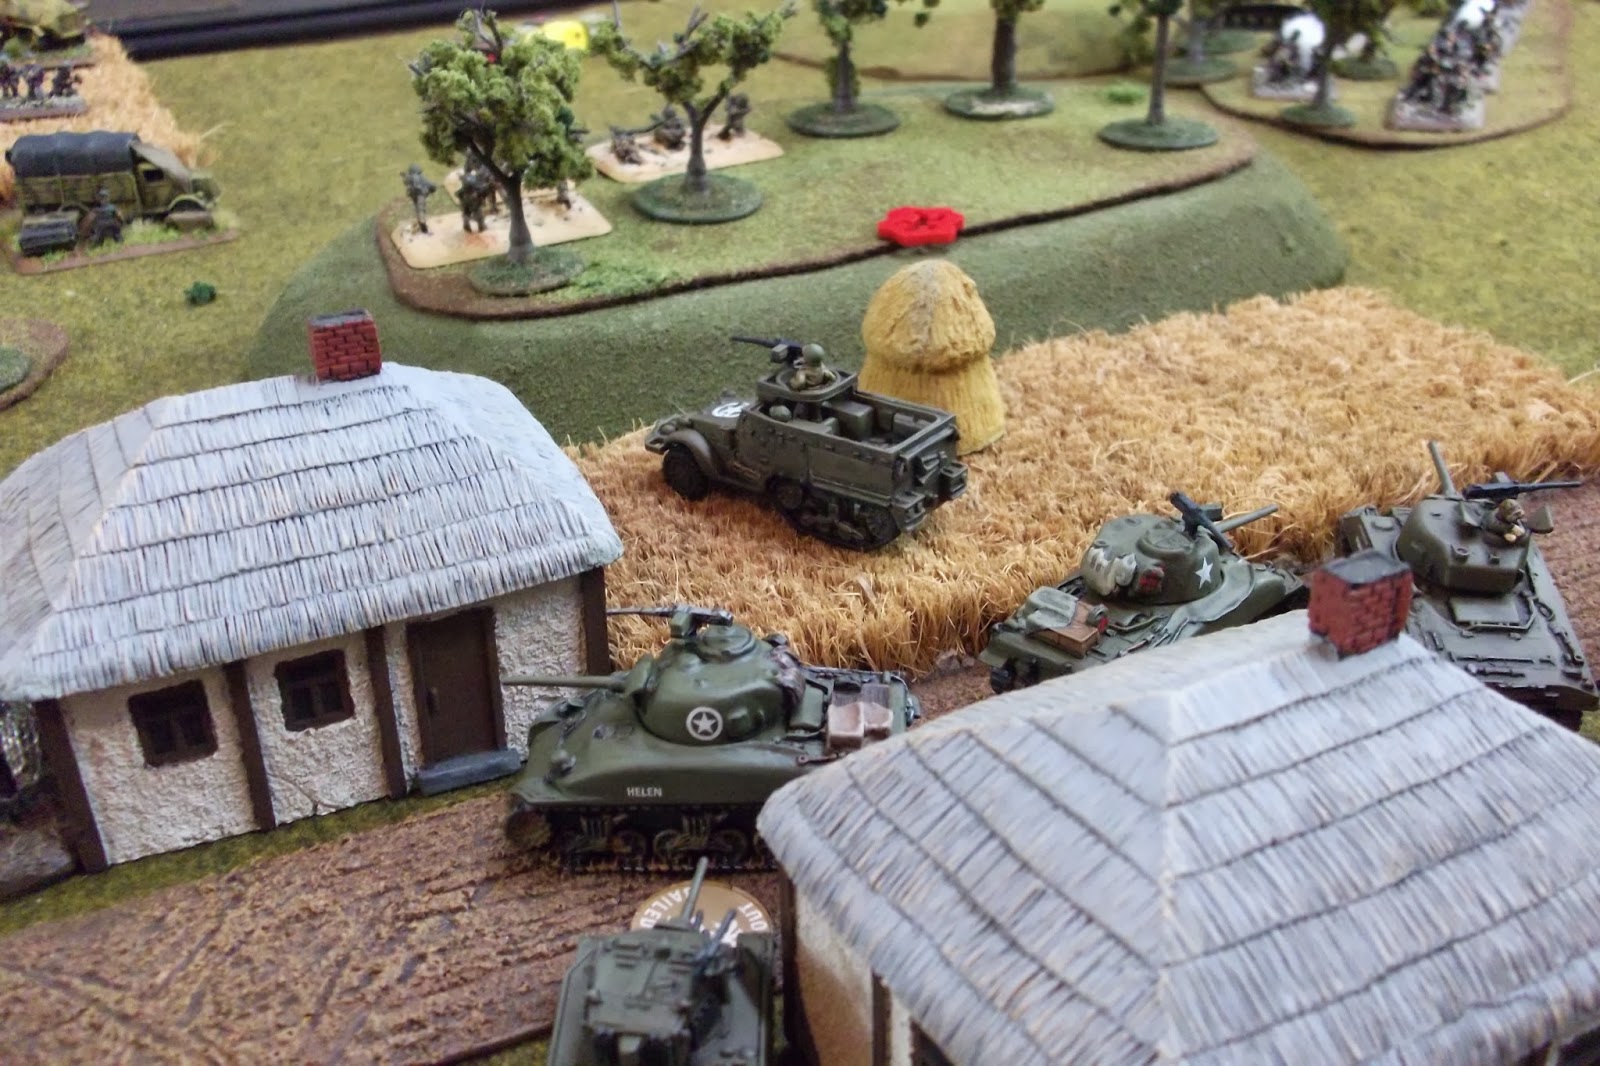
He moved the rest of the tanks up and is not very cautious with their placement hoping to overwhelm me. A couple of smoke shots on my Tiger miss.
 |
| Shooting takes out the observer. |
Out of ambush the Marders score some kills and bails along with the Tiger. I FORGET TO FIRE MY ARTILLERY! I have to learn to slow down.
 |
| The Marders appear from Ambush! |

The Tiger has rapid fire so I am trying to make the most out of it even though I am shooting above 16".

This jumble provided me shots for two turns.


Morale checks are hell when you roll a two.

Jon moves up with his recon and tries to get around to the right of the Werfers.

Jon pushes forward with his tanks trying to take out the Marders. Unfortunately for him he only bails two. This puts him in a bad spot for my return fire. He does manage to smoke the Tiger, but since he is within 16" of me it really makes no difference.
 |
| I remount both Marders and return with eight shots and the Tiger takes three as well. I rolled really well here as you can see from the pictures below. |


Turn three and Jon is feeling the strain. He rushes up with the recon and attempts an assault. He fails his tank terror so I have another turn to get ready to fend off the recon and put some MG shots into them.


I MG the hell out the recon and drop an artillery on the halftrack and last of the Shermans. Nothing really happens except I kill a couple recon stands.


Remember how I said that I measured my pioneers to help protect the center? Well, here it is. I assault and kill his bogged tank. The Shermans are killed in the center along with the last stand of the recon company. It is not a pleasant day for the Americans.
 |
| The only model left in the US Company. Ouch! |


