


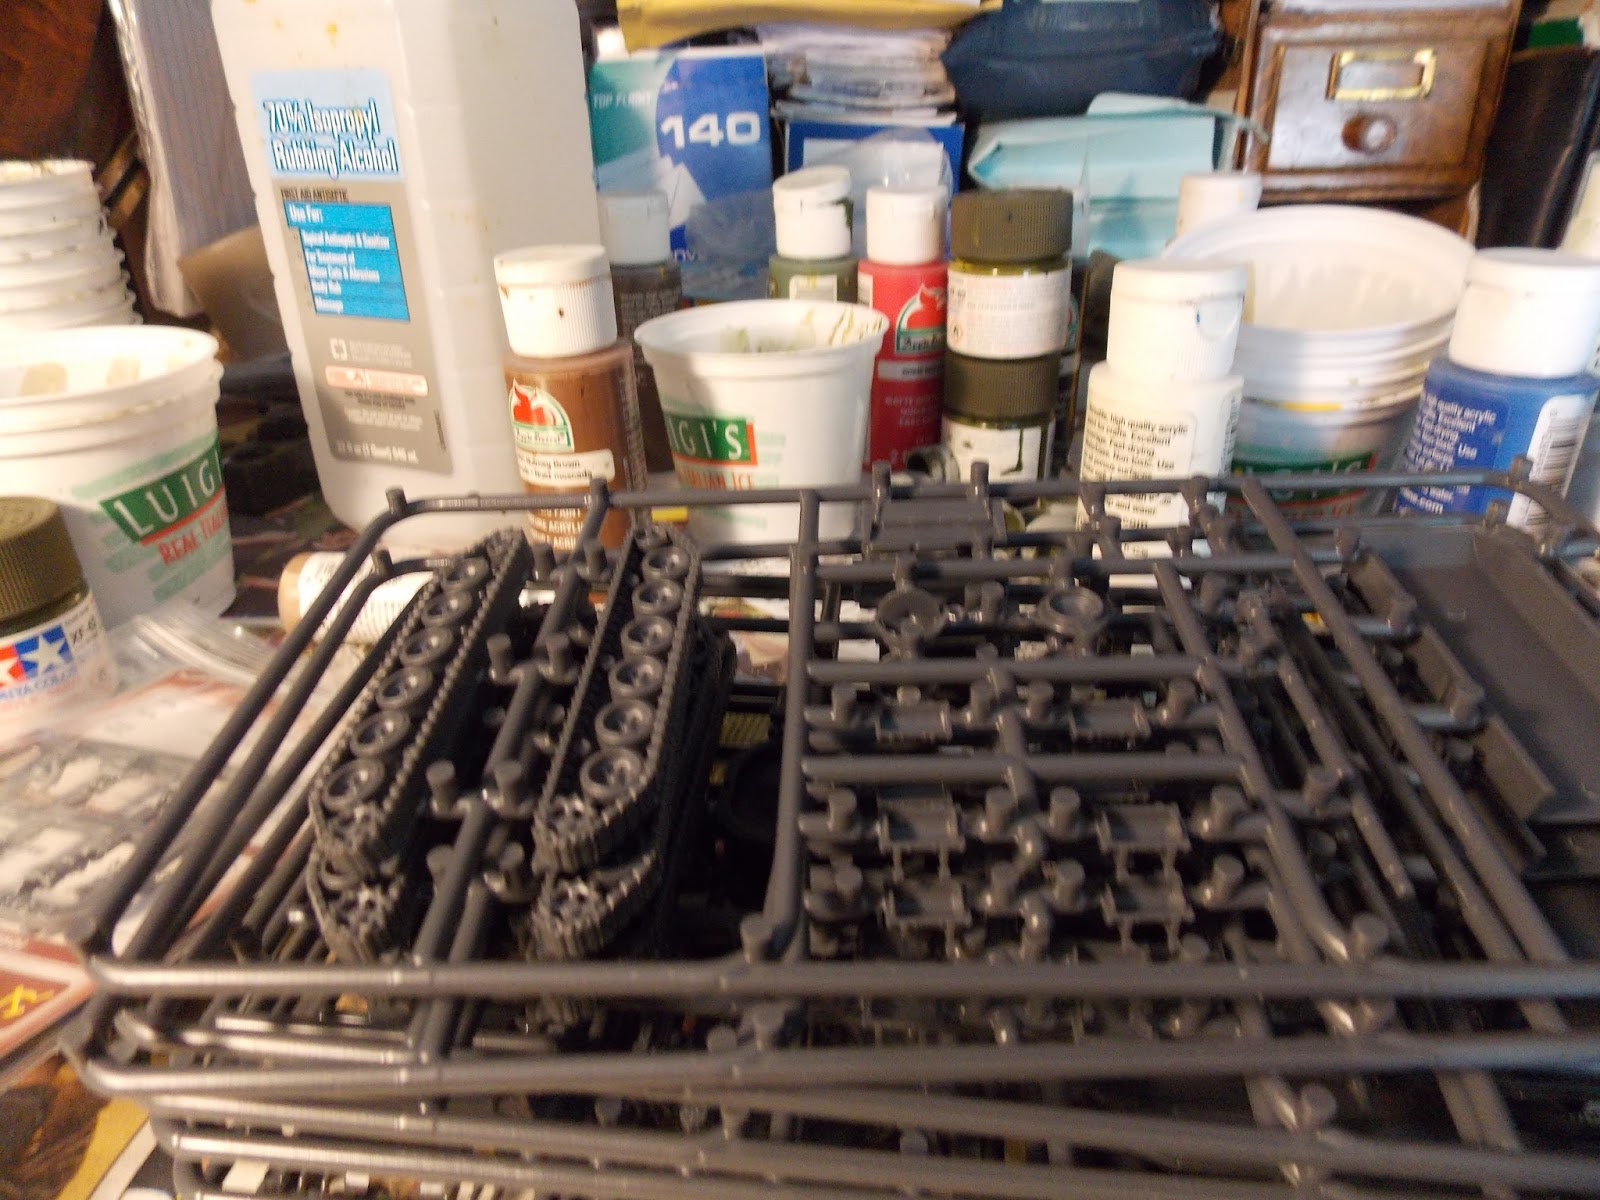
Sprues for the hull, there's also sprues for the turret and stuff.

Unit Cards, decals, and commanders

Lower hull assembly goes together well with the tracks, lower hull, and rear hull comprising 4 parts in total. Everything fits really nicely.

Few complaints with the turret or upper hull either. The mantlet could have gone on a little better (it has to get pushed around a little otherwise the gun ends up a little too depressed) but it's not bad. Two MGs need to be added in this picture.

Pics of assembled (but unpainted) Abrams and Cobras, whose construction and painting will be in my next article
Painting the MERDC camouflage was not as difficult as some make it out to be. With a set of Vallejo paints (mine are from their Panzer Ace series, but the colors worked out just fine) and some Testors acrylics, it can be easily painted. The olive green camo color went on first, followed by spots of beige brown, and then stripes of black and cream (Testors Acrylics). As an avid modeller I wanted these to look as good as I could get them.

The Abrams, ready for weathering and decals when I get around to it, but that's a story for another day. Overall I give the kit a 4 out of 5, these went together like a charm, but there was a little too much flash to be trimmed away in my humble opinion.
Next, the T-72s. I had 10 of these, and it took me a while to get all of them together.


Final assembly of the T-72s. My least favorite part of the kit was the smoke dischargers just cause at that scale they're really small and a pain to glue on, but I did manage it. Overall I give the kit a 4/5 because of what I thought was excessive flash.
The Soviets got painted with a coat of Tamiya olive drab, with black tips for the smoke dischargers and khaki mantlet covers. I could not figure out on a color to paint my commanders that was accurate, but after researching this heavily with my Russian modelling buddies, I found that Soviet tank commanders at the time wore black uniforms with sandy buff jackets if they so chose.
The battalion commander was painted in Testors flat black, with a cap (Testors flat black on the bottom, gray on the top, red for the star). The two other company commanders were painted in a mix between Vallejo middlestone and Vallejo tan earth.The parts of the inside of the jacket that can be seen on one of the commanders were painted light gray, as that's what color they actually were. With that in place, I had accurately finished my Soviet Tankovy force. Currently both of my US and Soviet armies are ready for battle, so maybe I can start posting battle reports soon. The games I've played in between painting have been really fun and evenly matched. I have yet to add any real support, but I bet that makes it even more fun.


Company #1 (5x T-72)

Company #2 (4x T-72)

Battalion Commander
Next post will be about painting the fast and agile AH-1 Cobra, and the sturdy behemoth Mi 24 Hind.


