


Many of us have a cupboard or two of old half finished
projects that we hope will someday see the light of day and finish. We may have
even taken some of those unloved models and used them to test wild colour
schemes or experiment with new weathering or painting techniques. I recently ran
into one of these models.
Last year, a friend of mine had to leave Melbourne to return to his beautiful French homeland. When he went, he had to leave a good chunk of
his hobby collection behind. This included a beaten, broken plastic
Panther. I saw this unloved little beast and decided that I would see if I
could bring it back from the dead. Here is the tale of its resurrection.
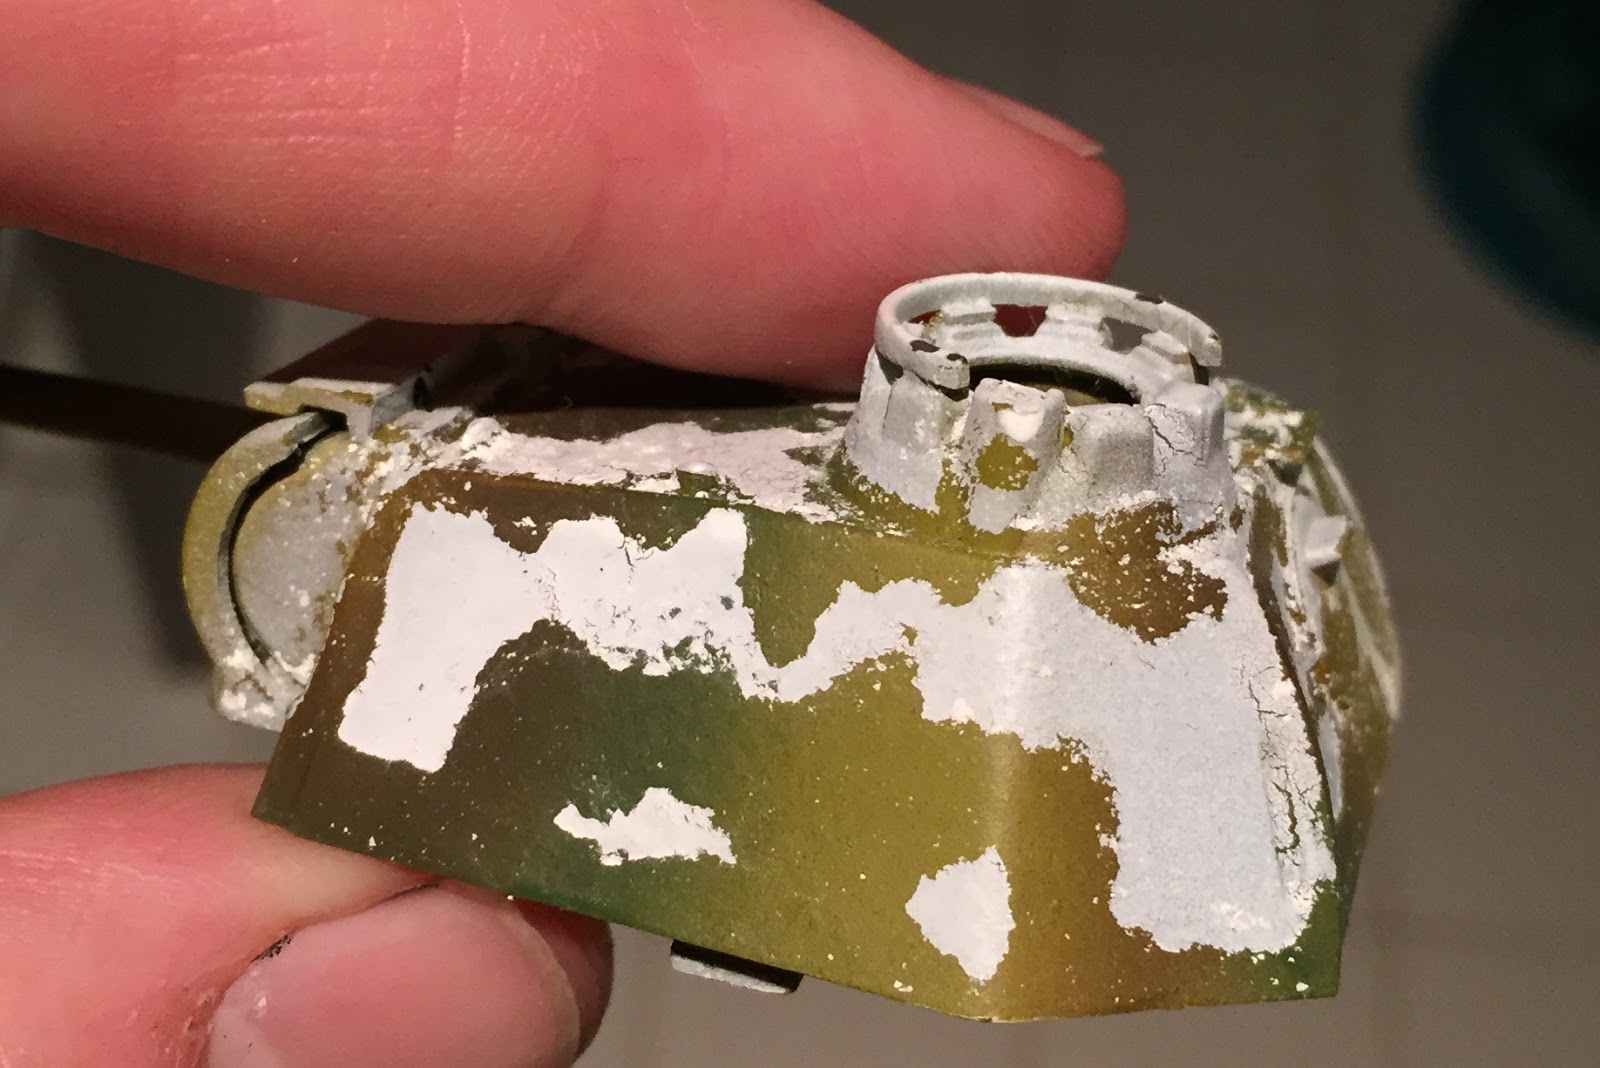
This is what it looked like when I started.

Before heading home, my buddy Julien had built this Panther and used it as a practice piece for a number of mismatching,
semi-extreme painting and weathering experiments. In addition to this, it looked as though the tank had been stored rather roughly. It had many broken and
missing pieces (machine guns anyone) to the point where even its main hull was
in several pieces.

Before I could even reassemble this beast, I had to clean it
to the point were its detail could be picked out by a brush. I am a habitual
painter, in that I only tend to paint kits with a brush after spray priming them. In order to get to this point I had to wash, sand and scrape several
layers of dried, and sealed weathering powders off the kit. Though I
experimented with a few tools, I found that scraping sections of the hull and
turret flat with the flat back of my hobby blade to be the best way to get a
smooth, ready to paint surface.

While I had my hobby blade out, I also cleaned a few
noticeable mold lines from the tracks and the main gun.

I also trimmed dried glue from the inside of the hull and
turret so the tank could be glued back together without significant gaps.

Somewhere in this process I decided to give the tank a
little more personality than I often give my German vehicles. Given its
history, I thought that it would be suitable if I modelled the tank up to look
like it had been out in the field for a while. As the exterior of the tank was
missing an occasional bit and piece, I thought that adding stowage might help
cover up the worst of its inaccuracy sins.

I added spare tracks to hide the uneven sides of the turret
and cut sections of the side skirting off to give it a partially repaired feel. I
also added a tarp along the right side where some piece of the kit was missing.
I drilled shell holes into the sides of one skirt for added grittiness and
added the barrel of a plastic MG34 to the empty machinegun port in the hull.

I also added sandbags and an SMG to the turret deck and
shaved a spare hatch down so that it fit the hole in the top of the turret
cupola.
I then lightly resprayed the tank with a brown primer. I was
extremely carefully not to drown out the tank’s detail at this stage, given that
some of its detail was already less than sharp. I used several very light coats
of paint to achieve this result.

From there I got to painting as I always do. I washed the model, panel painted the base colour back in and added extreme highlight edging and other details.


While this is not the best model I have ever painted, I have to say, that I am overjoyed with the final product of this project, to the point where I sat down and rescued the first model I ever painted for Bolt Action. My old Tiger 1.


Don't give up hope on old broken toys. I learned that a little time and love can bring almost any of our failed projects back from the dead.
'Til next time.


