


Got another game of Dust Tactics in recently. We played Seize the Explosives mission out of Victory Bridge Campaign book that comes in the Revised Core Set. It is the fifth of six missions in the book. In the last several missions the Germans launched an attack on Victory Bridge, after securing one side of the bridge they fought to secure the other side. Once secured by the Germans, the Allies launched a successful counter attack. Now the Germans are fighting to stop the bridges destruction.


I have been wanting to incorporate more terrain into my Dust Tactics games, so I put large trees on top of the walls. I find myself forgetting the terrain is there if its not popping out at me. You might also notice that I based and painted my Anti Tank Traps.
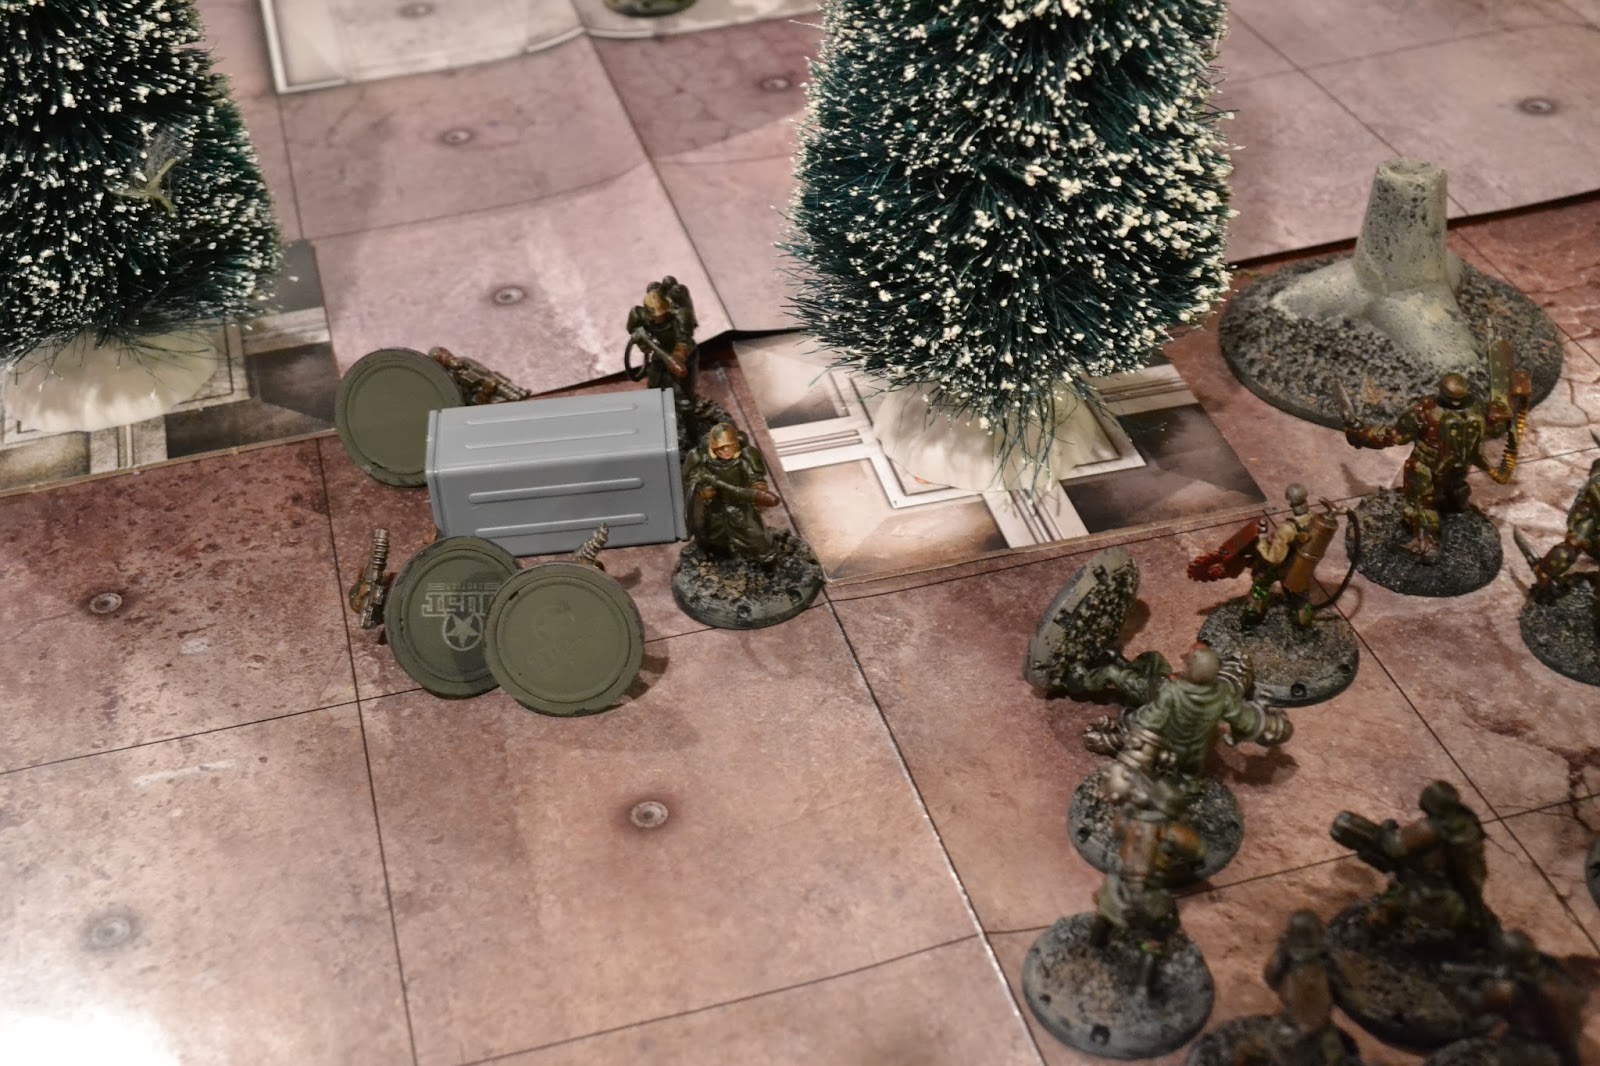
I stacked six ammo creates together to represent the explosive objective. As far as terrain placement goes the Germans placed their pieces to block LoS to the bridge and provide cover for their attack, while the allies used theirs to fortify their flank. The missions in the Victory Bridge campaign call for smaller forces then those found in some of the other campaign books. This mission only allows for 130 AP (army points). So did the last several missions. I have found that this means you get a limited number of units, which is probably a good idea for starter games intended to be used with the troops that come in the Revised Core Set. I have not been overly impressed or thrilled with the walkers from the RCS, so I opted to build forces made of all infantry.

Allies
OZZ 117
Hammers
Reapers
Hell Boys
Death Dealers
Notes on the Force:
I really, really like the Hammers for fighting in close combat, plus their speed 2 and jump ability allows them to stay out of LoS and avoid being shot before they pounce on their target.
I have been using Rhino, who is a Master Crafted Hammer ;) but I have found that when pairing him with the Hammers they don't get a chance to soften the target before close combat. Instead I tried out OZZ 117 who has a flame thrower. The flame thrower gets to shoot before close combat, ignores cover, and makes one attack against every infantry figure in the target. He also gets a Heroic Attack which makes him and his men in his squad immune from hits for one turn when activated.

Axis
Grenadier Z
Zombies
Sturmpioners
Heavy Recon Grenadiers
Laser Grenadiers
Notes of the Force:
I recent bought a horde of Zeds so I wanted to try them out with Grenadier X who is a bad mamma jamma. Zeds are damage resilient Solider 3, which means they are more or less always in soft cover. They are also fast, which lets them move an extra square each turn and Grenadier X has the assault ability which allows his men and him double their move one turn. Which means they can scream (or moan) across the board.
The mission required the Attacker to stop the Defender from blowing up the Bridge. I didn't quite read the mission right and assumed the troops on the bridge where trying to secure the explosives before they could be set off and the troops in the building were trying to set the explosives and blow up the bridge. Technically it was reverse. I should have had the Axis defending for story line purposes, I think. Oh well it still worked with the Germans trying to stop the Allies by securing the explosives.
As a side note remember it is important to read the mission objectives and keep them in the front of your mind when playing any game. If the Axis player did this it would have changed the outcome of the game.
Mission Note: The mission calls for the attacker to deploy in the building, but not on the center square. The Errata indicates the attacker can also deploy on the three square adjacent to the building on the side opposite of the bridge as well.

Units move up on their first turn. The Allies take cover behind the building.

The Hammers and OZZ 117 lurking in the shadows

The Germans move up as a group
Hell Boys rush forward

The Hell Boys manager to torch and blast three Zeds and wound Grenadier X
The Hell Boys kill another Zed in close combat, but Grenadier X buzzes through three Hell Boys

Heavy Recon Grenadiers move up into heavy cover and lay down fire on the Allies killing a Death Dealer

Not wanting to risk it, the Zed squad zips around the flank

The Heavy Recon Grenadier avoid taking damage from Allied fire

Laser Grenadiers take out another Hell Boy

Since the Heavy Recon Grenadiers already shot, the Hammers move into heavy cover and prepare for their assault
The Sturmpionieres take out the last Hell Boy

The Hammers and OZZ 117 launch their assault, but wiff the attack

Zeds close with the target

Reapers move up and kill a Zed with gun fire, then kill X in close combat, but two Reapers fall to X

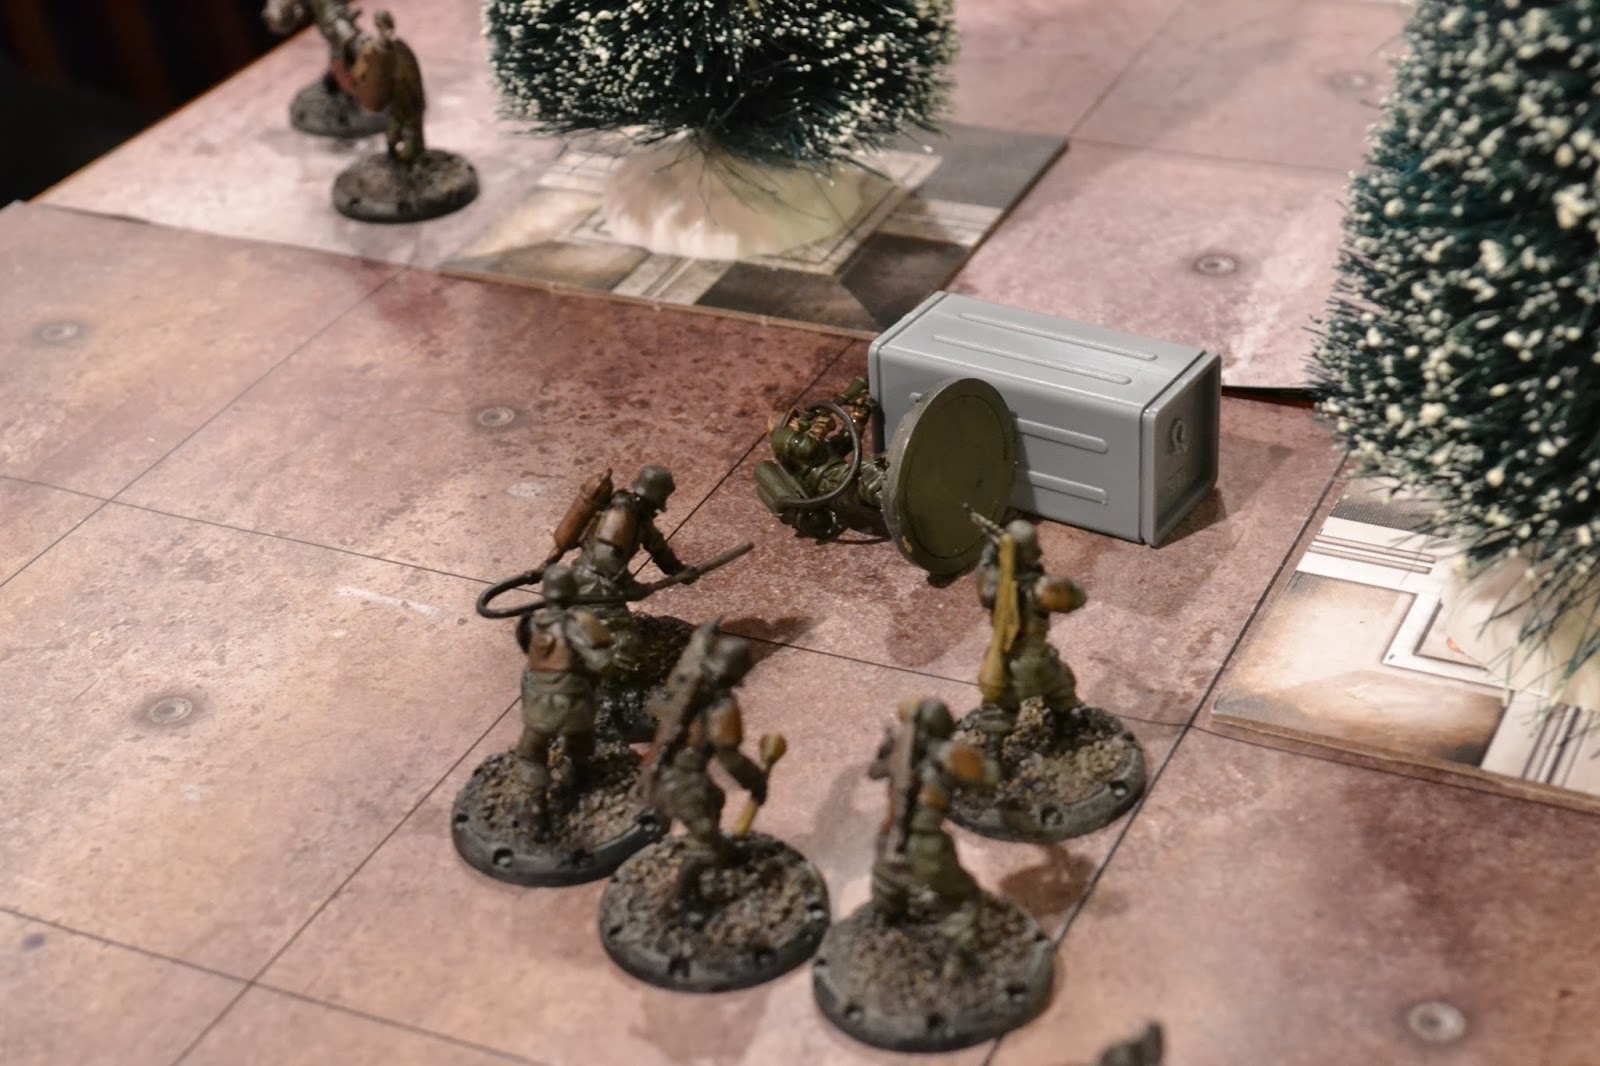
The Sturmpionieres move toward the objective next

With the Hammers in the way, the Death Dealers can do nothing, but wait

The Heavy Recon Grenadier wound OZZ 117 and kill a Hammer with sustained gun fire

The Reaper takes out three Sturmpionieres, then retreats back into the building

The Heavy Recon Grenadiers gun down two Hammers

OZZ 117 then burns a Grenadier

The Laser Grenadiers kill two Death Dealers from their cover

Two Laser Grenadiers fall to Victory MG fire

Sturmpionieres get closer to the objective

But instead of jumping on the objective and winning the game, they turn and shoot the Reaper

OZZ 117 finished off the last Heavy Recon Grenadier

Laser Grenadiers finish off another Death Dealer

The last Death Dealer hoses the Axis troops in the building with his Victory MG

With a chance for victory the Laser Grenadier jump out of cover and take down OZZ 117

They then come under heavy fire from the Victory MG

The Allies go first the next turn and lay down more fire taking out anther grenadier

The fire power drives the last Laser Grenadier into heavy cover

They exchange fire, pew, pew, braaap braaap, braaap, pew, braaap

But the rate of fire from the Victory MG overcomes the Laser Grenadier
The allies win it with one man remaining. The Germans made a HUGE blunder by not jumping on the objective when they had the chance. Instead of winning they lost a desperate game of attrition. The new troops I used where interesting. I liked the Zeds and Grenadier X was a beast. Their speed and power is nice. Plus damage resilience is a major plus.
OZZ 117 was cool, but I made the mistake of using him against a damage resilient S3 unit. He would have been great against a S2 unit instead. He ended up wiping out the squad, but it was a bad match up. Plus he didn't use Heroic Attack unit after all his men where dead. This was not well played by the Allies.
In the end the Allies did win, but it was a minor victory. There is one more scenario on the Victory Bridge Campaign. It also calls for 130 AP, but I think I am going to use 200 AP. I have a bunch of new walkers on the painting bench and want to end the campaign with a large climactic battle. Plus their is not bridge in the final mission, so there will be more room to move troops around.
Stay tuned.


