


By Jeff "SonBae" Flint
RangerDane and I started playing the Peiper's Charge Scenario for Flames of War recently. This is one of the many historical scenarios that Battlefront has but out on their website. Take a look under the "Hobby" tab and then look under missions. On the left side of the page is a LOVELY list of historical goodness.
This scenario represents Peiper's mad dash to the Meuse during the Battle of the Bulge. The scenario can be played as one MASSIVE 3 table long game or 3 single table iterations. We went with the single table version since we were playing at our FLGS and were limited by space.
The scenario briefing gives maps and army compositions for each of the 3 games that make up the scenario.
Since the forces are prescribed for this scenario, there are several units that we didn't have, so there are a few proxies...and yes...even an unpainted unit. I know...I know... I KNOW... but now that you have been forewarned. This does go to show that even if you don't have the exact unit, you an come up with a work around...so there is no reason to stay away from trying one of these scenarios ;-)
On to the scenario:

The Germans have until turn 8 to reach the point marked "A". There is a fuel dump at "X" that, if they capture it at the start of the turn, they get a free move. Of course, the US has roadblocks and mines barring the way. But who needs to use the road you say....all cross country movement is slow going due to snow and the German force has A LOT of halftracks. You cannot make it across the board in the 8 turns without using the roads.
The Forces:
The Germans start the scenario with every unit deployed on Table 1. The US starts the scenario with forces on all 3 boards. Since we were only playing the first round and only playing on Table 1...only those forces on Table 1 are used. Additionally, any unit that is not destroyed is brought back in the next round at full strength...in the full scenario, there is no "magic" rebuilding.
German List
- Peiper (Panther Tank)
- Panther Plt (x4 Panther)
- Panther Plt (x4 Panther)
- PzIVH Plt (x4 PzIVH)
- PzIVH Plt (x4 PzIVH)
- King Tiger Plt (x2 King Tiger)
- SS Panzer Gren Plt (Full Strength Gepanzerte Panzer Gren)
- SS Panzer Gren Plt (Full Strength Gepanzerte Panzer Gren)- SS Self Propelled Infantry Gun Plt (6 Grilles)
- SS Panzer AA Plt (4 Wirbelwinds)
US LIST
- Roadblock Strongpoint (1 Rifle squad, 1 Weapons Squad Mines & Wire)
- Rifle Plt (2 squads, Mines & Wire)
- Tank Plt (2 ea M4A3 76mm, 2 ea M4A3 Late)
- Tank Destroyer Plt (2 ea M10 3" GMC)
- Priority Air (P47 Close Air Support & 5.5" HVAR rockets)


Turn 1
Only real action was at the Roadblock...FJs try to remove the obstacles and pin the defenders...no luck


The traffic continues. The mines block the path another turn. The unit headed to the other town is in striking range to shoot.

But the scream of P47s (played by a B25) knock out a Panther

Turn 4
Minefield is cleared!

Turn 5
The slow progress across the snow continues....harassed by excellent placement of air support

That still gets shot down (phew)

Turn 6
More air support...this time he scores hits on the Panzer Grens!

Turn 7
With no good targets the air support goes for the AA guns...kills 1 and bails a 2nd! Great idea to make future strikes more secure. Dane did a GREAT job with his air.

The long march continues across the snow as the Security Section opened up and took a chunk out of the FJs!


Turn 8
The FJs are eliminated. This will hurt in later rounds I'm sure.


As the SS didn't reach the exit by the end of Turn 8 the SS loses the Round. We decided to play on to see what happens.
Turn 9
Attack the Security Section....I will lose a few, but should make an opening to the exit point.


Turn 10
TDs pop and score a King Tiger!

And the air bails a PzIVH and a Grille

Turn 11
But, having the PzIVHs secure the fuel dump in upper village, the King Tiger strolls to the exit point and the rest of the forces mop up the TDs.


Awesome scenario....that snow is killer. I really got a feeling for the decisions Peiper had to make to this point. Technically, the SS lost this round as they didn't make it to the exit by turn 8. We are going to see what happens in Round 2 and if I make the exit there by Turn 16 it will be a wash. Sigh, more pressure. ;-)
Next round has rivers to cross....with bridges that are wired with demo. Dane is going to have more to do in Round 2 I am sure.
Oh joy....

Setup:
 |
| Rifle Platoon |
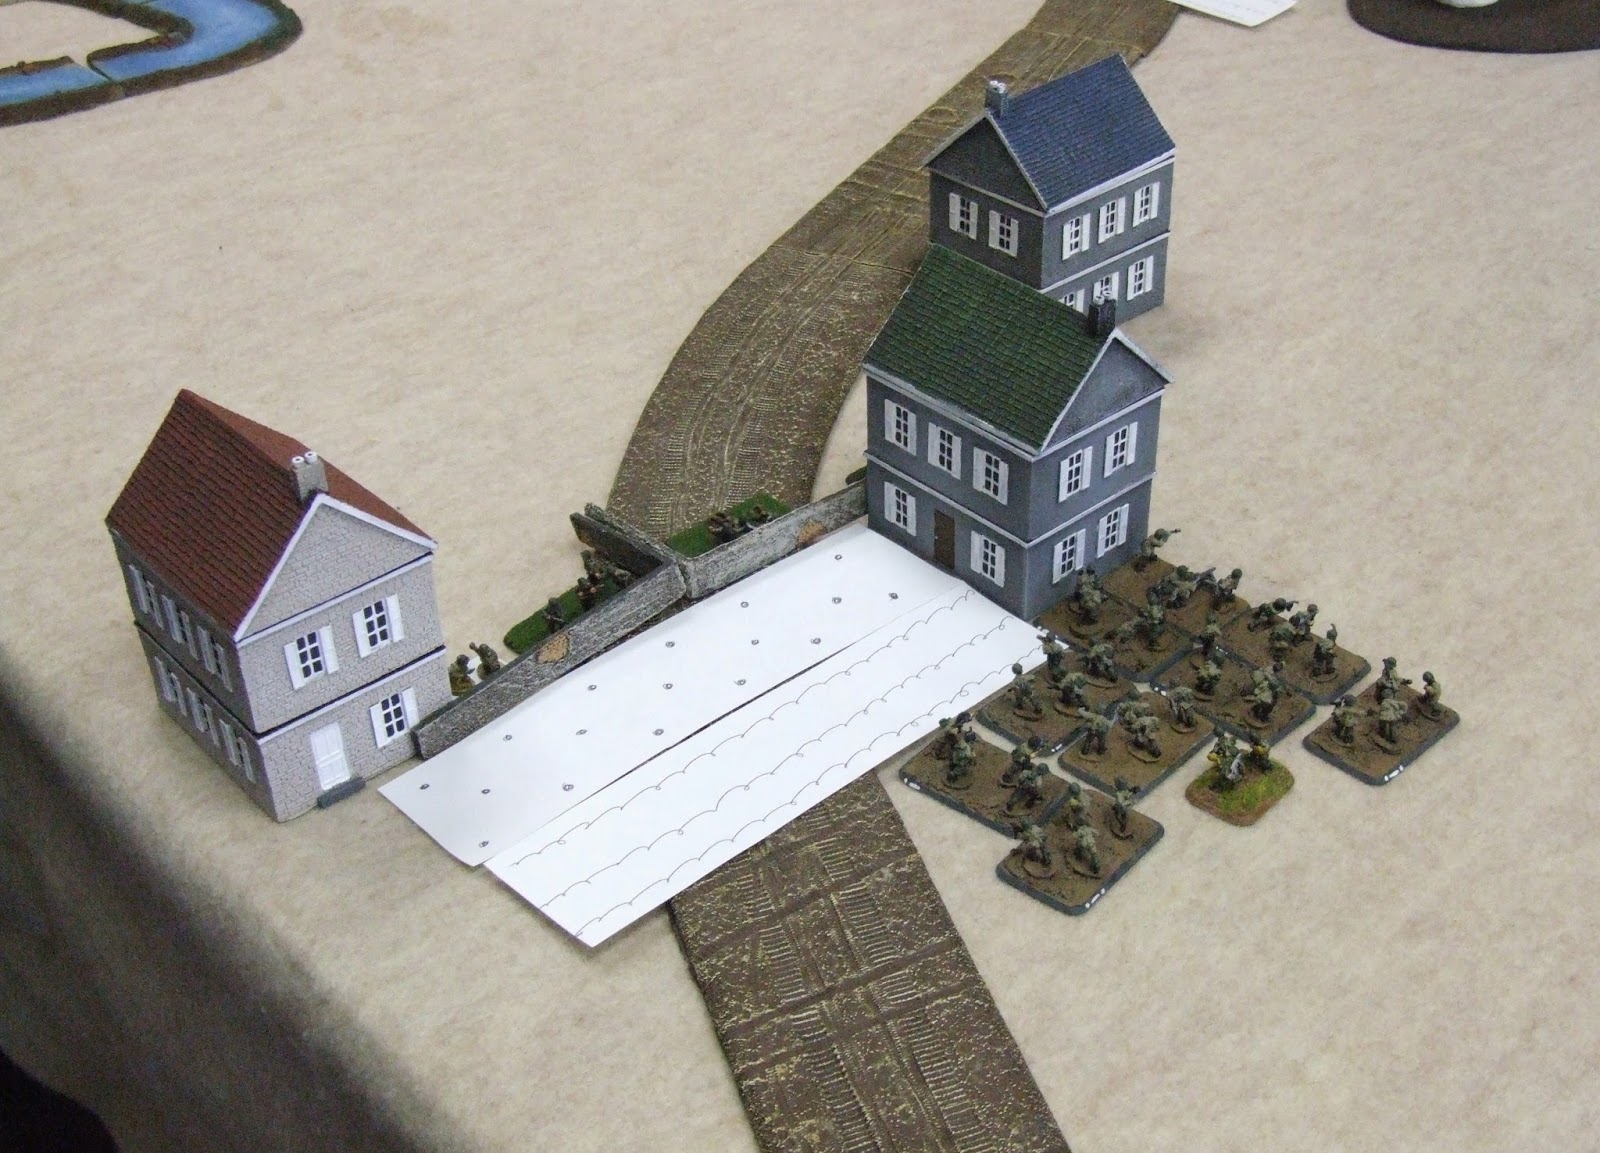 |
| Roadblock Section facing a horde of Fallschirmjaeger |
Only real action was at the Roadblock...FJs try to remove the obstacles and pin the defenders...no luck
Turn 2
FJs remove the wire and knock the defending Rifle squad and move into the trench line. The defending Weapons squad moves to the table edge. The rest of the Armored horde tries to come onto the table.
The mines had me buggered. I didn't want to just drive over them as they were an AT5 vs top armor and Firepower 1 and I didn't want to risk losing anything that early. I mean all I had to do was make 2 skill checks right...with Veteran troops...easie peasie. Sigh....
Turn 3
The traffic continues. The mines block the path another turn. The unit headed to the other town is in striking range to shoot.
But the scream of P47s (played by a B25) knock out a Panther
Turn 4
Minefield is cleared!
 |
| The rest of the blocking force is eliminated...took 4 turns...tooooo long. |
 |
| Assault on the town progresses...enemy tanks in sight! |
 |
| Planes come in again, but get shot down |
 |
| Scratch 1 M4A3 Late |
 |
| Tank Destroyer Security Section takes up a position covering the exit point |
The slow progress across the snow continues....harassed by excellent placement of air support
That still gets shot down (phew)
Turn 6
More air support...this time he scores hits on the Panzer Grens!
Turn 7
With no good targets the air support goes for the AA guns...kills 1 and bails a 2nd! Great idea to make future strikes more secure. Dane did a GREAT job with his air.
The long march continues across the snow as the Security Section opened up and took a chunk out of the FJs!
Turn 8
The FJs are eliminated. This will hurt in later rounds I'm sure.
As the SS didn't reach the exit by the end of Turn 8 the SS loses the Round. We decided to play on to see what happens.
Turn 9
Attack the Security Section....I will lose a few, but should make an opening to the exit point.
Turn 10
TDs pop and score a King Tiger!
And the air bails a PzIVH and a Grille
Turn 11
But, having the PzIVHs secure the fuel dump in upper village, the King Tiger strolls to the exit point and the rest of the forces mop up the TDs.
Summary:
Awesome scenario....that snow is killer. I really got a feeling for the decisions Peiper had to make to this point. Technically, the SS lost this round as they didn't make it to the exit by turn 8. We are going to see what happens in Round 2 and if I make the exit there by Turn 16 it will be a wash. Sigh, more pressure. ;-)
Next round has rivers to cross....with bridges that are wired with demo. Dane is going to have more to do in Round 2 I am sure.
Oh joy....
As always, a special thanks The Foundry for allowing me to use their tables and terrain to take these pictures.
SonBae (AKA Jeff Flint) is a long time gamer and painter and runs a blog at Journey Back To The Table where he posts photos of his work, reviews, BatReps and the “Painting Miniatures Declassified” modeling and painting tutorials.


