


The standard content on the box. I did notice that the PSC's Battlegroup and paint lines are now advertised on the box - smart move. I dove right in to the box, so let's move on.

The first thing I noticed on the sprue was the one-piece track! Yay! This is an excellent time-saver and a sore spot from some of our other PSC reviews. Unfortunately, the command figures provided are still really weak and bland - I suggest replacing these with others you may have sitting around. There was very little flashing, and cleanup on these was a breeze. Detail was very crisp and there was little deformation. There was slight deformation on the external gas tanks, but nothing that I cared to fill in with green stuff.

I was pleasantly surprised at the low number of pieces for this tank. Russian stuff is pretty straight-forward, but some of these plastic kits can be a bit fiddly. This one is not, with only about 13 parts.

The standard PSC instruction set was provided. You can make IS-85, IS-1 and IS-2 (Editor's note: The last 2 models are named incorrectly. This should be an IS2 obr 1943 and IS2 obr 1944. A minor detail, but one worth mentioning. -Steven) models from this kit. The instructions are clear and easy to read. I found separating the pieces from the sprue to be very easy, with no breakage.
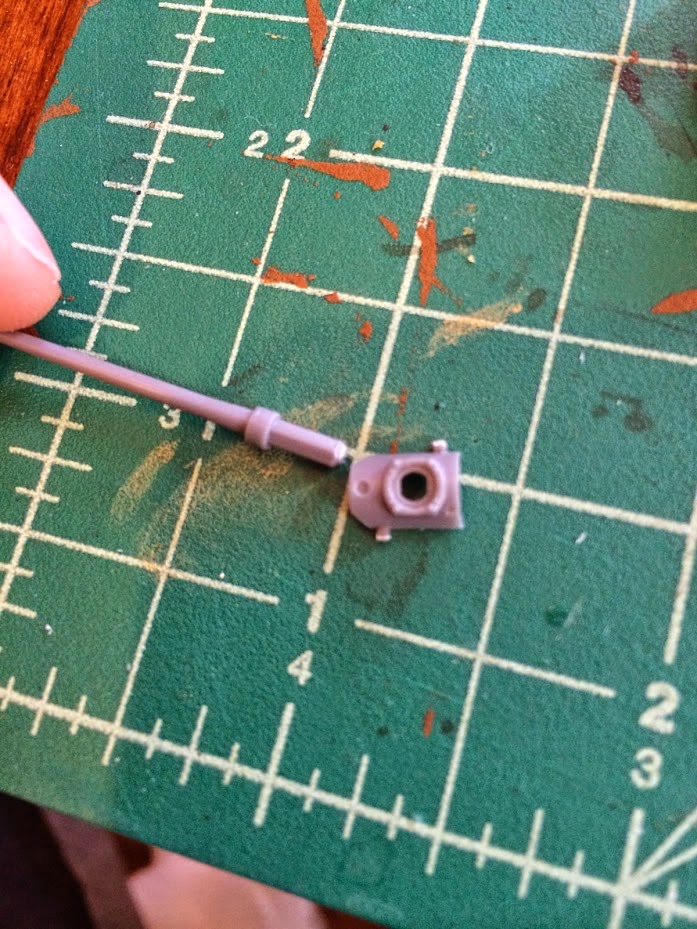
During cleanup and assembly, I noticed something really neat with the barrels and mantlet. The mounting point and mantlet are molded so that the barrel only fits in two ways, conveniently aligning your muzzle break perfectly. This is a slight and amazingly insightful change.

Do you see these handles molded? This is awesome! I did not break a single one during flash cleanup, as the flashing was very light. Remember to use plastic glue on these, as yours truly held out on this for very long and felt like a moron for not following this advice long ago. Just go buy it!

The one-piece track paints up very nice. I spray them flat black, then highlight in a lighter grey before assembly. This saves a ton of time and really makes your tracks look great. I paint the insides of the tracks the tank color after assembly. I have found that trying to do the inside and the wheels in this state is just to difficult - there is not enough to grip until attached to the hull.

I primed these on both sides with standard camouflage paint from the local home store. In picking a color


Above, I have assembled the tanks and put on the main color, which in this case is Olive Grey (888). Go on very thin and try not to get much on the tracks. Drybrush the wheels and paint inside the tracks.
Next, I did a highlight of Russian Green (924) with the old drybrush. After painting the stripes and weathering them a bit with both Olive Grey and Green Brown, I used the excellent CGR Painters Magik Mudd Wash in Black. Next, I covered the whole model in Gloss Varnish. I dug up some old decals I had sitting around from both i94 and Battlefront and finished these bad boys up. Last, but not least, a coat of Testors Dulcote.

The above picture illustrates how sloppy you can be and still get a good effect. I got some green on the underside of the rollers - ut oh! I am going for a tabletop quality in general, so I want to make sure I use my painting time wisely. Instead of spending time fixing this - which almost no one will ever see - I spent time on the cool looking white stripes on the turret, which everyone will see.
You can also see in the picture - though it is more pronounced in person - that I made generous use of Green Brown (879) for mud and general dirt on the tracks, fenders, front and rear. I also did a light brushing of this on the turret.


 |
| The detail on the engine deck is very, very good. Can anyone even see a dimple in any of the external tanks? |


 |
| Alright, the command figure is pretty bad. I really did try to make him look ok, but I failed. |

Conclusion: 9 of 10 Dead Panzer IVs. I think these turned out great. I really hate assembly, and these were not too bad. The one-piece tracks, low flash amount, and the relatively small amount of parts make these easier than most. I would liked to have seen the popular locking turret design that is featured in the PSC Stuart, but the two-piece, vertical design of the parts much have lent themselves to that choice. We also have got to get someone to make a commander that is any good at all.
At about $26USD projected price for five models, this kit is definitely worth it. I would highly recommend this box to anyone looking to assemble some IS-2s.
Models provided by The Plastic Soldier Company


