


 I have always been a fan of putting the little details in my models; this includes decals to make the models look as they did in real life and if I want to portray my models as a certain unit, this extra step really helps. While I never had much of an issue with the products from Battlefront or my favorite - Doms Decals - (his site seems to be down), I wanted to have the ability to create something that neither of those retailers had. As with everything else, my search started online. While I found many good tips (model rocketry sites had the most info) I decided to go with Testors Clear Waterslide paper, which I picked up online for around $9. You can also get products with a white background, however I felt that clear would do the trick. I also want to point out that laser and inkjet printers use different paper and they are not interchangeable.At Historicon I picked up three old Comet tanks that Battlefront produced many years ago. Knowing that the 11th Armoured Division used the Comet in 1945, I decided to make the divisional symbol, the Bull.
I went online and found the graphic I was looking for and saved it as a .jpg. While you can buy a dedicated program to make your decals, I found a lot of online tips that claimed that Microsoft Word would do the trick. Having gotten my PowerPoint Ranger badge many years ago I coped the graphic to Word and it was easy to re-sized them to what I needed.

I did a bunch despite the fact I only needed six
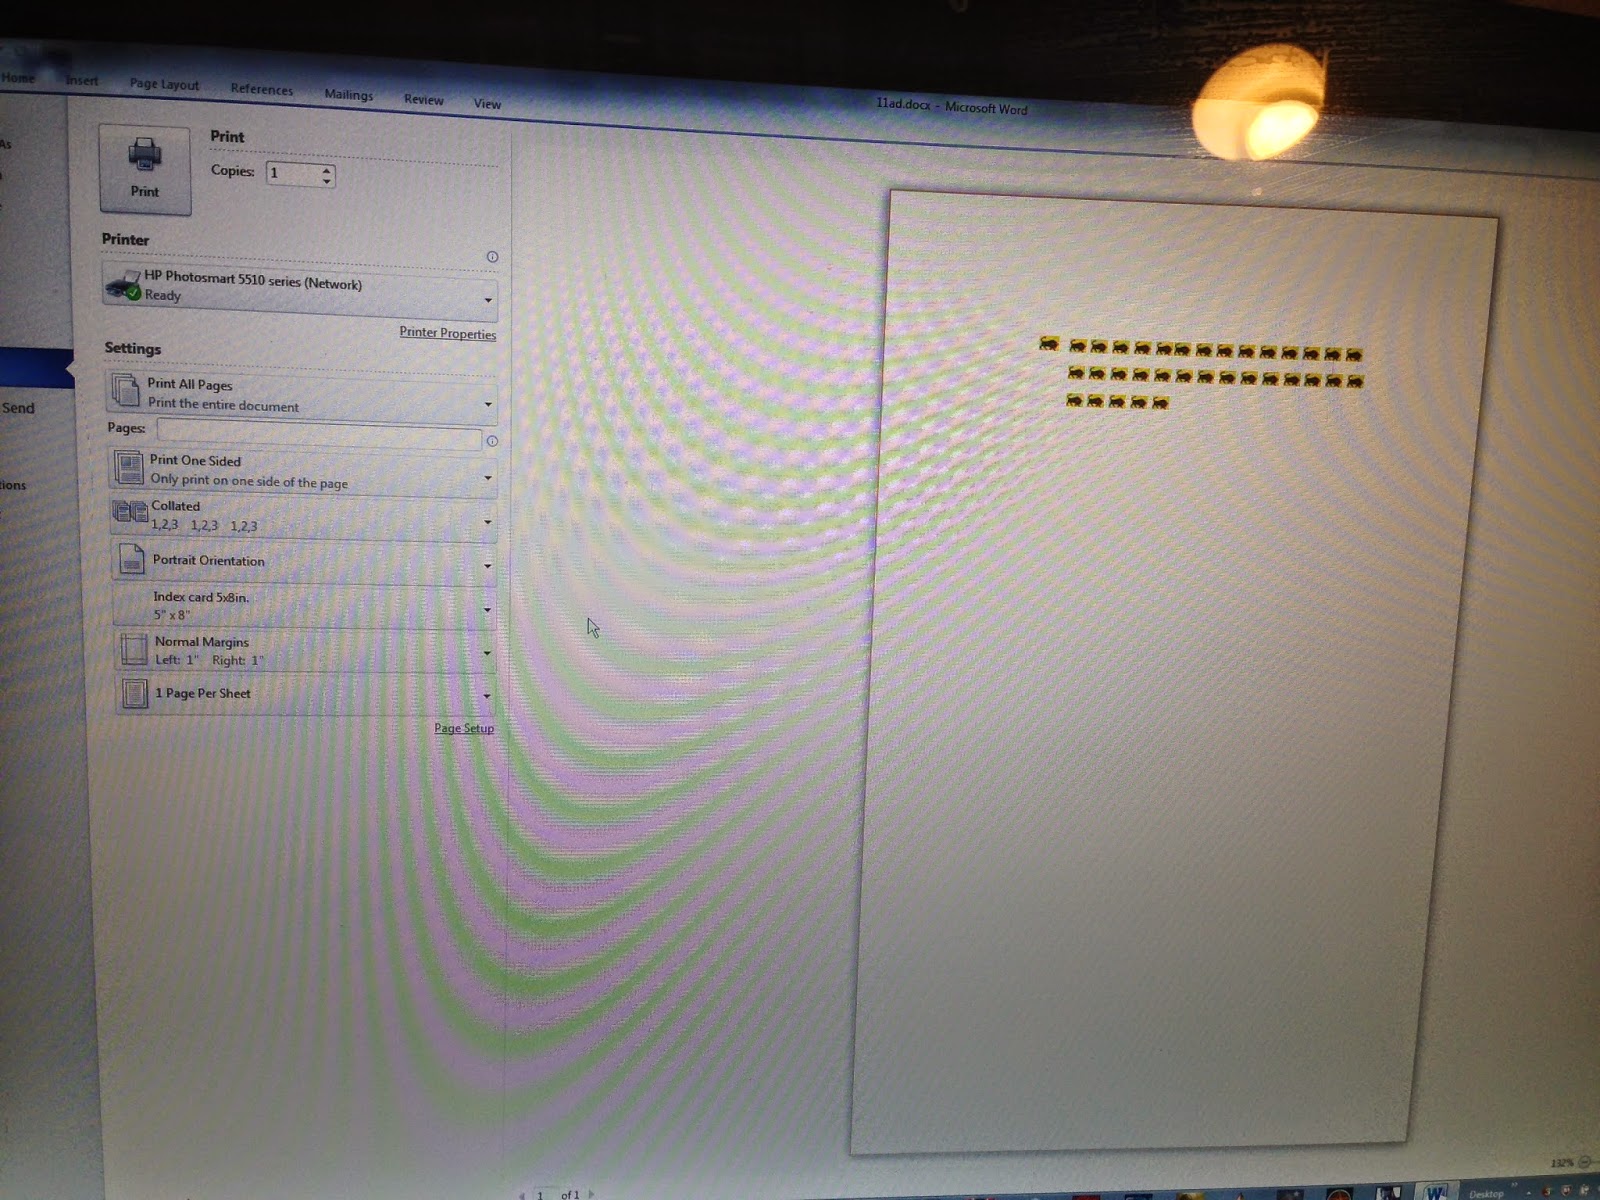
My printer is an HP Photosmart 5510 which works very well with both paper and when I print pictures.


... and placed the decals on the yellow block. As you can see, they do not look horrible and at a distance they look good enough. I will probably fix these up, but who knows when I will need a Comet tank.
Not to be stopped by my first failure, I decided to try this again, this time making some flags for my Japanese tanks, markings for my AOP, and something for my Dad's Army tournament objective I got at Historicon.

This time I changed my printer setting and selected this batch to print as if it was a picture. I felt that this would throw more ink on the paper and I was worried that with the clear paper that the white parts of the Japanese flag would come out clear. I applied 3 light coats of acrylic and let it dry for a few hours. After I printed this batch I noticed the flag may be too big for my tanks. The last time I printed a test page on paper, I will make sure I do that from now on in.


So I did some more research and found out that a lot of folks used a hair dryer to speed up the process

So I hit it with a hair dryer and tried again with my Japanese tanks

And how about that AOP.

And now for the tanks...

No, they are not planning to surrender

Now for the Solvaset, I am sure other solutions made for decal would work just as well.


If you noticed, I did not include pictures of my Dad's Army objective decals; they yellow color was almost invisible on the model and scrapped that part of the project for now.
Tips from my experience
- Decide if you need the clear or white paper for your project
- Make a paper draft of your decals and make sure they are of the right size, this also gets you exploring what settings (regular print, photo print etc) work best on your printer
- Maximize your paper, while you can use part of the page and cut it off before you spray it (important, you cannot print on paper that is sprayed) it is best to use as much of the paper (which is $1 for a 5"x7" sheet). All of the decals above were made with one sheet during two separate printings.
- Over spray and fix the ink, I used 3-5 light coats
- Wait, the longer you wait the more stable the ink becomes, I would recommend the hair dryer, but not to save time
- Trim the decal to the size you need
- Dip the decal in the water, I did this with tweezers for about 10 seconds, then shake all the water of the decal
- Place the decal over the area you want to place it and wait, the water will work the glue loose
- With a brush carefully move the decal onto the model
- I then used the Solvaset, the liquid from it makes the decal more fluid on your model and you can then fix it in the exact place you need it.
- Use the brush to flatten the decal in place, remove bubbles and set the decal
Final Thoughts
Overall, this process was harder than I thought it was going to be, however everything I read told me that their is a learning curve when making your own decals. The quality of the decals I made if feel is good but not great. The fixer I used to set the ink on the decals made them look a bit rough or as described on one website "like a turtle's shell". From what I read, there is little way around this, however there are some manufacturers who claim that their inkjet paper does not need over-spray and this may be eliminated. I may look into this or other types of paper one day. However with my first Great War box set due to arrive today, this future experimentation wont be for a while.
So my if you need a particular decal that is not made by the pro's I would give DIY decals a shot, however the savings in time, quality and ease of use of what is available on the market would recommend using those until you perfect your own method.


