


The first thing you will want to do is to download the mod you want. A large percentage of the mods are all in the World of Tanks official forum - Fan Zone - General Creativity sections (of the WoT forums, typically the EU ones). From there, download the mod you would like.
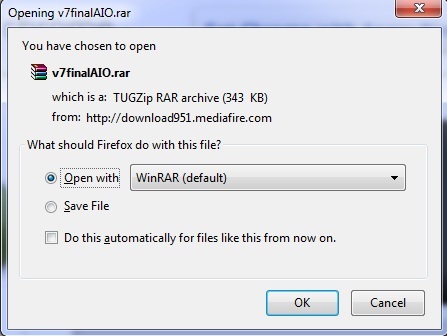
Once you have downloaded the file, or opened it directly through WinRar, 7Zip, etc. you will be presented with the mod, hopefully pre-stored in the correct directory folders, but this mod that I have downloaded is not.

Most mods will show via the folder structure, which folders they go in. Like this particular mod, most mods go into the same folder; thankfully the author of this mod provided the directory for us. The directory where we will copy the files is "C:\Games\World_of_Tanks_closed_Beta\res\gui\flash" Now, your directory tree may differ slightly, particularly where the World of Tanks main directory is located, but the sub-directories should all be the same. From there, simply copy and paste the files in the mod and replace the existing ones in the World of Tanks folder.

Remember, create a backup of the files you are about to replace! Otherwise, go ahead and overwrite the old files. Once all files have been copied over, start up the World of Tanks game client and enjoy your new mods!


