


At Fall In, I picked up a Jagdpanther Platoon for no other reason than the fact that they look cool as hell and I got a pretty good deal. When building this Tank Destroyer, the Germans took the King Tiger gun and slapped it on a Panther chassis. Mobility and Firepower make this vehicle very powerful in Flames of War.


Weighing it at $45 USD, the tanks are a bit expensive at $15 each. The good news is that you will need very few for your army.

As you can see, it is a Panther, minus an MG, plus a King Tiger gun. This is awesome, but you must pay for this awesomeness. In looking through Desperate Measures, I saw that these are available as both Confident Trained and Confident Veteran.
2 Confident Trained Panther Gs: 290
2 Jagdpanthers Confident Trained: 360
2 Confident Veteran Panther Gs: 375
2 Jagdpanthers Confident Veteran: 470
2 Confident Veteran King Tigers: 690
In looking at the cost of these, I am not sure I am going to find a ton of reason to put these on the table in a tournament, but I will most definitely be springing these on Luke and Paw Paw at the first opportunity!

I assembled everything and primed the tracks separately. This allows me to just fill in the wheels, as seen on the right tank. For this build, I also had to prime and paint the front mud guards in dark yellow, as you cannot really attach them to the hull without the tracks. I like to hit the tracks with a fairly lightly colored grey for an initial highlight. I roughly painted some of the wheels in the brown and green to give a little bit of color.


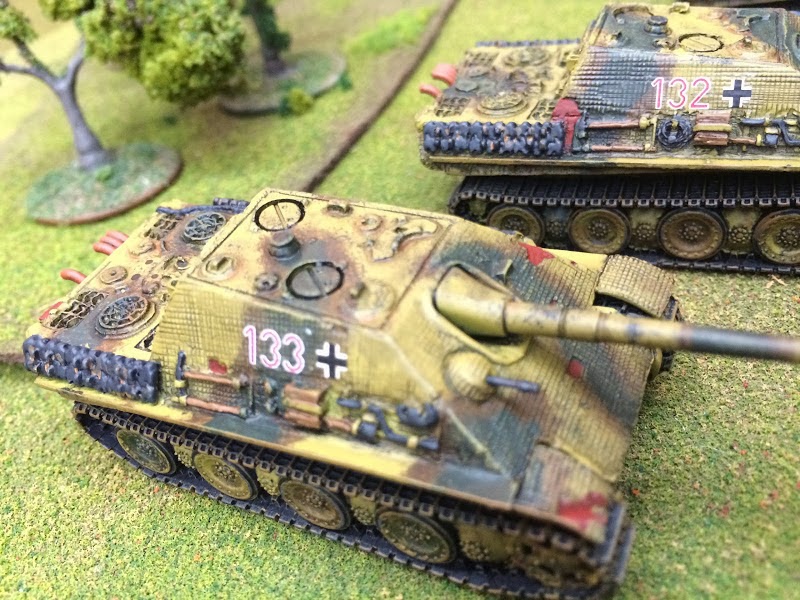
I used German Medium Camo brown to make the outlines of the pattern, then filled them in with German Camo Dark Green. After that, I did my standard drybrush with Middlestone.
You may notice that the '131' Jagdpanther's decal is a little bit off at the bottom. Whenever I need to have a part of the decal 'under' something - in this case, the tow cable - I usually just attach the decal normally and leave the part overlapping. When I add the decal softener, I do not put it over the raised part, so it will not stick well. When the softener dries, I use a very sharp hobby knife to trim off the part that needs to be 'under'. I think it works pretty well.

 |
| Hatches are a bit off. |

I added some chipping to the areas without Zimmerit with some dark grey. I think this helps make the tank look used and more realistic. I also went with some red and white numbers from Dom's Decals. I always liked this look and went ahead and used them here. I still think my undercoat on the chipped sections is too red, so I may go back and make it darker and/or browner.
 |
| Hatches are a bit under-sized for the resin hull. |
 |
| I put a little rust around some of the hatches and the gun barrel - hard to see in these pictures. |
 |
| I think I should rust up that fender. |
 |
| Hatches no fit, man. |
I like these models. They are big and chunky and look cool - that is enough for me! I think they will have limited usability in my games, but they will be fun to give a go now and again....especially if I can surprise Luke or Paw Paw!


