


 For more information on FoW1918, visit http://games.groups.yahoo.com/group/FOW1918/ |
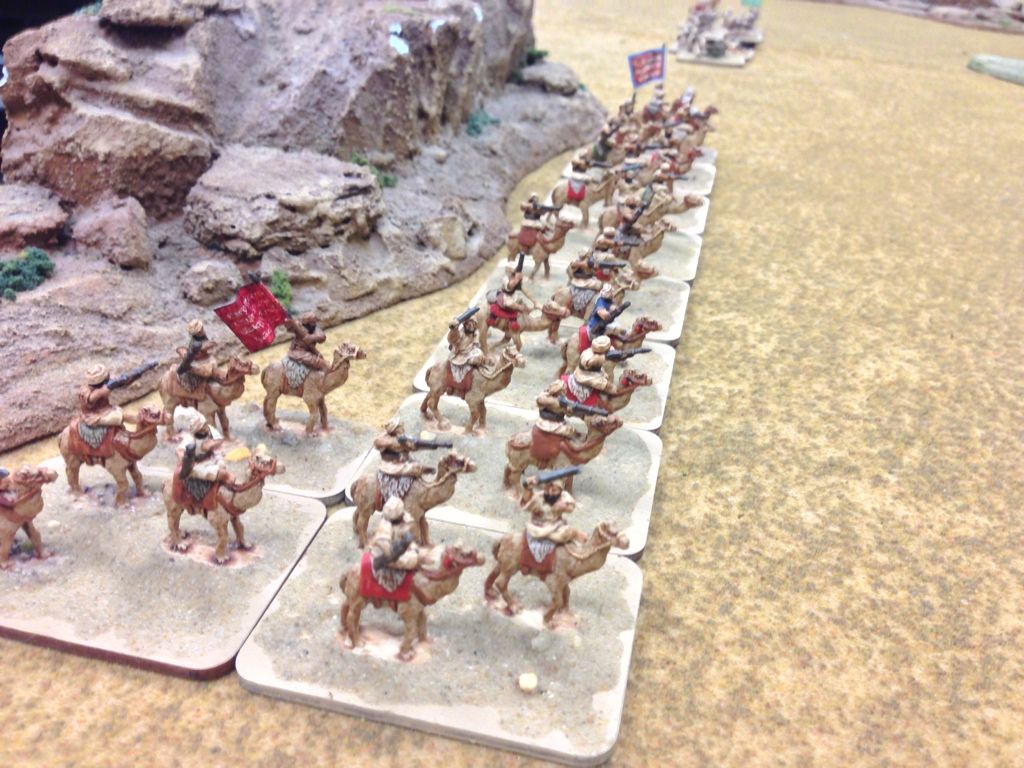
Chris's Arabs (CT)
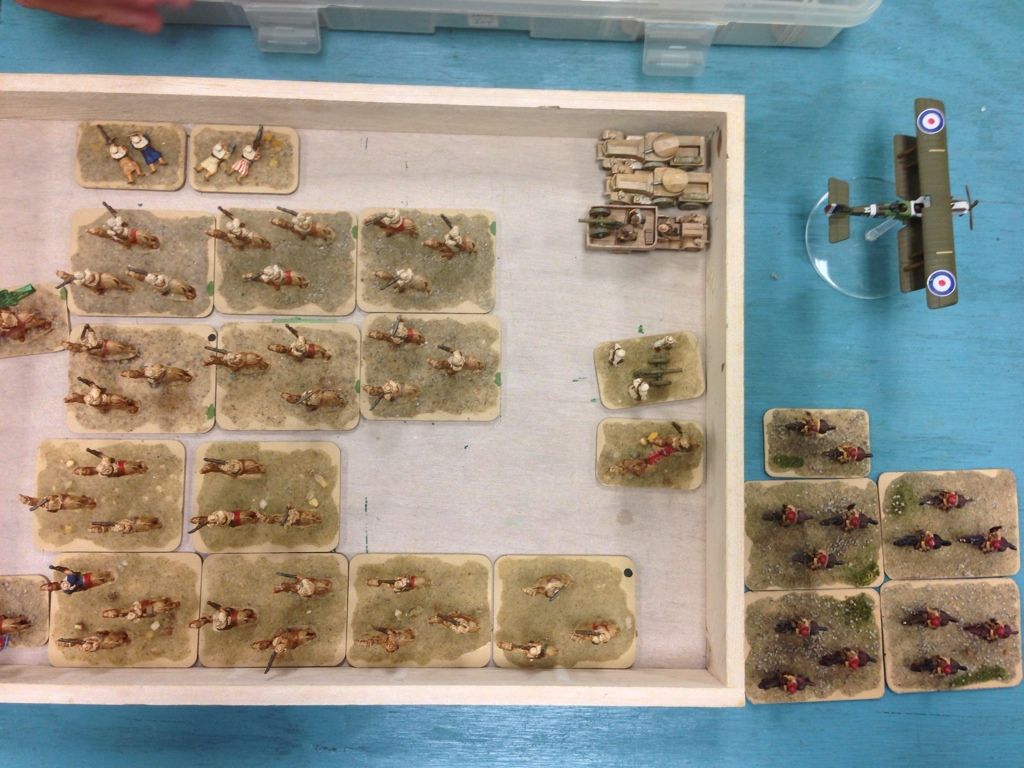
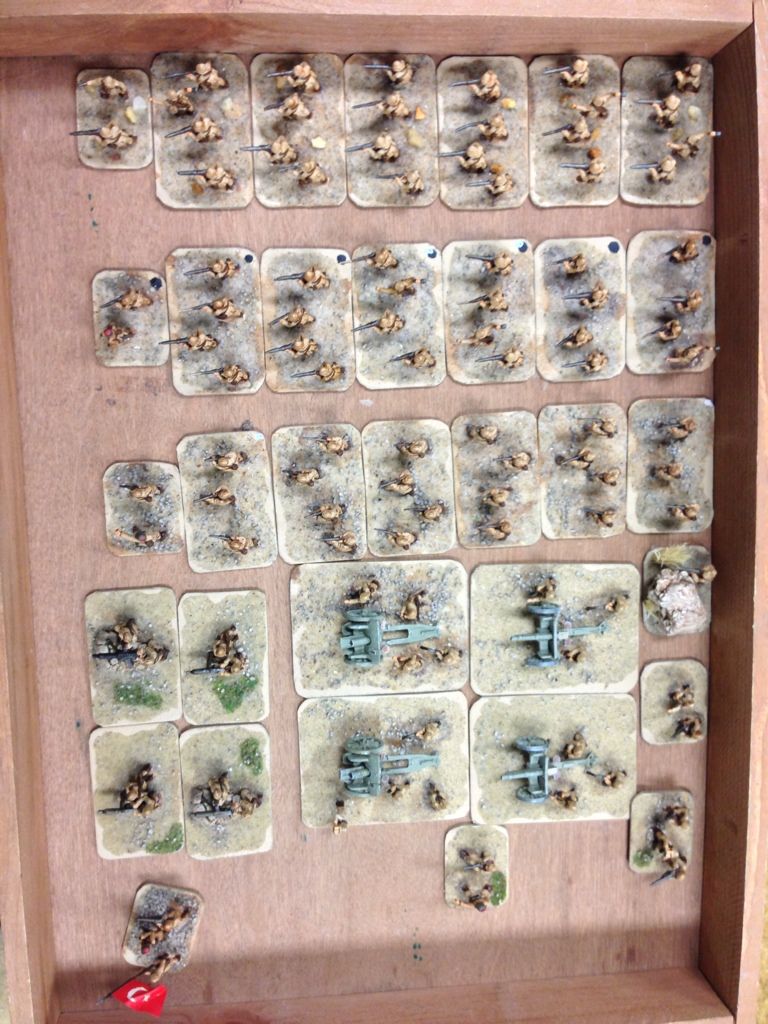
| Alex's Turks (CT)
|
SETUP AND DEPLOYMENT
 |
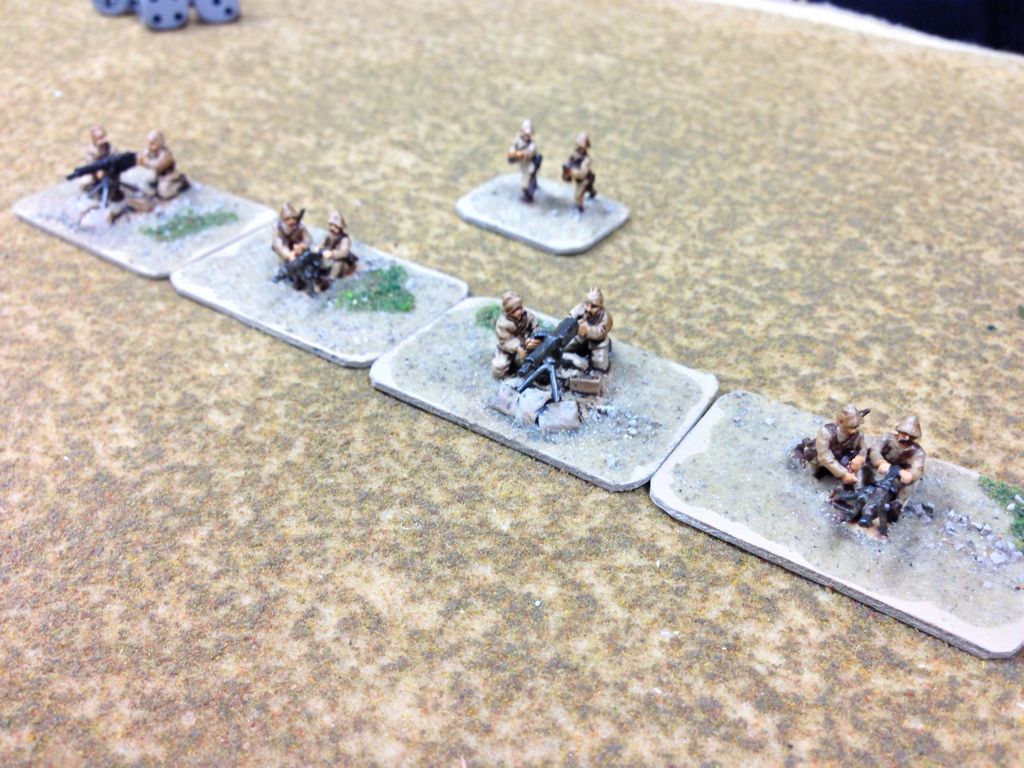
| Chris's Arabs |
 |
| Alex's Turks |
 |
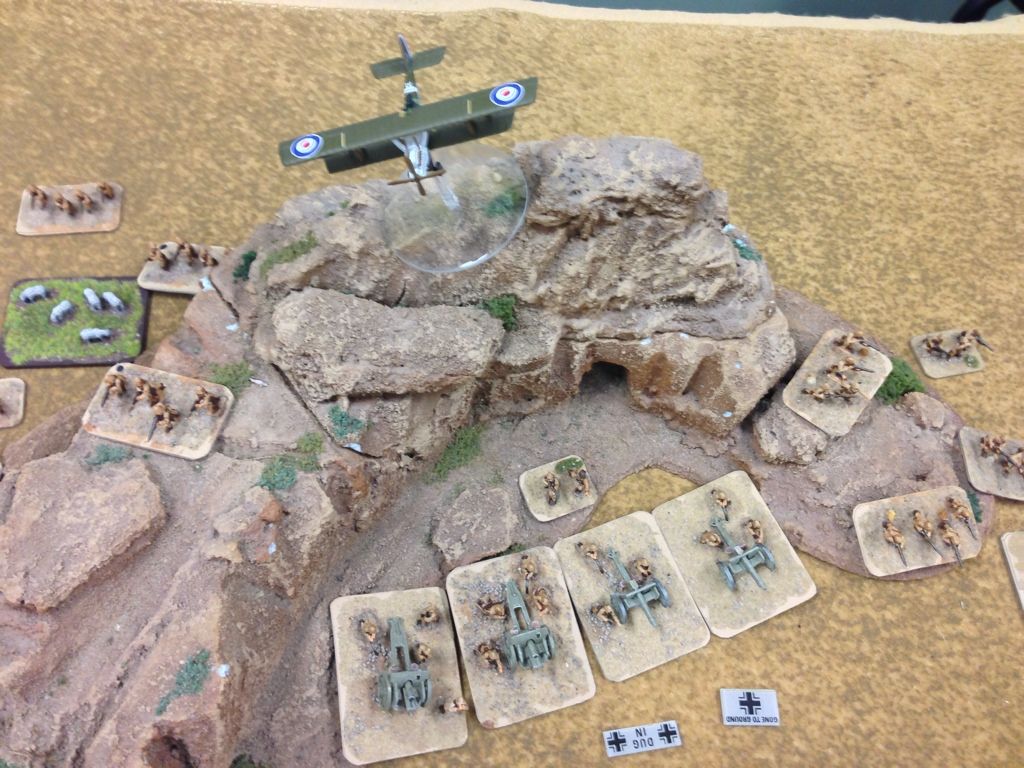
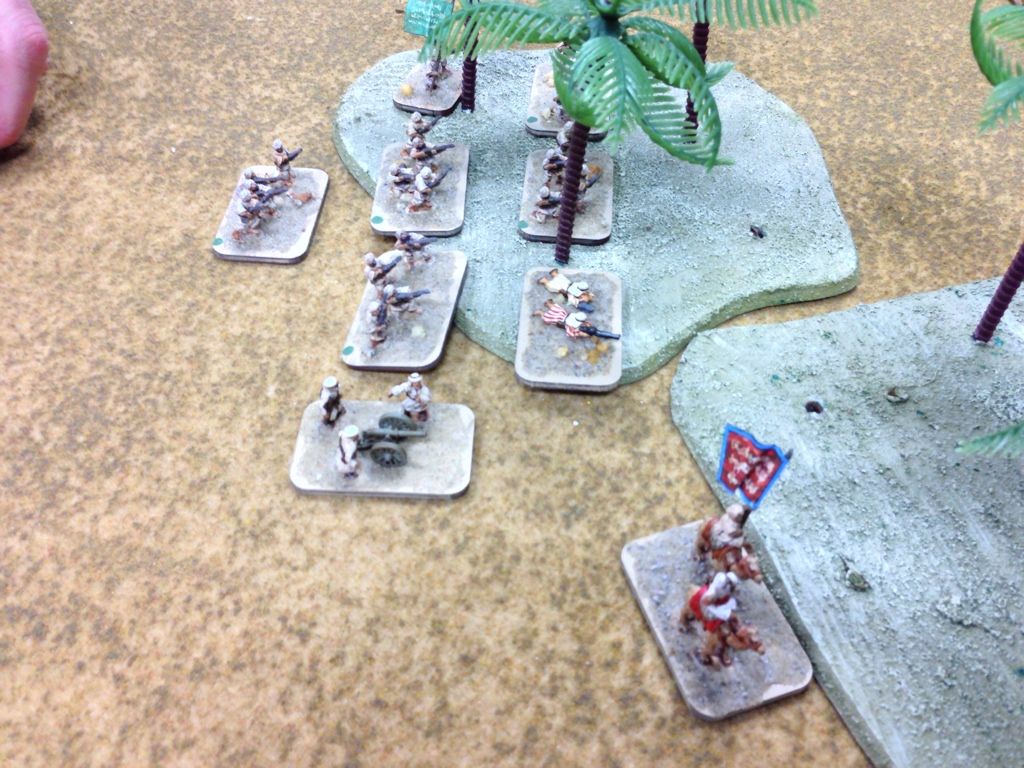
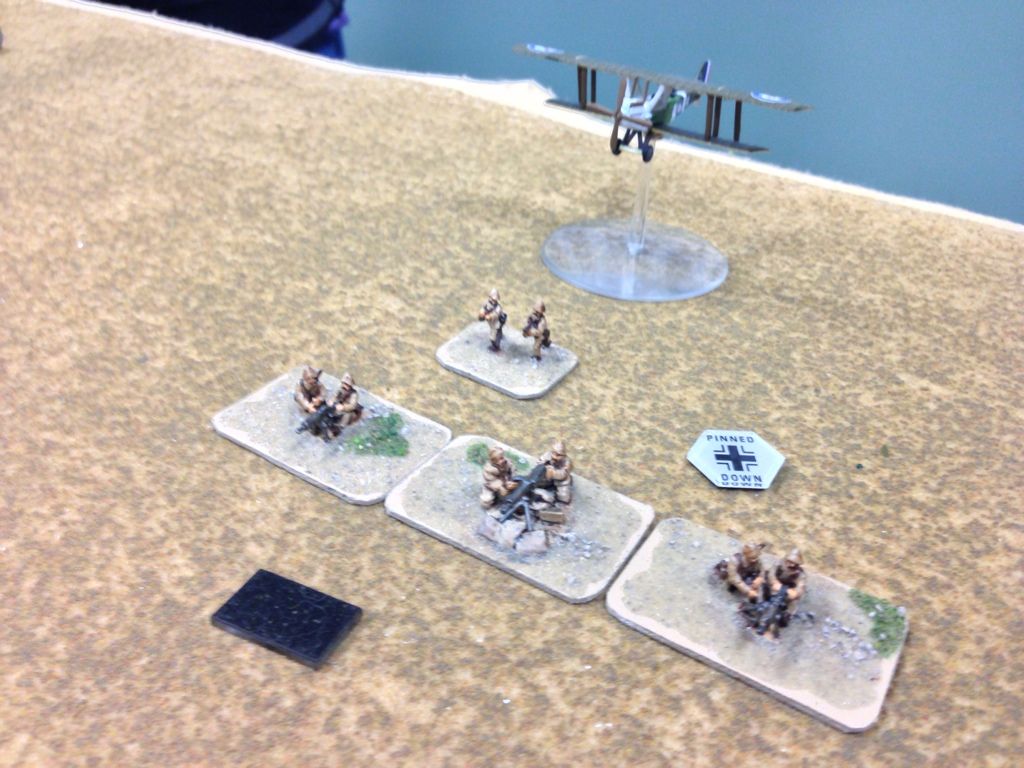
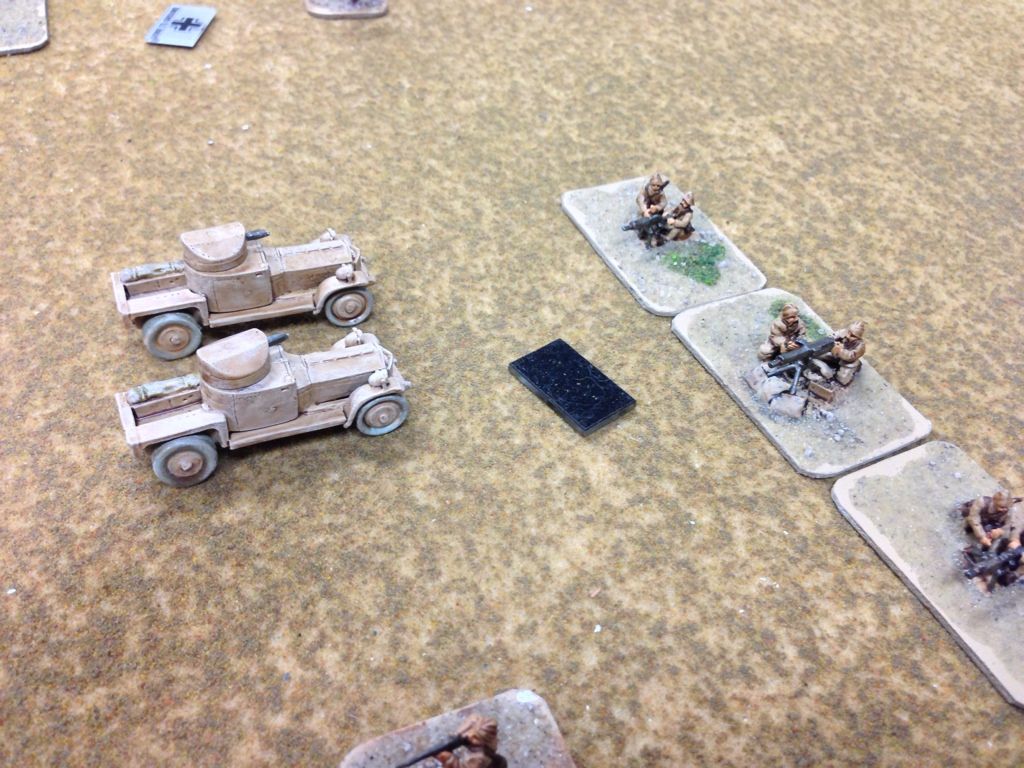
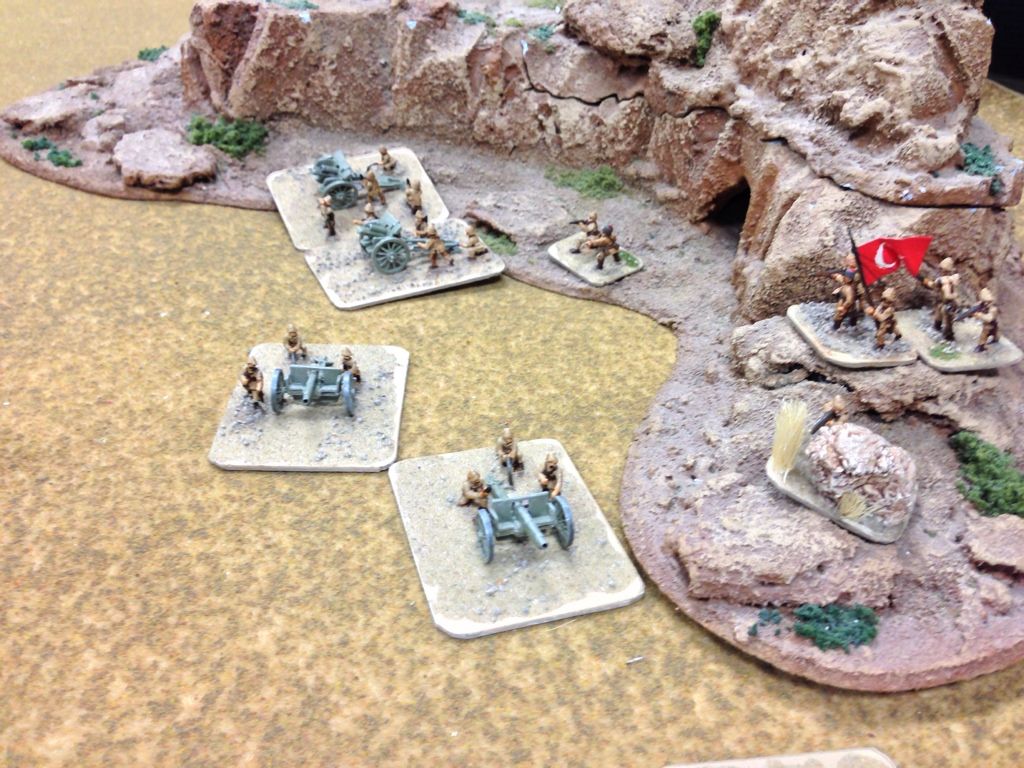
| Turks guarding a well |
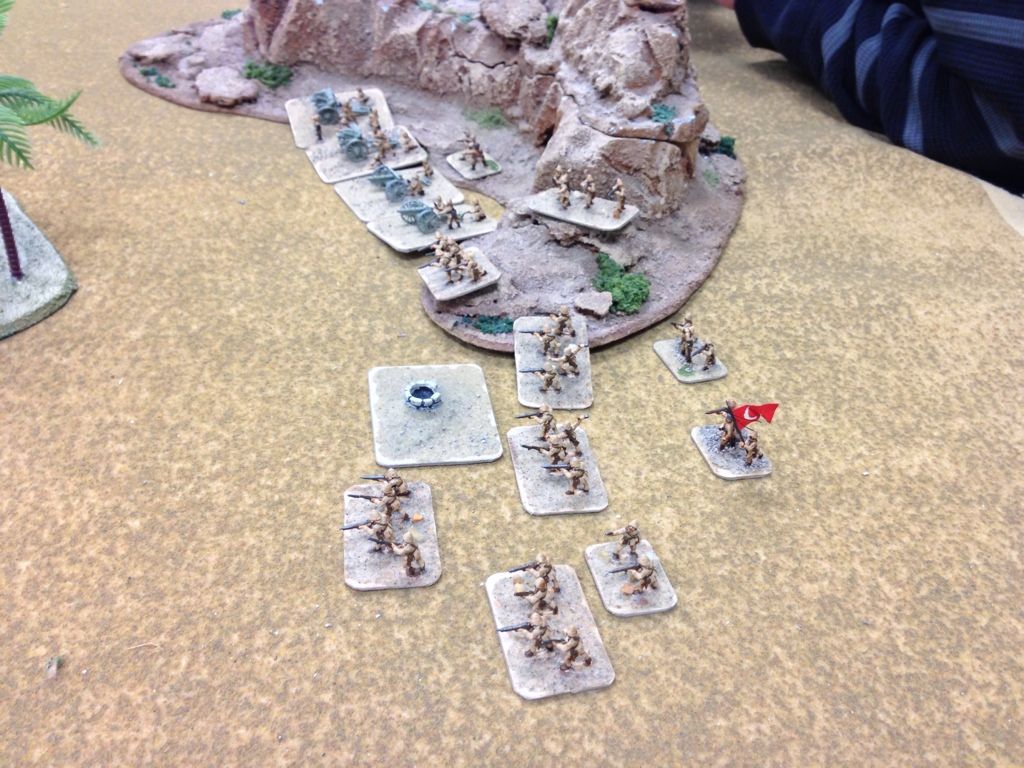 |
| The Turkish battleline |
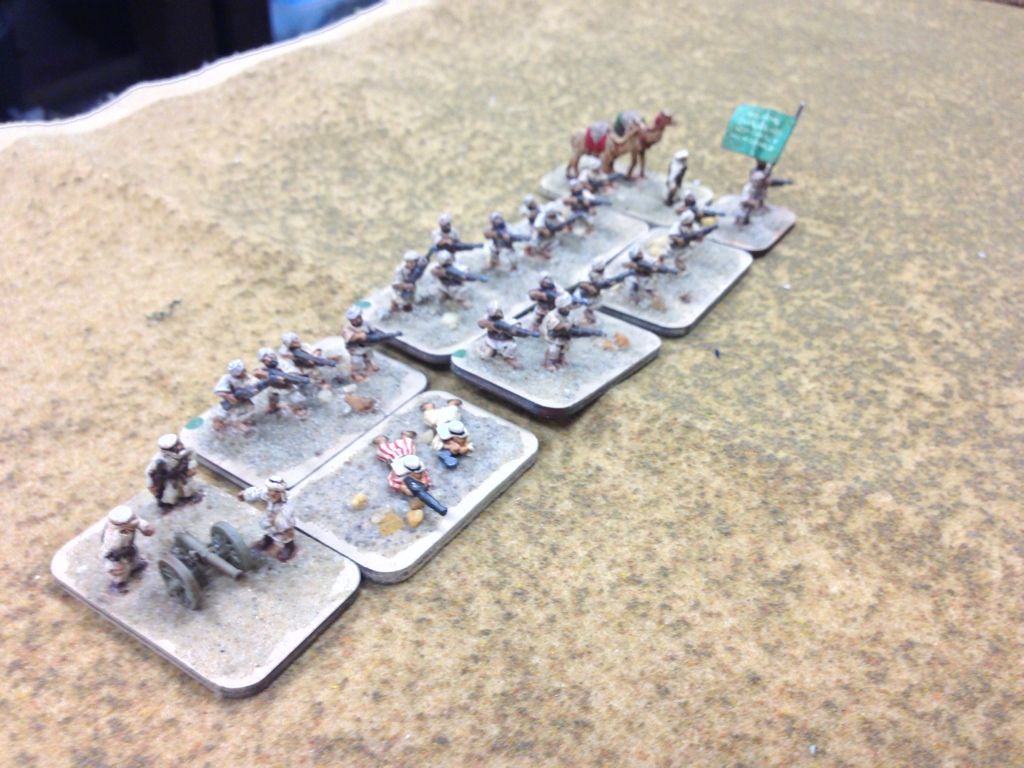 |
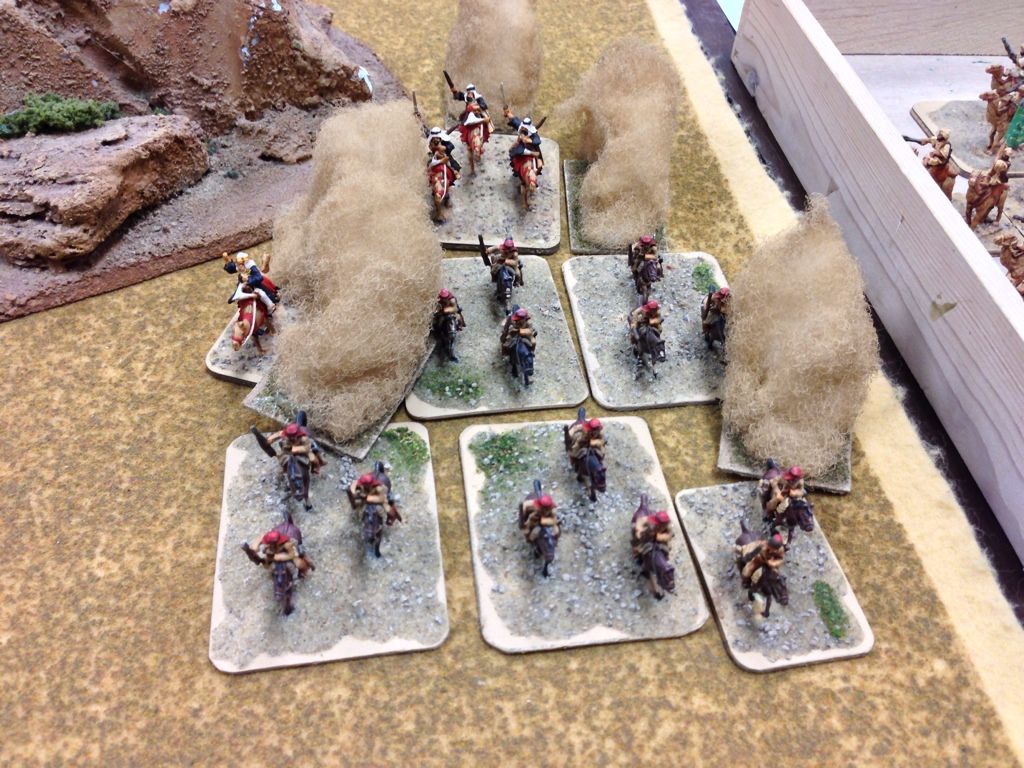
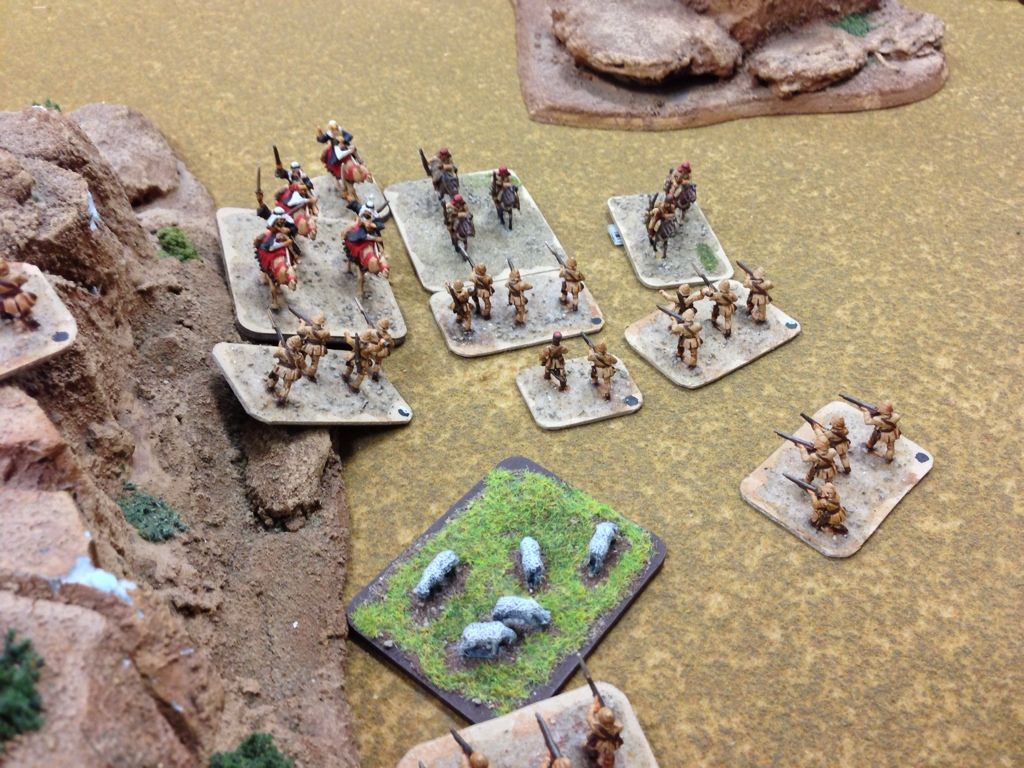
| One squad of Arabs starts dismounted |
|
| And the other starts a top their camels! |
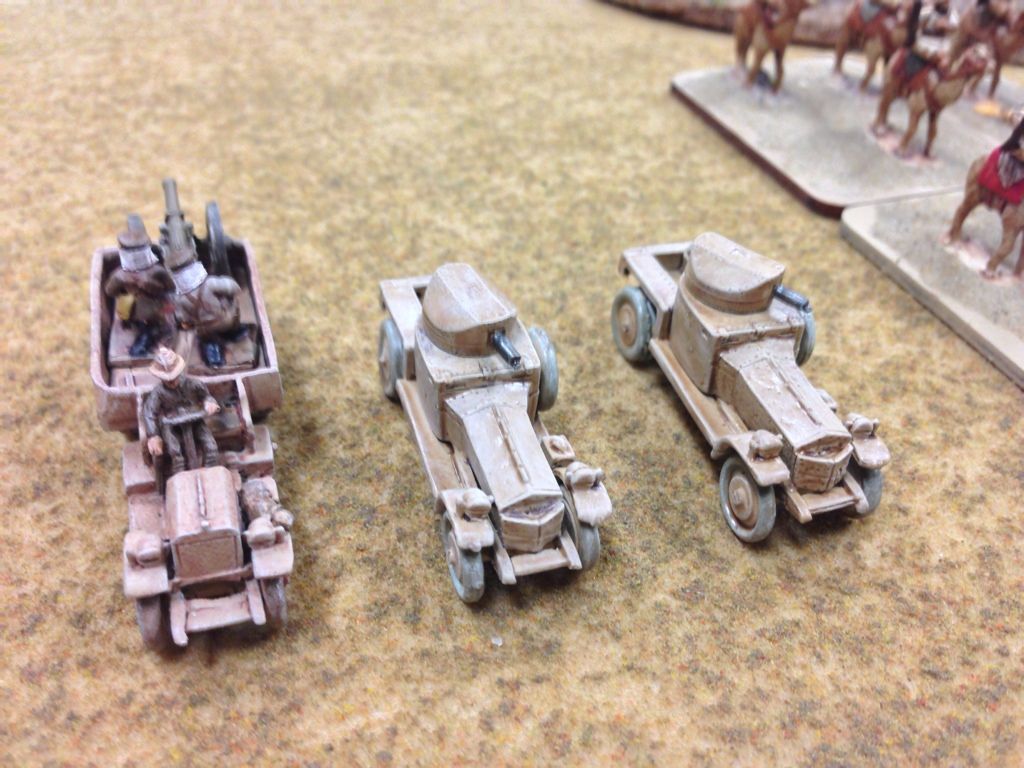 |
| This is the heavy armor on the board...0/0/0! |
| Chris's Arabs (CT) | Alex's Turks (CT) |
| Chris's Arabs (CT): One squad of riflemen starts mounted while another starts on foot. The mounted regulars along with Lawrence deploy on the far left flank. Alex's Turks (CT): A platoon of boots on each objective with the field guns nestled up against some rocks. The HMGs start in Ambush. | |
TURN 1
 |
| The "armor" leads the charge! |
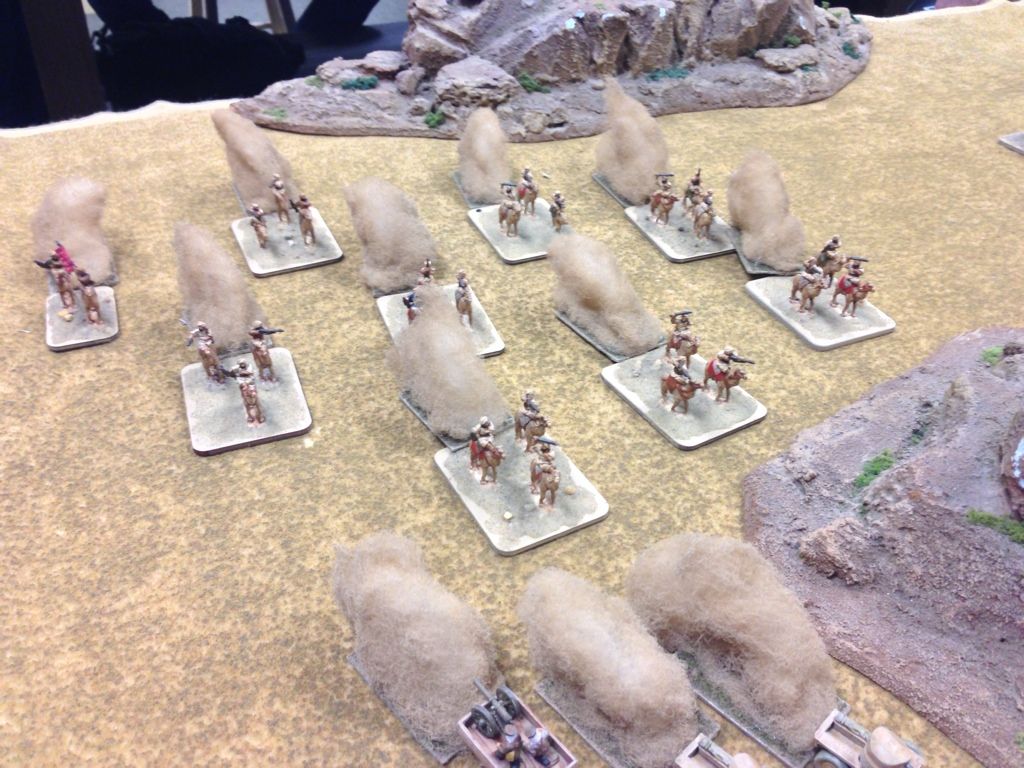 |
| Followed by a horde of camels. Off to the races they go! |
 |
| The planes come in to bomb the field guns, but the single bomber fails to score a hit. |
 |
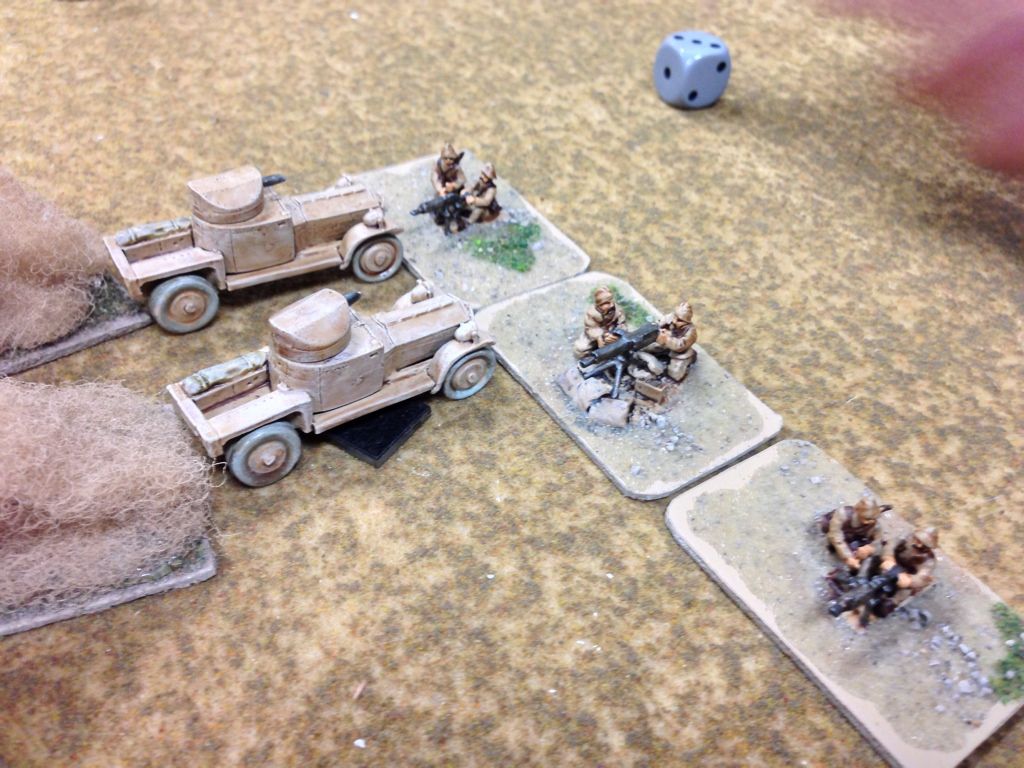
| The HMG ambush is revealed! |
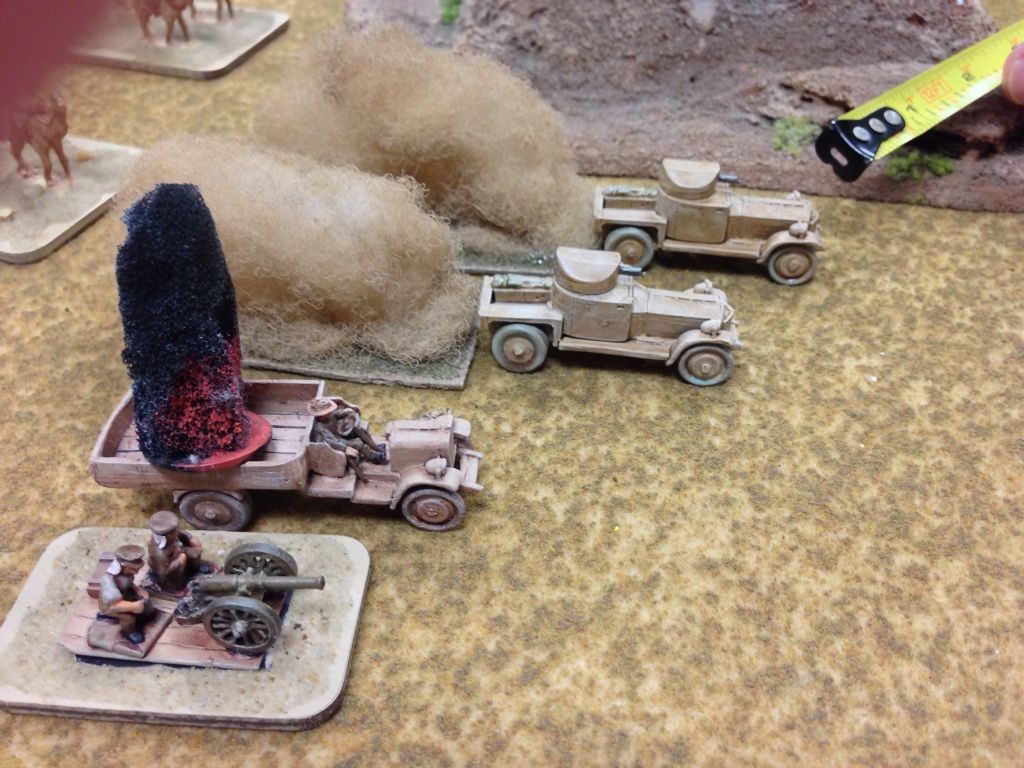 |
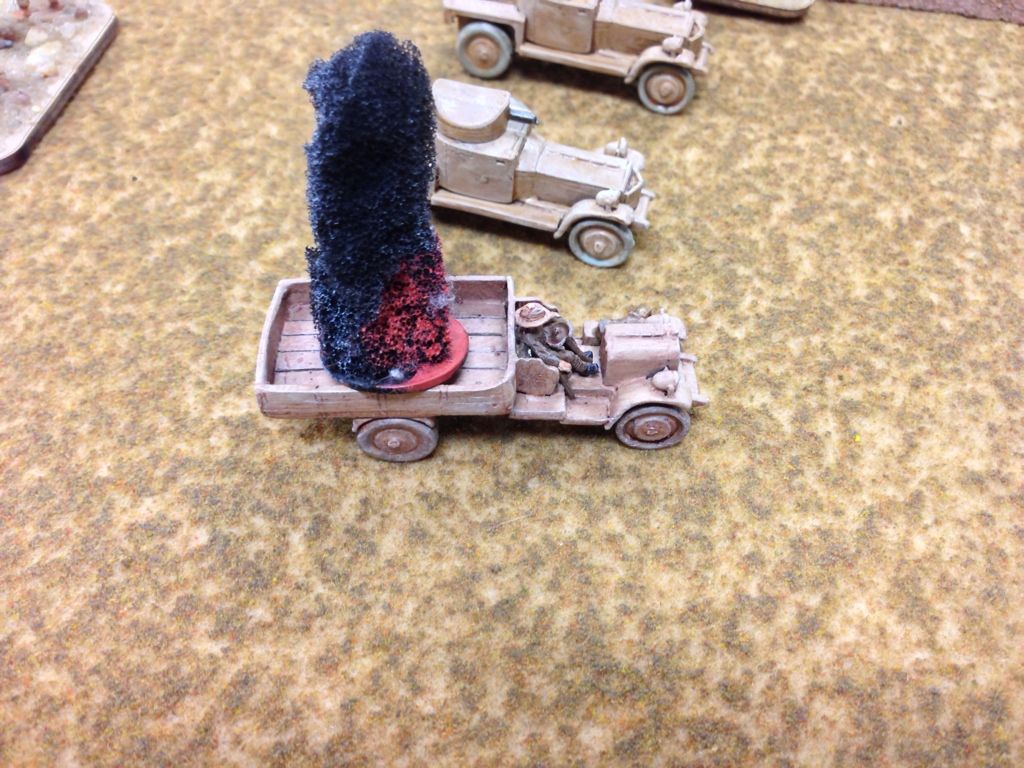
| HMGs destroy the unarmored transport truck, but the armored cars are immune. |
 |
| the field guns manage to bail an armored car, but don't quite get the platoon below half to test. |
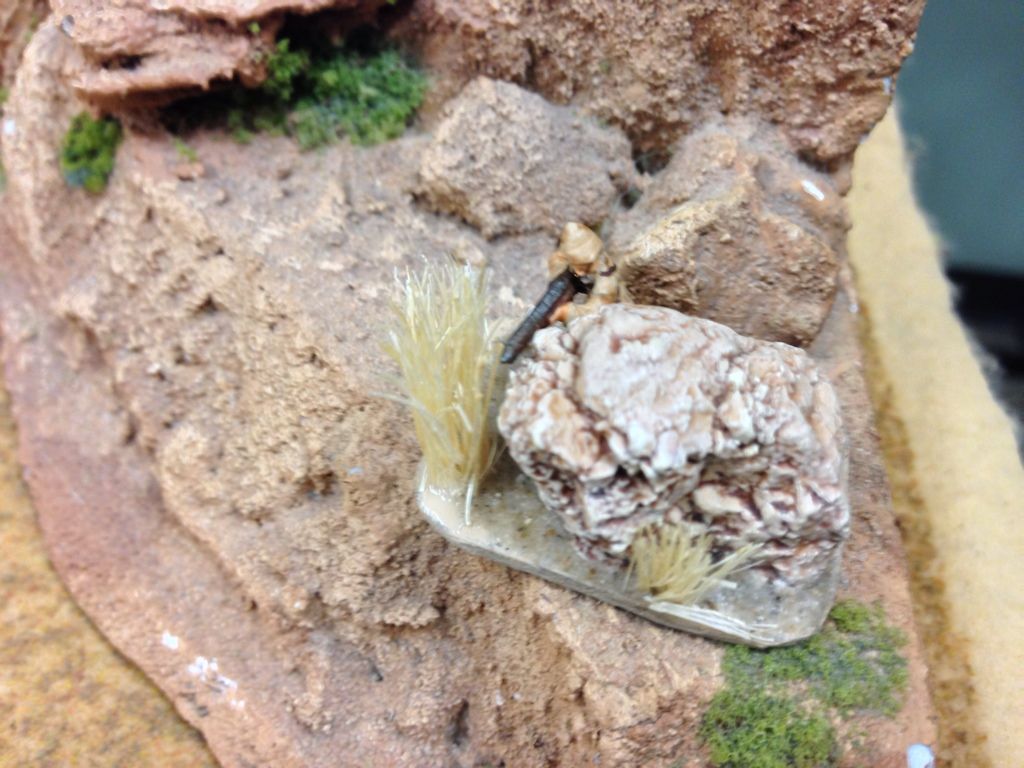 |
| The sniper makes his first appearence, but misses his shot. |
Chris's Arabs (CT)
| Alex's Turks (CT) |
| Chris's Arabs (CT): Everything charges forward. The bomber shows up, but fails to hit any of the field guns. Alex's Turks (CT): The HMG ambush is popped and destroys the transport truck for the field gun in the armored car platoon, but the gun (and the two armored cars) come out unscathed. | |
TURN 2
 |
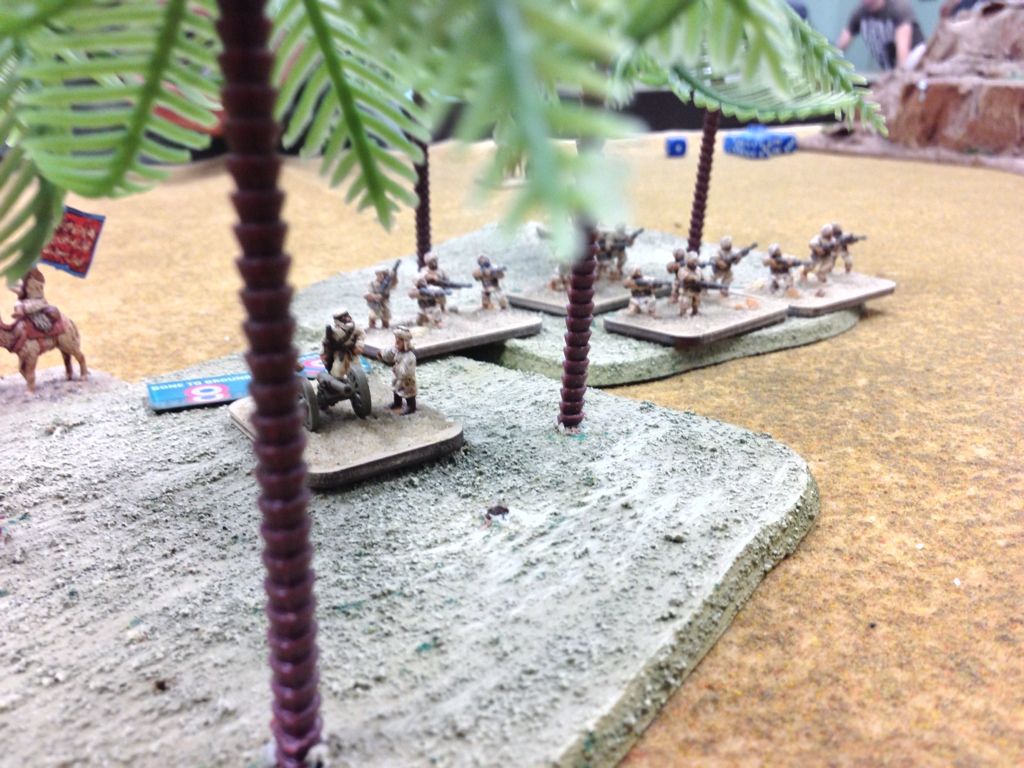
| Left flank cavalry with Lawrence advance |
 |
| Boots take the oasis |
 |
| Left flank cav dismounts into the rocky outcroppings |
 |
| Turkish HMG fire kills off the Arab field gun |
Chris's Arabs (CT)
| Alex's Turks (CT) |
| Chris's Arabs (CT): With the HMG ambush deployed, the left flank cav moves up under the watchful eyes of Lawrence. Alex's Turks (CT): HMG fire kills off the sitting HMG, and everything else hunkers down. | |
TURN 3
 |
| The lone bomber scores a kill and pin on the HMG platoon |
 |
| It's cool in here...do we have to go back out in to the heat?? |
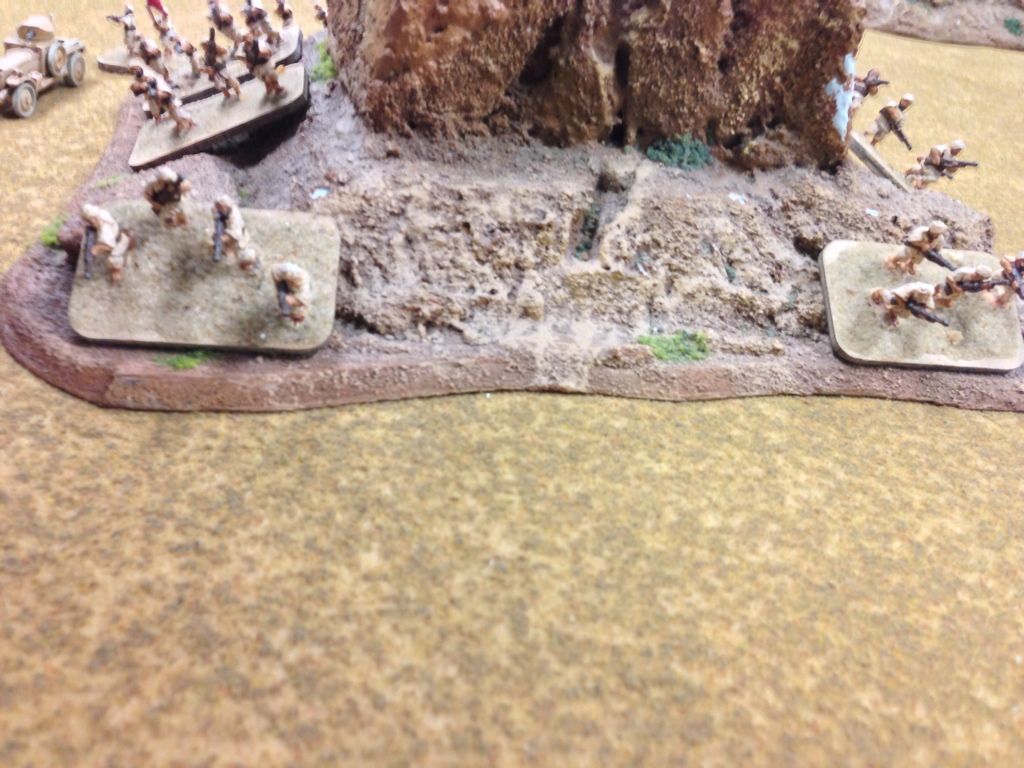 |
| The lead riflemen in the rocks get shot out |
Chris's Arabs (CT)
| Alex's Turks (CT)
|
| Chris's Arabs (CT): Bomber kills a HMG, but not much else occurs. Alex's Turks (CT): The Turks withdraw a central rifle platoon. The field guns kill the LMG from the boots in the oasis, while the HMG take down a rifle in the rocks. | |
TURN 4
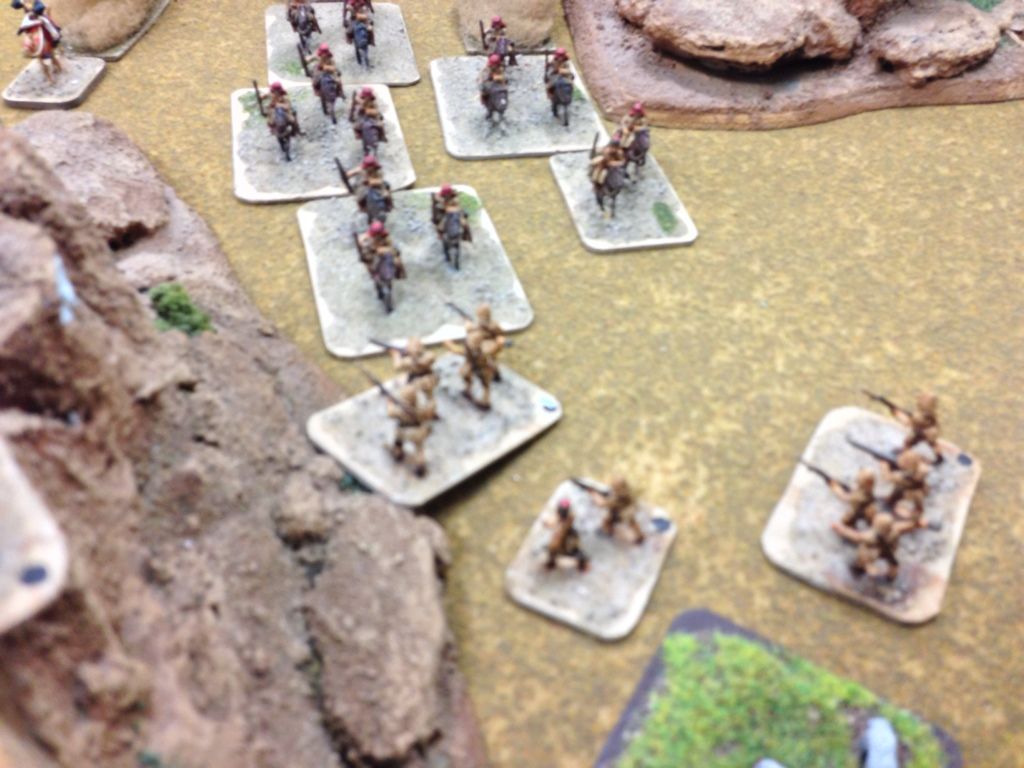 |
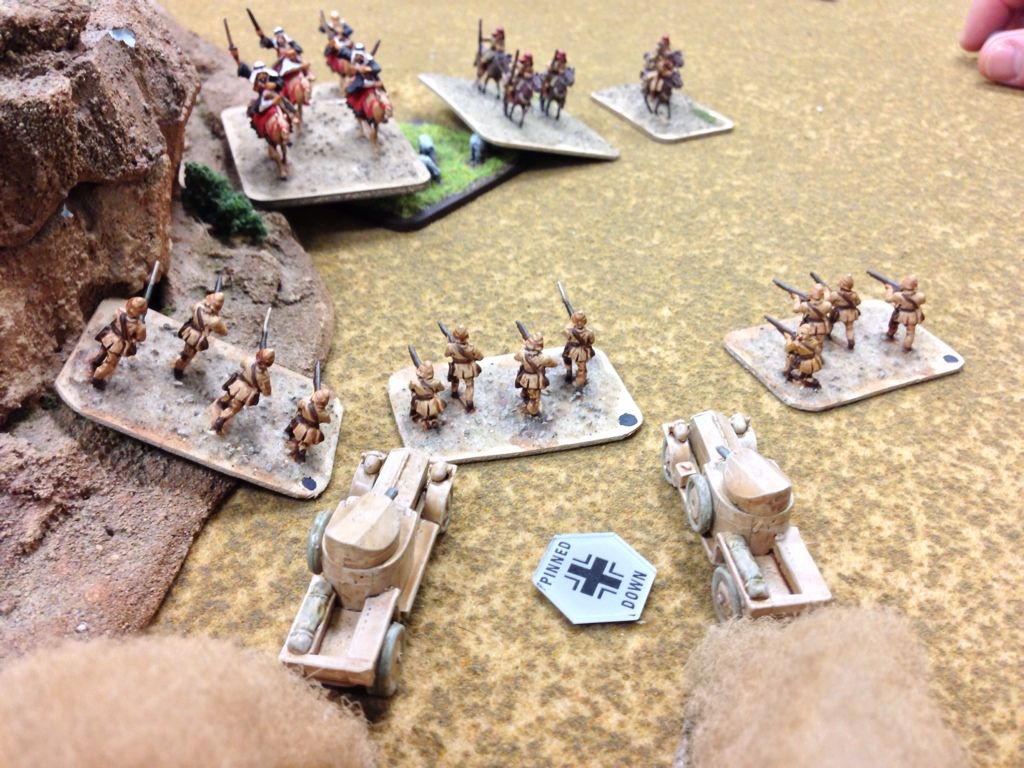
| Lawrence watches from afar as the first wave a cavalry crashed into enemy lines |
 |
| But the cavalry charge is pushed back by the riflement |
Chris's Arabs (CT)
| Alex's Turks (CT)
|
| Chris's Arabs (CT): The regular cav charge into the rifles, losing one horse in defensive fire, and flubbing all of their swings. They take one casualty in return and run for hills! The armored cars manage to snipe the HMG platoon leader from his foxhole. Alex's Turks (CT): After the failed assault, point blank rifle fire kills another horse, while the field guns continue to pin down the infantry in the oasis. | |
TURN 5
 |
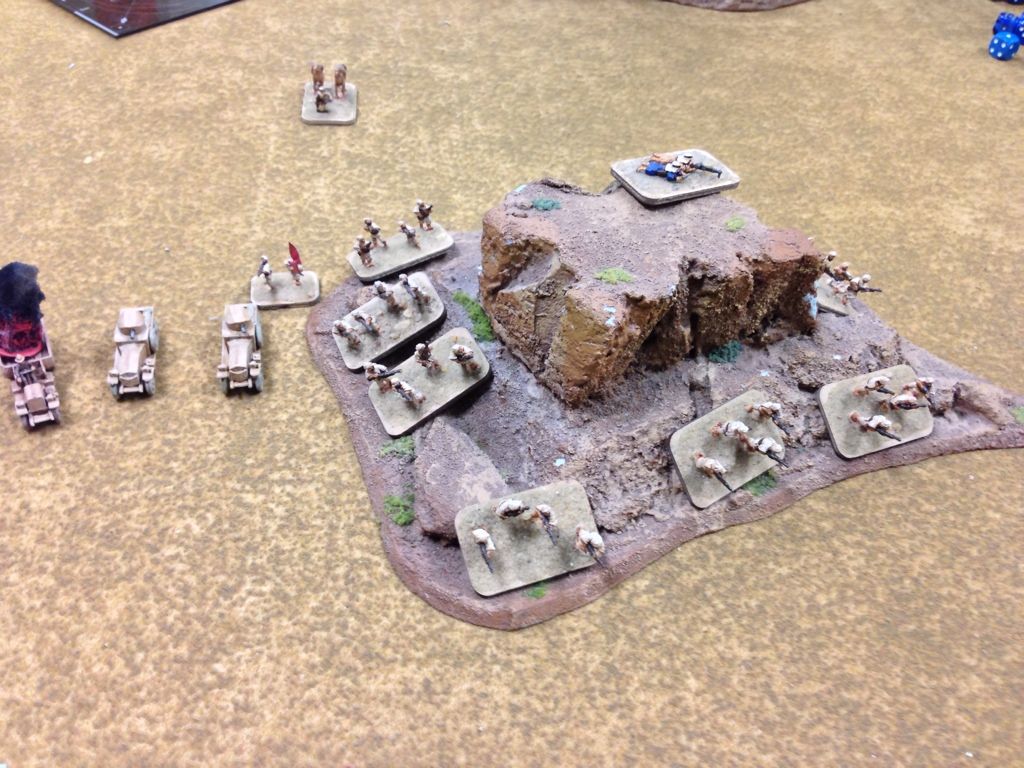
| Armored cars movin on up. Someone's gotta lead this assault! |
 |
| Roll's Royce crash into the HMG line, wiping them out in assault. Or driving over them. |
 |
| The cavalry make another run in, this time with Lawrence getting in on the action |
 |
| And this time the Arabs push the Turks back off the objective |
 |
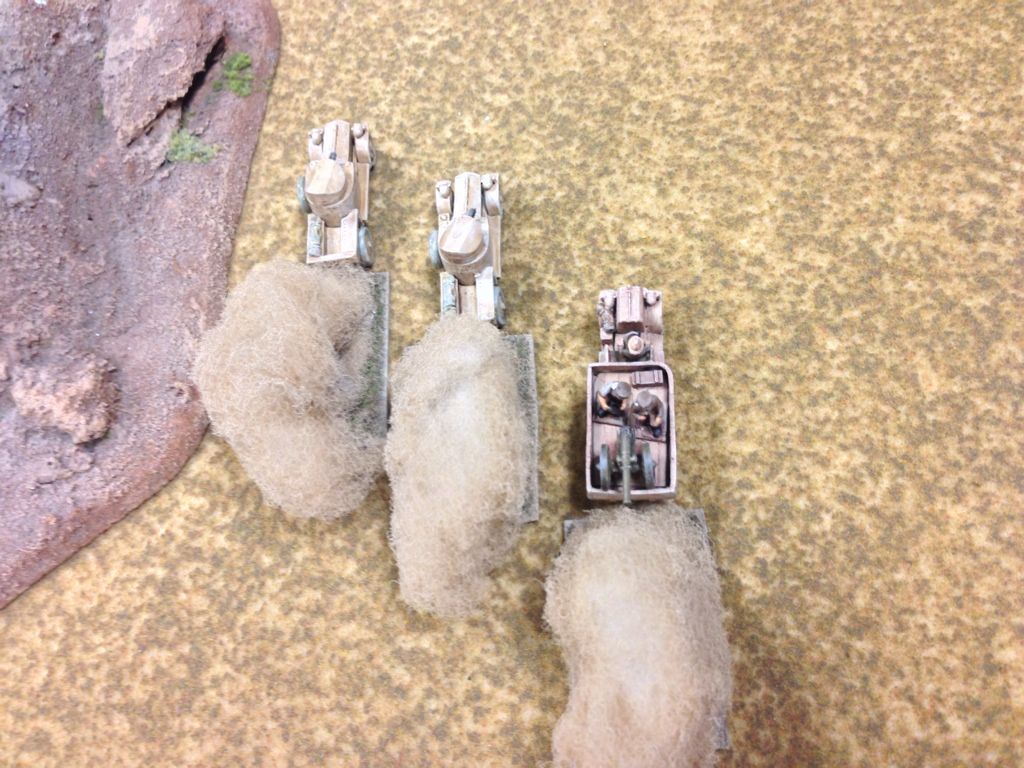
| The field guns move to get direct shots on the armored cars, but miss their shots. |
Chris's Arabs (CT)
| Alex's Turks (CT)
|
| Chris's Arabs (CT): The cavalry charge on the left flank kills two stands in combat, and runs another two stands down, but the riflemen hold onto the objective. The armored cars manage to wipe out t(Publish)he HMG and set sights on the wavering riflemen to the left. Alex's Turks (CT): The Turkish counteract fails to materialize. Nothing unpins, and literally not a single shot fired hits it's target this turn... | |
TURN 6
|
Chris's Arabs (CT)
| Alex's Turks (CT)
|
| Chris's Arabs (CT): The armored cars move up and assault the infantry from behind, killing one and breaking the platoon, that has no where to run. This secures the non-removable objective for the Arabs! Alex's Turks (CT): The Turks surrender! | |
| A closely fought battle for the Turks, but they couldn't quite hold on in the face of the CAMEL RUSH. Seriously, where else can you play with CAMEL RUSHES. For some links for more info on FOW1918, visit this post's thread on the forums! |
Generated by WWPD's BatRepper Software.


