


By Craig Baxter

The Attack on Christmas Hill - Overview
December 23-26, 1944After their victories in Normandy, allied troops moved rapidly through France. The 3rd Infantry Division was ordered to secure the towns of Bennwihr and Sigosheim, France, on the Alsace plain east of the Vosges Mountains. This was a strategically important position. The two towns were the last towns between the Americans and the city of Colmar. The towns were heavily fortified by Germans, who had dug in throughout the rubble. Additionally, the Germans occupied Hill 351, known as Christmas Hill by the Americans, and Bloody Hill by the Germans. Hill 351 was bare, covered with rocks, and provided excellent views of the surrounding area, allowing the Germans to effectively bring down artillery and mortar fire on American troops.
The town of Sigosheim anchored the German positions on the hill. On December 23rd, 1944, 1st Battalion was ordered to assault the town. The fighting in the ruins was brutal, and Americans were forced to withdraw after the Germans counter attacked from Hill 351. It was decided that Sigosheim could not be taken without first taking Hill 351, which was defended by more than 200 elite SS troops, supported by machine guns, artillery and mortars.
On the 24th, A and C companies of the 1st Battalion attacked the northwest slope of Hill 351. They reached the top twice before being beat back by the Germans. Companies A and C were forced to consolidate their positions and fighting on the hill continued into Christmas. On the 25th, the commanding officer of 1st Battalion, Lt. Col. Keith Ware decided that B Company would attack Hill 351 and link up with the other companies of the opposite side of the hill.
On the 26th B Company began the slow attack up the hill. B Company immediately came under intense artillery fire from the Germans on the hill, and their attack bogged down. B Company ran into stiff resistance from entrenched Germans and progress was slow. Eventually, B was forced to dig in and the assault stalled out.
When Lt. Col. Ware learned that the assault had stalled, he organized 25 men into a task force to come and assist B Company. After he arrived on scene, Lt. Col. Ware surveyed B Company's position. Lt. Col. Ware's men were shocked when he intentionally drew fire from the enemy to determine where their machine guns were located.
The men of B Company were reluctant to attack the entrenched Germans, so Ware personally led the attack. Armed with a Browning Automatic Rifle (Of course he had a BAR - Judson), Ware gathered a group of men and a tank, and led them on a heroic assault against six dug in German machine-guns.
Ware jumped from position to position, firing on the Germans. After taking out the first machine gun, Ware directed his tank's fire by using tracer rounds to point out the enemy’s position. The tank quickly took out a machine gun nest. Advancing through fire and leading from the front, Ware took out another machine gun position on his own, then directed the tank's fire onto the remaining nests. In all, Ware personally killed five Germans and took twenty Germans prisoner. The tank took out four of the six nests, thanks to Ware's creativity. Afterwards, Lt. Col. Ware returned to Battalion HQ and ordered his men to press the attack. By day's end, the German position had fallen. American forces suffered 40% casualties, including most of the officers from Company B.
For his actions, Lt. Col. Ware received the Medal of Honor. Lt. Col. Ware was eventually promoted to Major General, and was killed in Vietnam while commanding the 1st Infantry Division.
Attack on Christmas Hill - Forces
After the attack by B Company stalled, Lt. Col. Ware organized a task force to reinforce their position. When he arrived he surveyed the position, but his men were reluctant to press the attack. Ware then grabbed a Browning Automatic Rifle (BAR) from one of his men and personally led the attack on the dug in German machine-guns.
US Forces
1 x Head Quarters (Veteran)
2nd Lieutenant with SMG
1 staff with rifle
Reluctant
3 x Veteran Infantry Squads (Veteran)
1 NCO with SMG
5 Men with Rifles
1 Man with BAR
Reluctant
1 x M4 Sherman (Regular)
Pintel mounted 50 cal.
Coordinated Fire
1 x Lt. Col Ware (Veteran +4 Officer) with BAR and Pistol
1 staff with rifle
Coordinated Fire
Tank Rider
Fanatic
Coordinated Fire
Lt. Col. Ware used tracers to help his tank identify enemy positions. This allowed the tank to easily pick off enemy machinegun nests.
If the M4 Sherman fires at the last target that Lt. Col. Ware fired at, then it ignores the effects of the target being "down".
Reluctant
After suffering heavy casualties, the men of B Company were reluctant to assault the dug in German positions. Lt. Col. Ware had to inspire these men to attack by personally leading from the front.
All reluctant troops have a morale of 8 regardless of their standard morale rating.
German Forces
3 x MG-42 Medium Machineguns (Veteran)
Start Dug in
3 x MG-42 Light Machineguns (Veteran)
2 crewmen
1 Rifleman + Panzerfaust
Start Dug in
Dug in
Being dug in gives the troops occupying the position hard cover; they treat their position as linear terrain for the purposes of assaults, and are always considered down when calculating the number of hits from HE.
Attack on Christmas Hill – Mission
Map
Terrain
Road - The road is considered open, but is muddy. Vehicles cannot run down the road. Troops in the road count as being in the open.Hill – The hill is covered with small rocks which offer soft cover to troops moving through them. The ground is uneven and steep; troops may not run while on the hill.
Set Up
Germans – Germans may deploy their force within 18’ of their board edge at the top of the hill. Germans may start the game hidden.
Americans – Americans may deploy their forces within 12” of their board edge on the bottom of the hill. The American tank and Lt. Col. Ware enter the board on turn one from the road leading from the American Board edge. Lt. Col. Ware is riding the tank. American troops who start on the board my start the game hidden.
Americans – Americans may deploy their forces within 12” of their board edge on the bottom of the hill. The American tank and Lt. Col. Ware enter the board on turn one from the road leading from the American Board edge. Lt. Col. Ware is riding the tank. American troops who start on the board my start the game hidden.
Objectives
Three objectives, measuring 60mm in diameter, are placed on the table before deployment in the locations indicated on the map.Whichever play controls the most objectives at the end of the game wins. In the event of a tie the player that destroyed the most number of enemy units wins. If both players destroyed the same number of units the game ends in a tie.
All objectives start the game in German control. The players capture an objective if they have a unit within 3” of an objective and there are no enemy troops within 3” at the end of the turn.
Deployment
Starting with the Germans, players take turns deploying their units in their deployment area until all units that start the game on the board are deployed.
End of Game
At the end of Turn Six roll a dice. If the result is a 4+ play a seventh turn then end the game. If the result is 3 or less the game ends immediately.
My buddy Colby and I got together and played through this scenario to test its balance and mechanics. We drew for sides, I got Americans and Colby ended up playing the Germans. I have a six foot game cloth so added fences and trees to the areas outside of the play area to give the board a little more character.

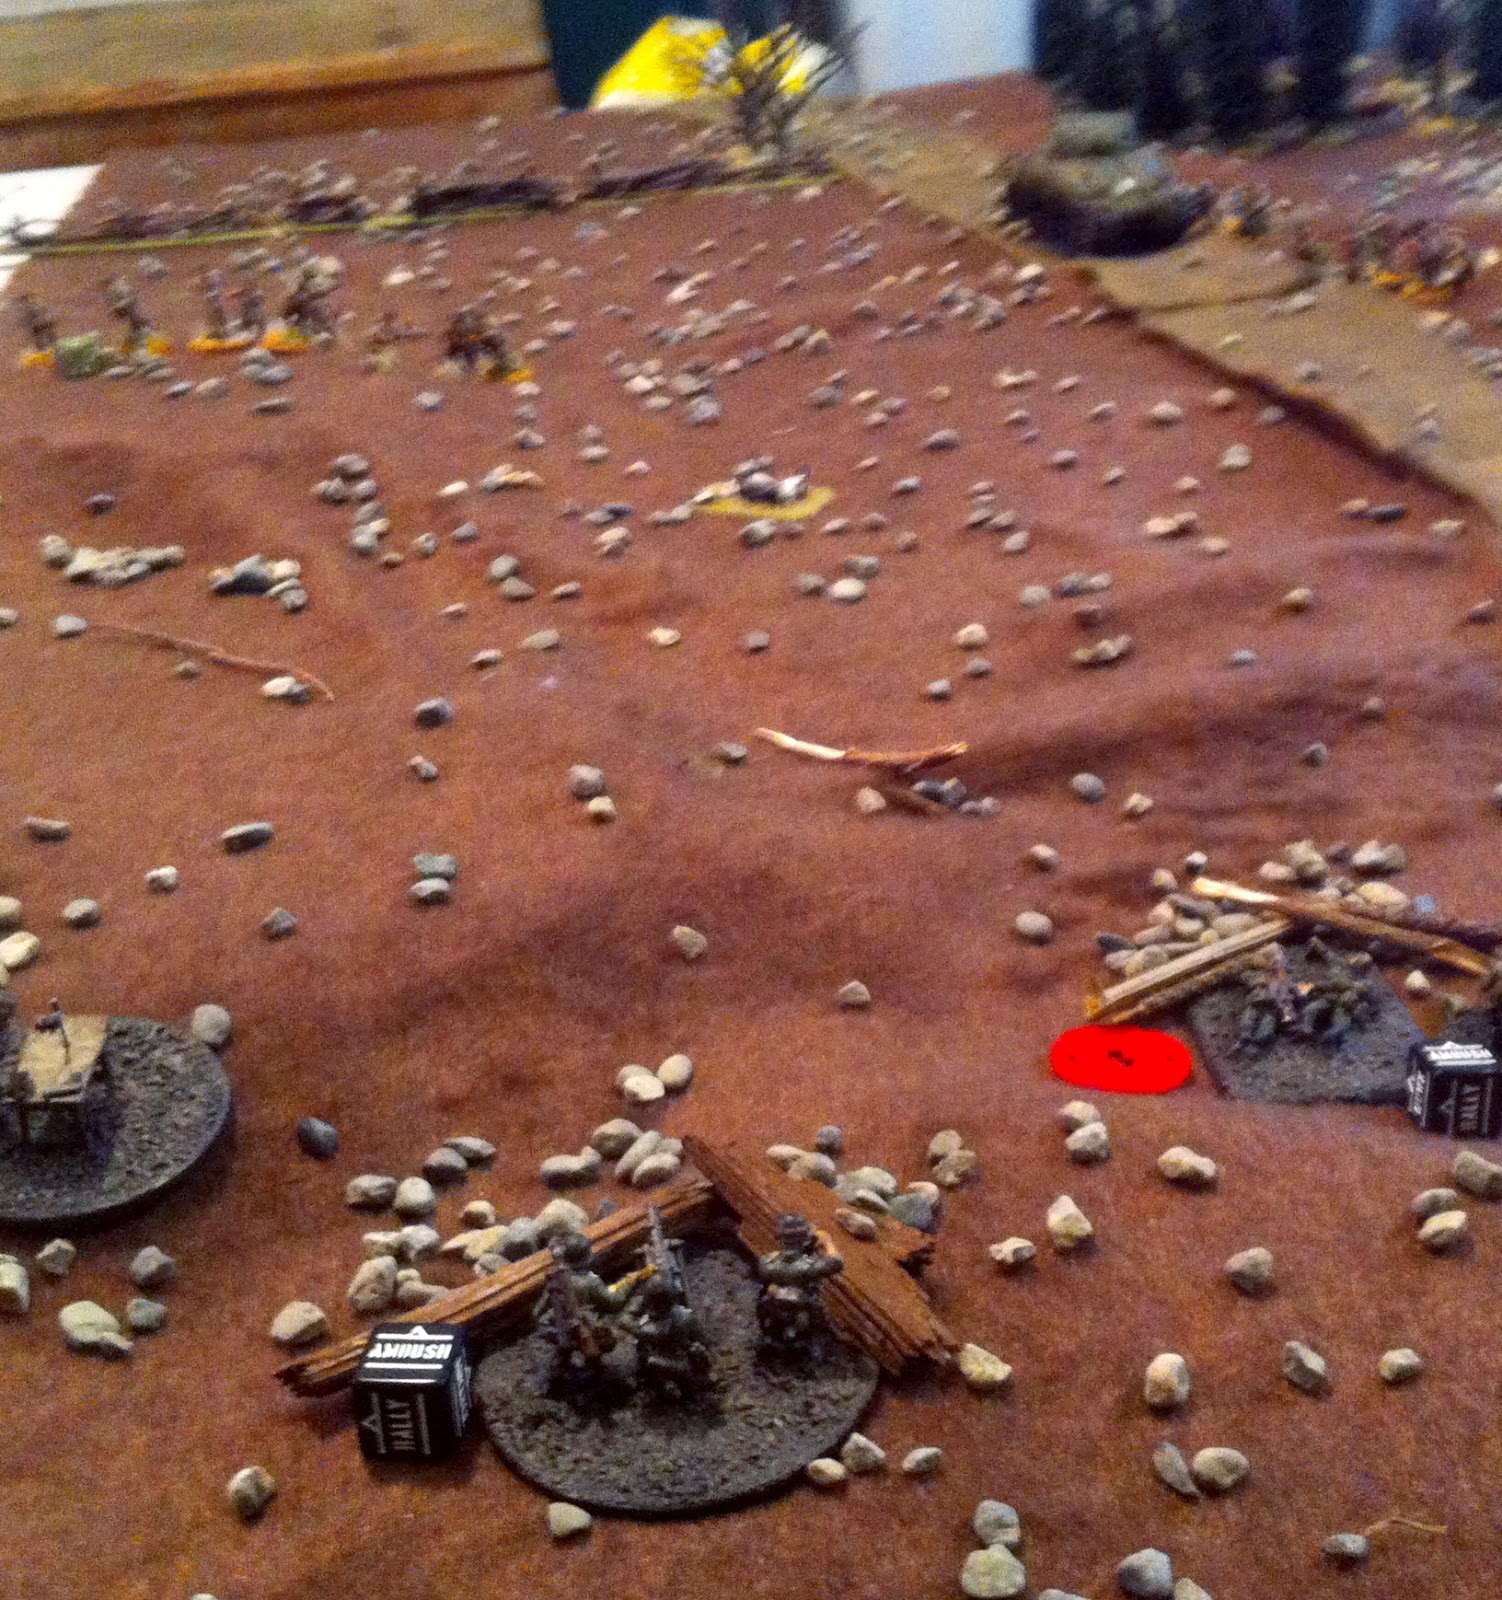
American infantry start the game ready to begin their attack on the German MGs.

Lt. Col. Ware and his tank advance down the road. The tank takes a wild shot at an MG-42, but misses.

1st and 2nd squad move up the left. 1st platoon suffers the first US casualty.

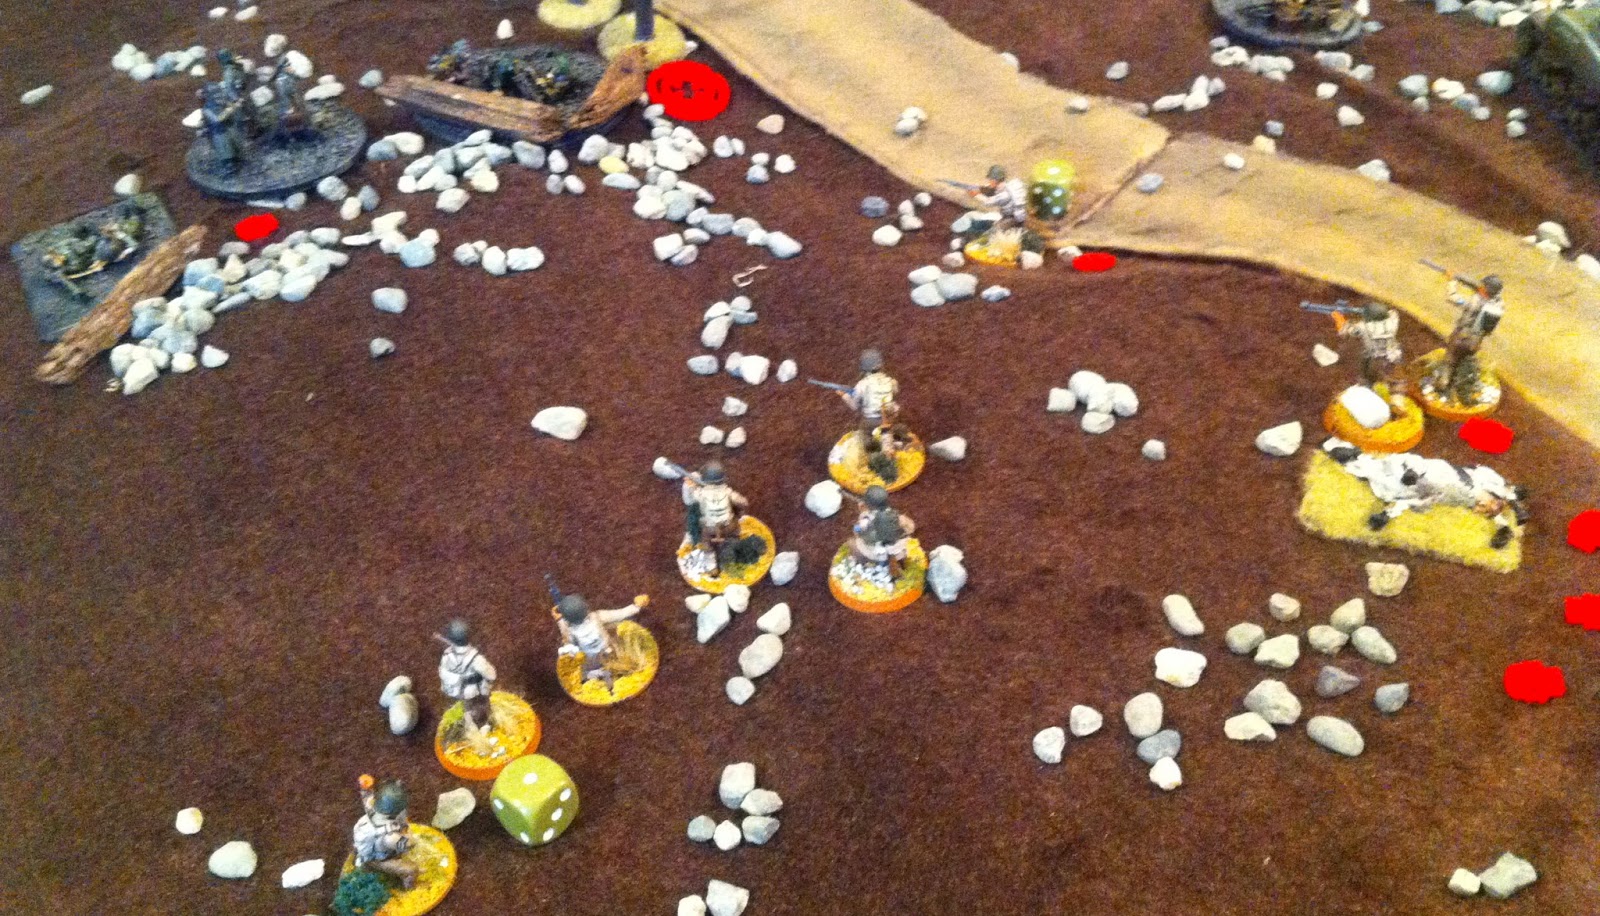
Meanwhile, 3rd platoon and the 2nd Lieutenant advance up the right.

US rifle fire manages to kill one German from an MMG team.
MG-42 goes to ambush waiting for the most opportune moment to unleash hell.

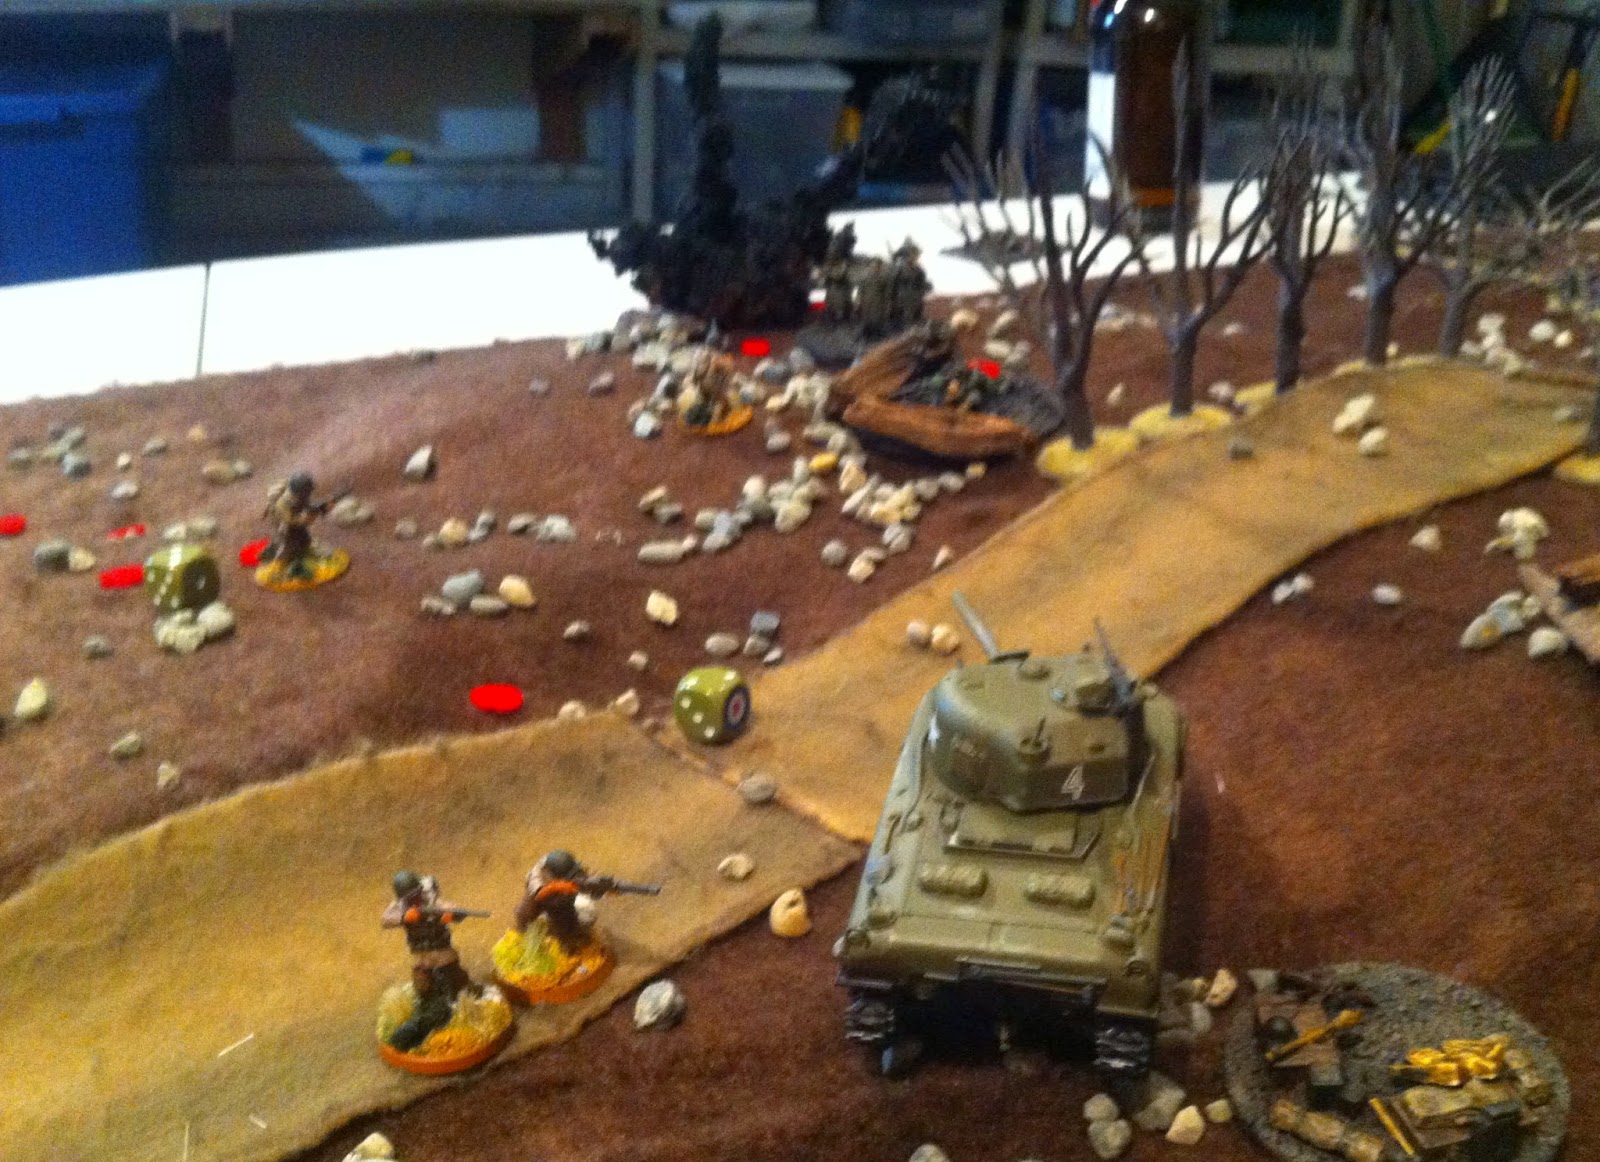
2nd squad advances up a draw and taken its first casualty. Lt. Col. Ware hunkers down behind the tank, which puts fire on another German MG team.

1st squad continues to take more fire.

3rd squad and the Lt. surge forward.

Two MGs open up on the advancing Americans.
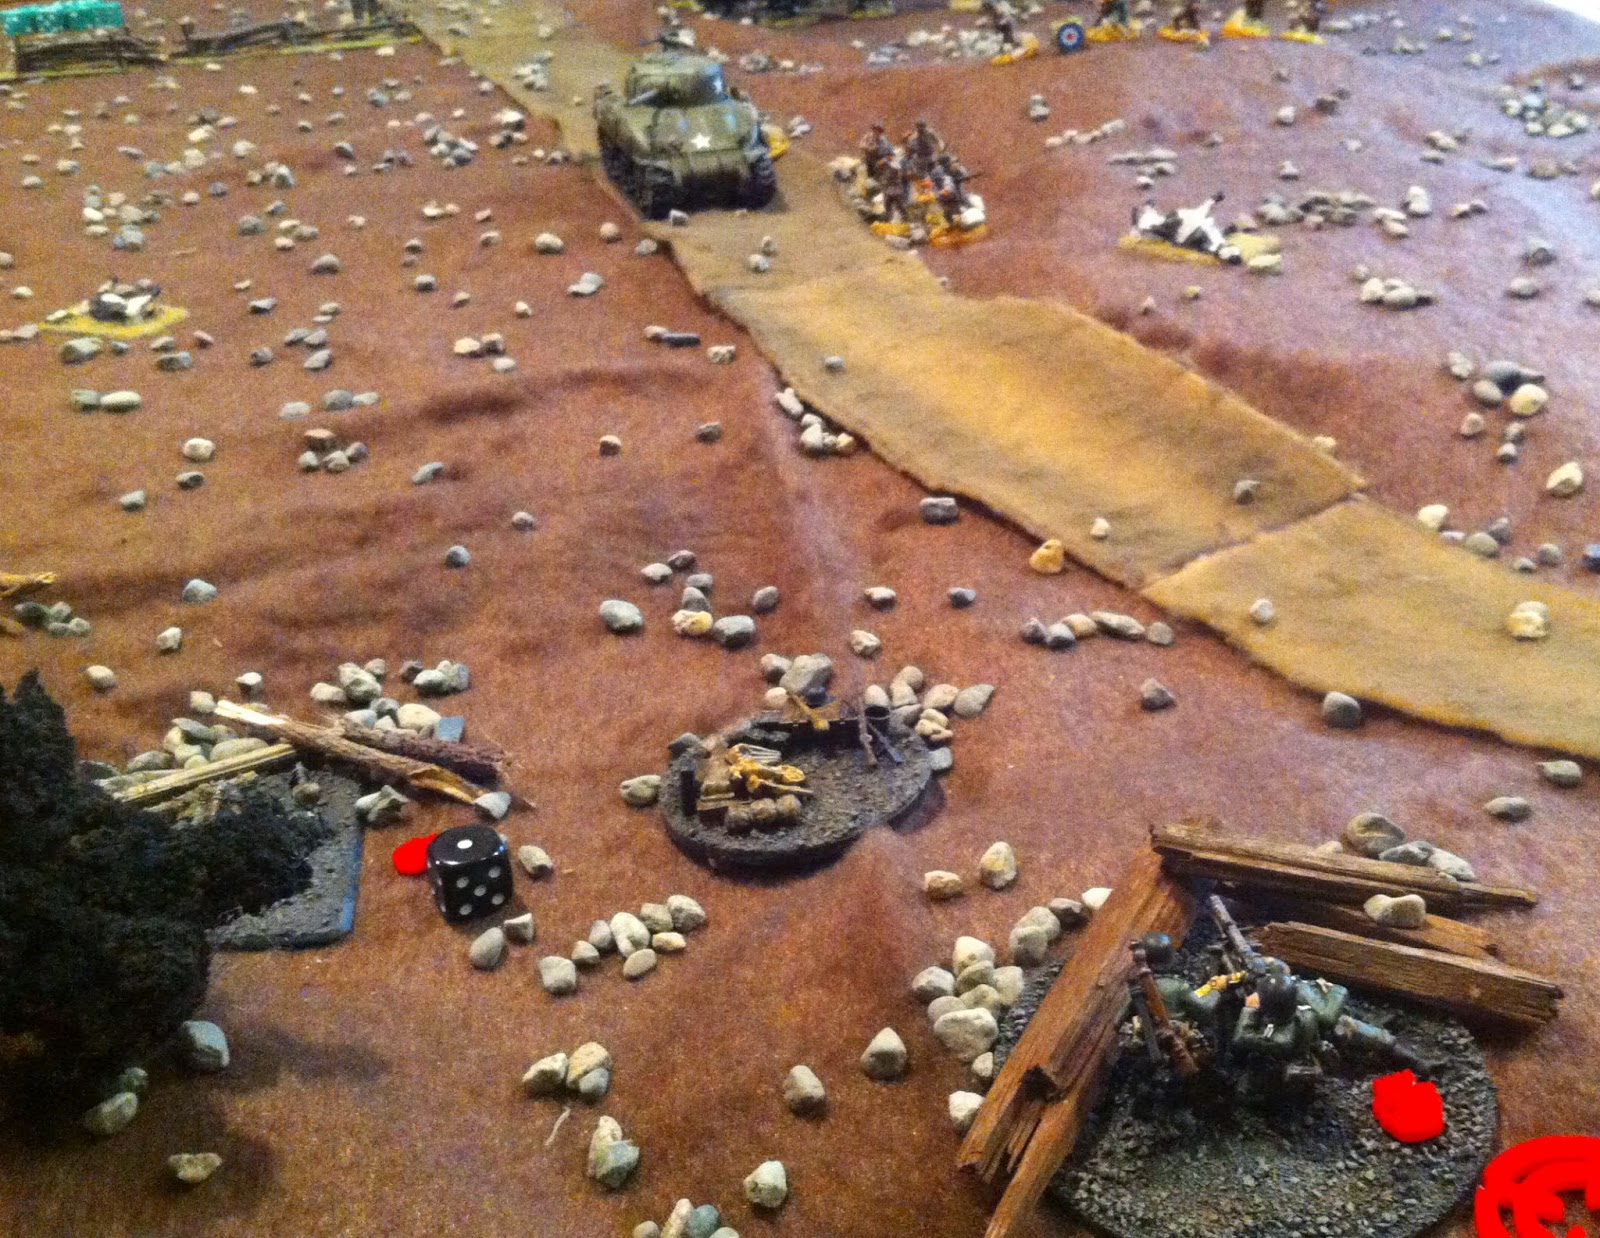
This MG-42 rips rounds down range.

While another MG-42 takes down two Americans from 3rd squad.

The 1st and 2nd squad takes more casualties from German MG fire.

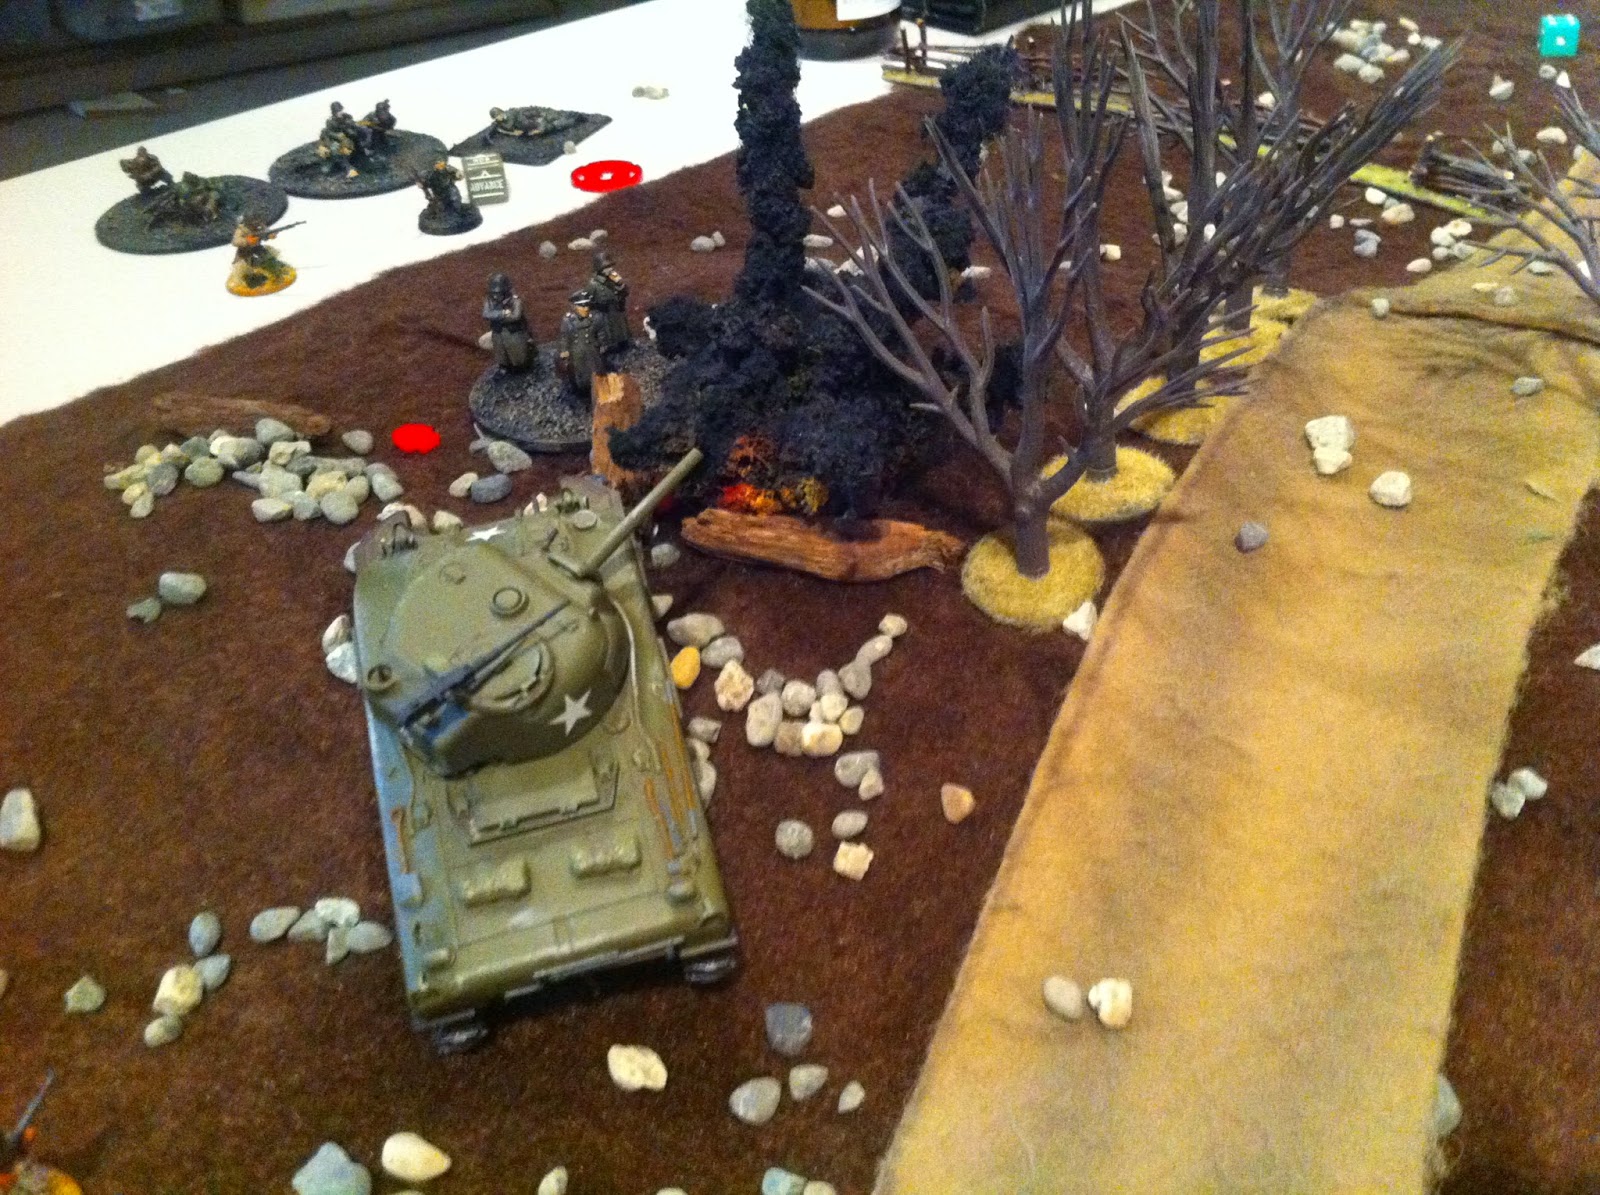
The Sherman finds its target, taking out the first MG-42.

Lt. Col. Ware lays down a stream of his own fire from his BAR.

With 3rd platoon pinned down from fire, the Lt. charges forward toward a German MG.

An HE round finds a home in a German MG nest, but only manages to kill two crewmen.

3rd squad gets up the nerve to come to the Lt.'s rescue, but will they make it in time?
2nd squad has taken a beating, has five pins, and is down to two men, so 1st squad rushes toward the German positions.

Realizing the attack is faltering, Lt. Col. Ware rushes the German nests, BAR blazing away. His example rallies 2nd squad, who sheds all pins.

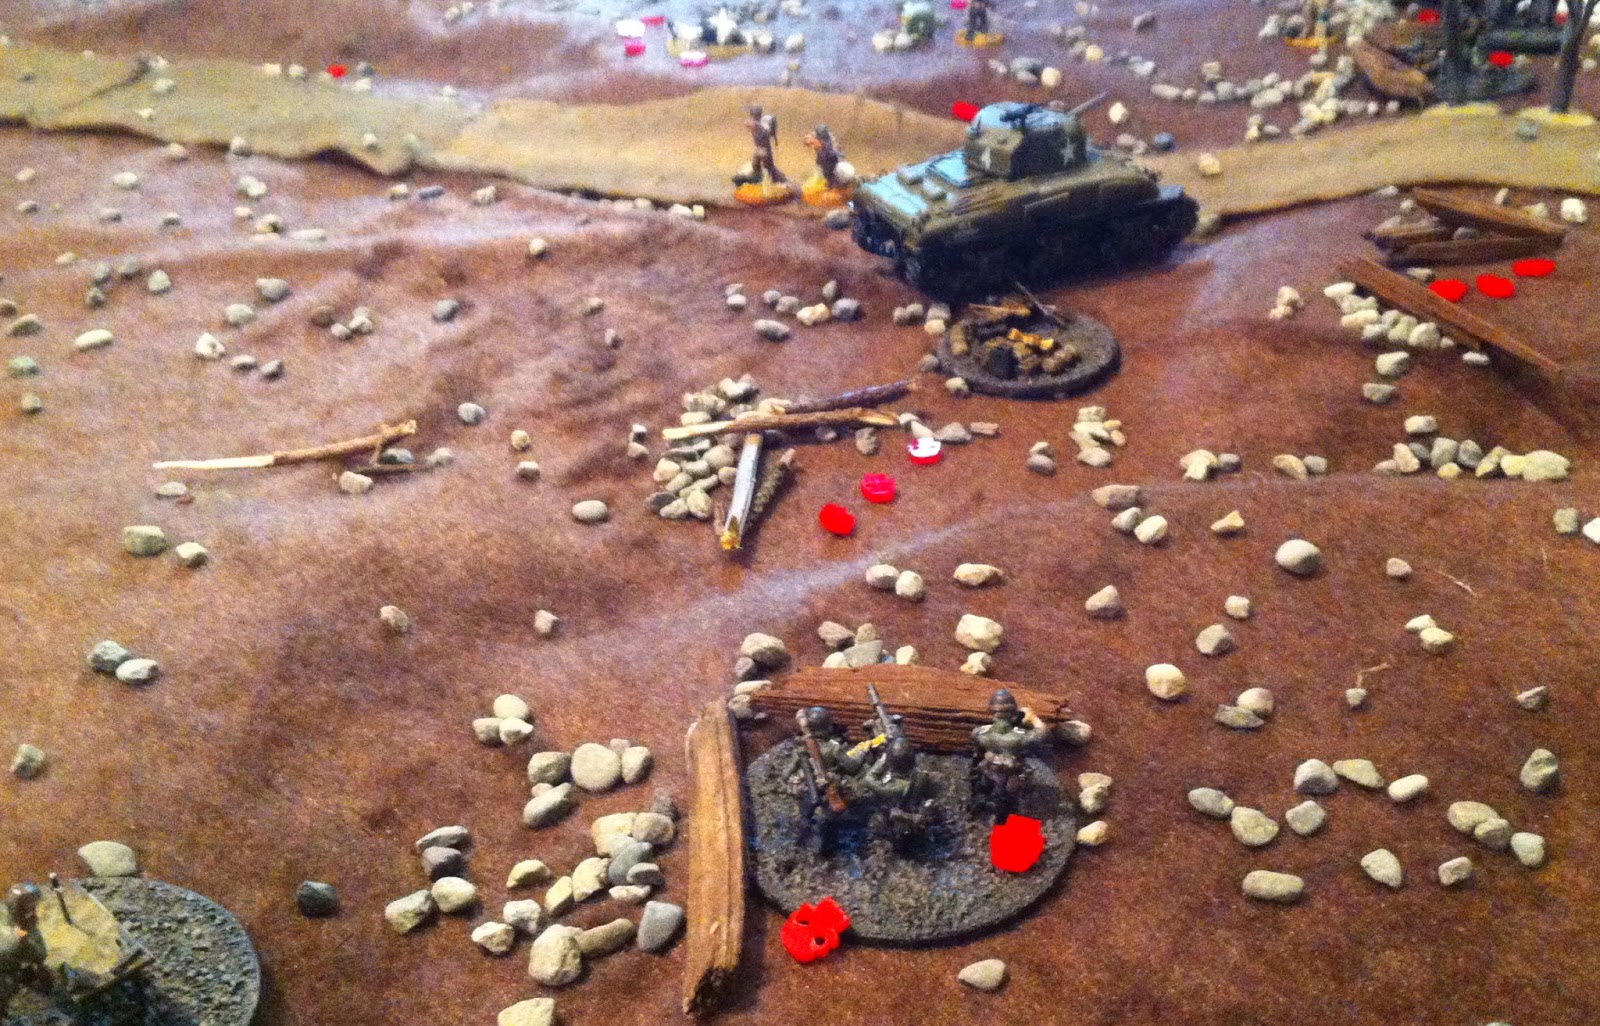
The Sherman heads off to help 3rd squad, and puts another round into the German MG-42 that has one crewman.

3rd squad watches the German MG gun down the Lt., so they charge forward screaming and firing. They take out the nest.
The last crewman from this MG-42 fires onto recently rallied 2nd squad.
The Sherman takes out the last MG, but not before it and the MG-42 kill all but one of the men from 1st squad.

As he watches most of 1st and 2nd squad fall to withering MG-42 fire, Lt. Col. Ware engages the German MGs at point blank range.

The last man from 1st squad watches as Lt. Col. Ware continues his attack.

Lt. Col. Ware then assaults the two man MG team. He kills the loader, but is severely wounded by the gunner.

3rd squad attacks the last MG-42 on the right, but not before taking another casualty from its withering fire.
The Sherman drives up a puts a round into the last MG-42 on the right.
With only one German MG-42, with a single crewman remaining, the game ends. The US captures two objective and the Germans control one at the end of six. The US has a tank, 1 man from 1st squad, 2 men from 2nd squad and 4 men from 3rd squad left.
We both felt that the game was fairly balanced. One change we did make to the scenario was to give each German MG team a panzerfaust. Originally I did not give the Germans any panzerfausts, because my source material did not mention their use. However, not having an AT assets made it difficult on the Germans. Plus even though the source material didn't say the Germans used panzefausts, it also didn't say the germans didn't have them. In late 1944, I think it is safe to assume that Germans likely had panzerfausts at their disposal, so I included them in the final version of the scenario.
I was worried about the US vets all being moral 8, but since Lt. Col. Ware was +4 this had a minimal effect as long as he was close by. If anything moral 8 helped slow the US attack and gave the Germans a fighting chance. The coordinated attack was a fun mechanic, but was not over powering, which worried me as well. It only came into play one time throughout the whole game, since most the time the US was needing 6s to hit.
It was interesting how much harder the mission became for the US after the Germans took their first casualties. Immediately the German teams dropped to two men, making them all small targets. On the reverse I am also glad I made the fields all soft cover, otherwise the US troops would have been mowed down. The game came down to the last turn, with the US having to take out one more MG-42 before the turn ended to capture the last objective. To me that is what you want in a game. I probably threw away Lt. Col. Ware with my assault, but I wanted to see some real heroics. Ware almost pulled off the assault on the MG-42, which would have been awesome.
Overall it was a great game with a great opponent. With the smaller dice count (12 total) it only took about and hour and fifteen minutes to play. I didn't think the smaller dice count detracted from game play, it was still intense and bloody. Plus who can say they played a game with 6 German MGs? So cool. I really felt like I was having to attack a German strong point over open ground. I used the tank to lay down fire and cover my troops movement. The attrition rate during the game was high, which is historically similar to the fact the B company took 40% casualties during their attack on Christmas Hill.
Well I hope you enjoyed the AAR and the historical background. If you give the scenario a try let me know what you think on the forum.


