By Sean "Throckmorton" Sarah
With the arrival of the new Remagen book (see our review here!) for Late War Flames of War play, I decided it was high time to pick up a few of the monstrous Jagdtigers and get some paint on them.
There are two big reasons I love German armor. First, I'm a hobbyist at heart, and the many and varied German camo schemes mean I get the opportunity to paint historically accurate looking tanks that aren't just green with a side order of green. And secondly, to my eye, German tanks look significantly cooler than any allied tank, especially in Late War, except maybe the Cromwell and the Chaffee.
In the game, the Jagdtiger is a meaty beast. Before Remagen it only showed up for 345 points in NUTS! But as we all know that's changed.
Sure it's unreliable, sure it's overloaded, but on the other hand front armor 16 and an AT 17 gun. I'll happily take the good with the bad here. Especially with that breakthrough gun, which I totally forgot about before doing my research for this article.
During the war, only around 88 Jagdtigers were built, but with Tiger Aces like Otto Carius at the head of a formation they certainly made their presence felt on the battlefield.

Carius' book "Tigers In the Mud" provides an immense amount of insight into the operations of a Jagdtiger company facing off against the allies during the finals battles in the Ruhr pocket. Wikipedia gives a good synsopis of the operational difficulties facing tank crews:
"Tiger ace Otto Carius commanded the second of three companies of Jagdtigers in Panzerjagerabteilung 512. His memoir Tigers in the Mud provides a rare combat history of the ten Jagdtigers under his command.
He states that Jagdtigers were not utilized to their full potential due to several factors: Among them that Allied air supremacy made it difficult to move, the massive gun needed to be re-calibrated from jarring after traveling off-road for even short distances. The vehicle was slow, and transmissions and differentials broke down easily because the whole 72 tonne vehicle needed to rotate to traverse the gun.
The massive gun had to be locked down, otherwise mounting brackets would have worn too much for accurate firing. Also a crew member had to exit the vehicle in combat and unlock the gun before firing. However, he also recorded that a 128 mm projectile went through all the walls of a house and destroyed an American tank behind it."
An impressive, if exceptionally finicky vehicle.
So, let's build and paint some!
I decided to go with three to start, though I might end up buying a couple more.
 |
| Obligatory box shot. That's one hot box! |
 |
| Thanks for the info Battlefront :) |
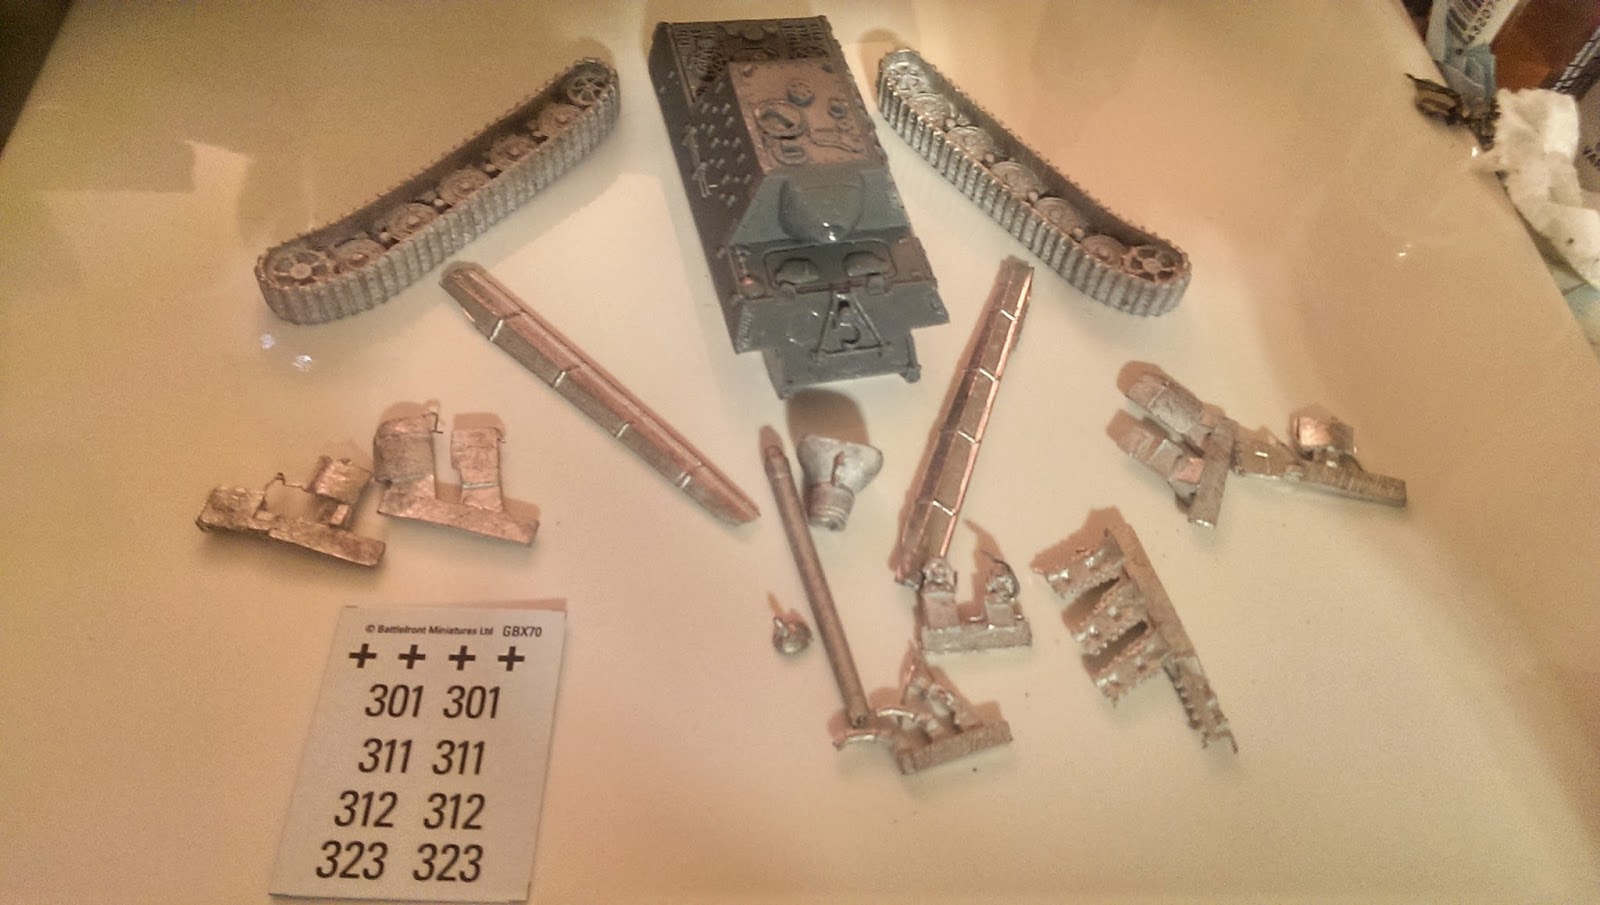 |
| All the bits and pieces including decals! |
 |
| Kay, let's start building. |
 |
| The tracks were some of the cleanest metals I've seen from BF in a while. |
 |
| These are a very easy build, just a few bits here and there, all easy to work with. |
 |
| Note, these are the non-zimmerite version. Is there a zimmerite version of the model? Apparently a few at the beginning of the production run had it. |
 |
| The only futzy bit is of course the stuff on the back. Those little mud guards and the metal bit that goes between the exhausts took some time to place right. But patience and slow hand will get you where you need to go (That's what she said.) |
 |
| Airbrush primed very light grey... Cause that's how I roll. |
 |
| Then I Airbrushed two middlestone and one hull red. |
 |
| For the two middlestone tanks I did a simple green camo pattern over top with the airbrush. I think it turned out well. |
 |
| I'm doing something a little special with the one painted hull red. Steve's plog inspired me to take a look at Aussie Modelers work (above) and I decided to try to replicate it in 15mm. |
 |
| Mine came out a bit more red, but overall (but not as read as this looks, I really need to figure out how to color correct) but I'm ok with it and it'll make a great centerpiece commander for my Jagdtigers! |
I also went for a splotchy, hurried look to the undercoat as if this was rushed into production. To get an effect like this with differing variations of a single tone well, just take a look at the pallet below the rear half of the tank tread. That is exceptionally wet paint (dried up in the image). When you get paint really wet (I mean watery) the pigment starts to separate and you get some really neat splotchy effects. Overlay that in rough strokes over your base coat and leave most of the areas close to recesses untouched and you get some cool effects going on. Combine with some poppy highlights and you too can have fun with tonal variation.
 |
| Here they all are washed and the details picked out. |
 |
| And decal'd |
 |
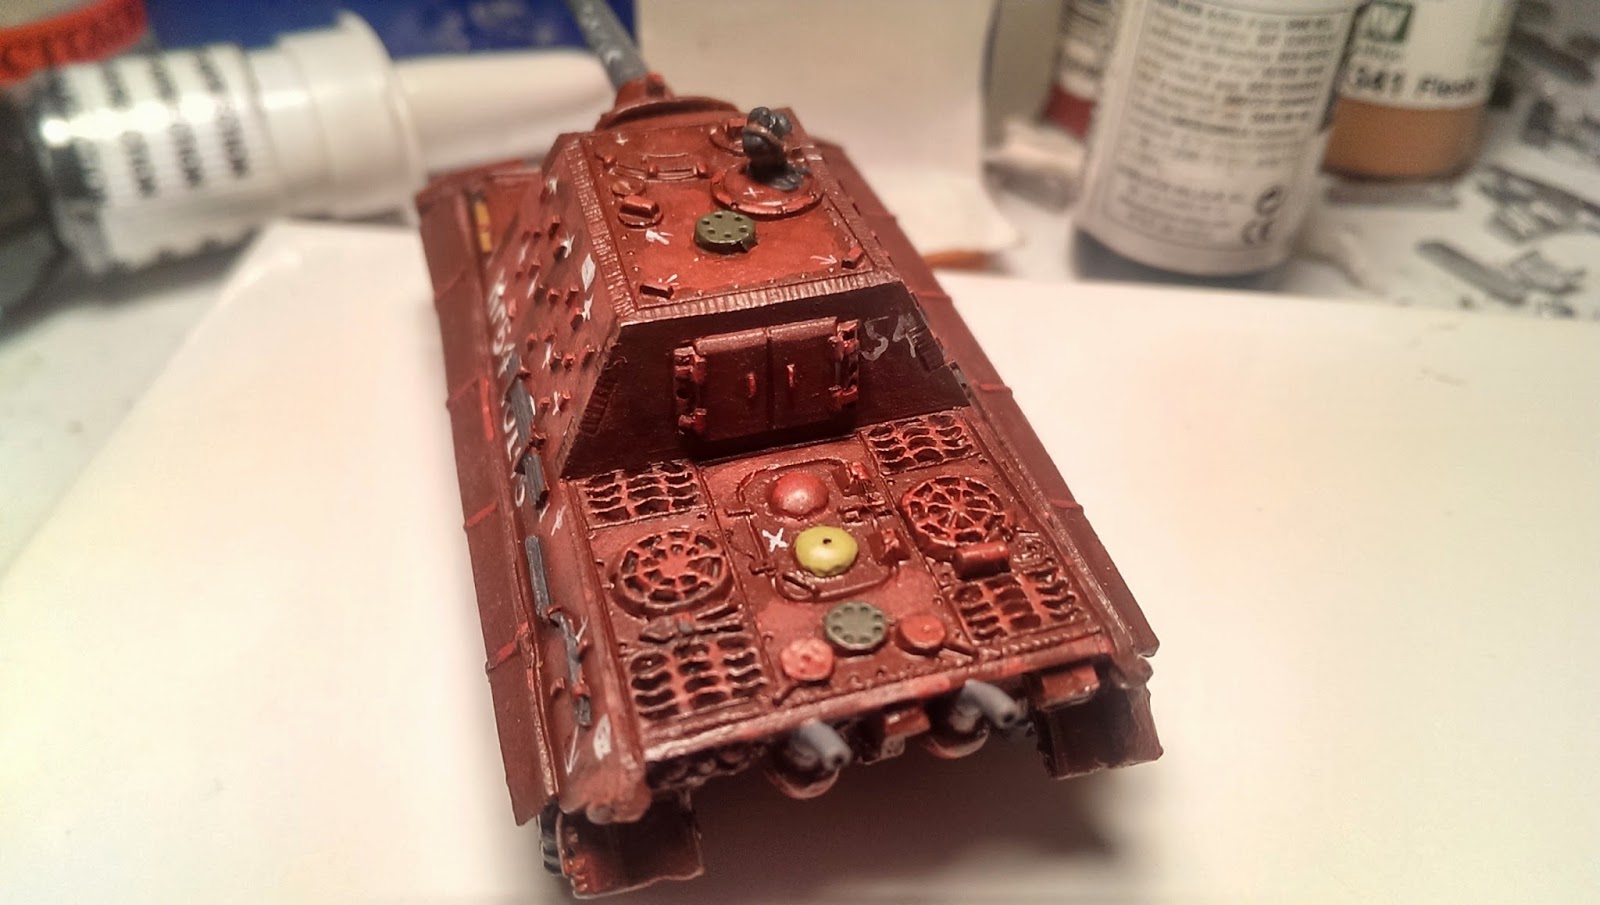
| All done! |
 |
| I just imagine some German tank commander hopping in this thing right out of the factory and heading straight to the Ruhr... Probably breaking down a few times on the way. |
Score:
Detail: 4/5 Straight up to BF standard. No shockers here and the casts were clean with no real shaving, re-sculpting or anything like that needed.
Build: 5/5 Easy, breezy simple. Just about 30 minutes total to build all three up.
Value: 4/5 If you like big German tanks, go and buy these now. You'll only ever need 3 to 5 for an army so for a small amount of cash you can get all you need. And now, with them appearing in two books, you've got twice the reasons to get them.
The bottom line: 5/5 LOVE IT. Great model, looks sweet and paints up easy. If you're a German player excited for Remagen I highly recommend this model. Or, if you're just a collector of all things Flames, this is certainly a great and unique add for your collection.
Throck edits this fine blog and occasionally finds time to do some writing for it as well. Thus, you can pretty much blame all the typos you see on him.