Another shot of the plastic frame.
A MkIII assembled.
Next to a Flames Of War Panzer III- this is a big ol' tank!
Assembling my first batch!
I used this coarse pumice gel to put in the coal bin on the back of the tank.
I just slapped it in with a putty knife. Note: I did this BEFORE priming in all cases, except for my test tank.
All of the tanks primed. I used Vallejo Surface Primer Russian Green. Love this stuff! The end result will be tanks that are significantly darker than Scott's (and those featured in the book).
Next I drybrushed them liberally with Vallejo Green Grey, and painted the tracks Vallejo Hull Red.
Finally, I used Vallejo Dark Brown Model Wash to do some weathering.
Just wanted to make the tanks look a bit rusty and streaky, Note I also drybrushed "up and down" along the side of the tracks to aid the streakiness.
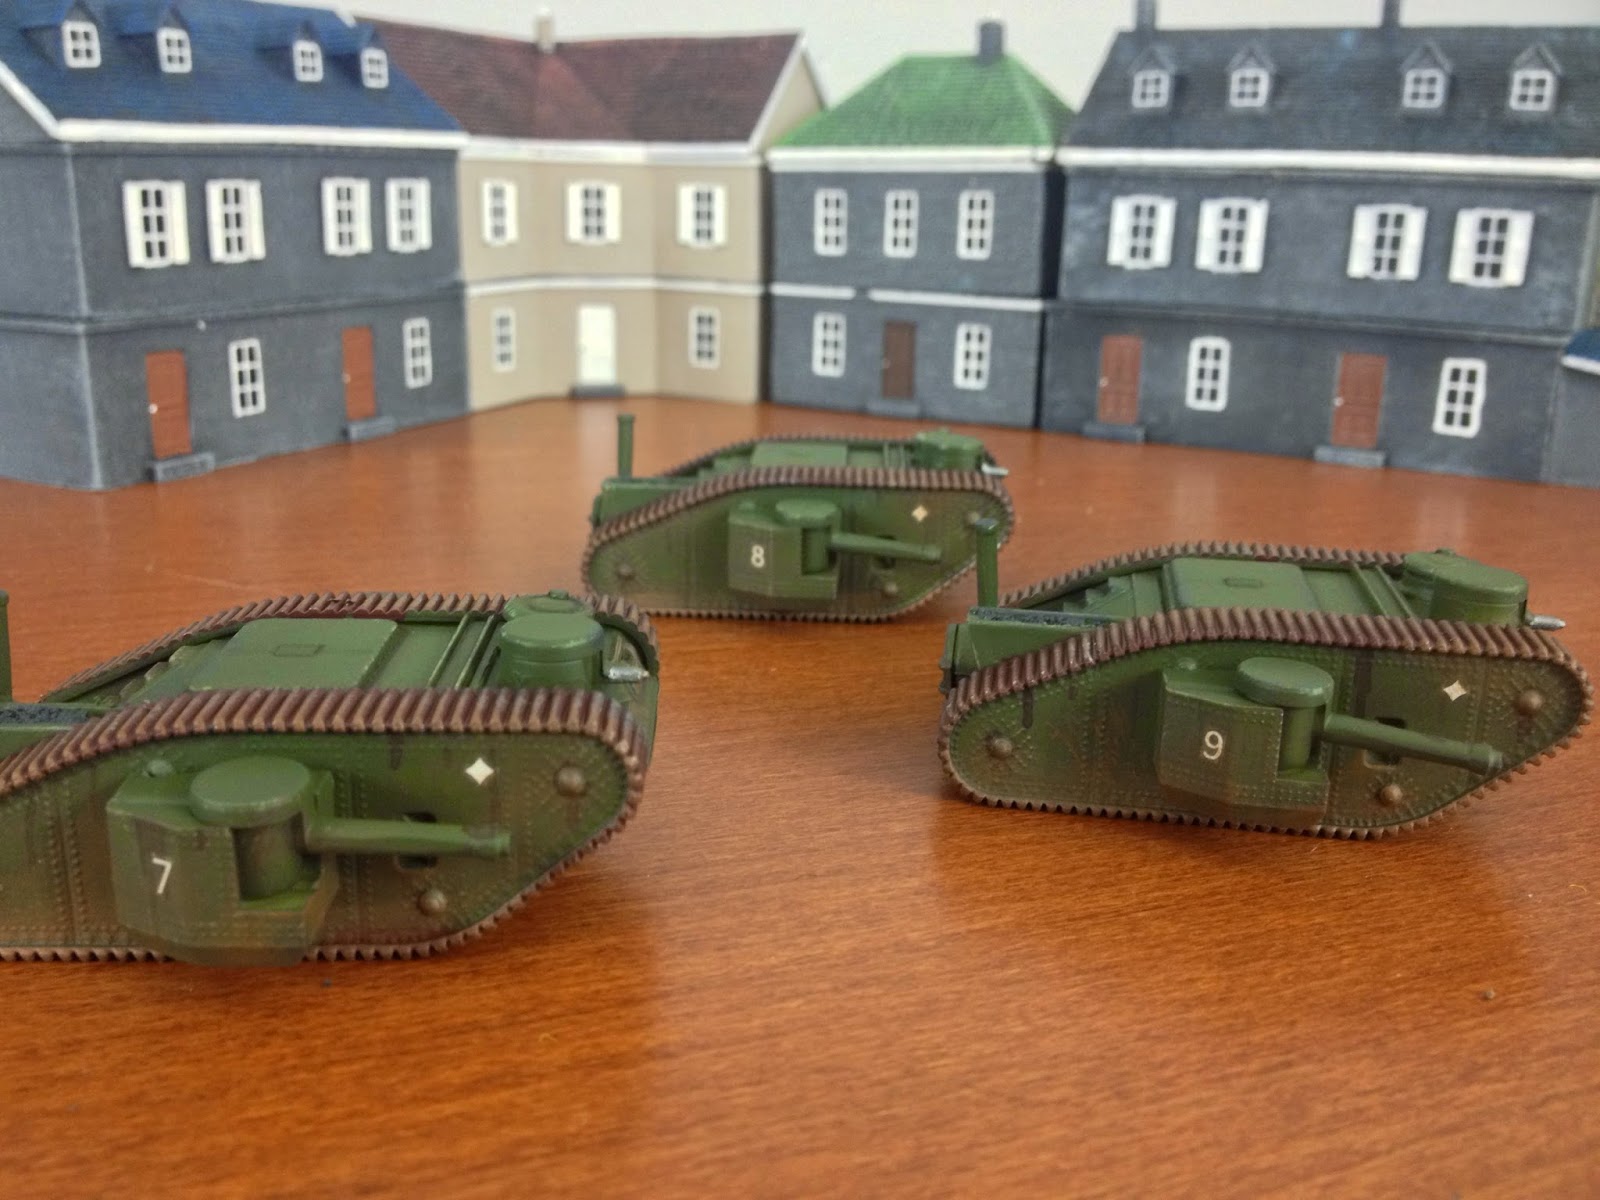
The cast of characters so far.
After a quick drybrush of oily steel over the tracks, it's time to do my oil wash. For more info on how I do that, please see my article on WWPD.
Next comes the weathering! I liberally drybrushed Flat Earth all over the tank, followed by Beige Brown just along the bottom.
The decals I used were Battlefront's French range. Alien Dungeon makes a fantastic set of decals, but I gave our copies to Scott.
Just awaiting a Matte cote.
Next to some US infantry
More Mk IIs
Mk IIb
I only did one Mk III this round to see how it looked, but will finish out the unit shortly.
For scale
All of my tanks!
US Forces so far.


