


Wofkrieg 2015, our region’s biggest annual Flames of War tournament is coming. This year the tournament is a Late War Italy themed one and our local gamers are starting to get in practice games. And so my friend Wolf and I squared off with some forces geared to this event.
I took my 78th "Churchill Choppers" Division, British Rifle Company. This is my oldest Flames of War collection and it was great getting these miniatures on the table again.

Wolf went the HG Panzergrenadiers. The ability to re-roll failed platoon and company morale checks is just too good to pass up and I expect we'll see quite a few Herman Goring Division forces for this Italy themed tournament.

In addition to testing out our forces, I wanted to test out an Italy themed board which would use my Battlefront Italian buildings, olive groves, hills that I have made and the new BB185 Train Track Expansion set.
We rolled up "Hasty Attack" as our mission. I did not elect to use the Night Attack option as I find this force pretty weak on the attack. so I took my chances and rolled for attacker/defender. I ended up as the attacker and now would have to attack in daylight!

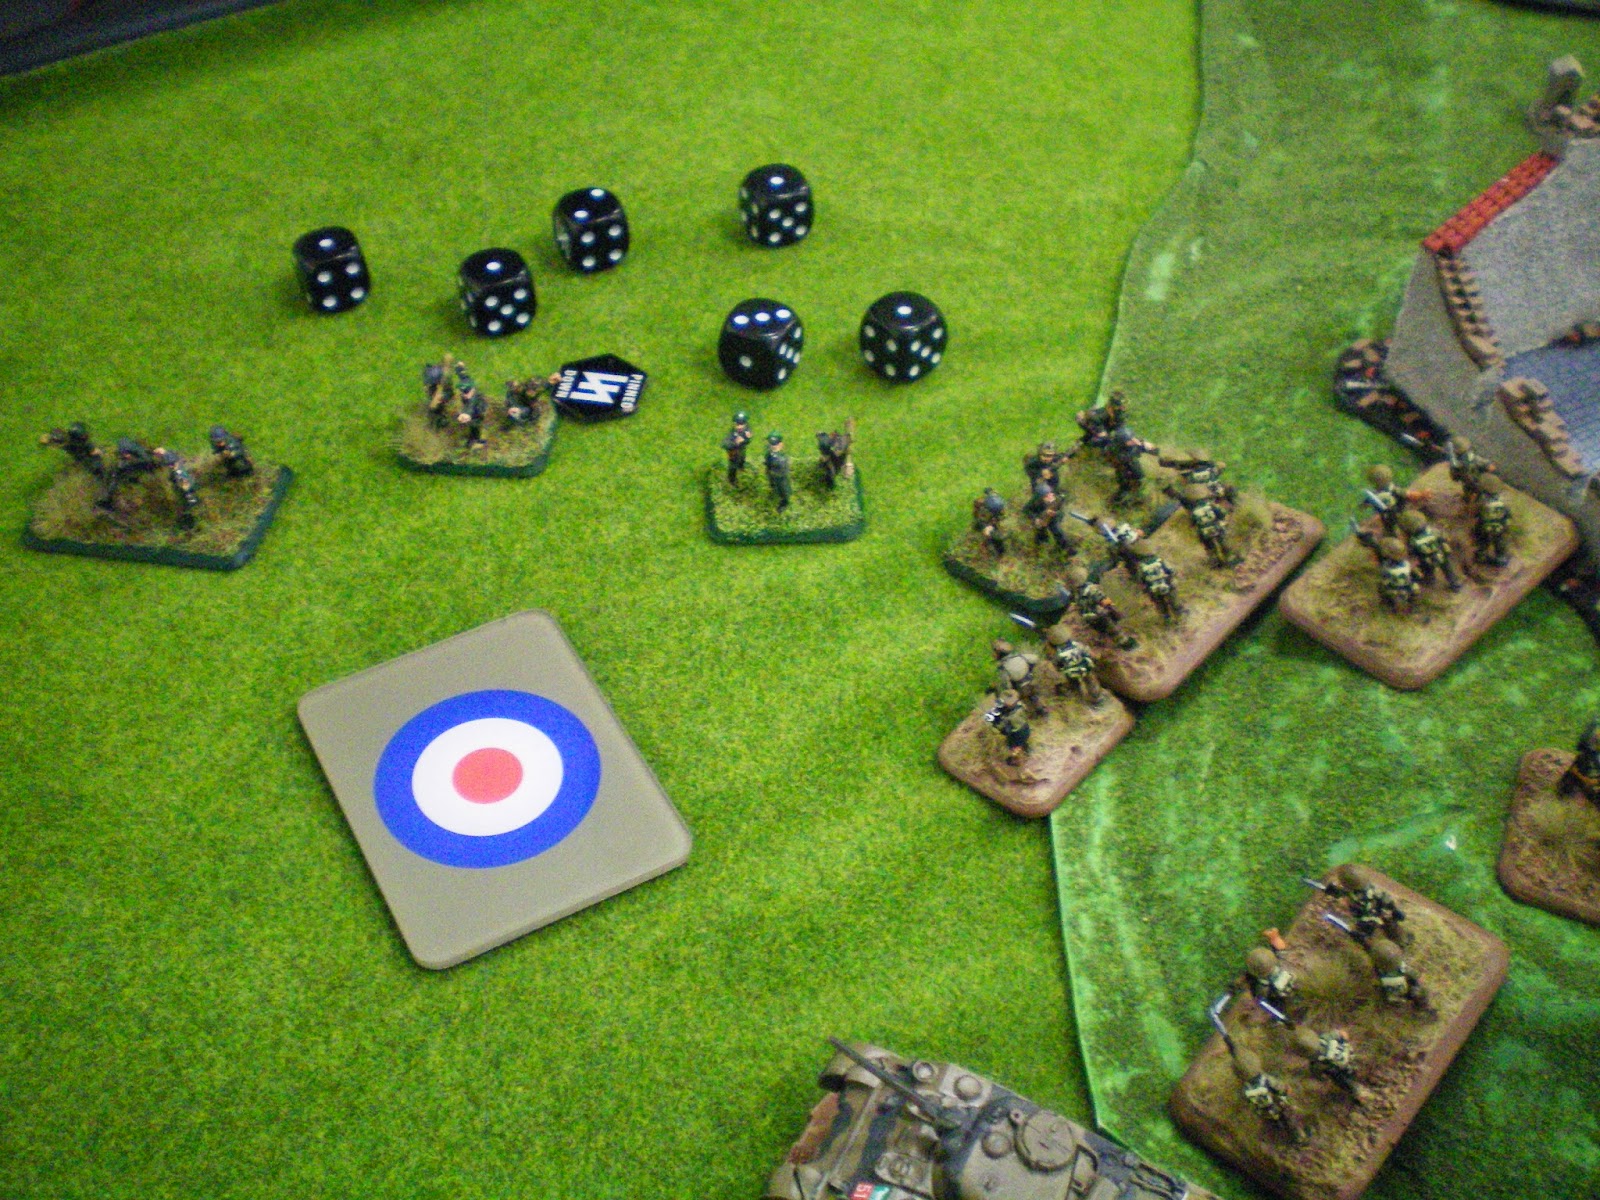
The board from the British side.

The board from the right rear of the German table side.
I chose to start with two Infantry platoons, my 25pdr Battery and my immobile 17pdr AT platoon on the board.

My 17 pdr guns went on my far right where there would have the longest fields of fire. To the left of the 17pdr's went one of my platoons.

I also placed an infantry platoon on my far left and to their right my 25pdrs sheltered somewhat buy one of the hills.

Wolf placed his Nebelwerfers on his right and an infantry platoon in his center.

On his left, Wolf placed his PAK-40's a and Stug-III's.
Seeing Wolf's dispositions, I elected to pull off the objective on the German left where the PAKs and Stug-IIIs would be hard for me to deal with. So I started to push on the left and the center.
One of my Rifle Platoons advances on the British left.

The other on-board Rifle platoon moves more towards the center and forward while trying to minimize observation from the Nebelwerfer forward observer.

Wolf counters my my moves by moving a Panzergrenadier Platoon to his right along with the StuG-IIIs which move from his far left to the center.

My first shooting ends up coming from my 25pdr Battery which ranges in on Wolf's Nebelwerfers and exposed infantry moving through the area.


My left Rifle Platoon emerges from the left woods with the Objective now in sight.

In the center I bring in a 25pdr Battery bombardment on a StuG-III and get a bailed out result.

With only one StuG-III able to defensive fire, my Rifles easily charge in and knock out the bailed out StuG-III.

In Wolf's following turn he bogs a StuG-III trying to get away from my approaching infantry.

But, in my following turn my Rifles catch that StuG as well. The Herman Going reroll of failed platoon morale checks keeps the 3rd StuG in the battle tough!

Back on the British left, a Rifle platoon, now supported by Sherman tanks endures Nebelwerfer fire while advancing on the left objective.

Undaunted, the Sherman's press on and destroy two Nebelwerfers.

Back on the right, the 25pdrs lay in a bombardment on repositioning PaK 40's killing two in the open.

The British Shermans are able to assault the German infantry that were in front of the Nebelwerfers, they get one kill and take no losses in the following German infantry counterattack, but fail their counterattack motivation check. [Doah...British Bulldog Tom!!!...Don't forget next time!]
With their Shermans driven off, the British Rifles go in to finish the job as the defending Panzergrenadiers missing ALL of their defensive fire shots!!!

The last remnants of the Panzergrenadiers are killed or driven off and they then fail their platoon morale, taking the German CO along with them!

Sure enough...next turn Wolf gets in two units for reinforcements and is able to bring them on and walk right up to within 4" of the objective unimpeded! [Way to keep your eye on the ball Tom!!!!] But it’s not over yet, I still have a chance to pull out the win.

Back in the center, my Rifles find the PZ IV platoon to be bit harder than the StuGs were.

On my left, my 3rd Rifle platoon races to the front while the Chruchill tanks get worse than they give against the Pz IVs and remaining StuG.

The center Rifle platoon falls back newly arrived Universal Carriers move up.

On the left, my 25 pdr Battery bombards the Panzergrenadiers and 8-Rads while the Rifles dig in and wait for help from the 3rd Rifle Platoon.

Wolf's Pz IVs start to work their way over to the contested battle area and knock out a Sherman, but can't risk an assault against the Rifles with the two remaining Shermans still able to give supporting defensive fire.

No problem for the Germans as Wolf knocks out one more Sherman in his next turn, driving off the 3rd with a failed platoon morale check! Now things are getting really bleak; I have to start thinking about VPs rather than winning. Though I've knocked out a German platoon, Wolf has nine! So If I don't want to get a 1-6'd I better do something...somewhere!

So my Rifles in the center boldly press on against the Pz IVs, one of which became bogged during a Stormtrooper move. On my left, the fresh 3rd Platoon moves into the ruined church hoping they can launch an assault out of it.

The move of the center Rifle platoon gets one Rifle team into a position where it can both shoot at Wolf's unarmored Anti-Air half tracks, that were caught moving at the double, while still being able to assault the bogged down Pz IV. This allows the one shot I had to become two shoots...both of which hit...and both of which get kills!!!

And as a bonus, the AAA half tracks are close enough to the bailed Pz IV to still allow my Rifle team to assault and kill it!

So I have the one VP I was trying to earn. Back on my left my 3rd Rifle platoon has nothing to lose, so I have it assault the Pz IVs and some Panzergrenadiers. I'm praying that Wolf manages another defensive fire "whiff" like he had earlier, but it was not to be, as he easily got more than the five needed hits to stop this assault.
And so, the game ends as a 5-2 win for Wolf. I had the victory all but sealed up around turn three, but I just was not focusing and let victory slip away. But that's why we play practice games for tournaments, to relearn lessons and make mistakes! In that respect the game was a "win" for both Wolf and I as we learned strengths and weakness of our forces. I think I learned that British Rifles may not be the best tournament force for me. The three tank platoons seem so fragile and the 17pdt AT guns were nearly 300pts of wasted opportunity, but most importantly I learned that my own focus on mission objectives is far more important than any list considerations!
Tom has been playing wargames since the late 70’s, and Flames of War since 2007. He maintains a gaming website www.battlevault.com for the BattleVault Gamers of Kentuckiana and posts and moderates WWPD as Iron-Tom.


