


 Before we return to our Firestorm Campaign, Sean and I wanted to hit a few theaters we've neglected as a result of the Eastern Front Focus. A desert armor scrape was at the top of our list! As usual we rolled for mission and came up with Free For All- which suited us just fine! |


Army lists from Easy Army
SETUP AND DEPLOYMENT
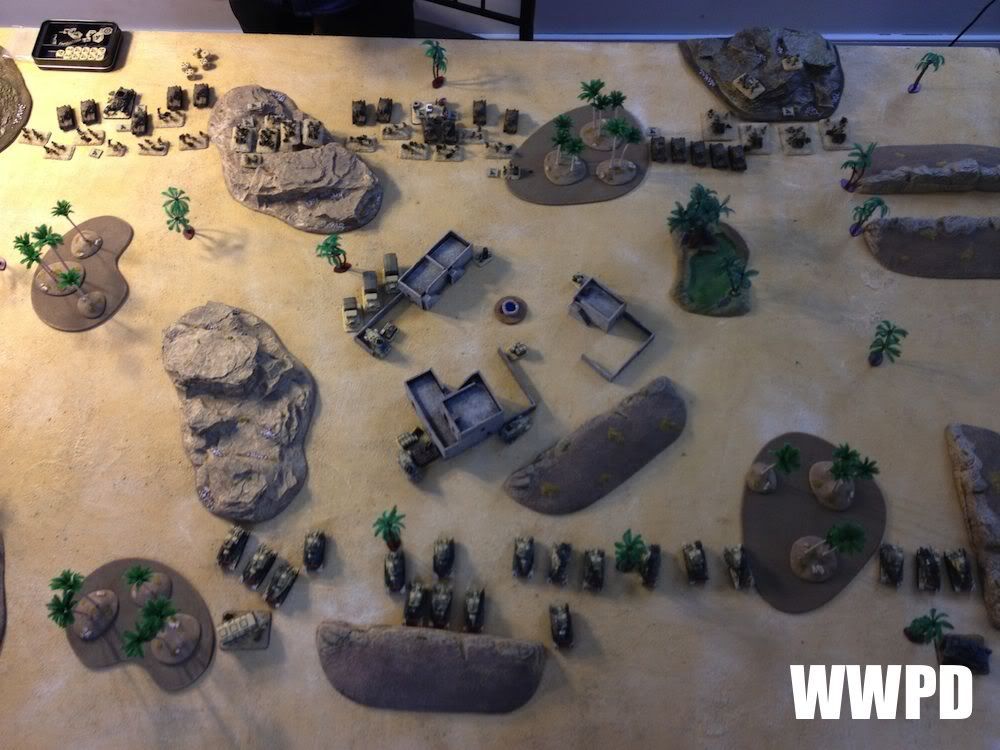 |
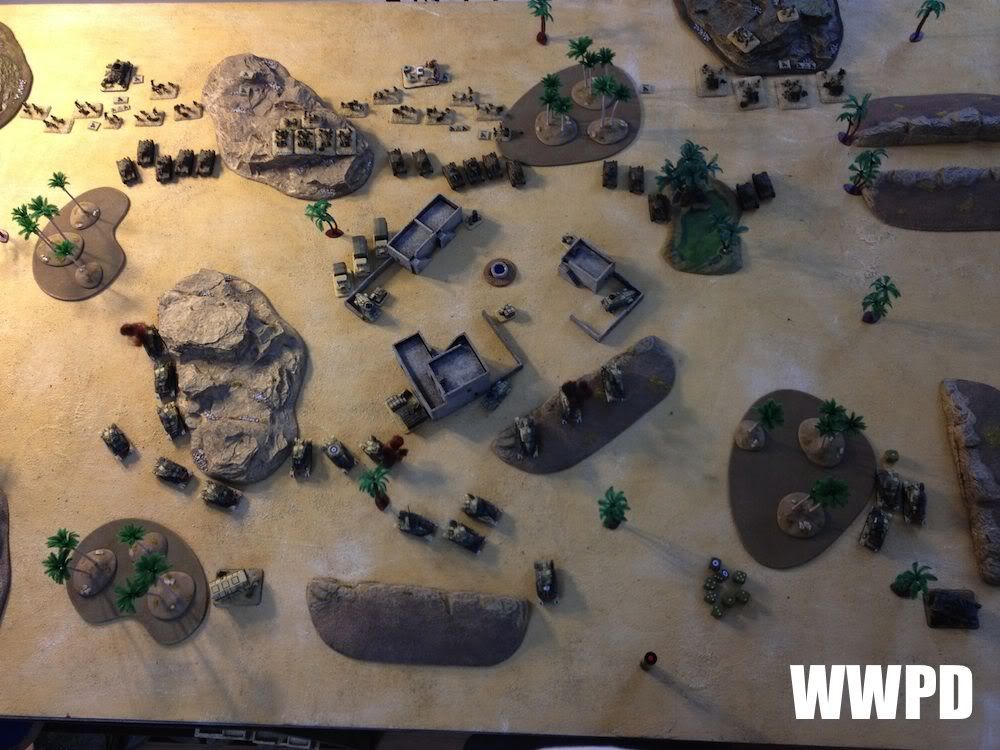
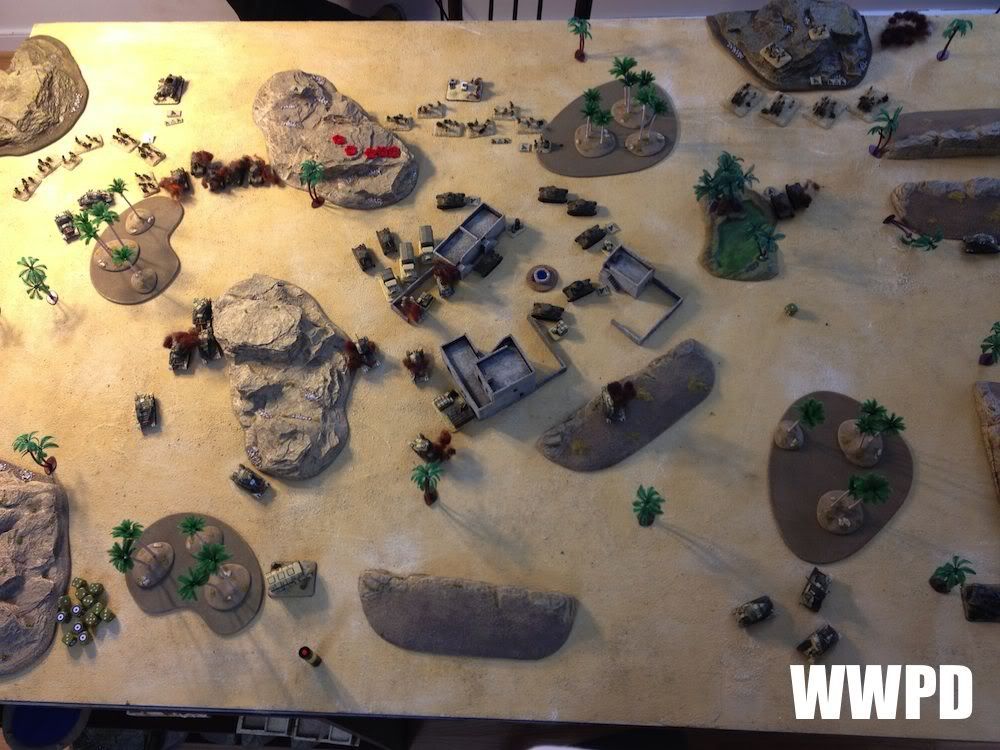
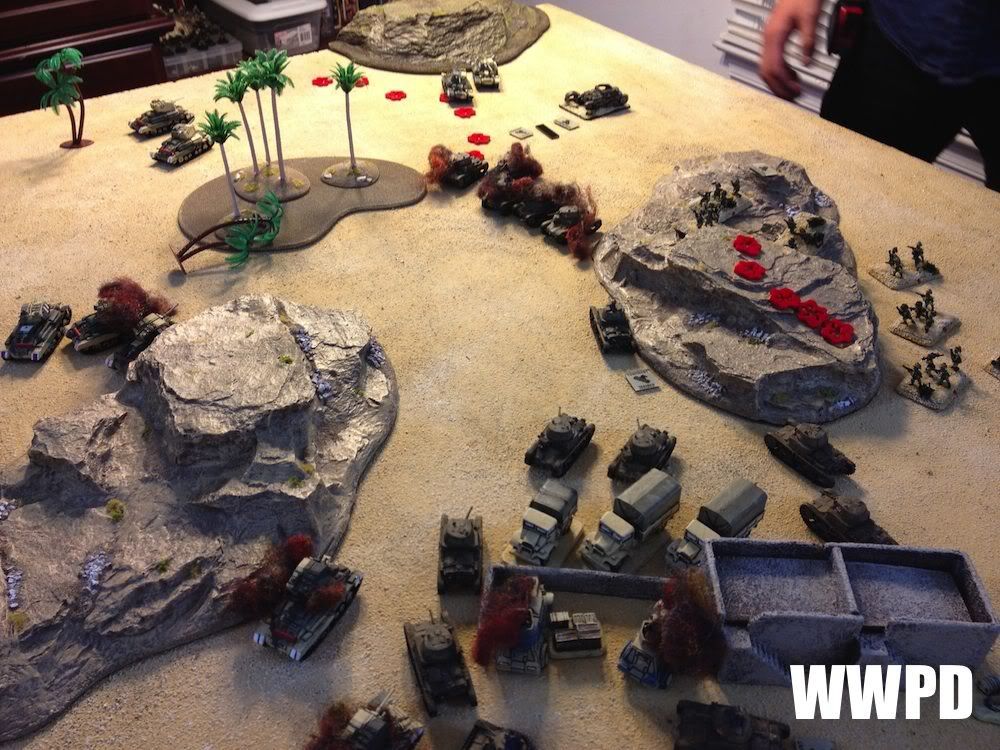
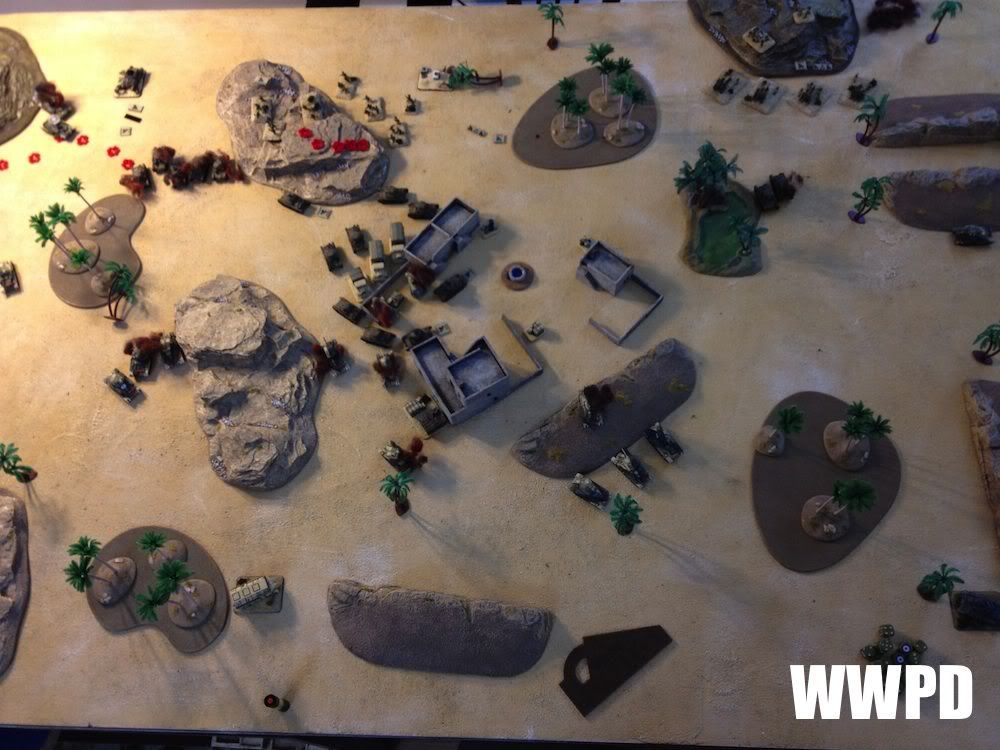
| The board. Brits in the South, Eyeties in the North. Objectives: Bottom left between the trees and the ridge. Bottom right between the trees and the ridge. Upper center between the trees and hill. Upper left between the 2 hills. |
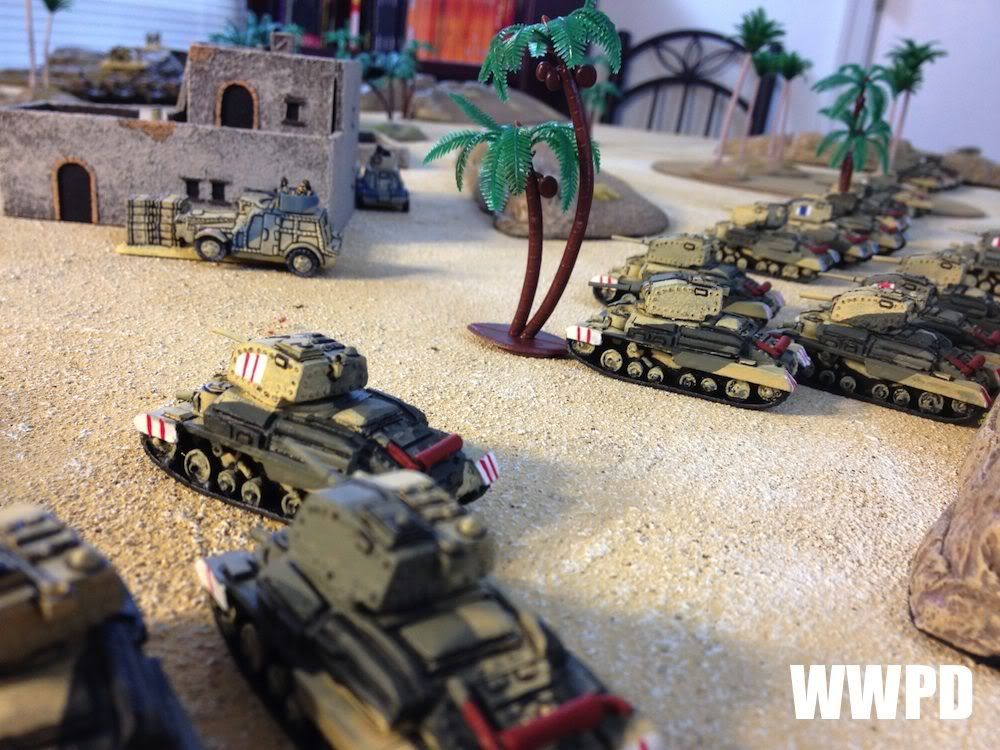 |
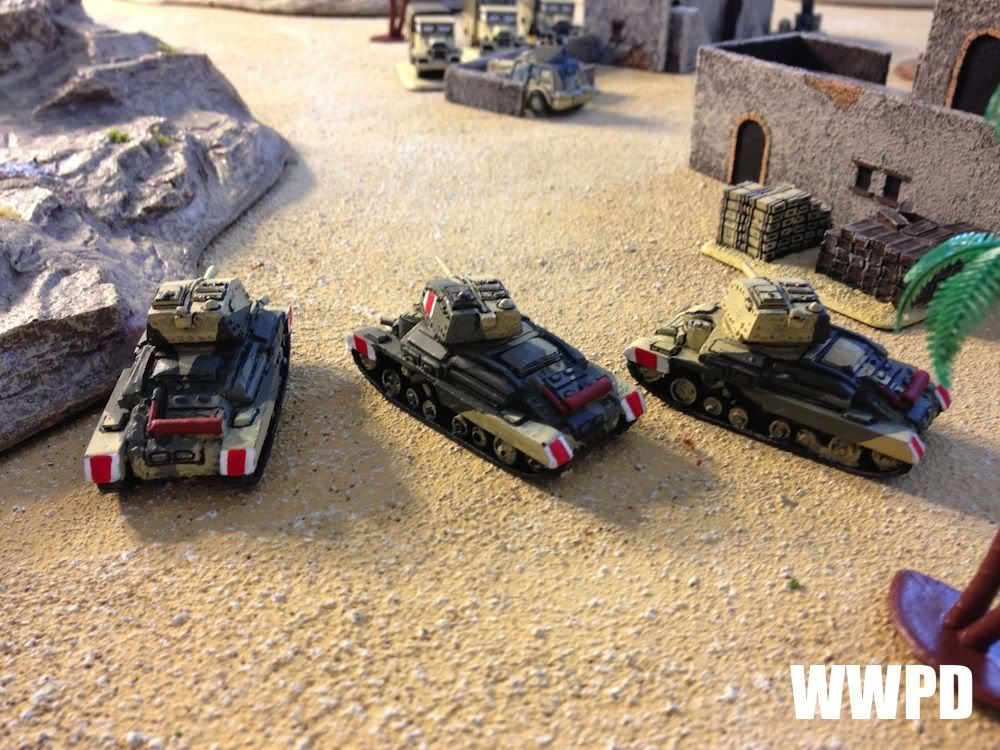
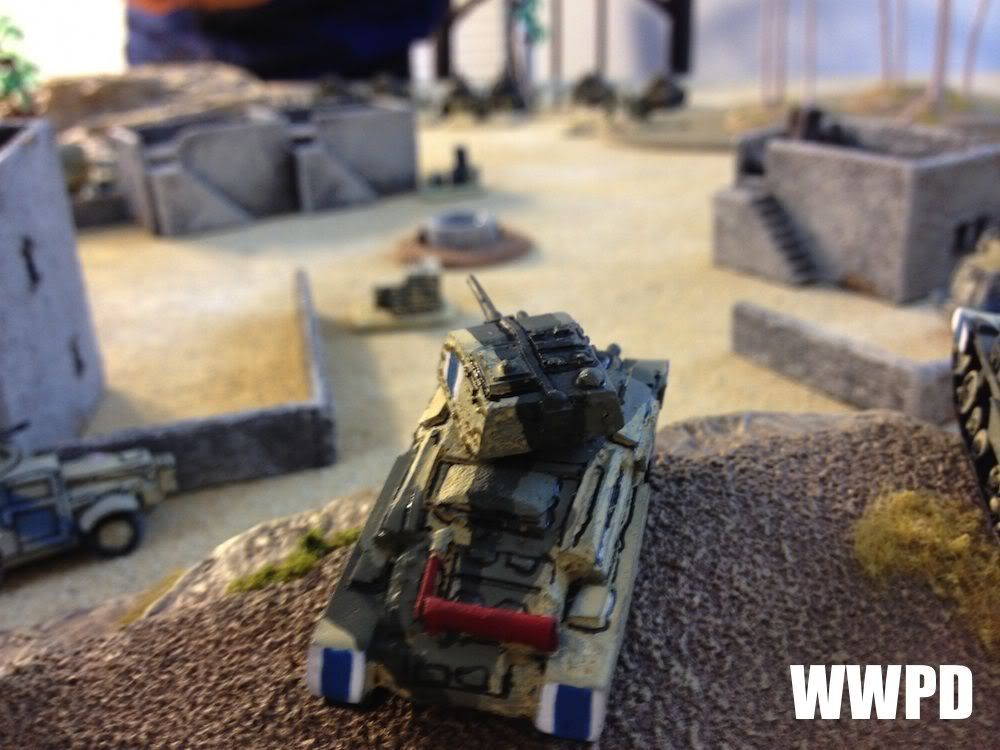
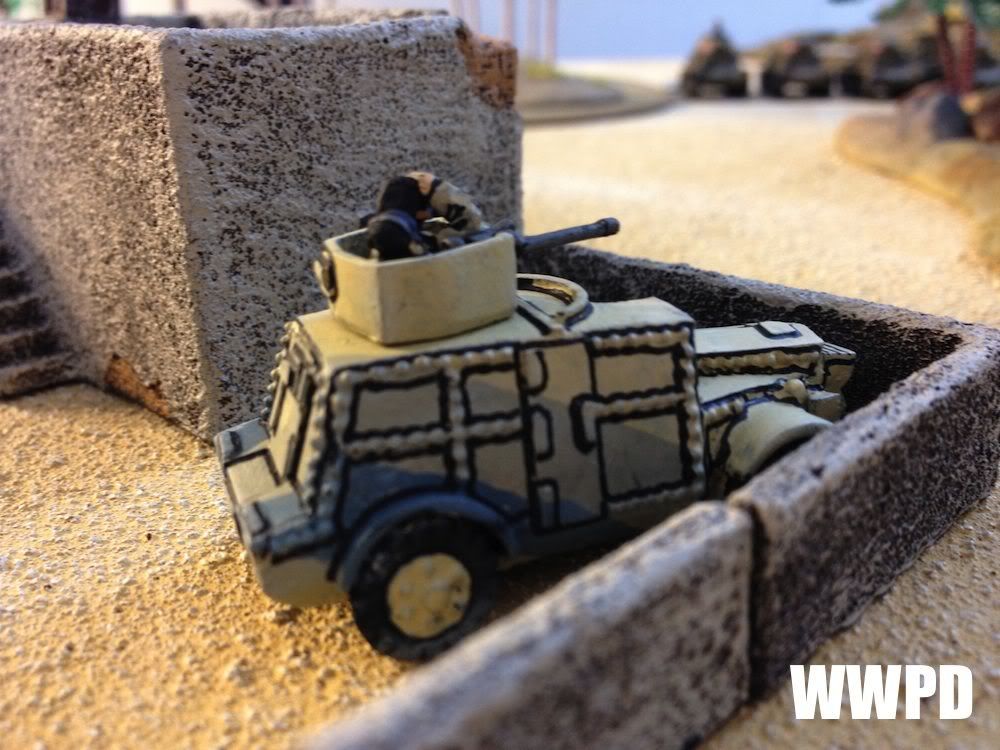
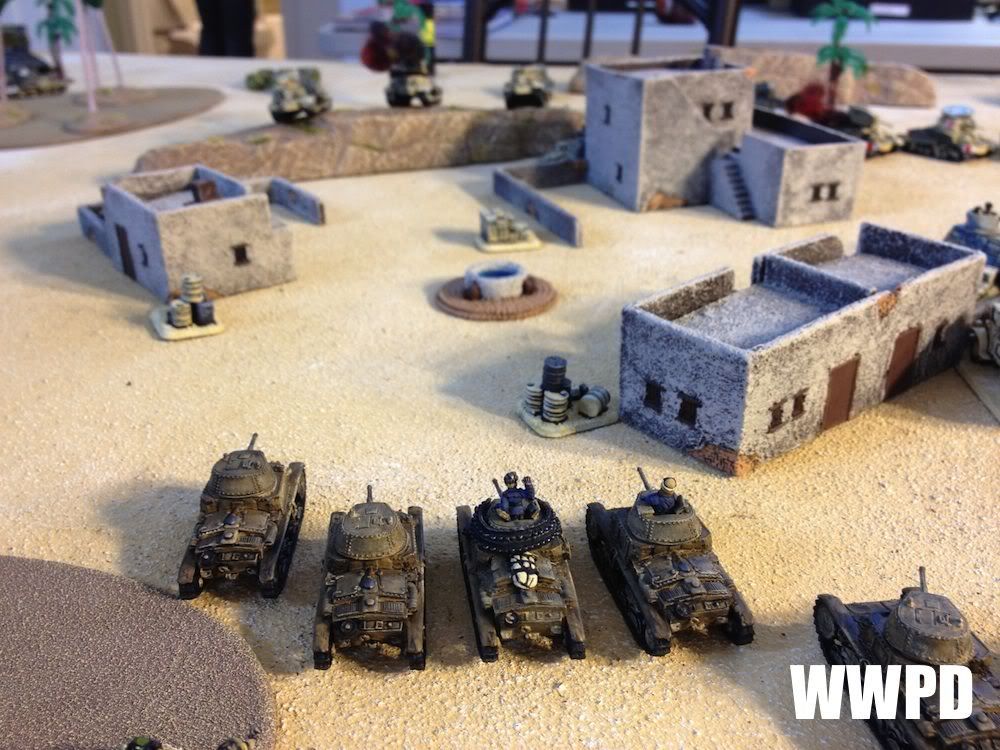
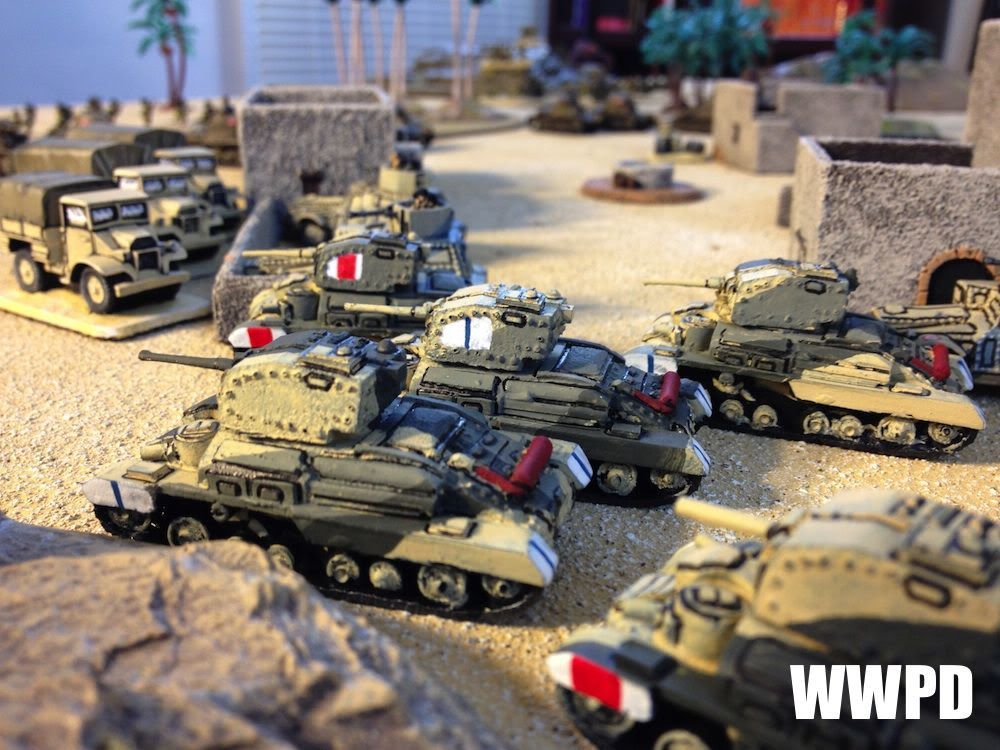
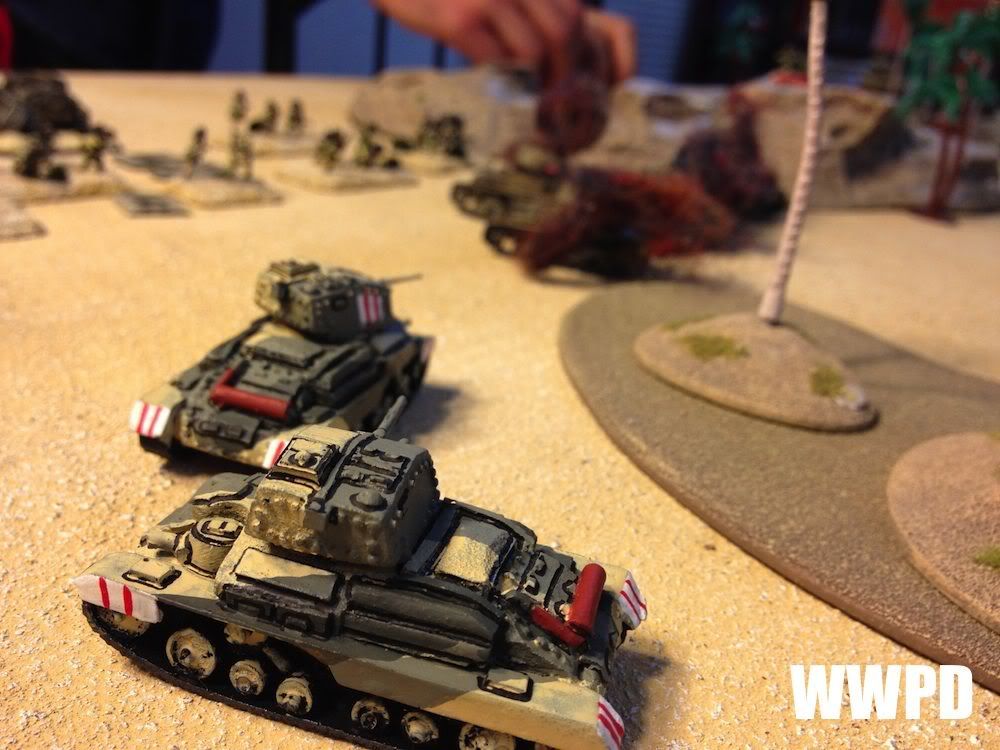
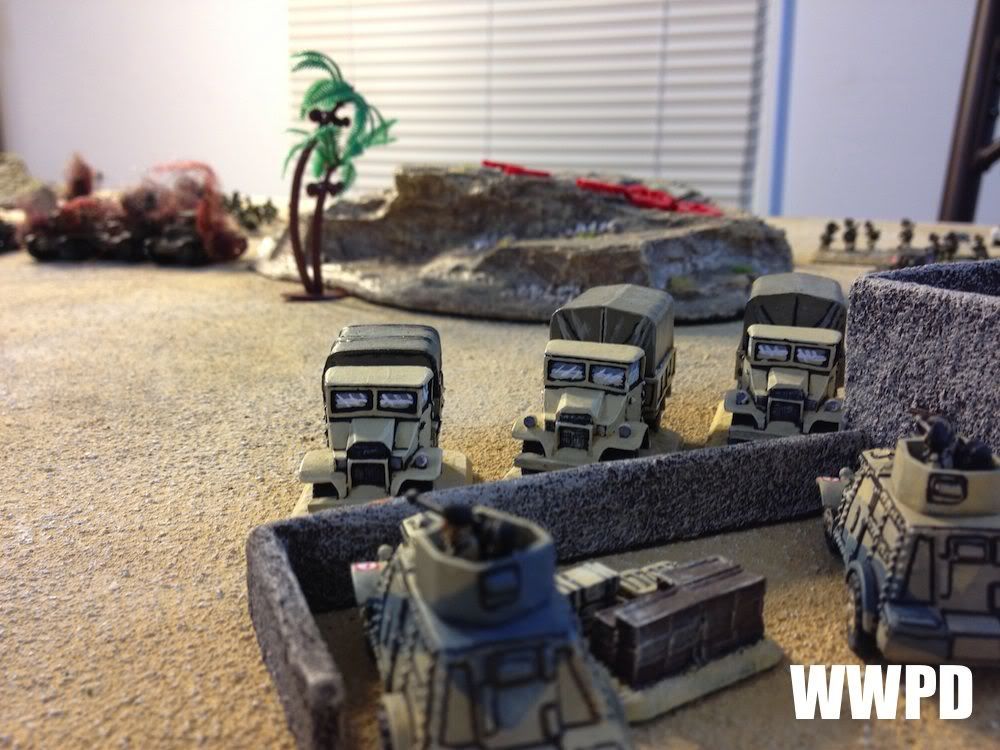
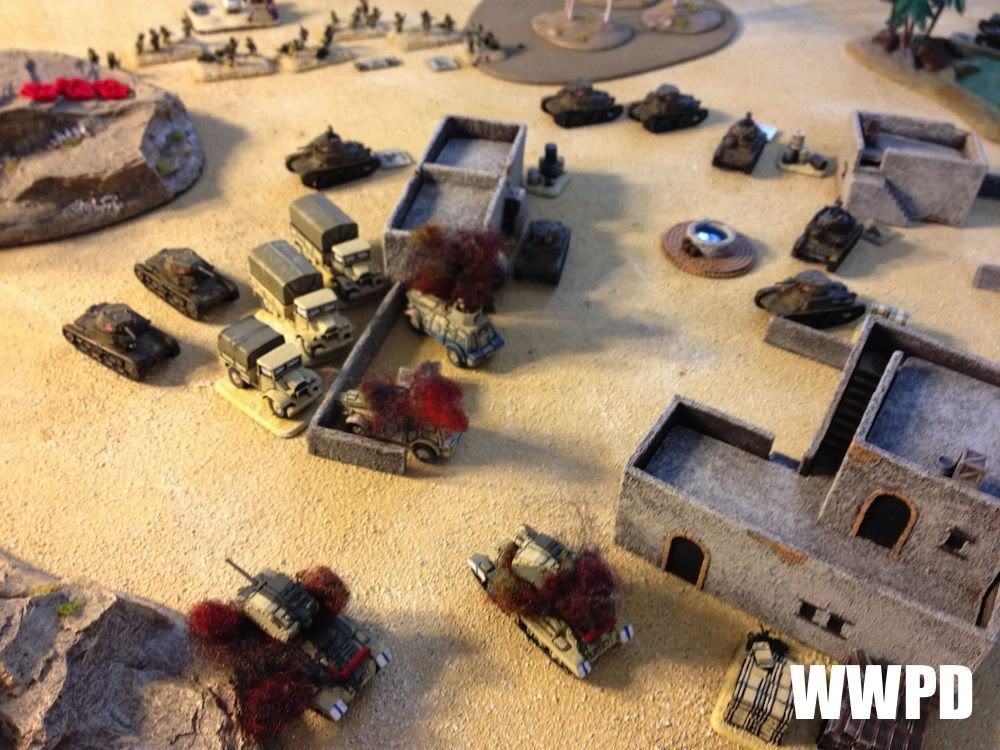
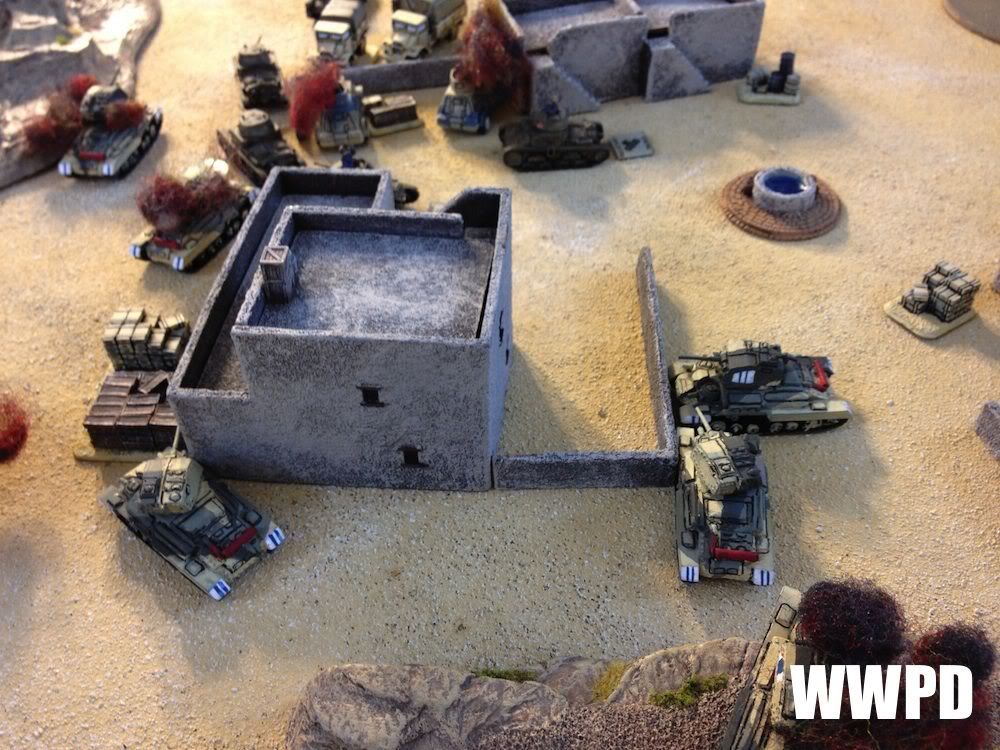
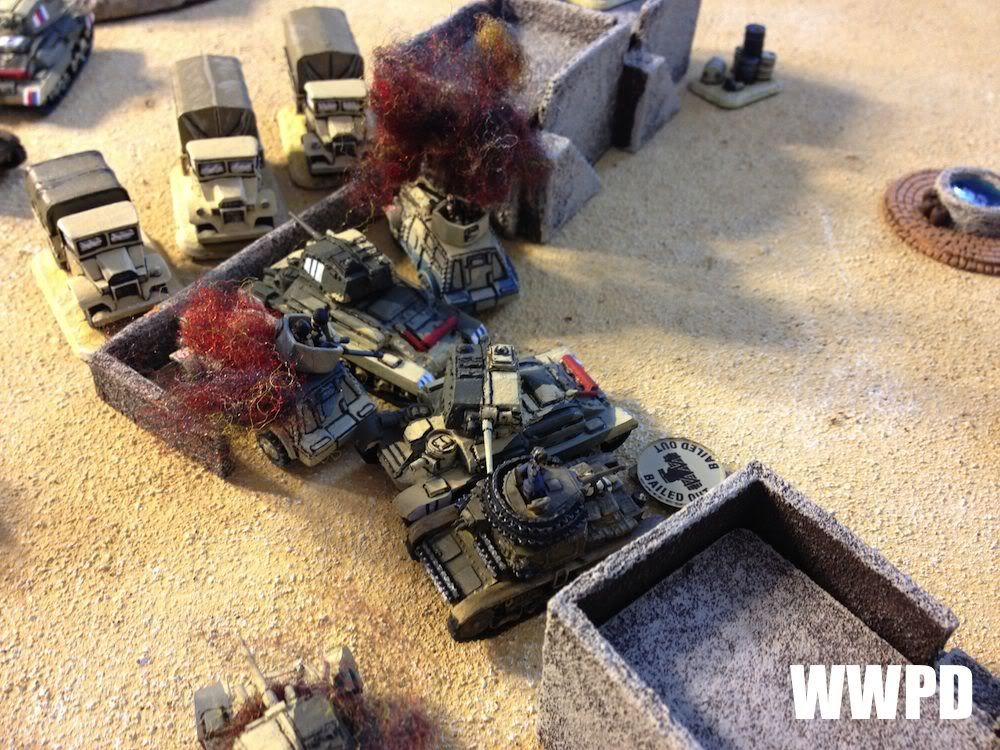
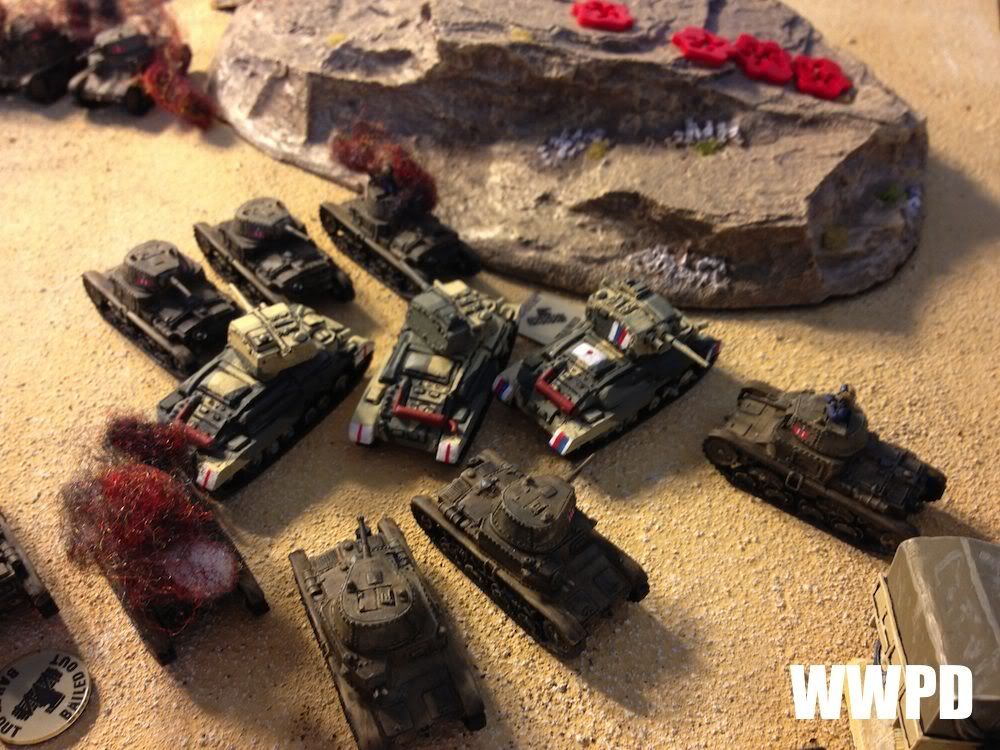
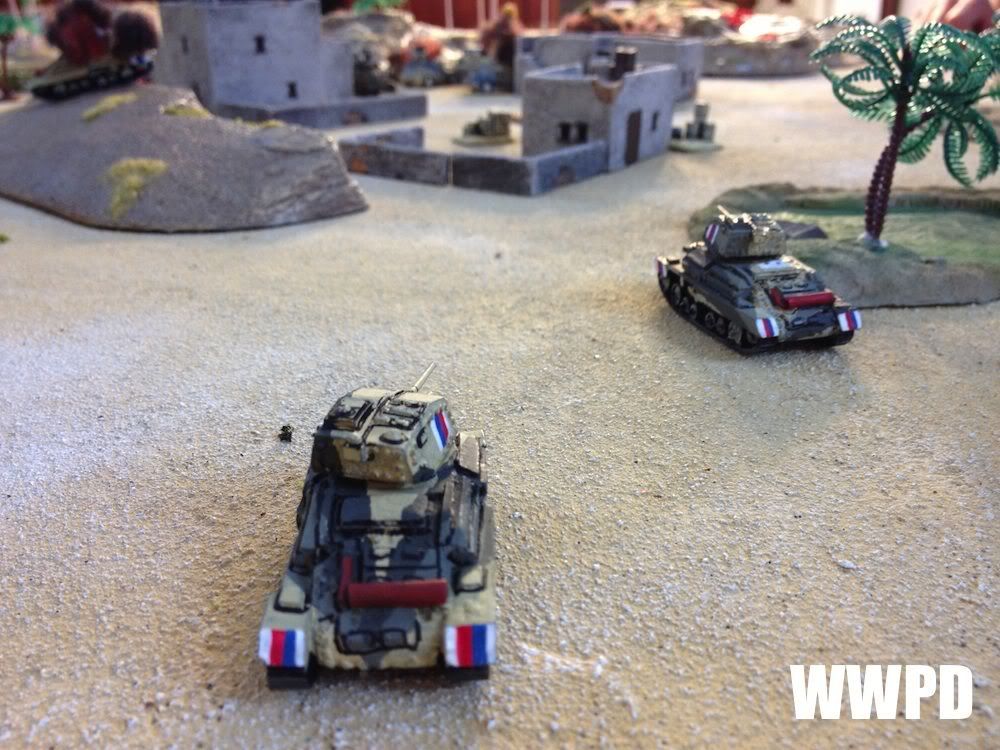
| After the recon (which are all Morris A/Cs standing in for RAF A/Cs!) clears the town, the regiment prepares to roll out! |
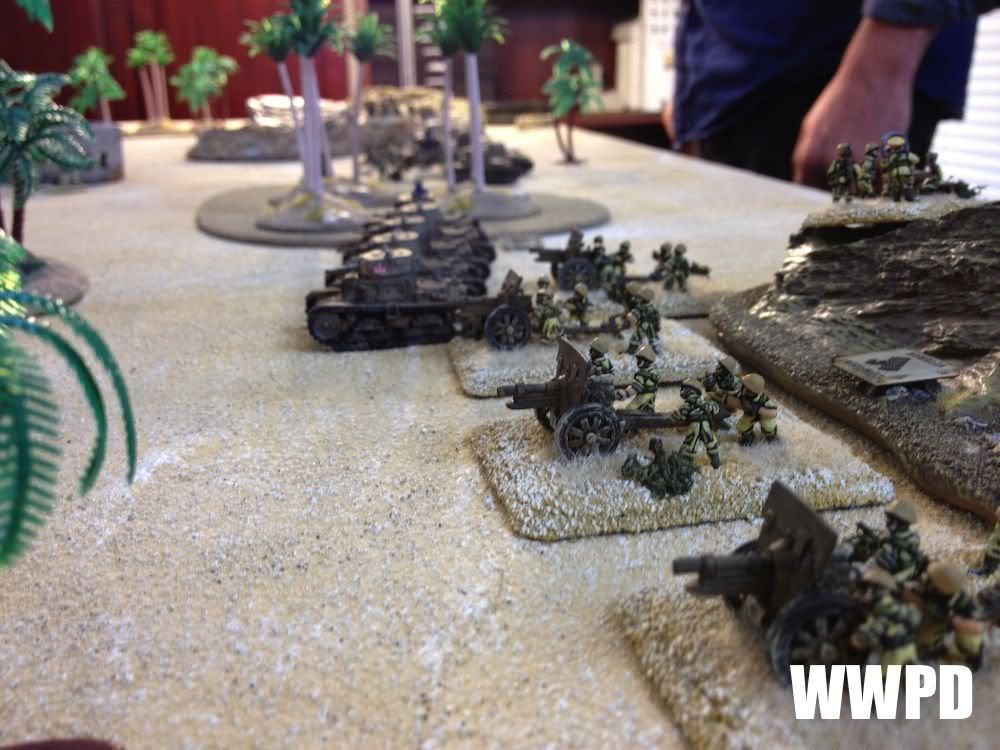 |
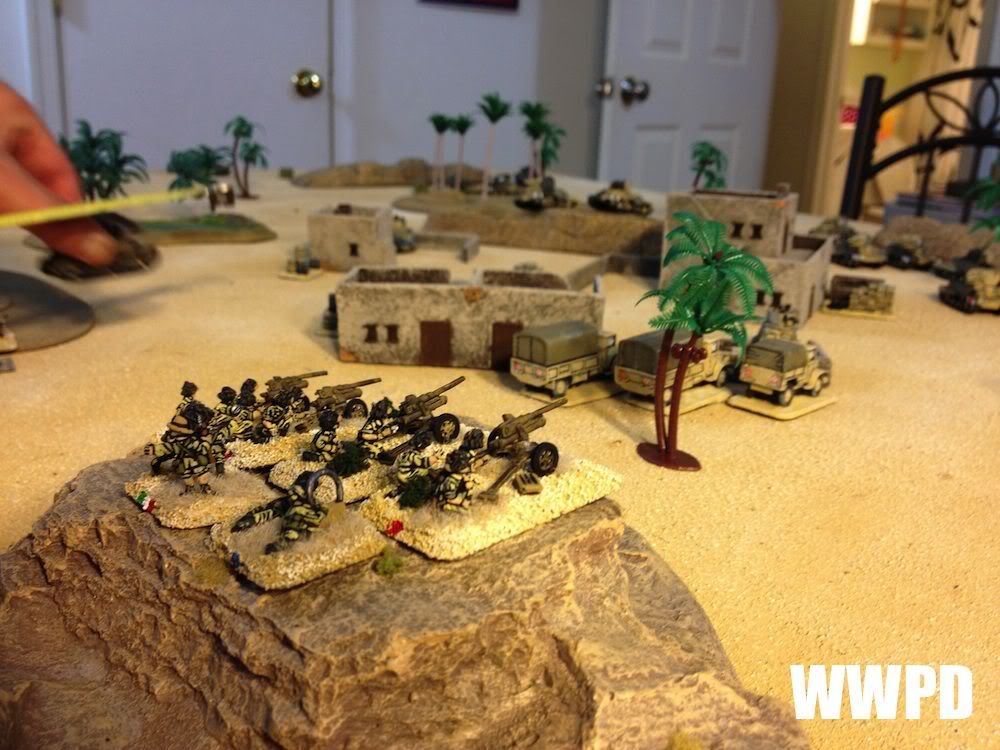
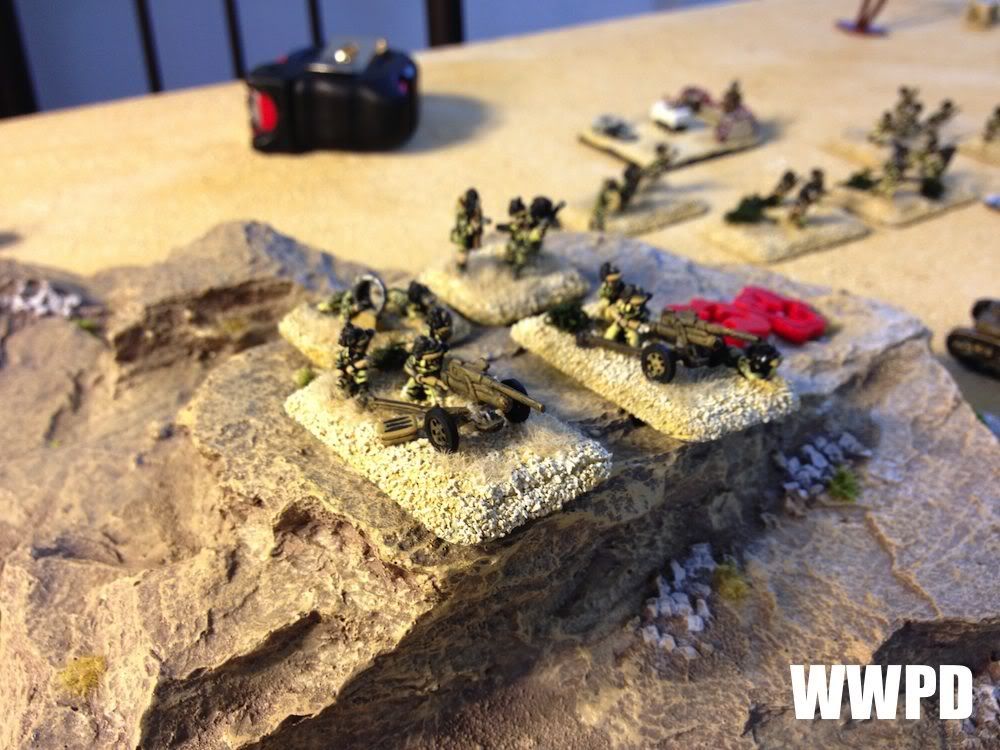
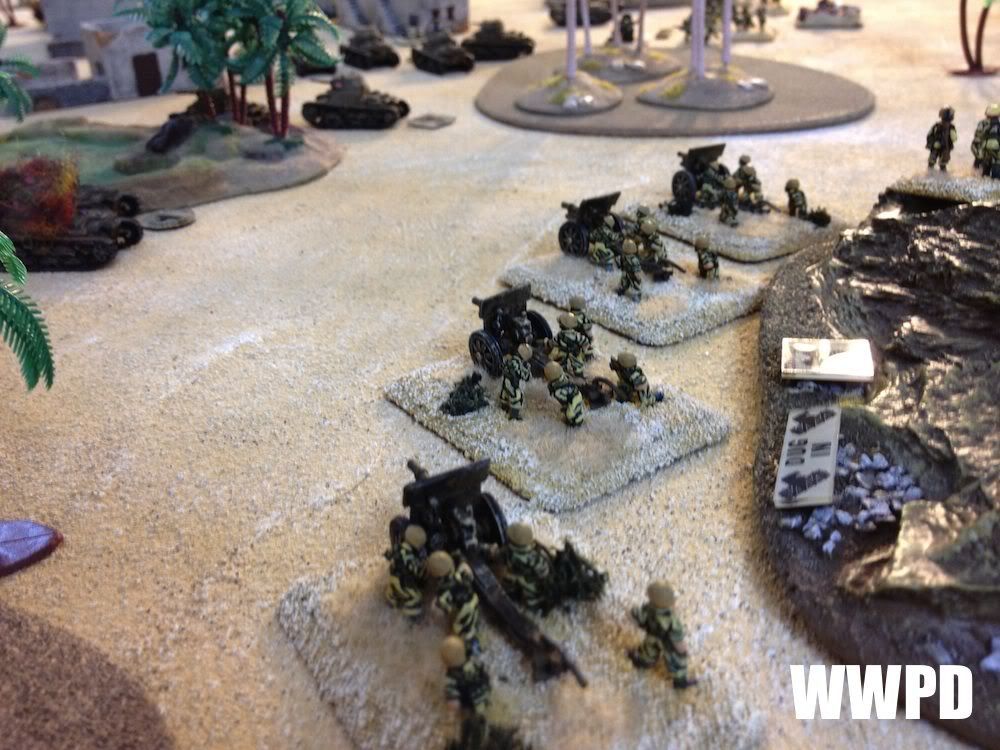
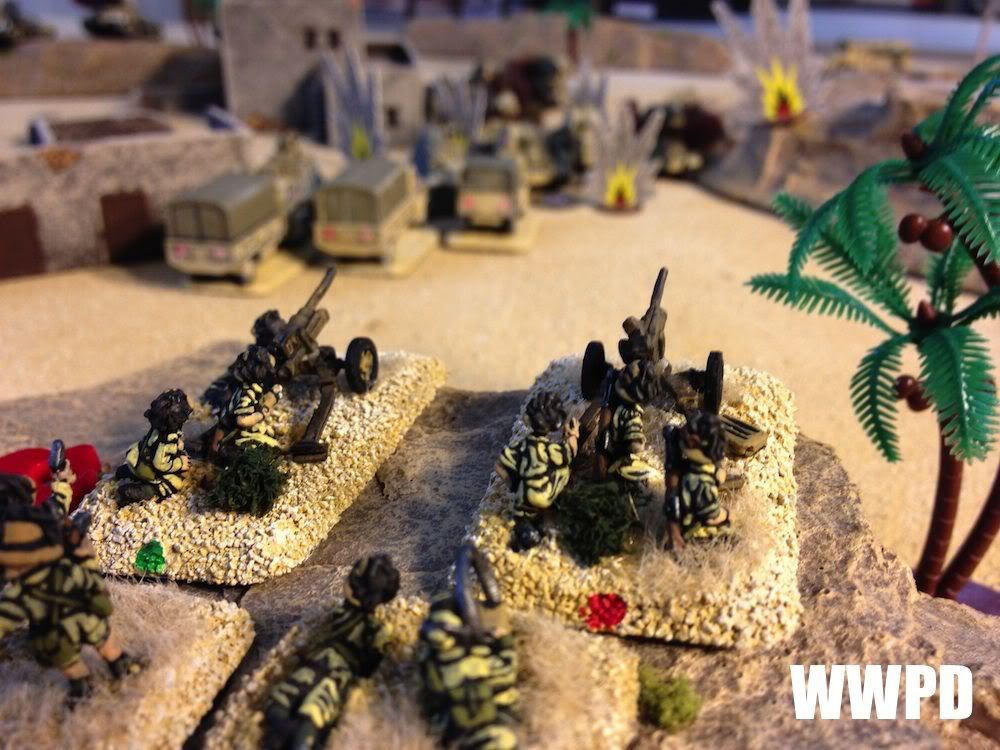
| Italians guns lock down an entire flank. |
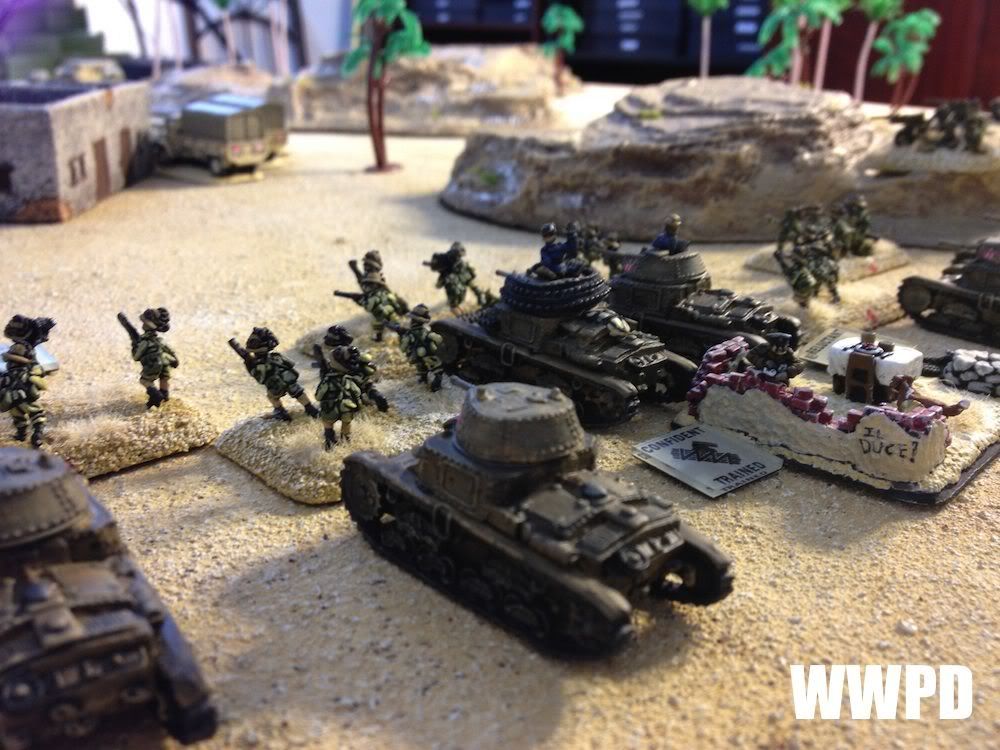 |
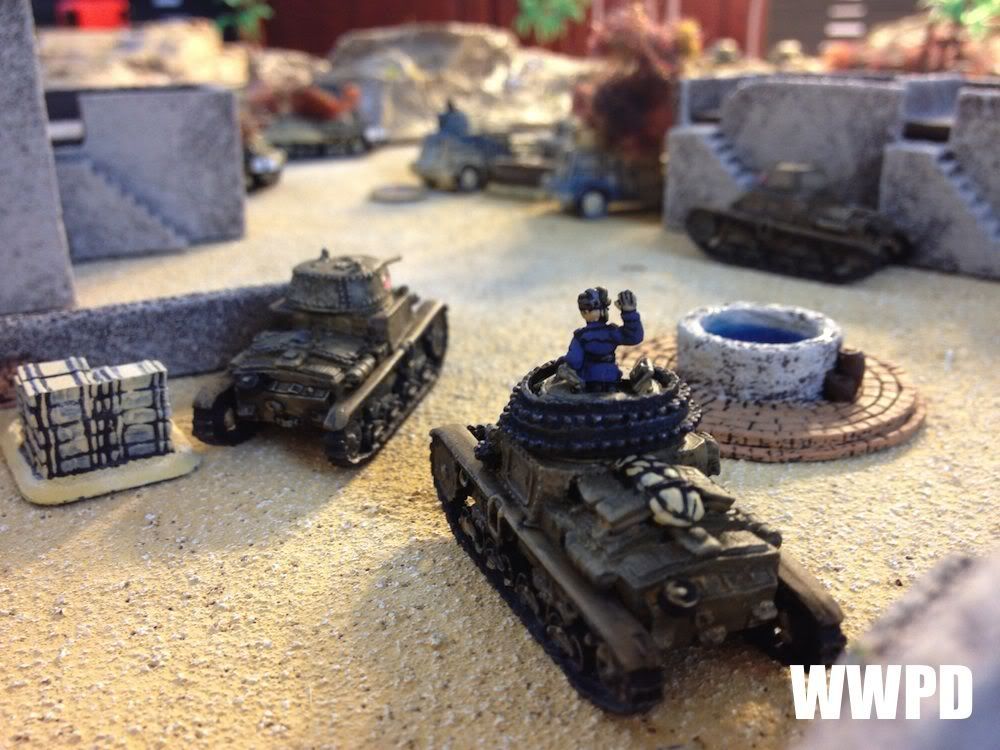
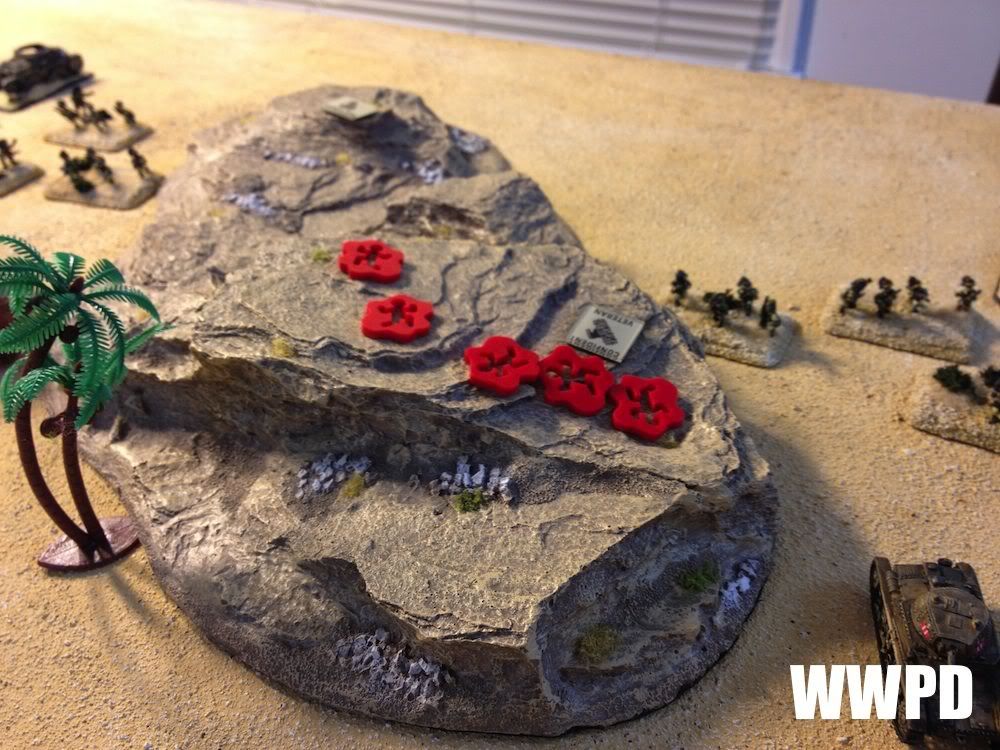
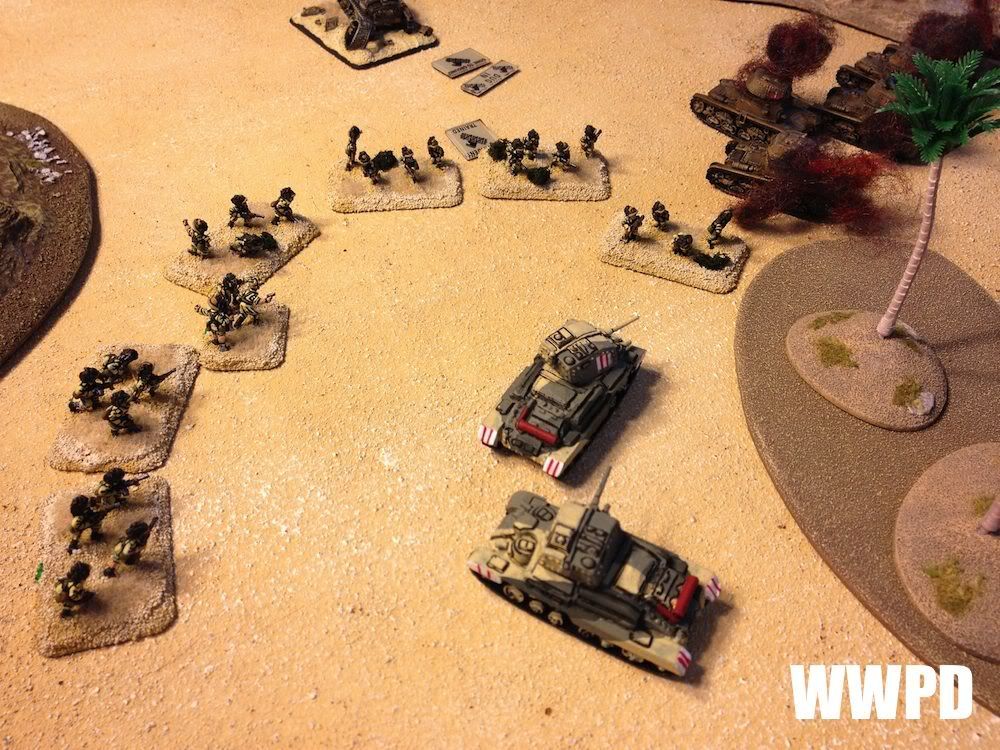
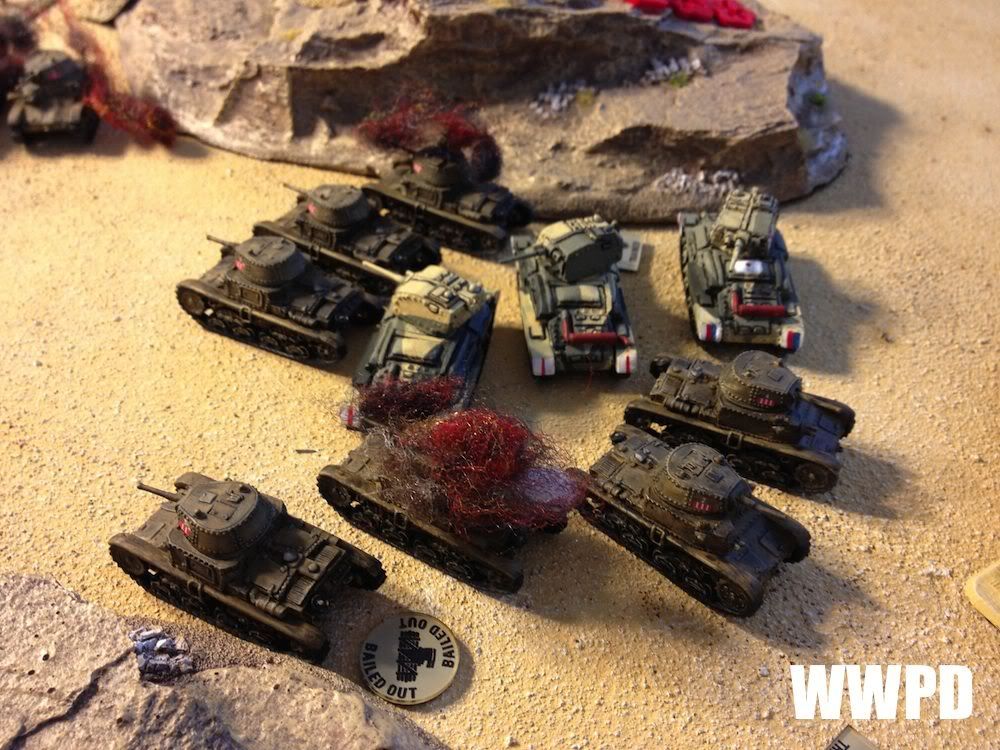
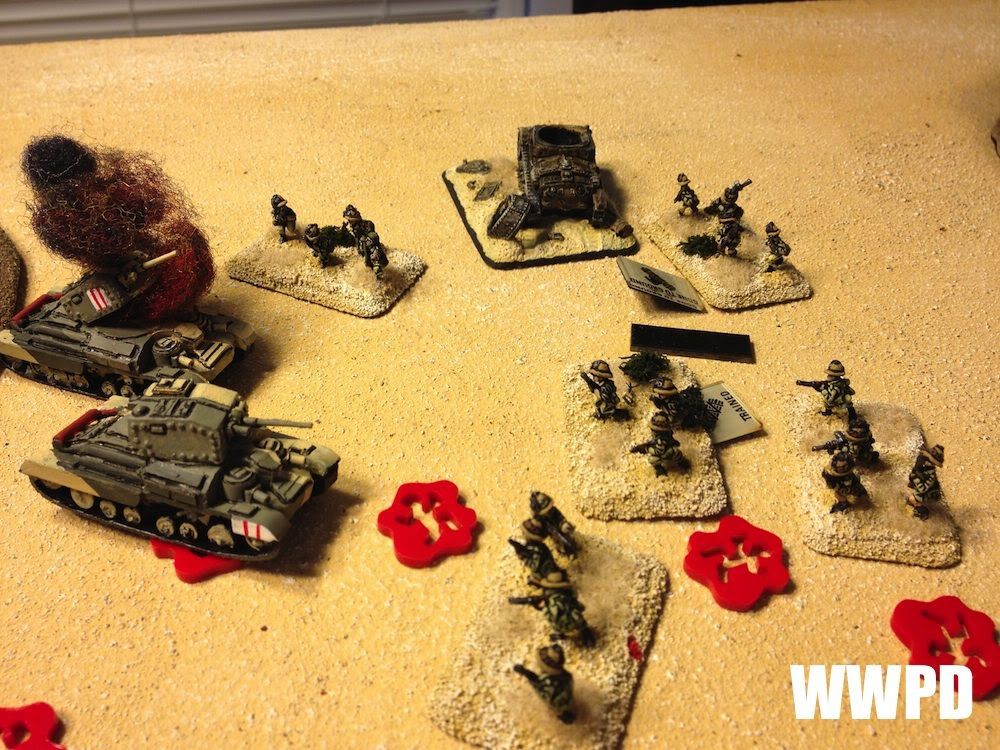
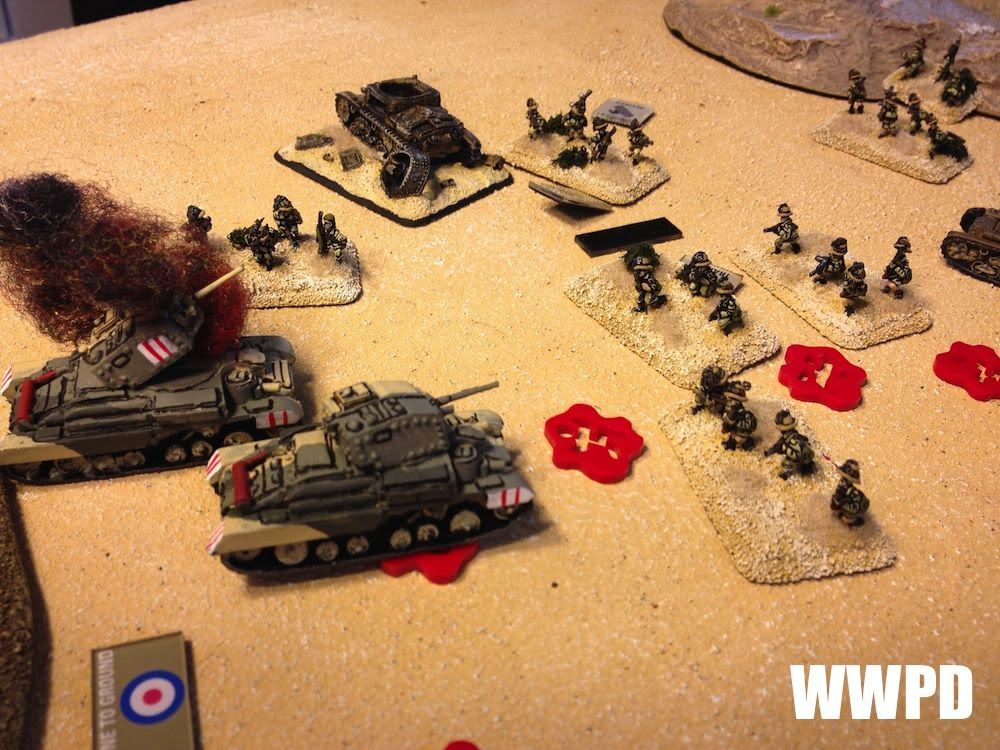
| Bersaglieri and tanks defend an objective. |
 |
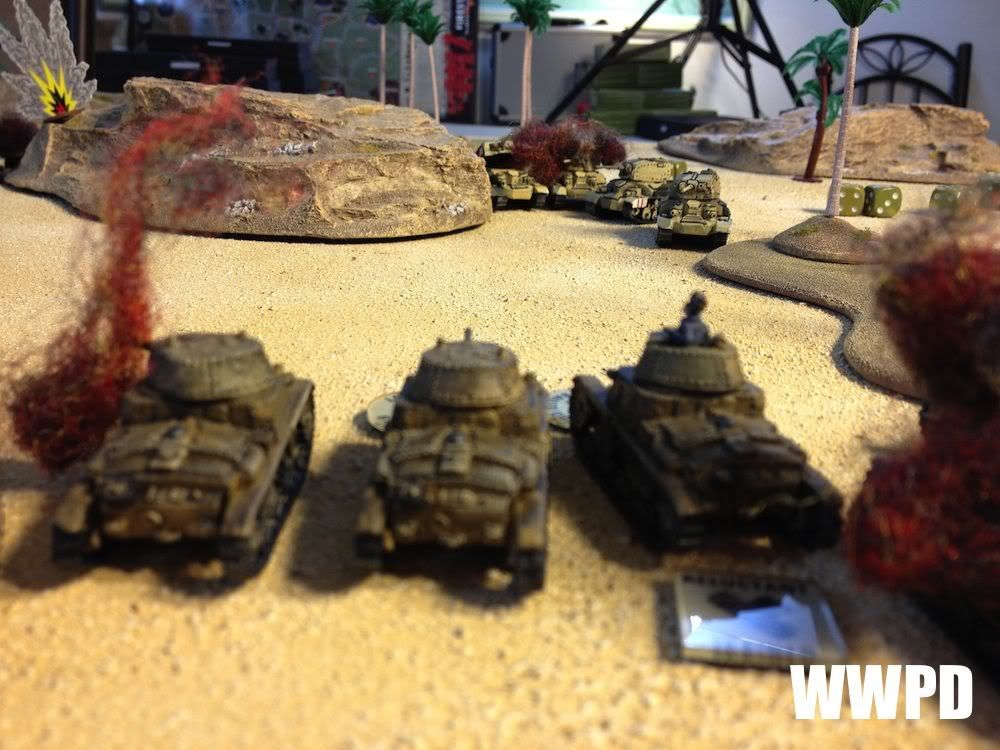
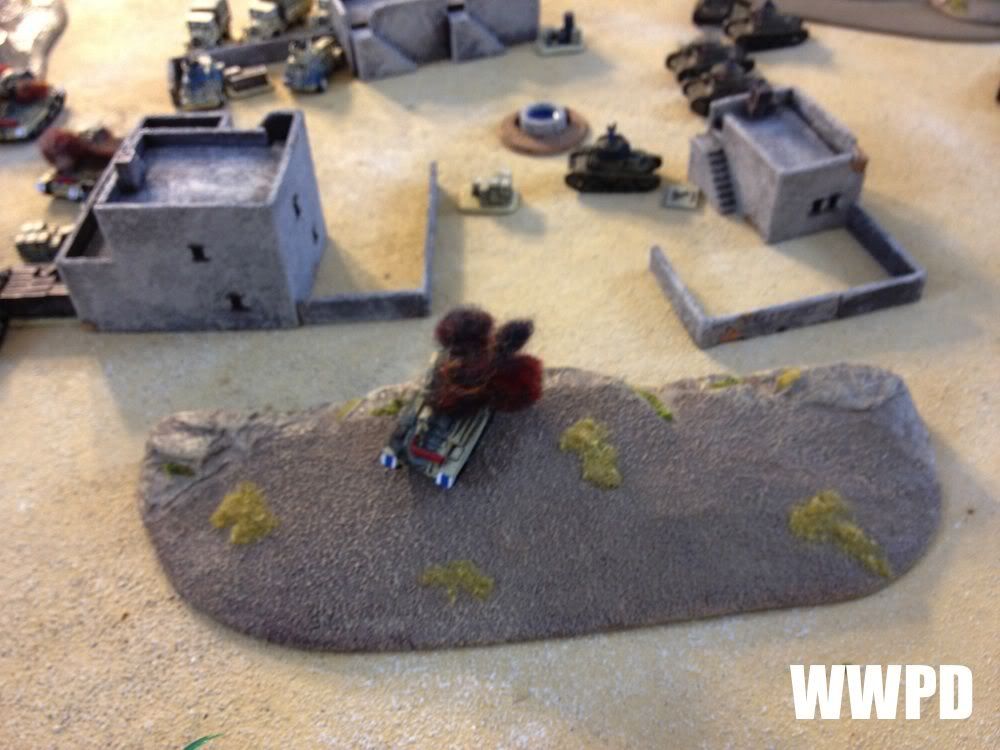
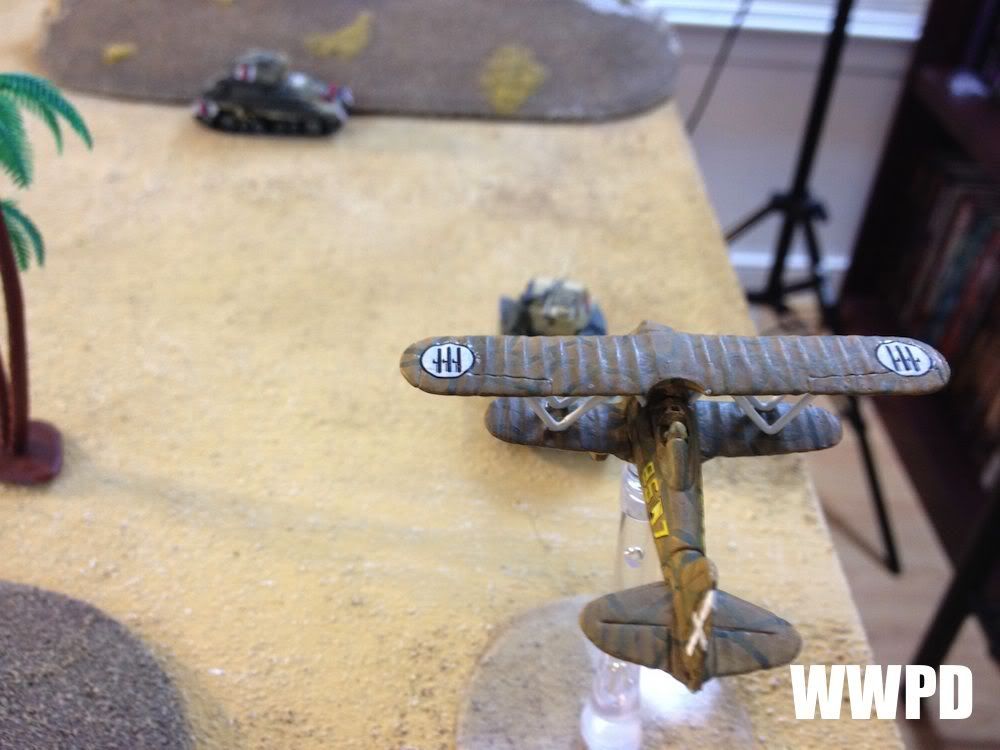
| Elefentinos strike fear in the hearts of the British. |
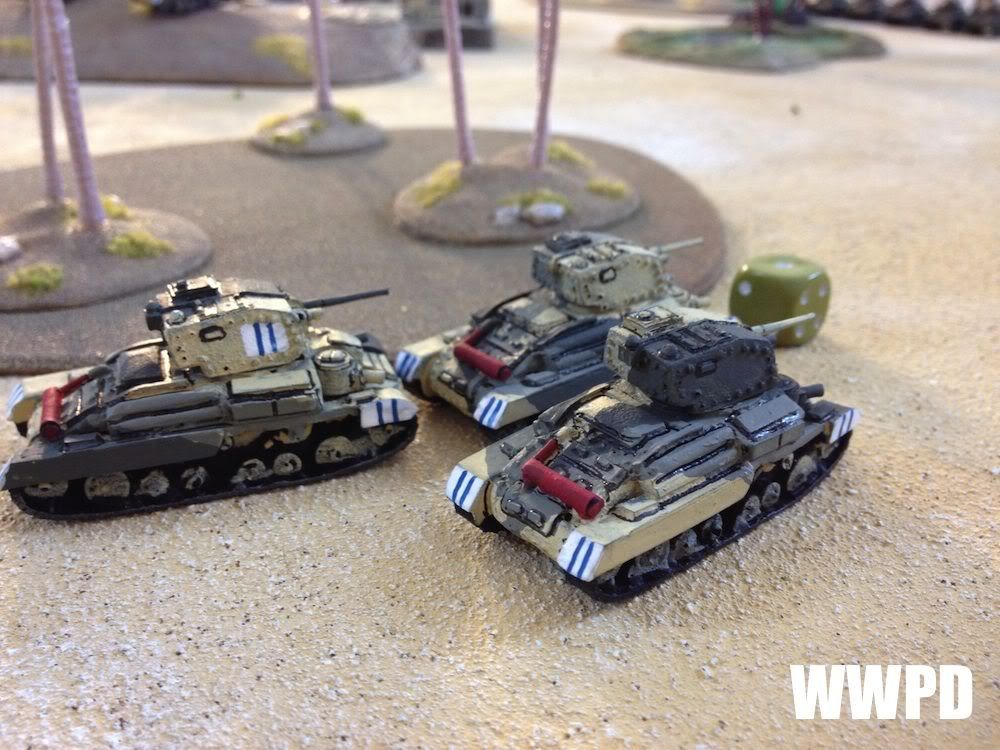
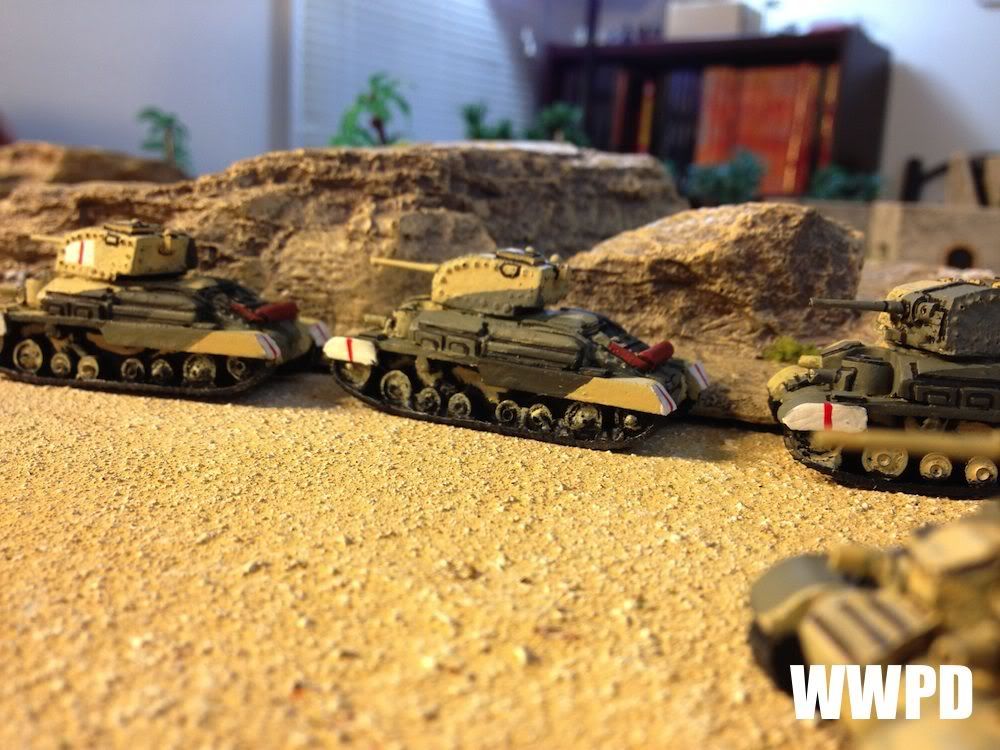
| Steven's British Armoured Regiment |
Sean's Italian Compagnia Carri |
| Steven's British Armoured Regiment: Tally Ho! Sean's Italian Compagnia Carri: Guns defend both flanks while intermixed armor and infantry braces for the BAR. Sean rolls reasonably well for his 8 Million Bayonets with most Elite units coming up confident trained except one tank unit which is reluctant trained. Both gun platoons are Confident Veteran. | |
TURN 1
 |
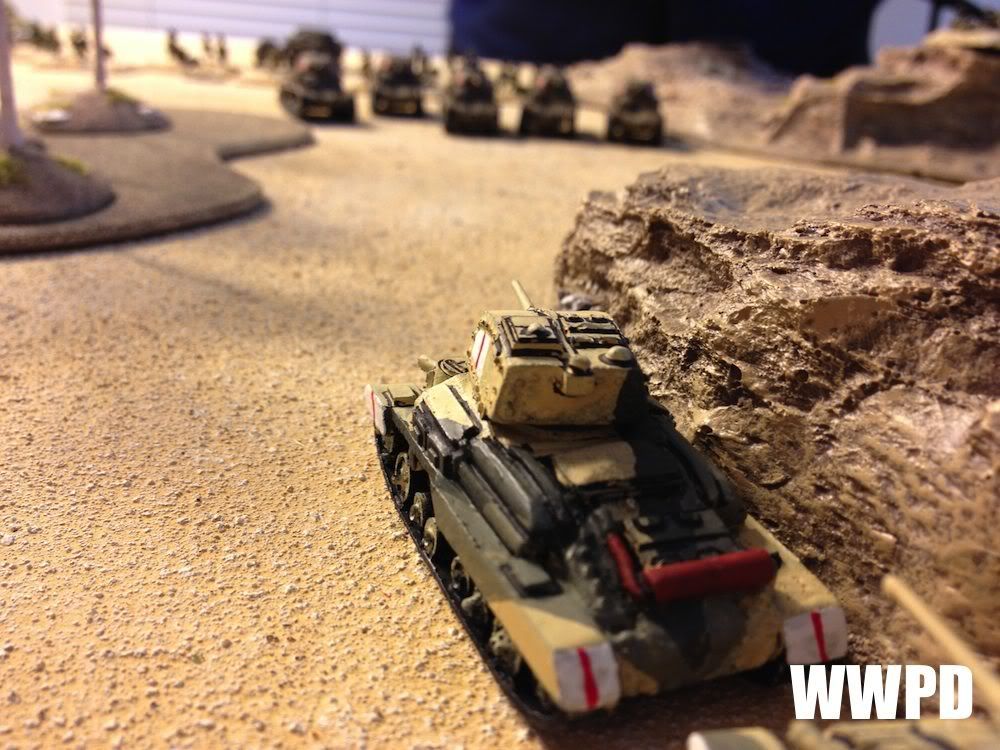
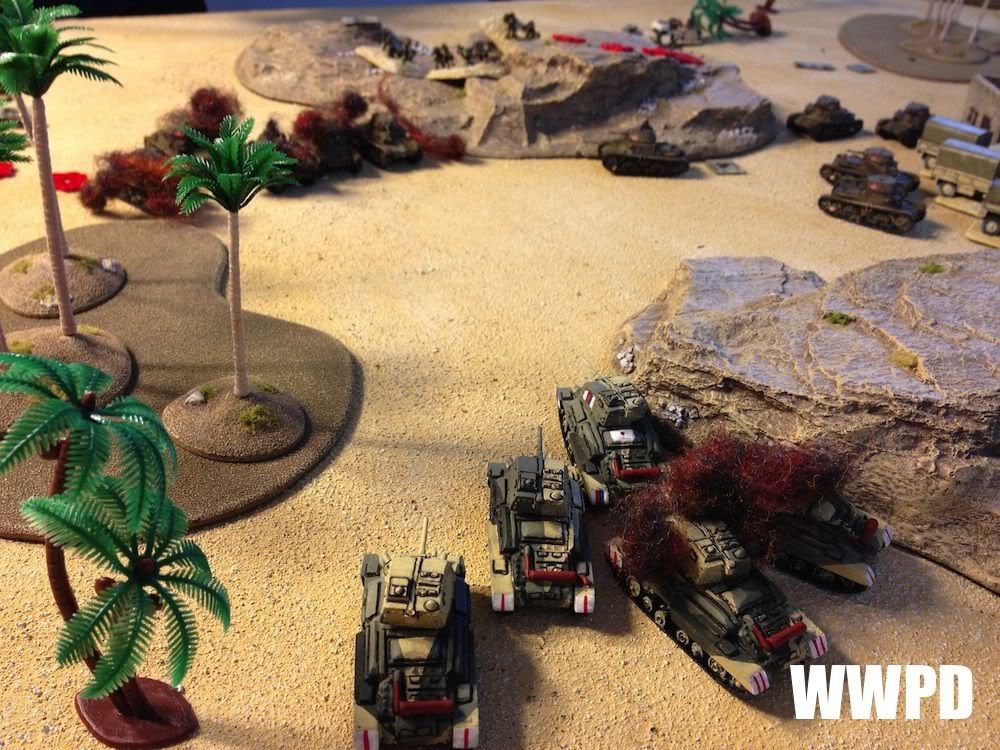
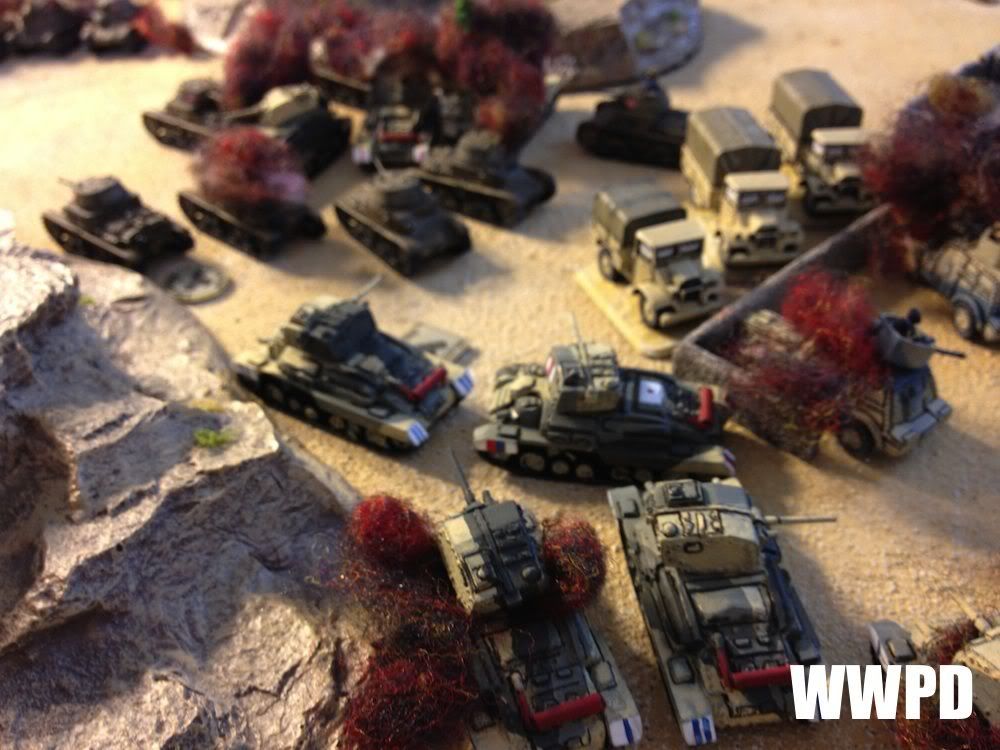
| The Regiment gets moving! |
 |
| The XO and extra HQ tank push up the right flank. |
 |
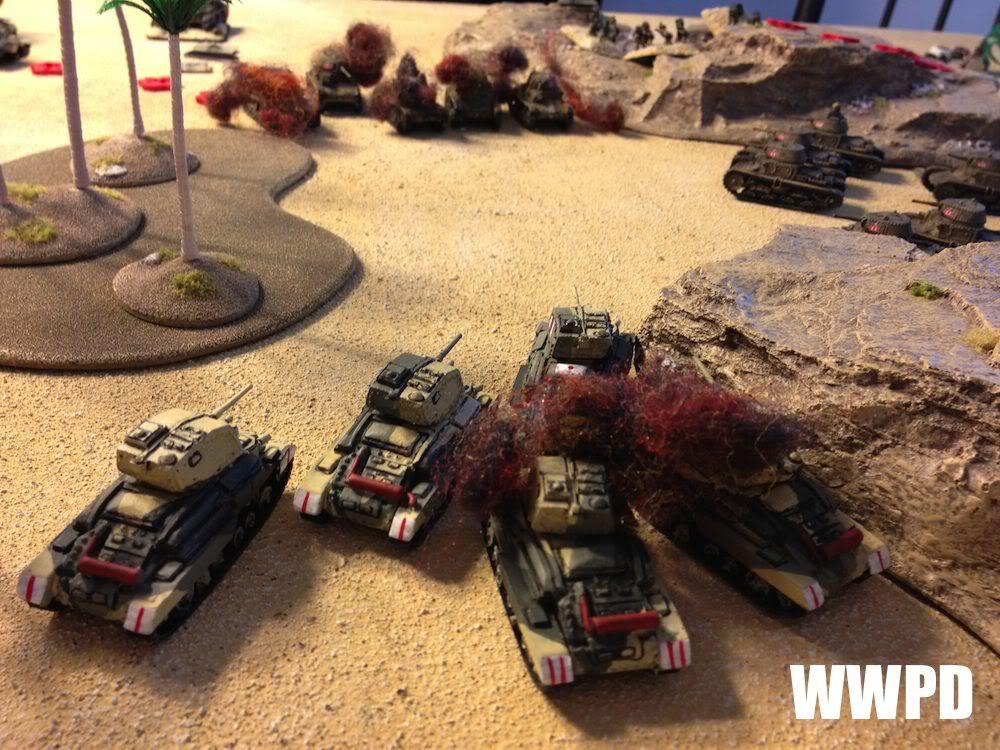
| Cruisers hug terrain. |
 |
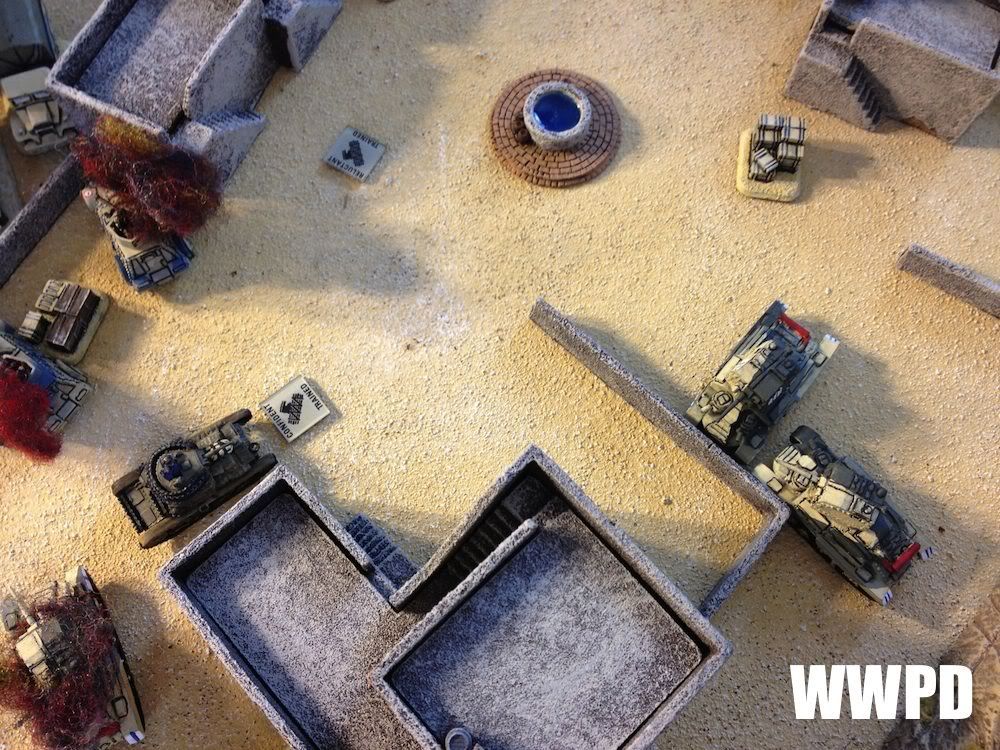
| Red Squadron HQ keeps an eye on the town. |
 |
| Blue HQ takes up high ground also overlooking the town. |
 |
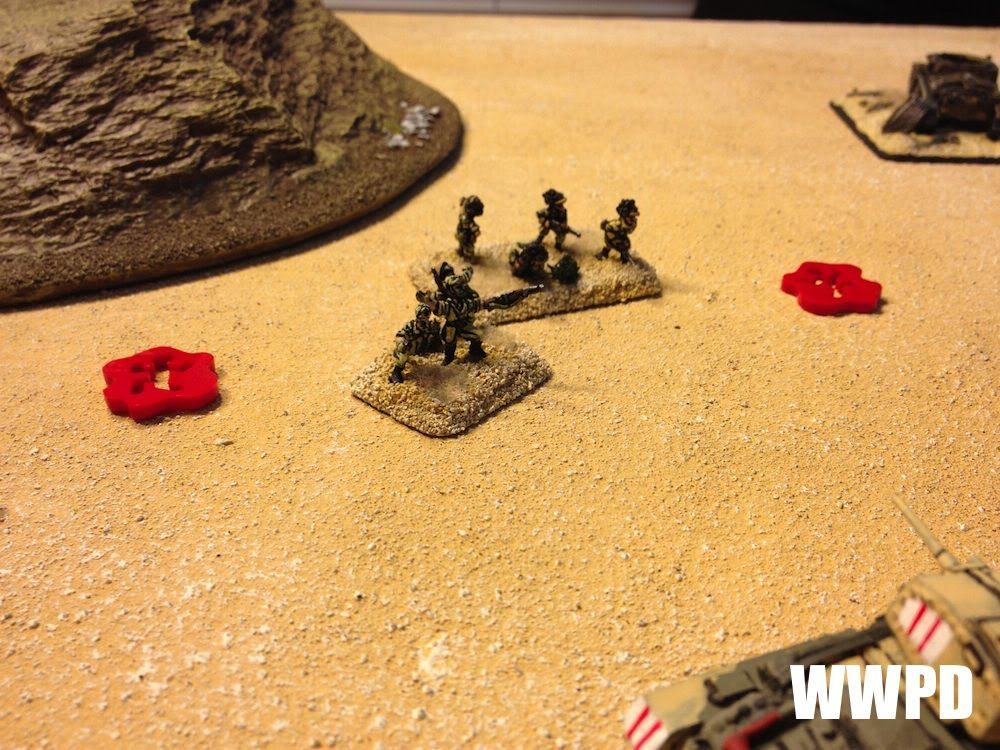
| Leftenant- radio HQ and tell them we've spotted the enemy! |
 |
| Driver- stop! |
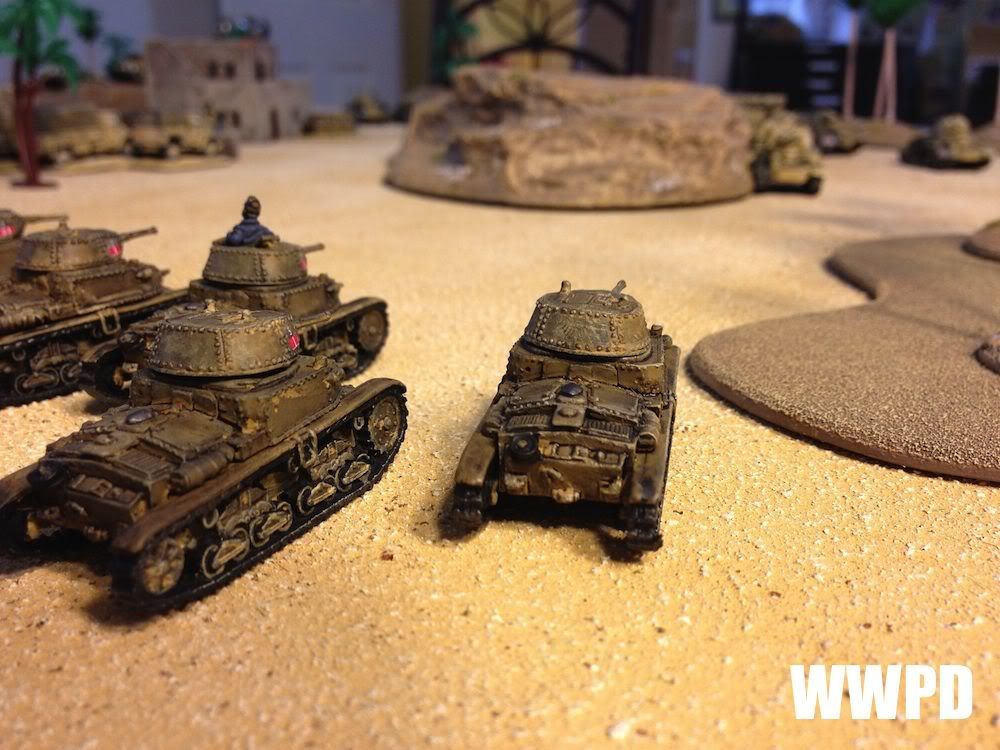 |
| The Italians lurch forward. |
 |
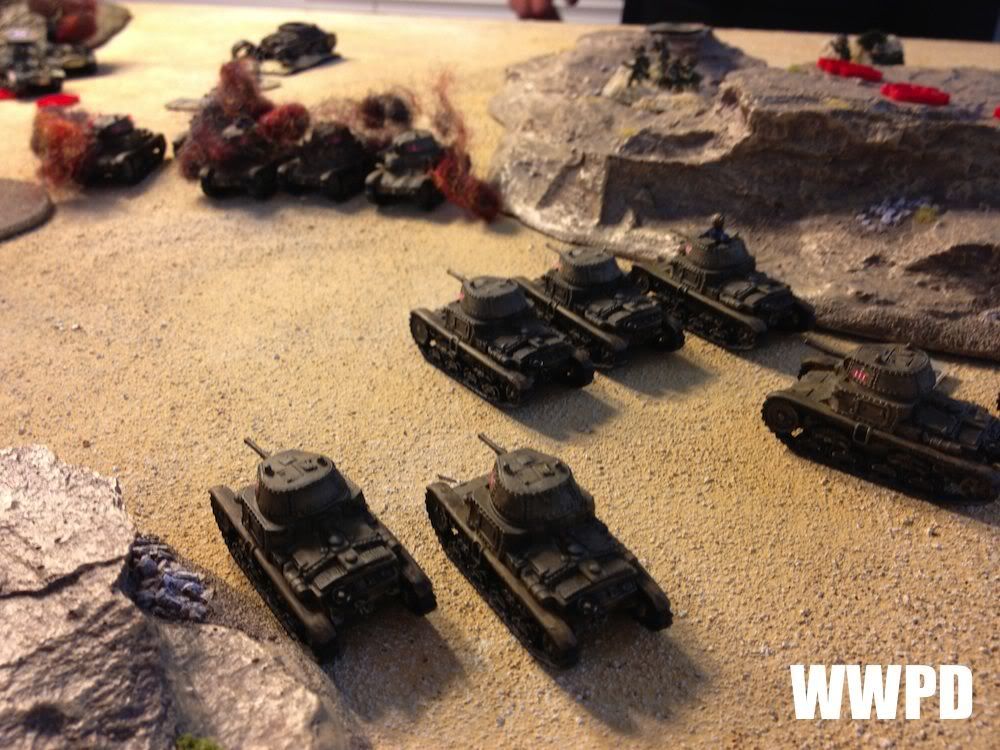
| Elefentinos setup a commanding view |
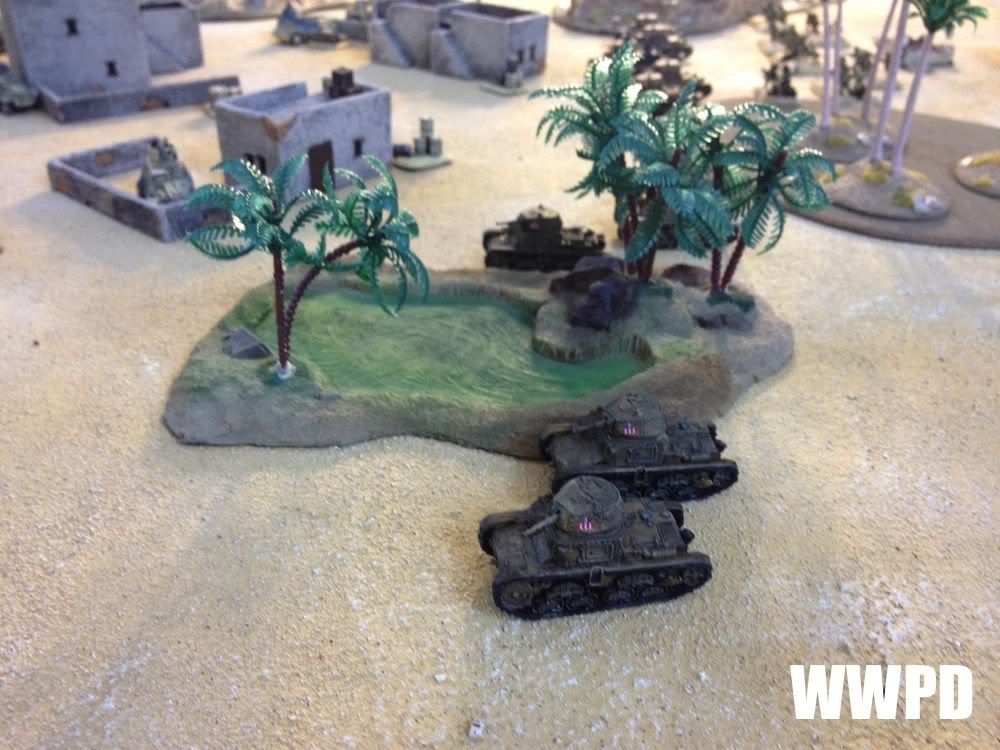 |
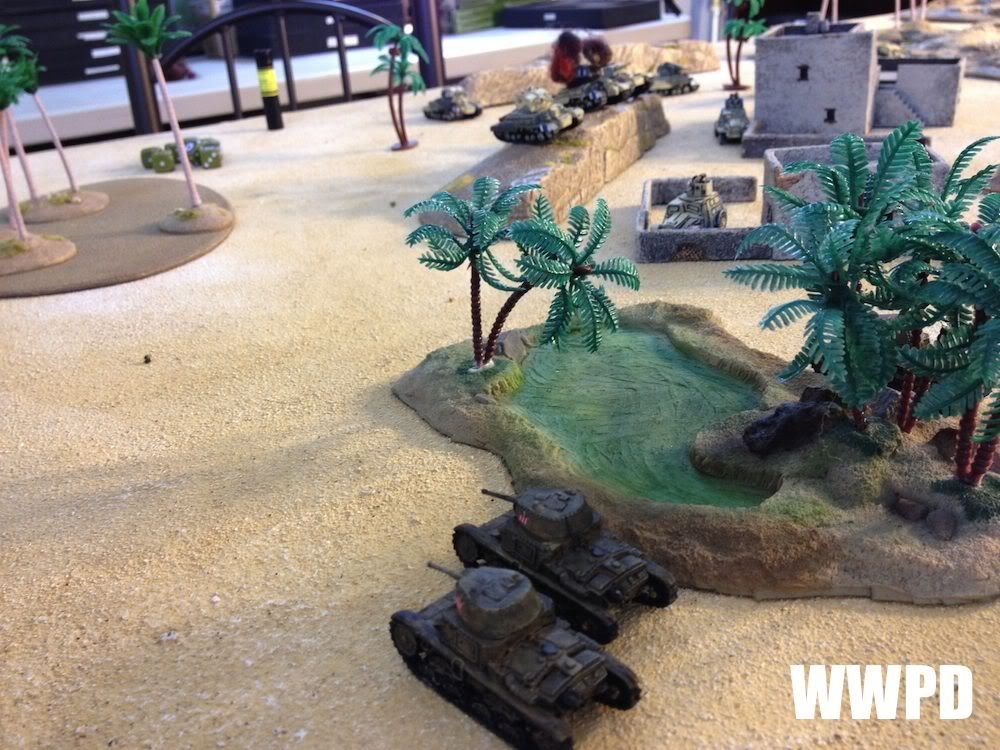
| M13s probe the town and oasis. |
 |
| Long range fire knocks out an A9 |
 |
| The Italian CO leads the way. |
 |
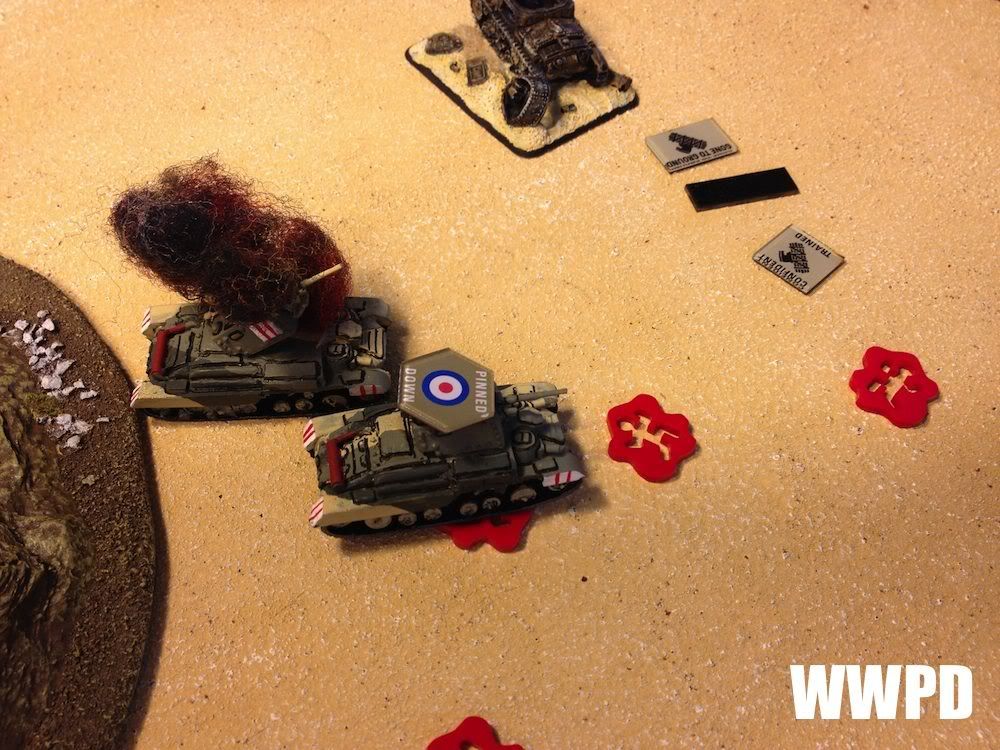
| Another A9 falls. |
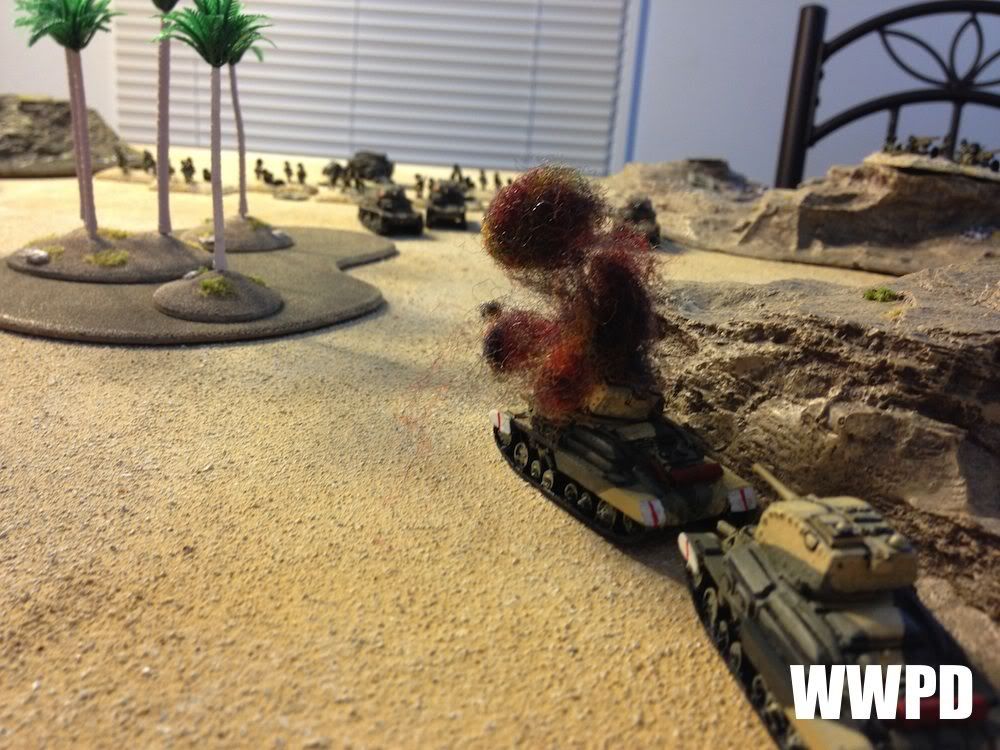 |
| Unfortunately, it was the Lieutenant. |
Steven's British Armoured Regiment
|
Sean's Italian Compagnia Carri |
| Steven's British Armoured Regiment: General advance. The HQ sections setup in an overwatch position.
Sean's Italian Compagnia Carri: All the tanks roll forward, while the infantry digs in. | |
TURN 2
 |
| Turn 2 |
 |
| Tally Ho! |
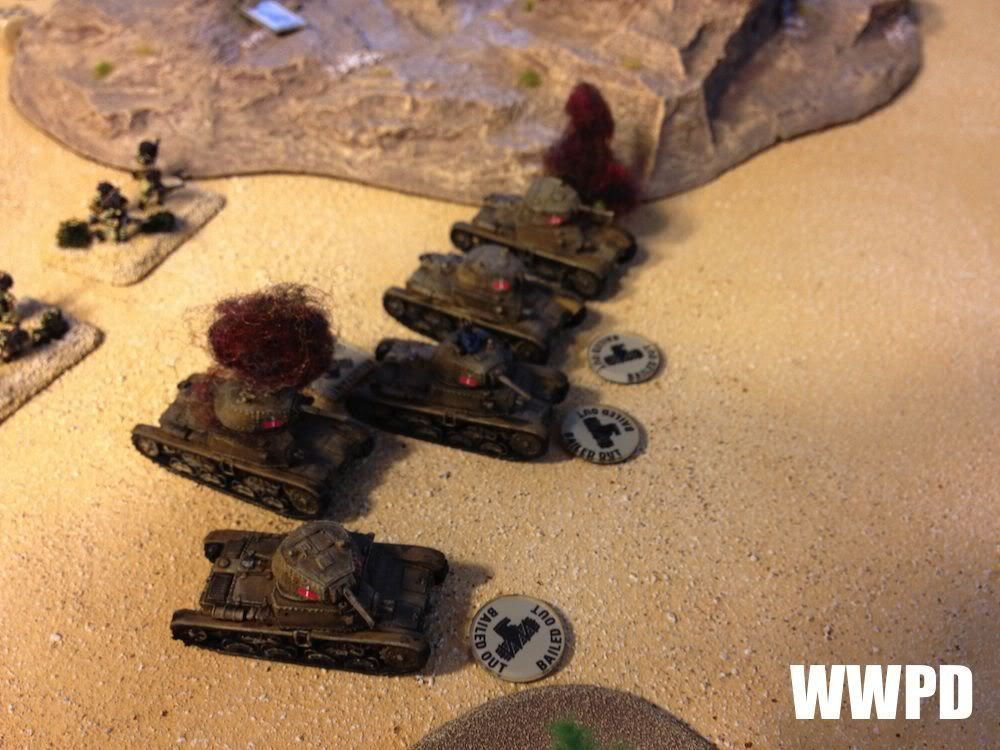 |
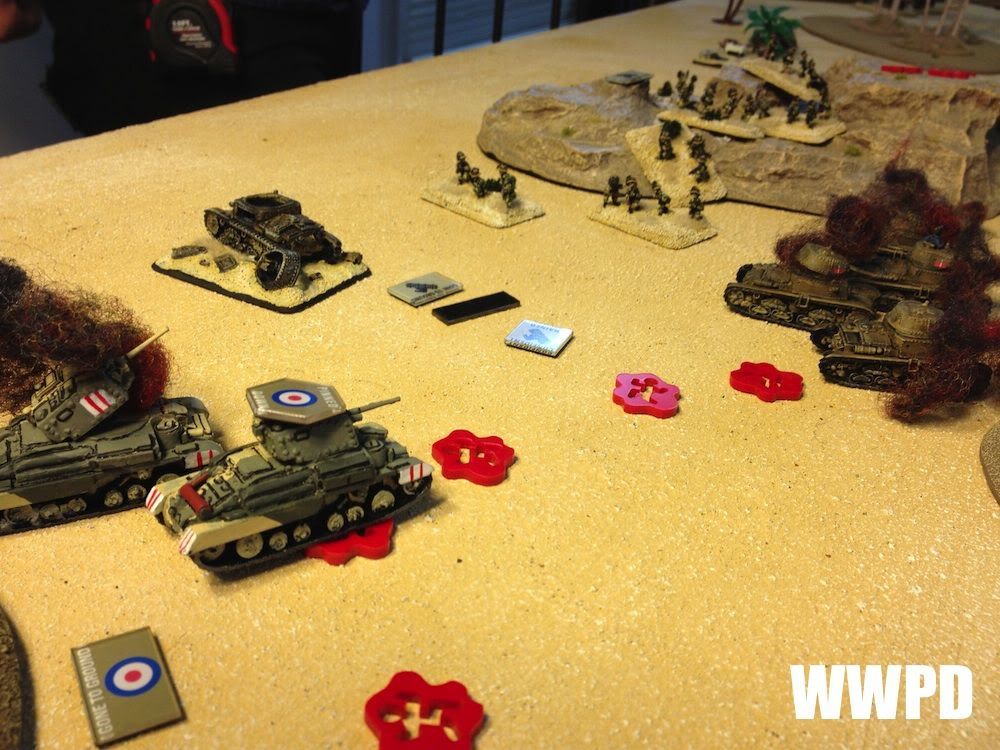
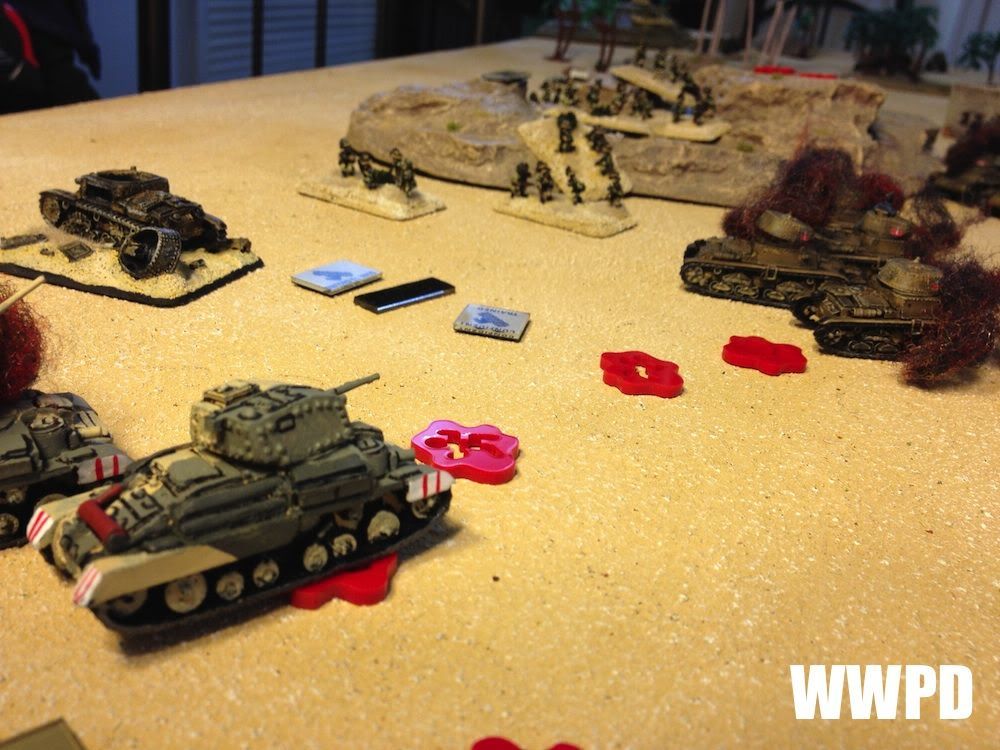
| 2 Pounders tear through the Italian tanks. |
 |
| 2 Elefentinos go down to MG fire |
 |
| Cruisers surge forward in the town. |
 |
| 75s cover the advance on the left by barraging the town |
 |
| Gutting One of the troops. |
 |
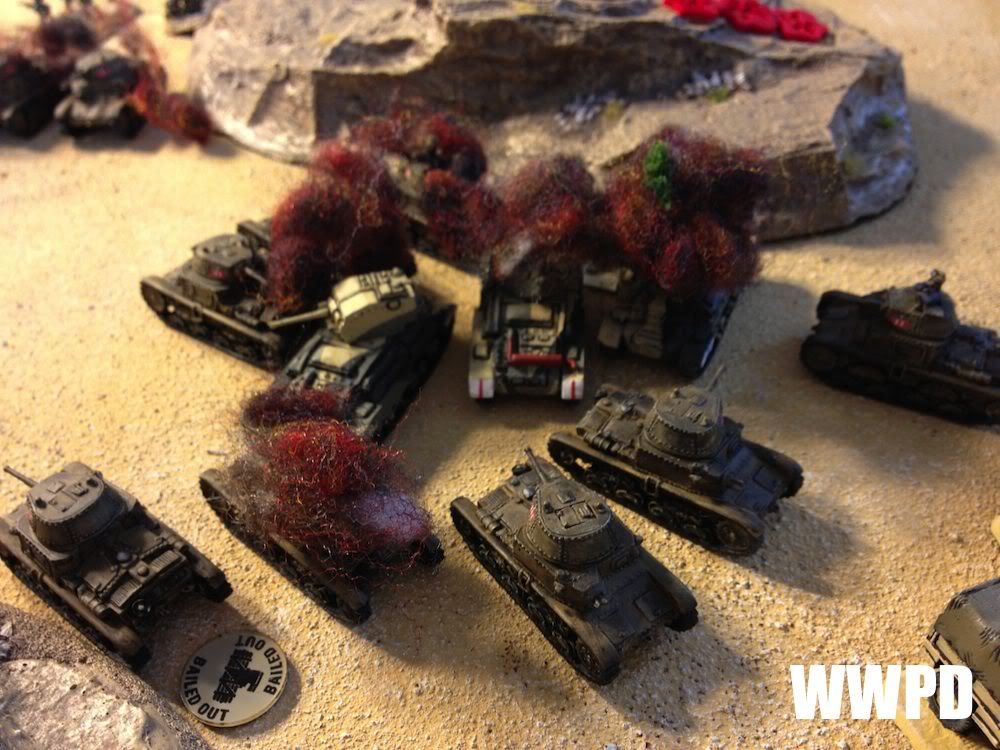
| Italian armor pushes into the town. |
 |
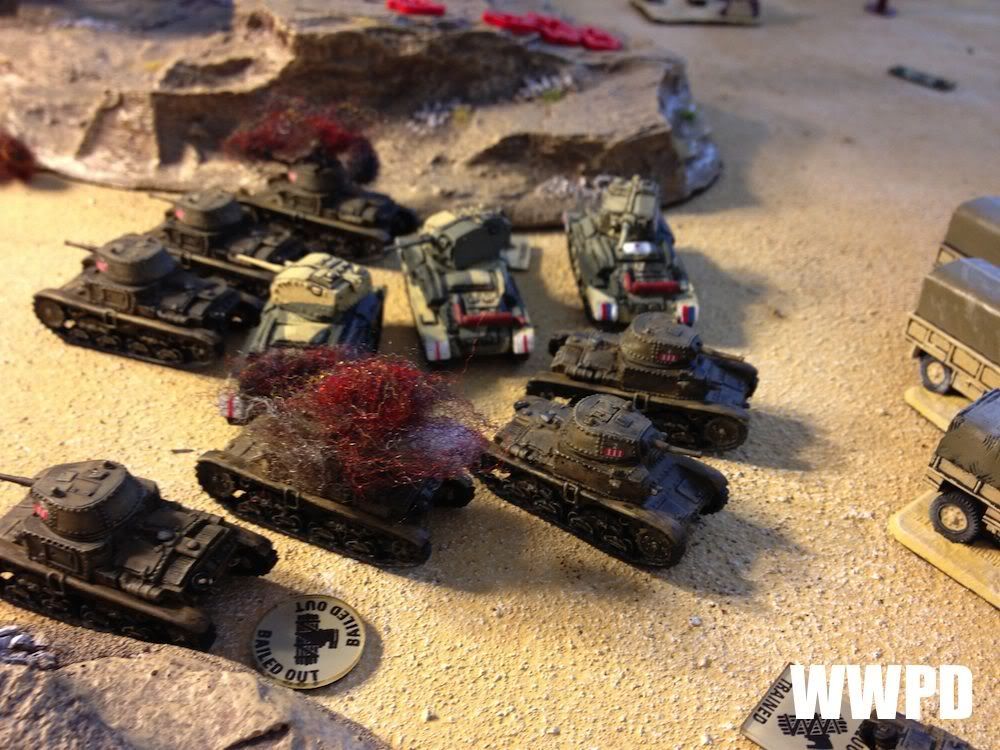
| Elefentinos decide not to dig in- ripping into the British! |
 |
| Blue Squadron HQ quits the field. |
 |
| Followed by "Blue 1" and "Red HQ". 3 Platoons lost in one round! Ouch! |
Steven's British Armoured Regiment
|
Sean's Italian Compagnia Carri
|
| Steven's British Armoured Regiment: British Armor has some initial success pushing the left flank, forcing a check on Sean's one reluctant platoon- which he passes! Sean's Italian Compagnia Carri: Sean's counter punch is brutal, collapsing a huge chunk of the British army as they fall back! | |
TURN 3
 |
| Turn 3 opens with the British in a bad way. |
 |
| On the left, Cruisers keep pushing. |
 |
| Armored Cars wipe out the Elefentinos. |
 |
| The Italian left flank is now looking a bit rough. |
 |
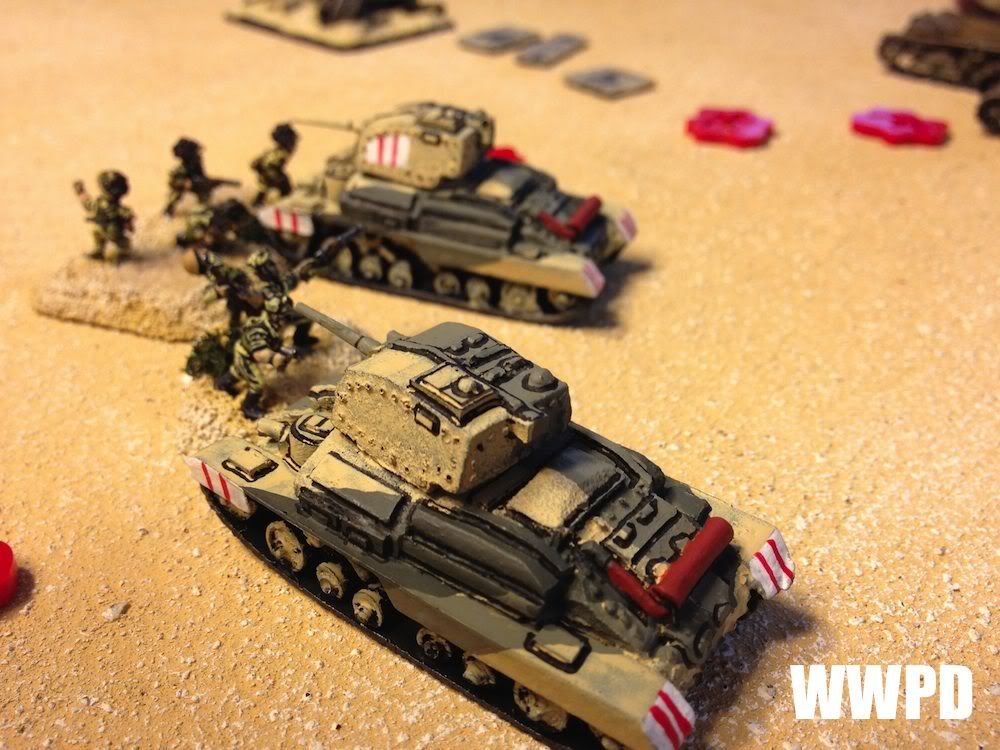
| Bersaglieri try to take advantage of side armor 0 on the A9s! If they can bail one, they can assault! |
|
| The Italian CO leads from the front. |
 |
| The Armored Cars are run off the board! The british are now at half strength. |
Steven's British Armoured Regiment
|
Sean's Italian Compagnia Carri
|
| Steven's British Armoured Regiment: The British have a bit more success, and wipe out the strength of the Italian left- both the Elefentinos and the Reluctant tank platoon. Sean's Italian Compagnia Carri: Sean keeps pushing, as M13s move into and seize the town. | |
TURN 4
 |
| 4 |
 |
| Sean's Bersaglieri are caught in the open, and mercilessly gunned down. "Heroism" is wasted on the platoon commander! |
 |
| Tally Ho! |
 |
| The Unknown hero fights on! |
 |
| And suddenly the British hold the objective with no italians in sight! |
 |
| Every available M13 turns back towards the objective- they must stop the British! |
 |
| The British on the objective are screened by burning Italian armor. |
 |
| But an Italian Tenente knocks out 1 of the A9s, putting them below half! |
 |
| the LAST shot Sean makes bails the other cruiser! The objective stays open for now! (Yes, we were out of bailed markers!) |
Steven's British Armoured Regiment
|
Sean's Italian Compagnia Carri
|
| Steven's British Armoured Regiment: "red" 2 immediately counters the Bersaglieri, wiping them out and grabbing the objective! Sean's Italian Compagnia Carri: Everything diverts to the objective, barely managing to keep the Italians in the game! | |
TURN 5
 |
| The last A9 in red 2 stays on the board and even remounts! |
 |
| Blue 2 races into the town, hitting Italian armor in the flank. |
 |
| While red 1 focuses fire on the only Italian tank in short range of the last A9 on the objective. All of the firing combines to net absolutely no results. |
 |
| After shrugging off numerous 2 pounder shots, the Italians press on towards the objective, heedless of their exposed flanks! |
 |
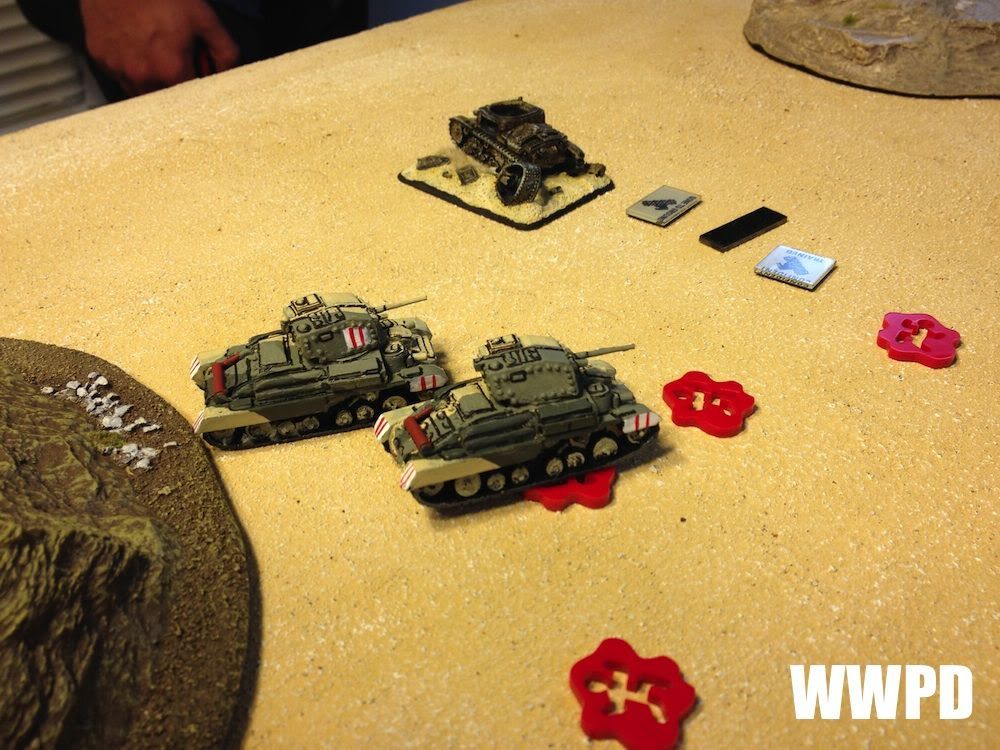
| British Cruisers lie in wait. |
 |
| Only the Italian CO stays behind to cover the advance. |
 |
| And Red 2 is bailed again, but again stays in the fight! |
 |
| Both companies teeter on the brink of destruction. |
Steven's British Armoured Regiment
|
Sean's Italian Compagnia Carri
|
| Steven's British Armoured Regiment: 6 Cruisers come out swinging on the Italians' flanks- doing nothing! Sean's Italian Compagnia Carri: Sean sends everything towards the objective, and also sees his shots do next to nothing. | |
TURN 6
 |
| The game hangs in the balance as both companies are on the brink of destruction. |
 |
| TALLY HO! |
 |
| Cruisers race forward, bailing the CO- who is just out of range of "jump distance" |
 |
| And again the last A9 of Red 2 remounts and fights on. |
 |
| The under-reported right flank saw a humorous back and forth between the British 2iC and 1 Italian M13. Finally the British 2iC decisively wins. |
 |
| The furball ensues. |
 |
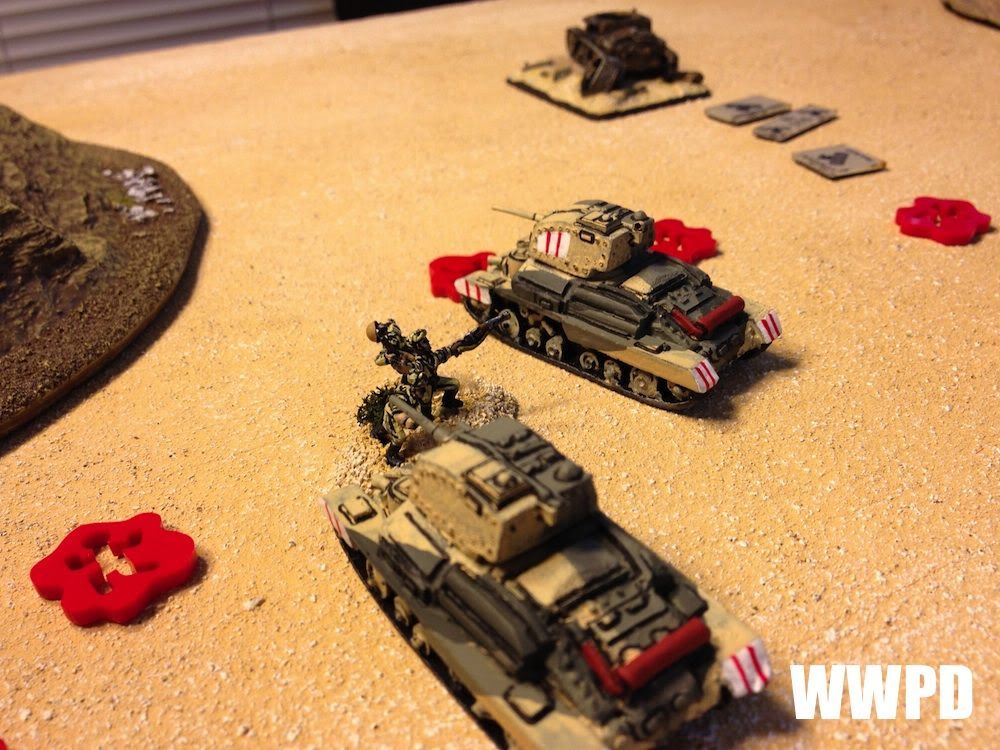
| Bersaglieri runs up and attempts to assault the A9, but fail Tank Terror! |
 |
| Italian guns turn on the British CO and Red 1. |
 |
| With predictable results. The British are now below half strength! Fortunately the British CO jumps into a tank from Blue 2. |
 |
| The 2 COs wind up in very close proximity. |
 |
| The lone Italian sortie. |
 |
| yaaaaay. |
 |
| Stiff upper lip! |
Steven's British Armoured Regiment
|
Sean's Italian Compagnia Carri
|
| Steven's British Armoured Regiment: Cruisers race out and knock out 2 M13s. Sean's Italian Compagnia Carri: Sean knocks the British below half strength, but they pass motivation! | |
TURN 7
 |
| The beginning of the end- one way or another. |
 |
| The British 2iC and HQ tank take a long range shot and knock out the Italian CO. |
 |
| While the other remaining British Cruisers swarm forward, guns blazing. |
 |
| The burning Italian CO. One Italian Tank platoon is knocked below half. Sean must roll morale for them- if failed it's game. It puts his company below half with no CO. |
 |
| And that's it for the Italians! A very narrow 4-3 for the British. |
 |
| The Cruiser from Red 2 still barely contests the objective. |
 |
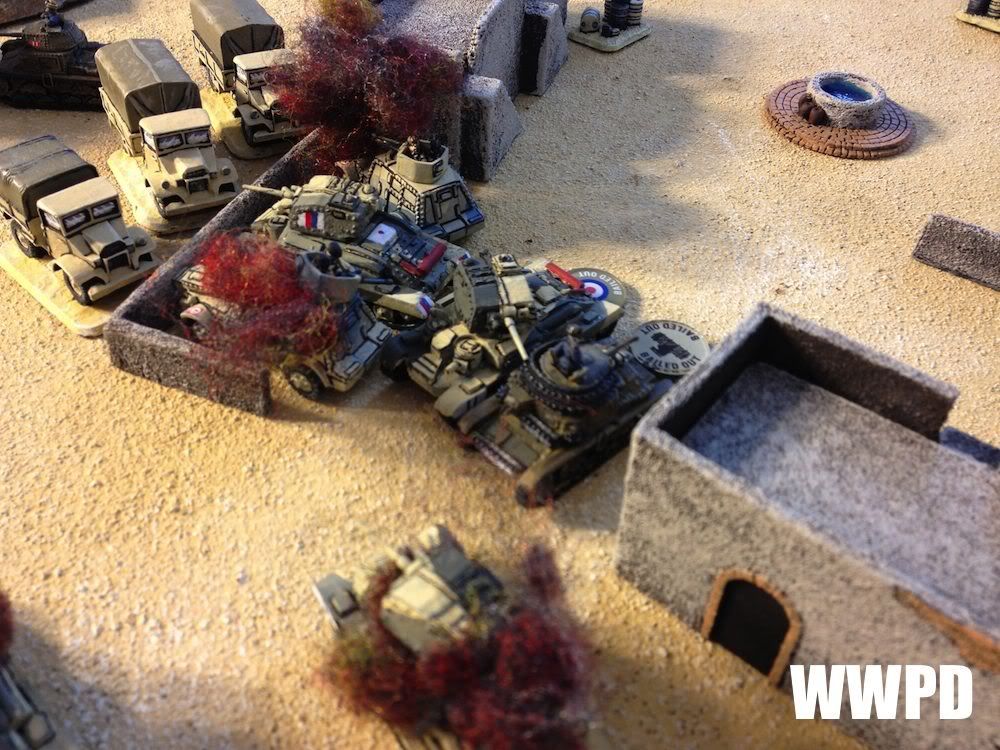
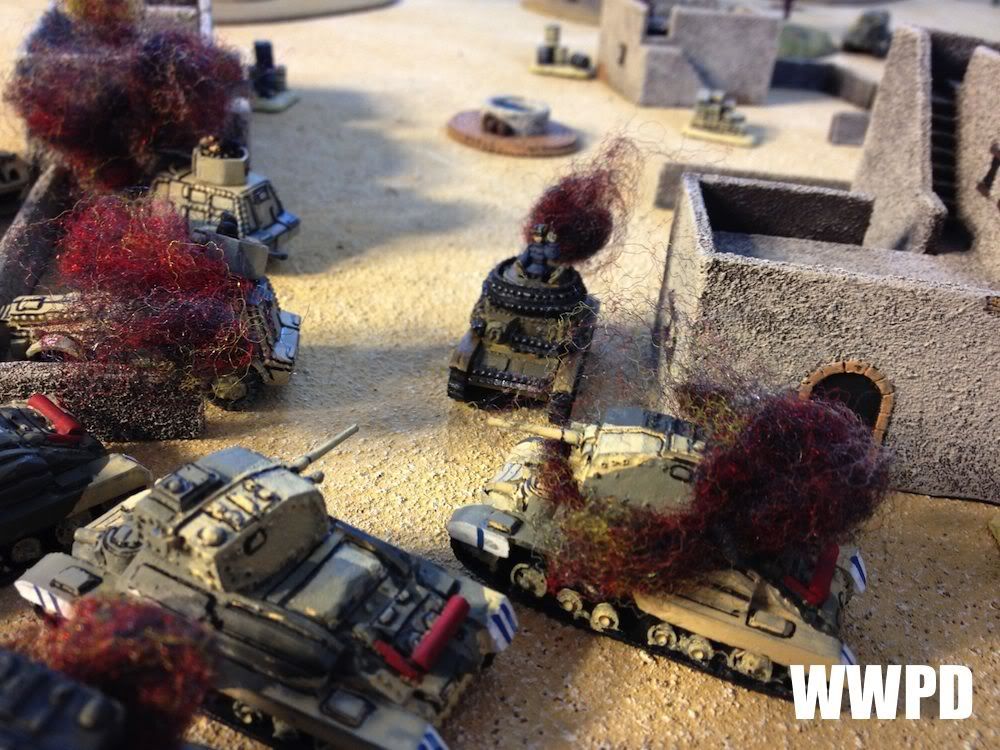
| The carnage in the town. |
Steven's British Armoured Regiment
|
Sean's Italian Compagnia Carri
|
| Steven's British Armoured Regiment: The British come out swinging, and go for the company kill. They knock out the Italian CO, and one tank platoon, securing the victory. Sean's Italian Compagnia Carri: | |
TURN 8
| Steven's British Armoured Regiment |
Sean's Italian Compagnia Carri |
| What a furball! I really thought this game was lost for me (and won for me!) many times before the momentum did a 180 several times. Great game, we had a blast. |
Generated by WWPD's BatRepper Software.


