


 Operation Sea Lion is off! Barges and amphibious tanks hit the British coast near Chesil beach, and Hauptman Von Odenkirk's pioneers are tasked with securing the beach head. The mission is a slightly modified Fighting Withdrawal. SIGN UP NOW FOR OPERATION SEA LION |
German Pioneers
|
British Infantry
|
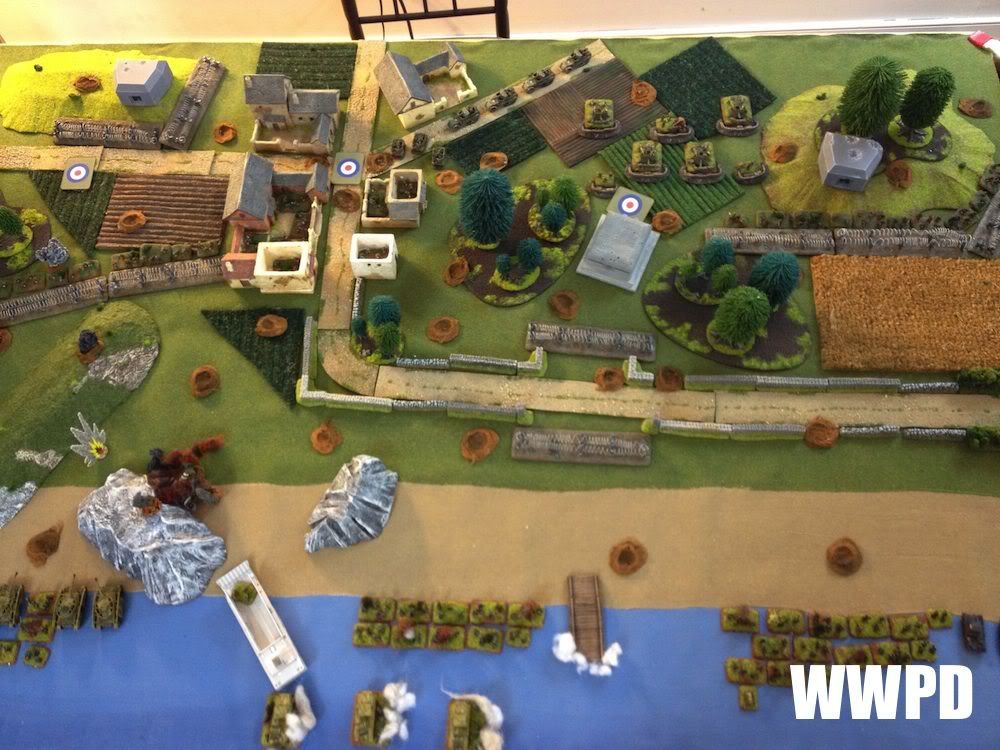
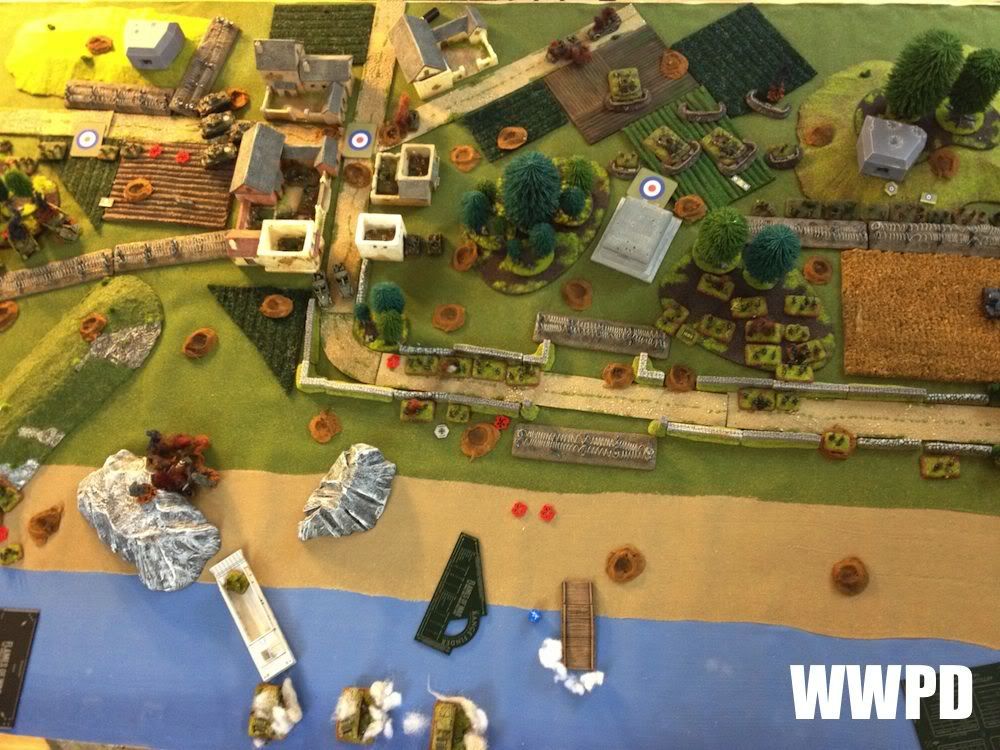
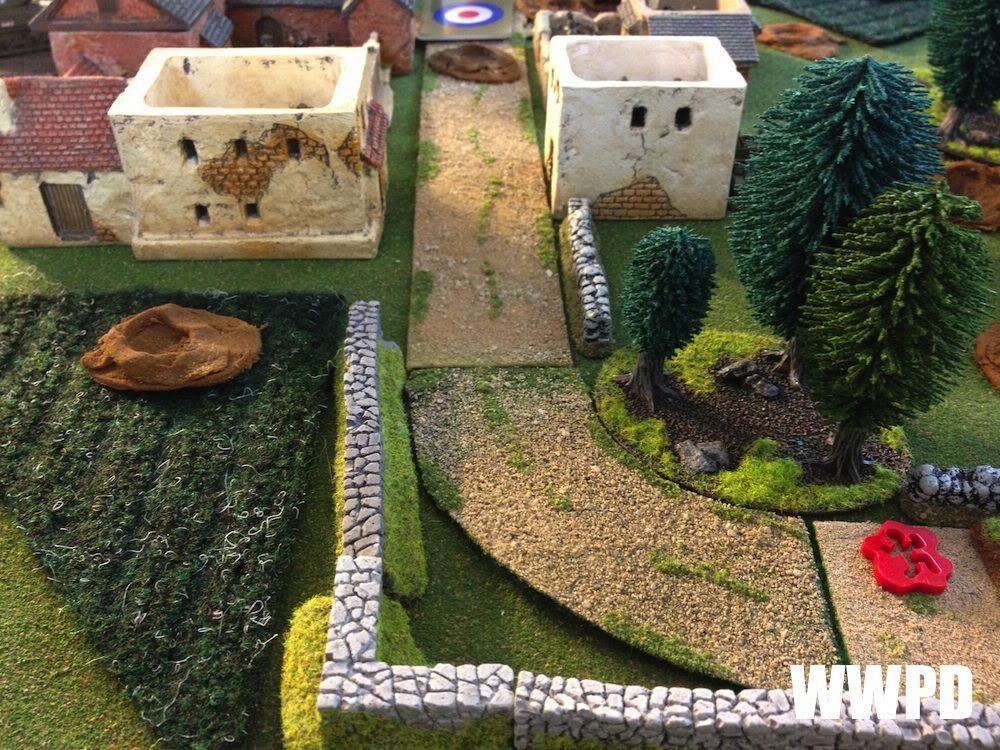
SETUP AND DEPLOYMENT
 |
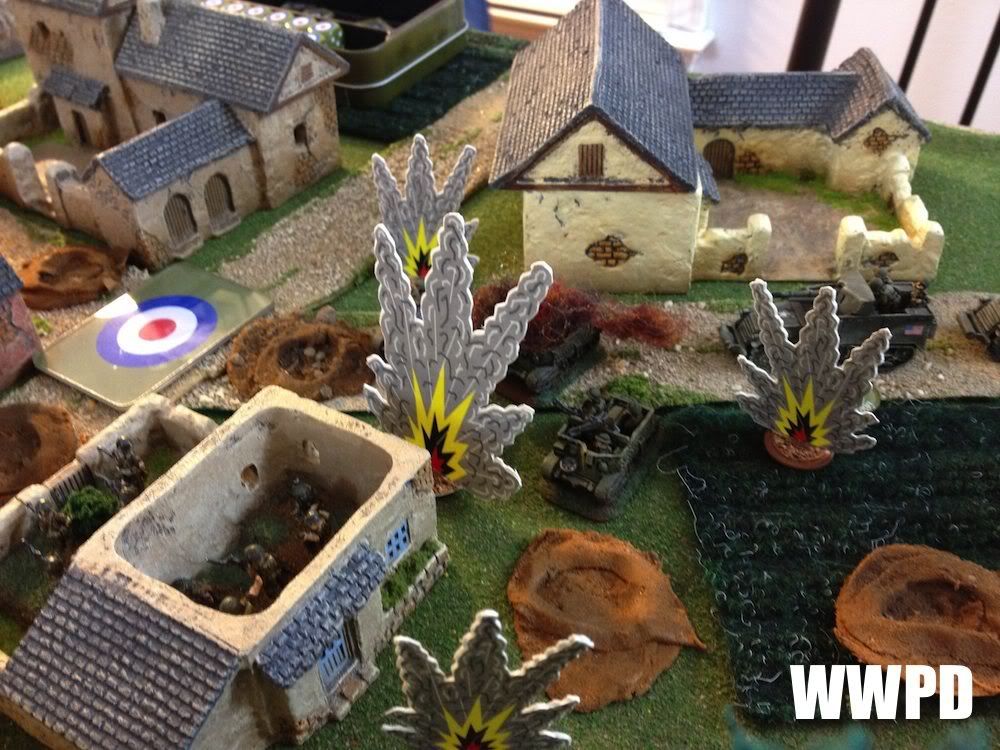
| A naval bombardment signals the attack |
 |
| The Germans achieve total air superiority |
|
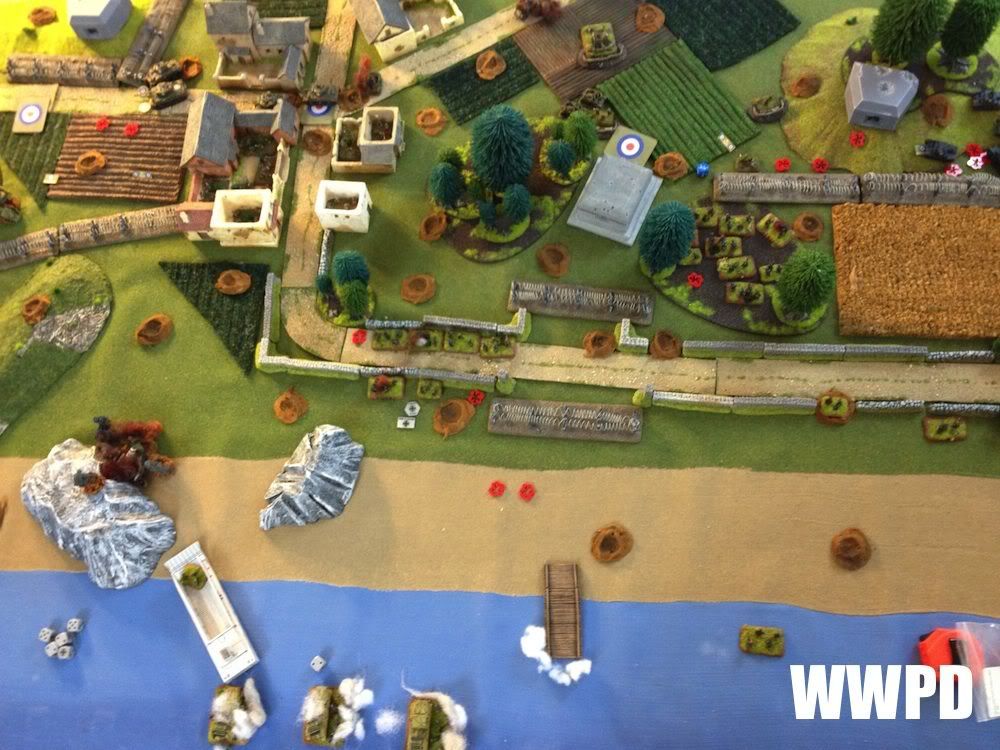
| The assault makes landfall |
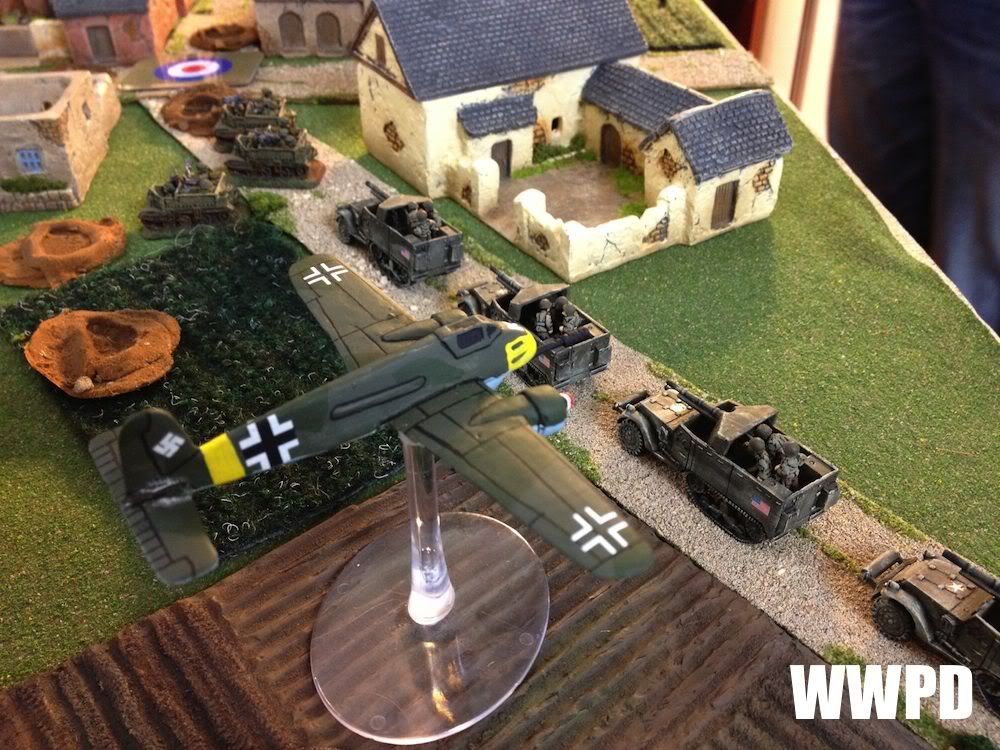 |
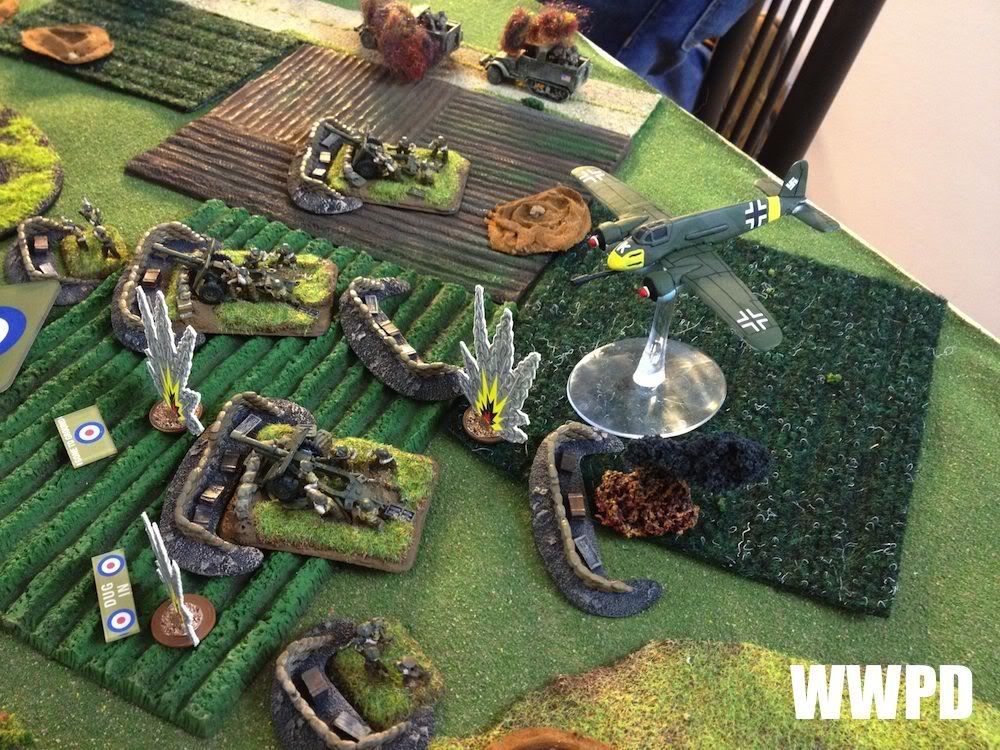
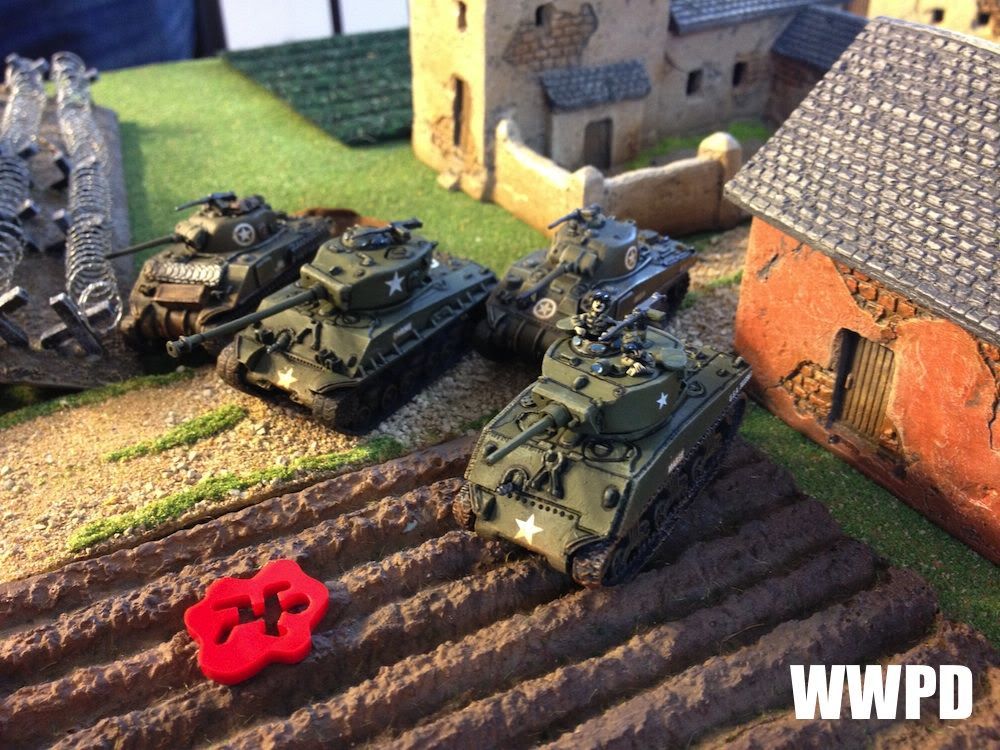
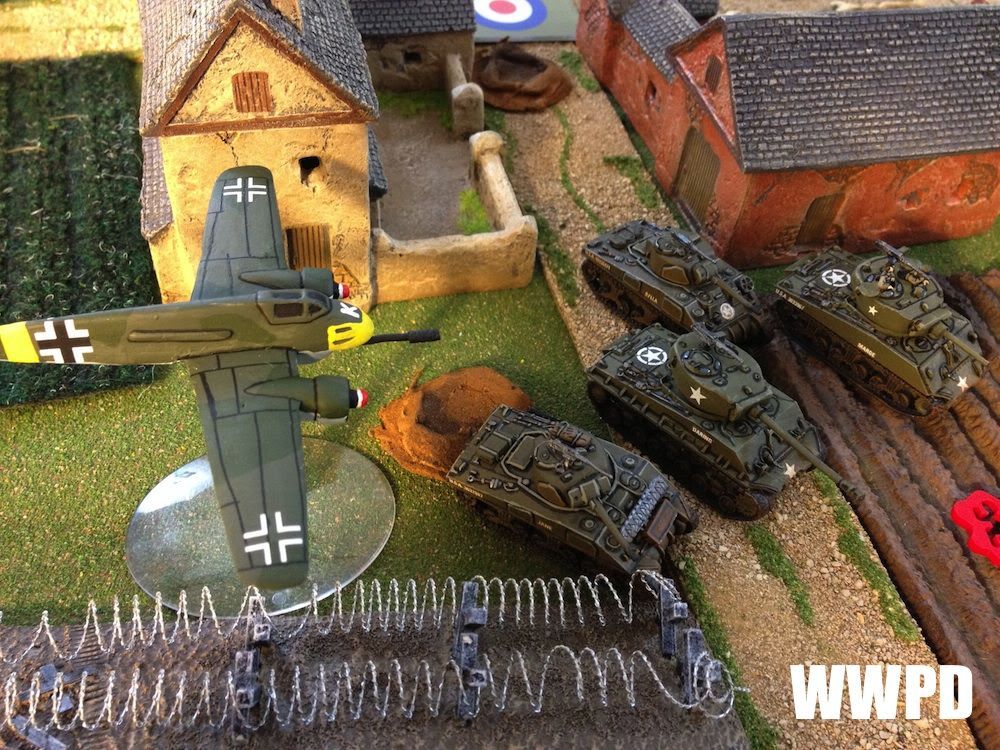
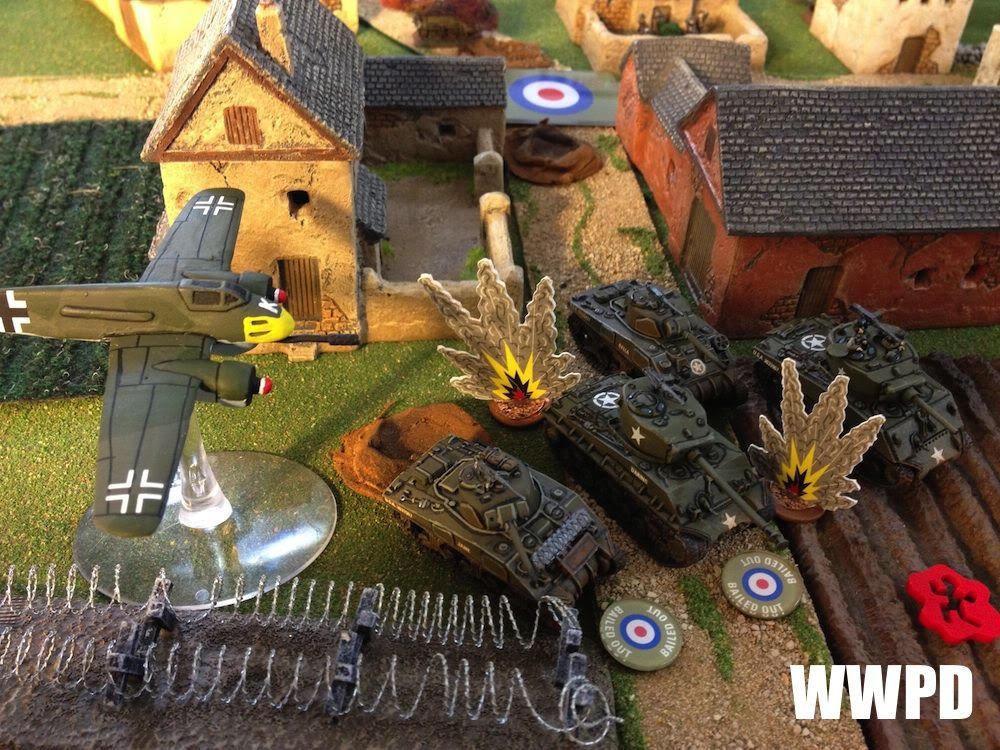
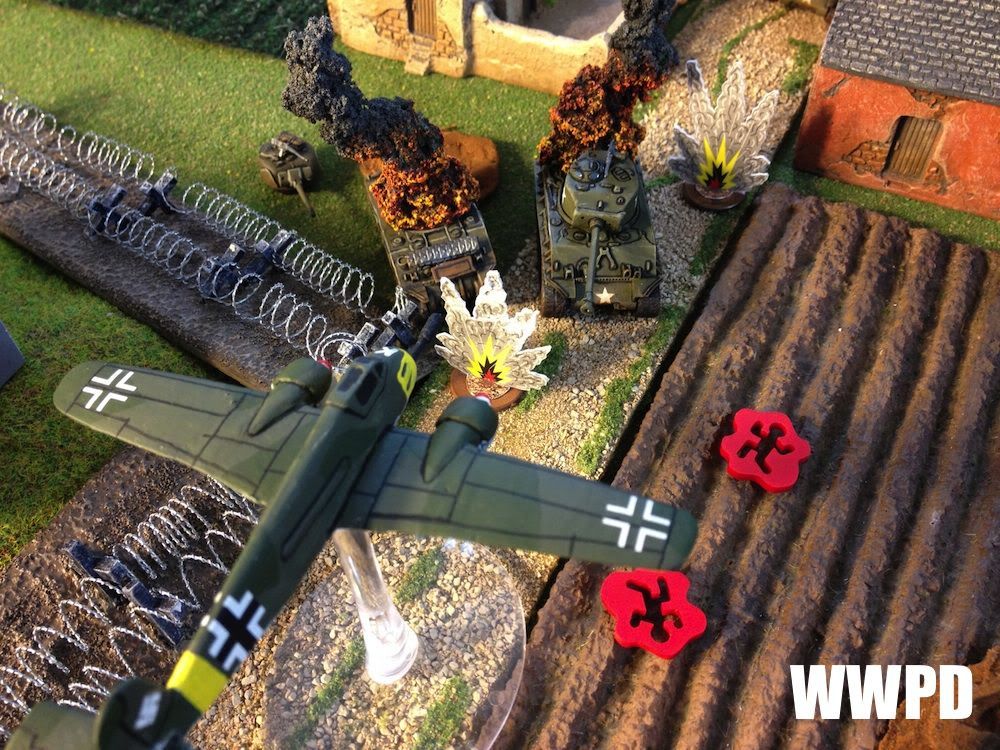
| An HS129 zeroes in on some US 75mm TDs with training crews who are hastily sent to the front |
 |
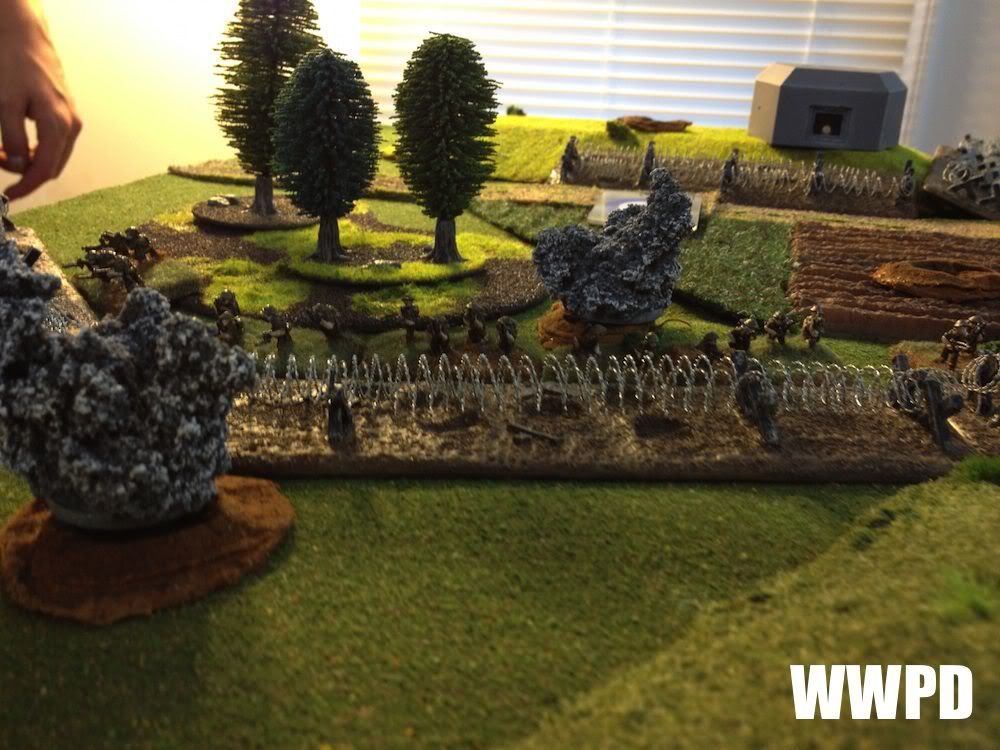
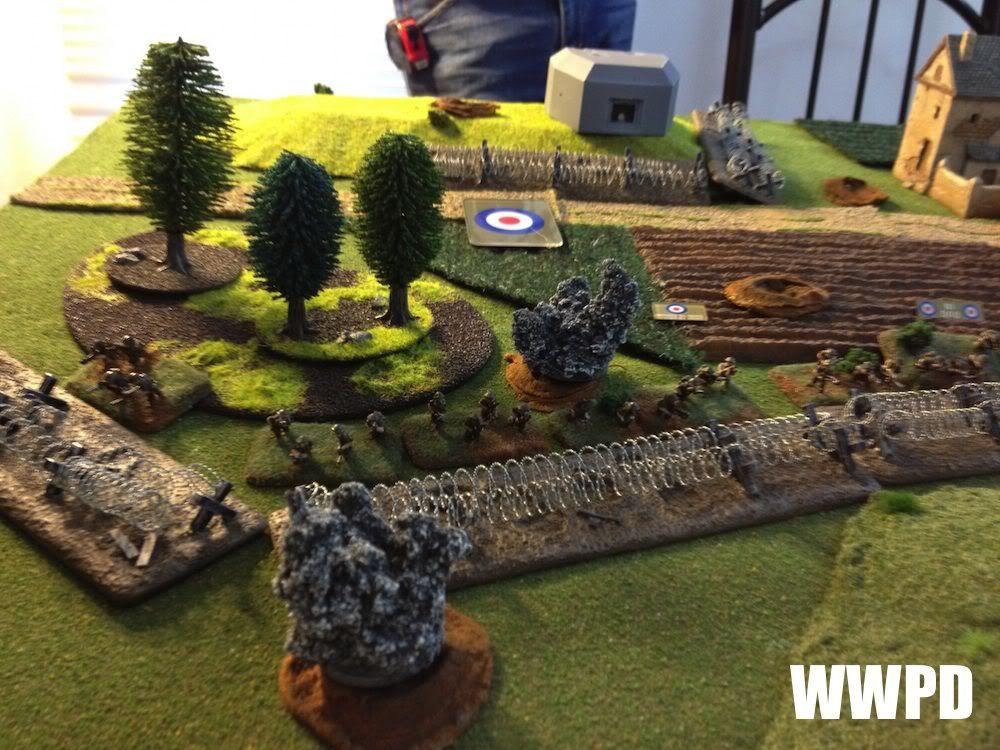
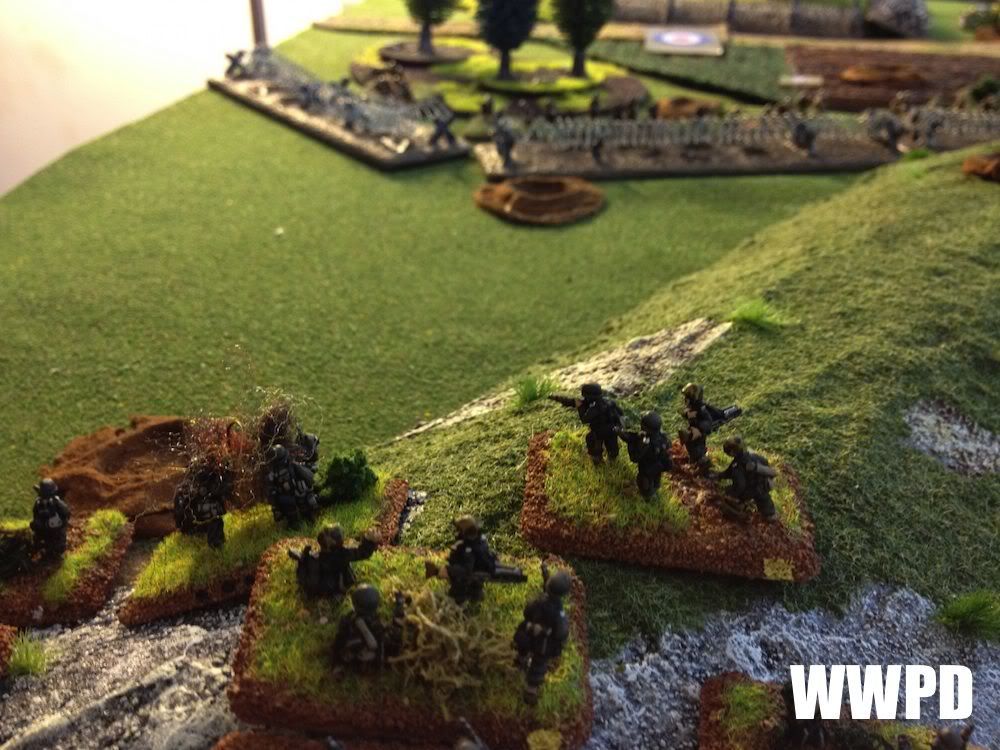
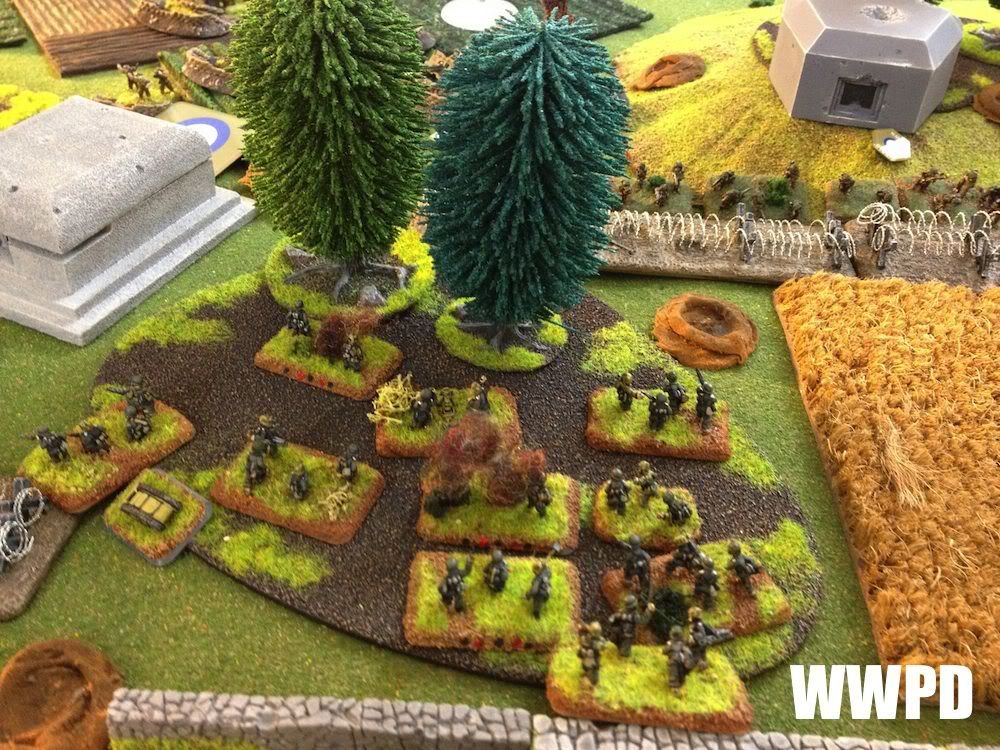
| British defenders |
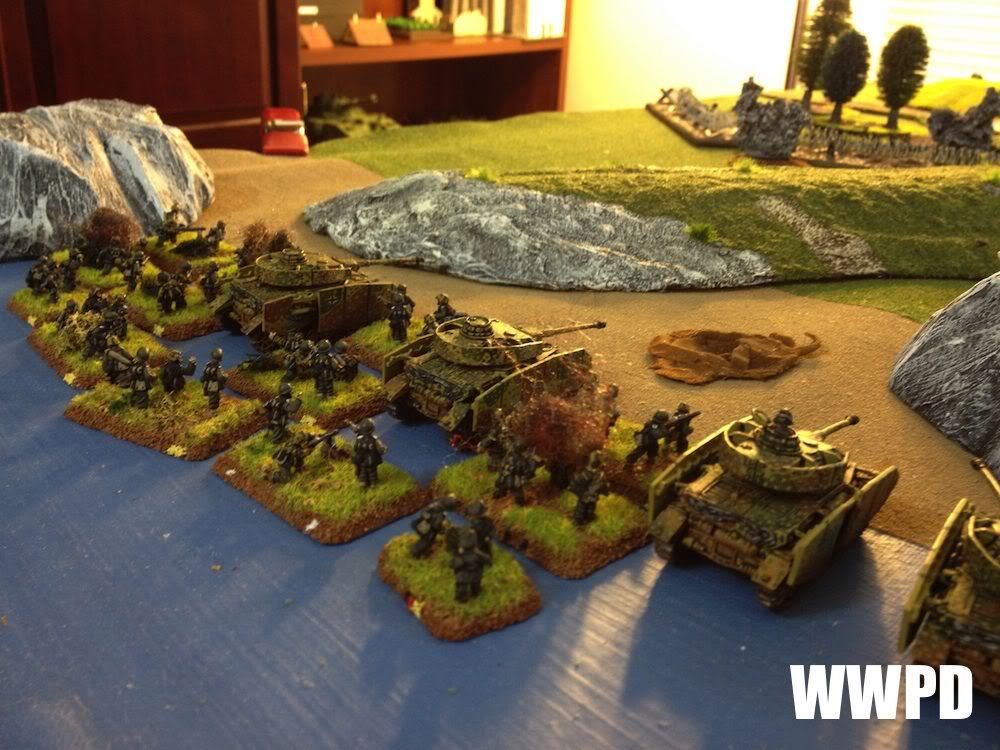 |
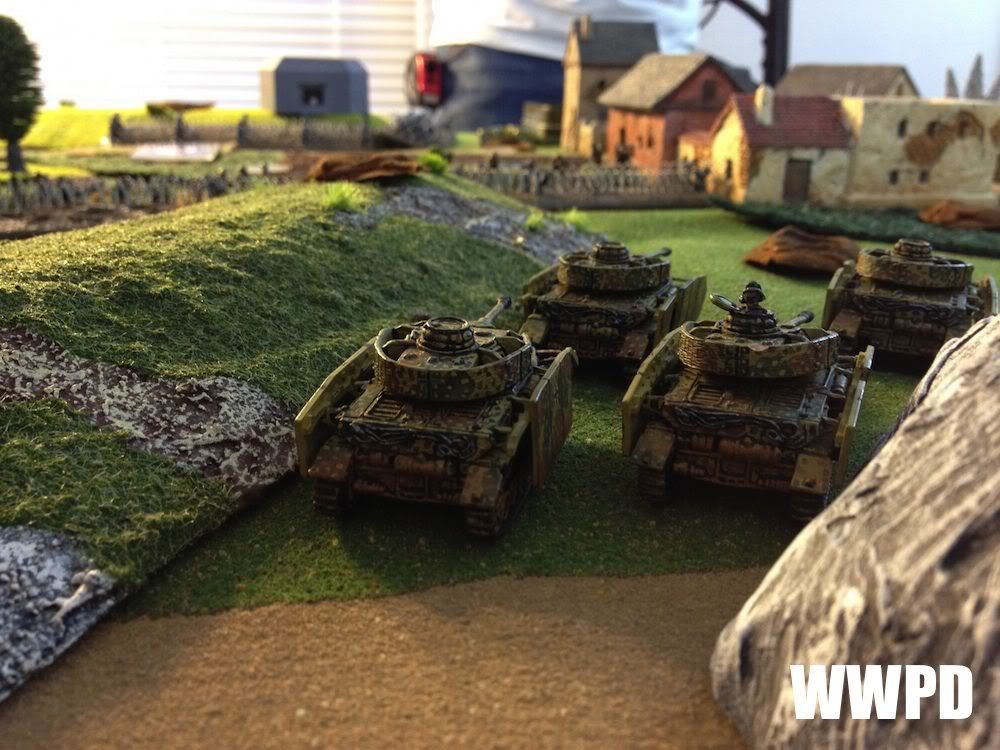
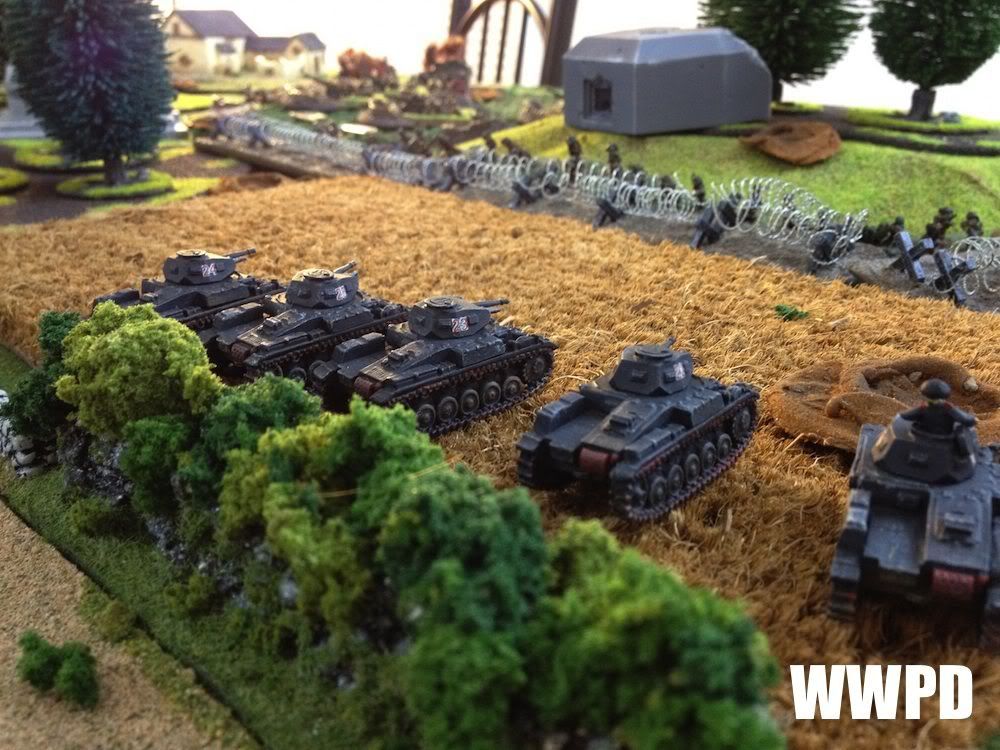
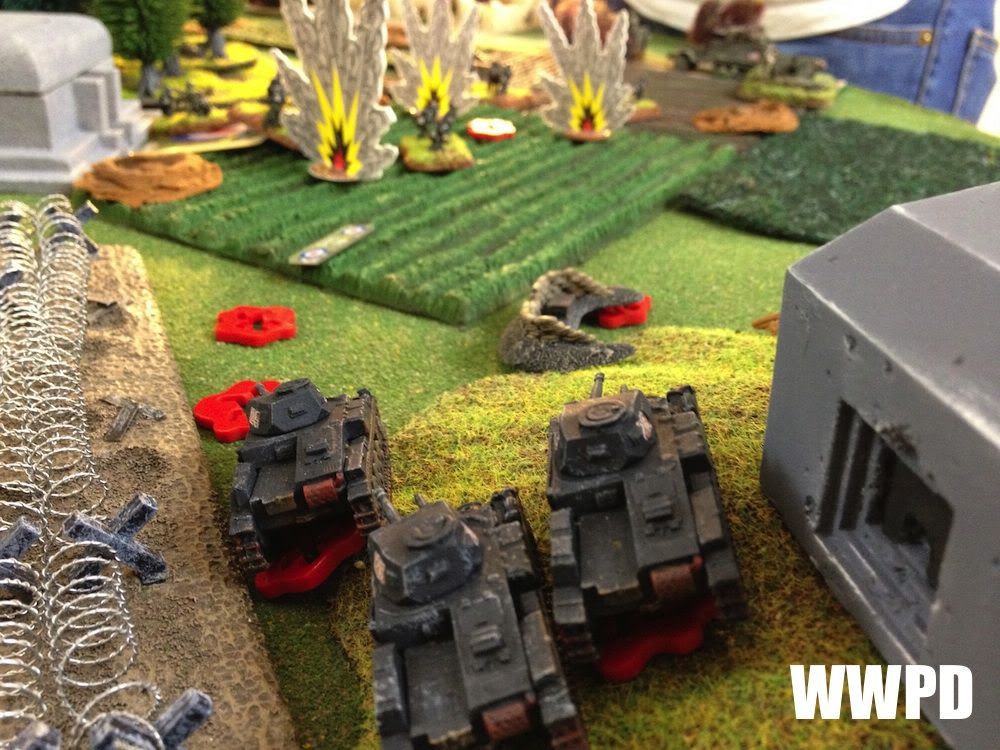
| Tauchpanzers uncouple from their barges and surface on the beach. |
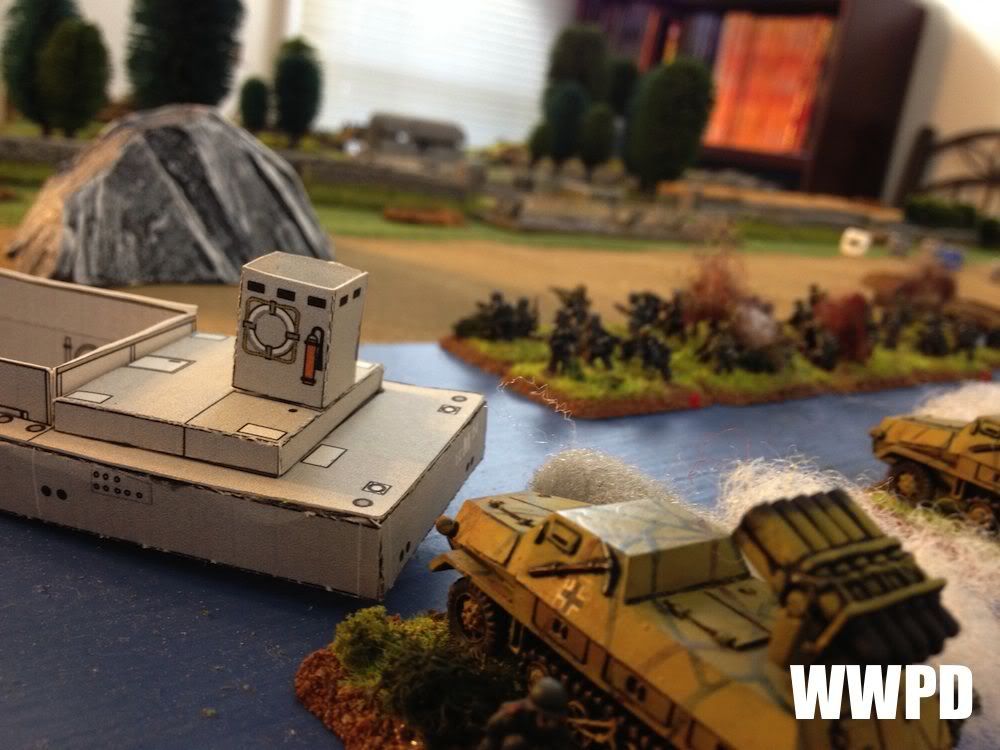 |
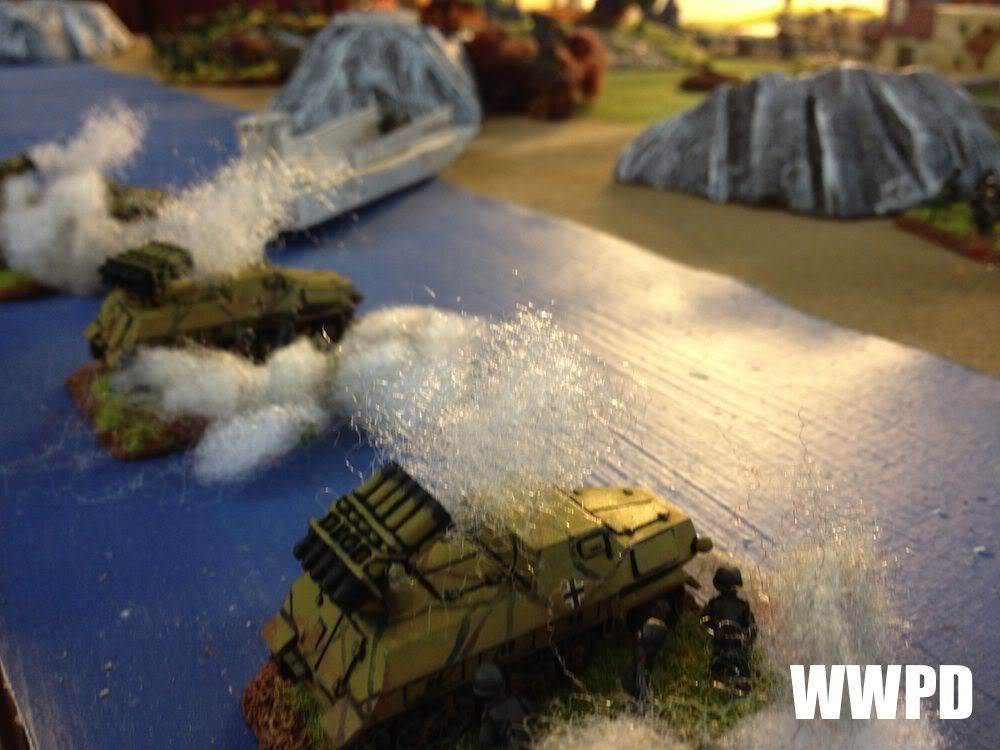
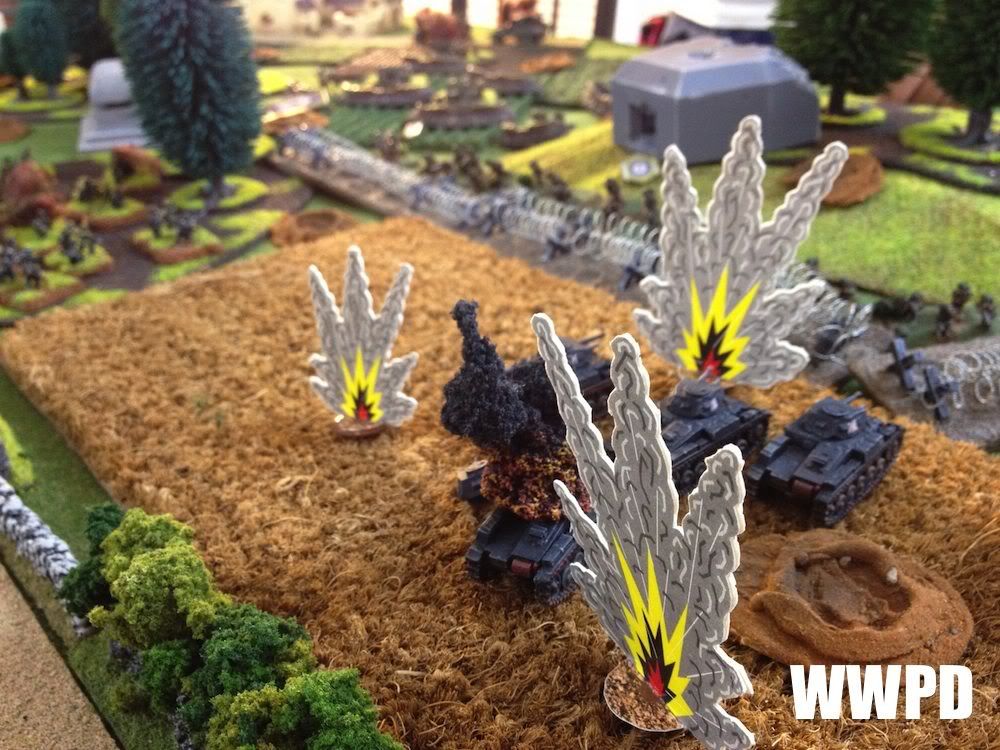
| The Panzerwerfers are immediately disembarked and ordered to fire from the surf. |
 |
| The left flank |
 |
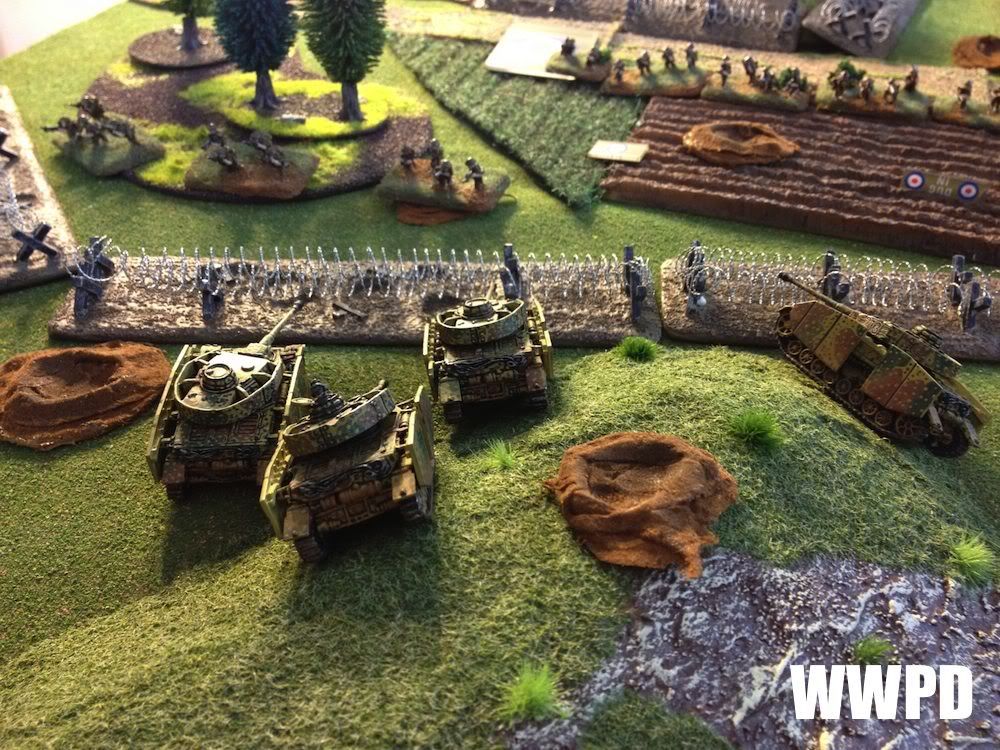
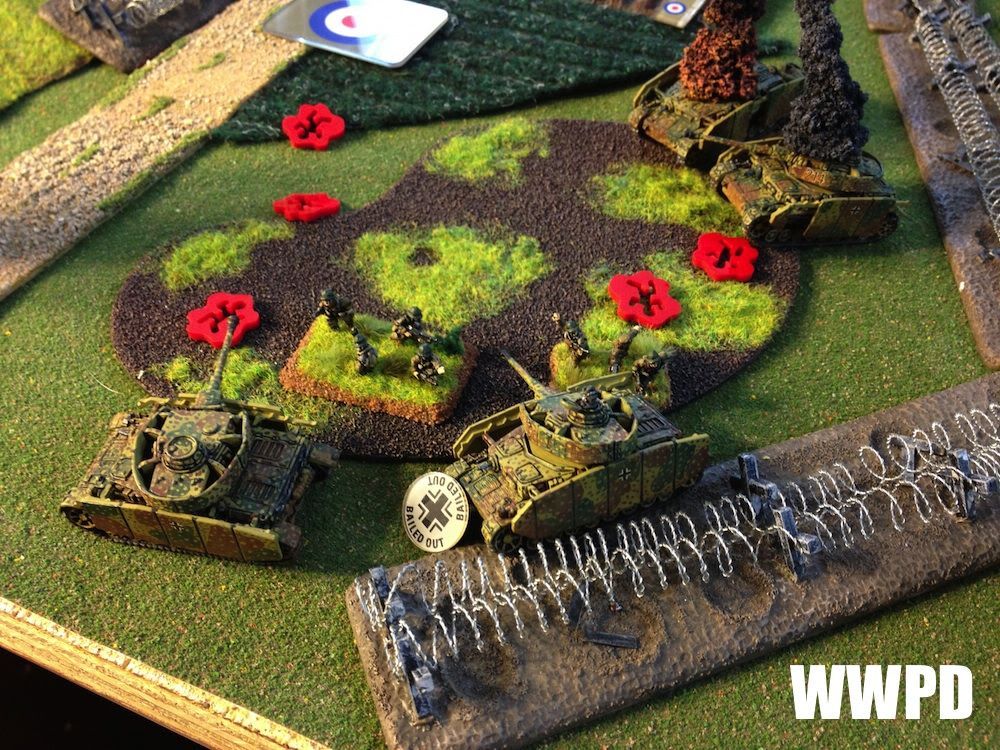
| Schwimmpanzers fire the explosive bolts releasing their flotation intertube, and grind into the beach |
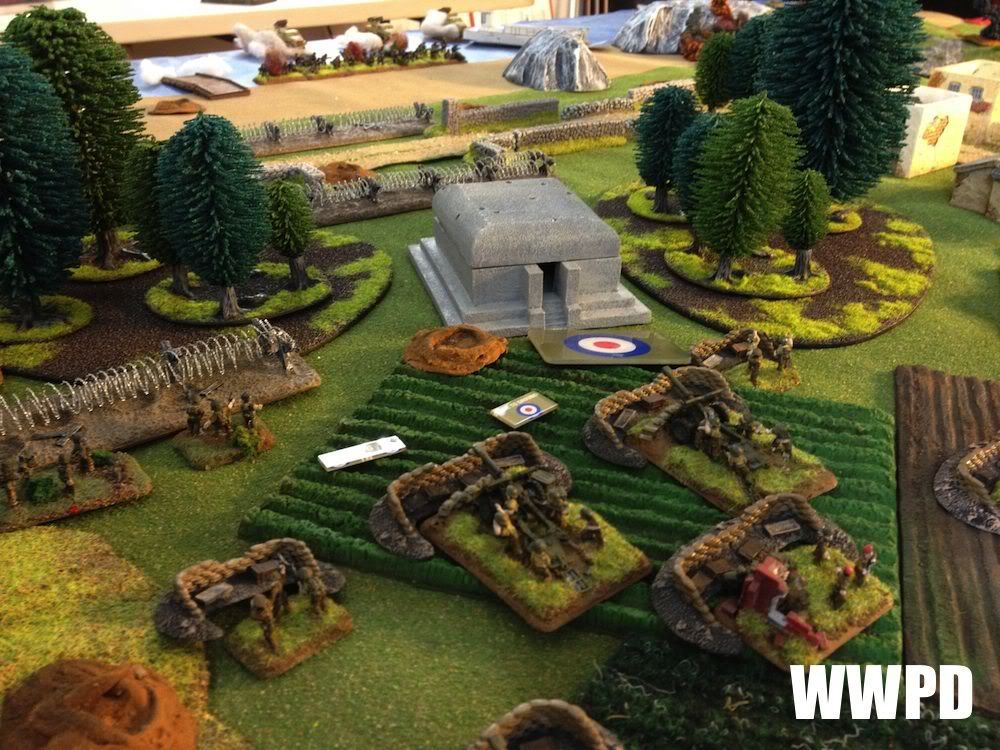 |
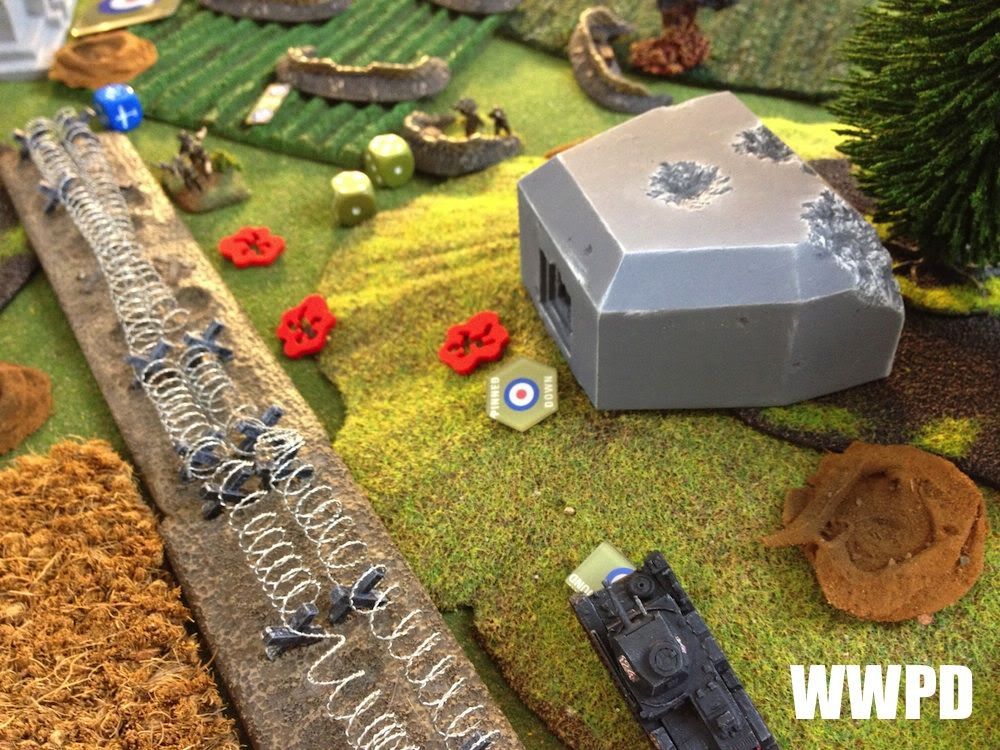
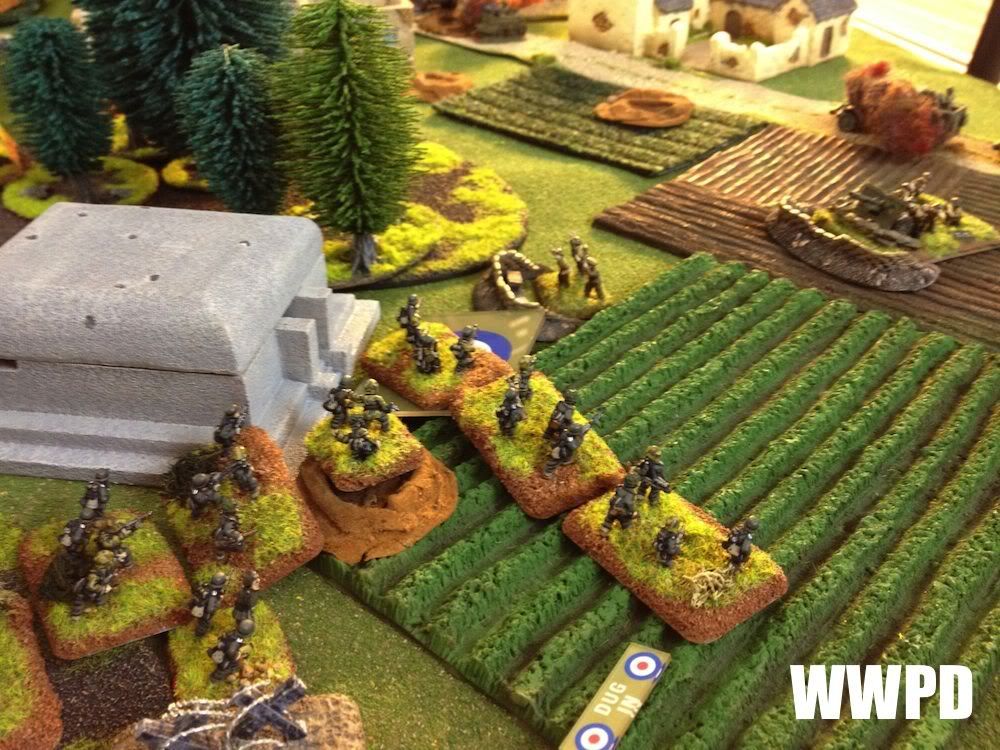
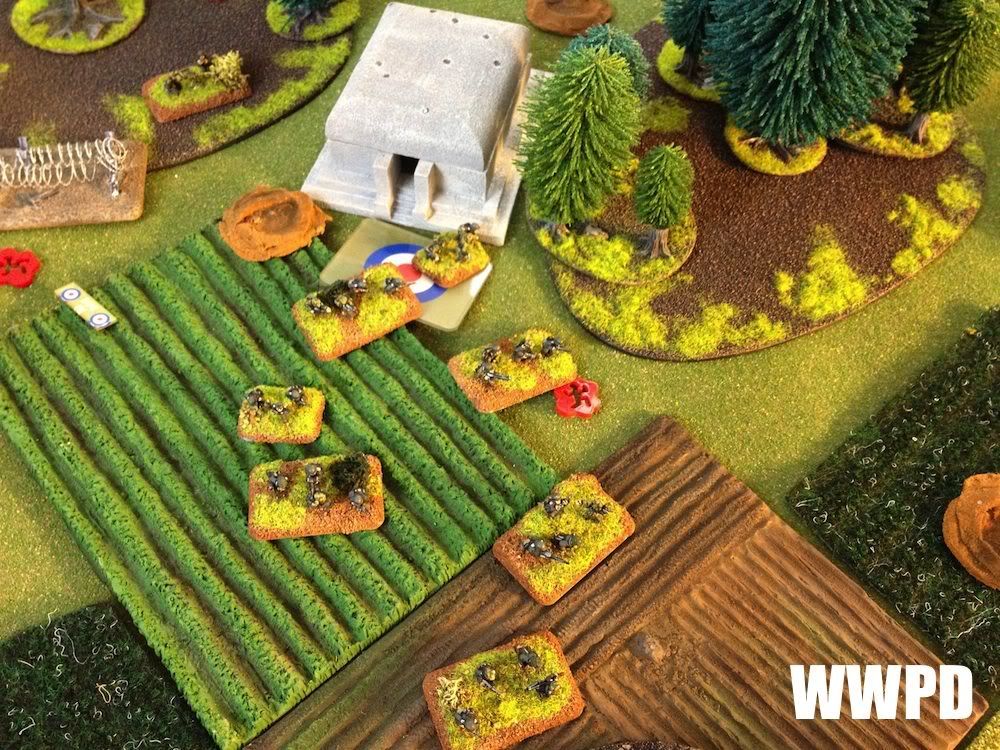
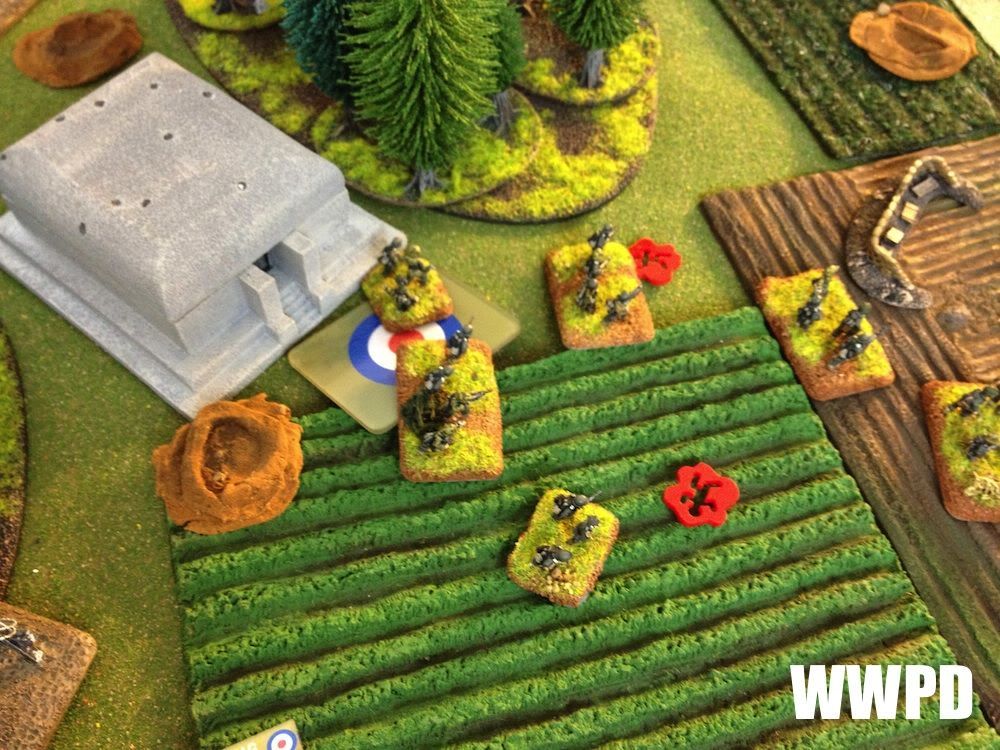
| 25 pounders are deployed just behind a 6 pounder pillbox |
| German Pioneers |
British Infantry |
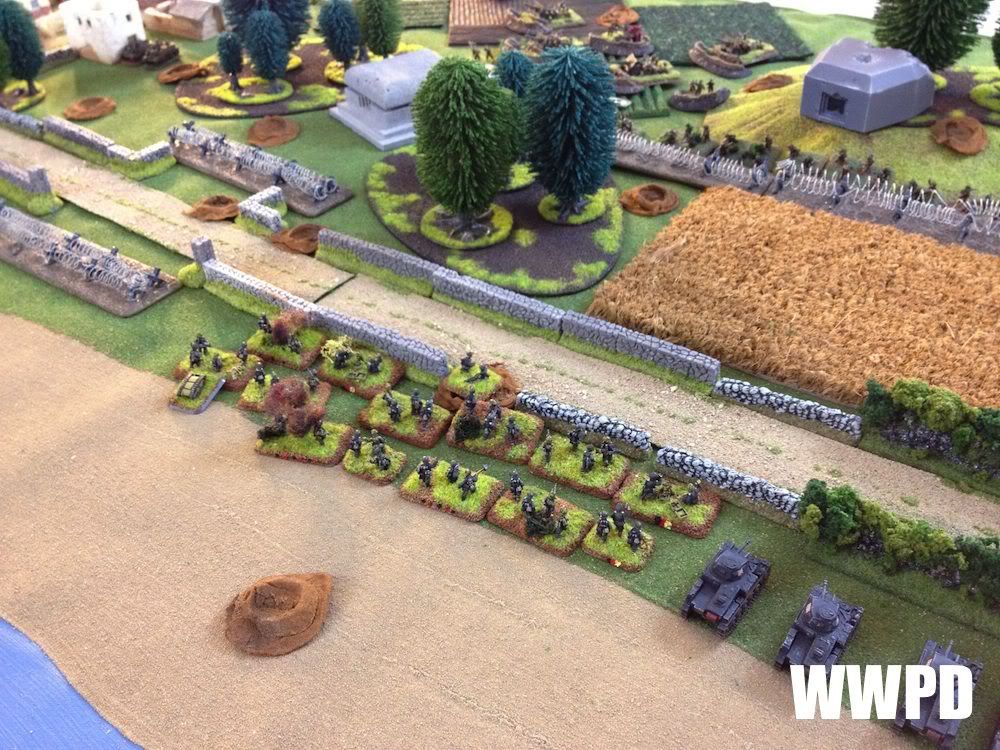
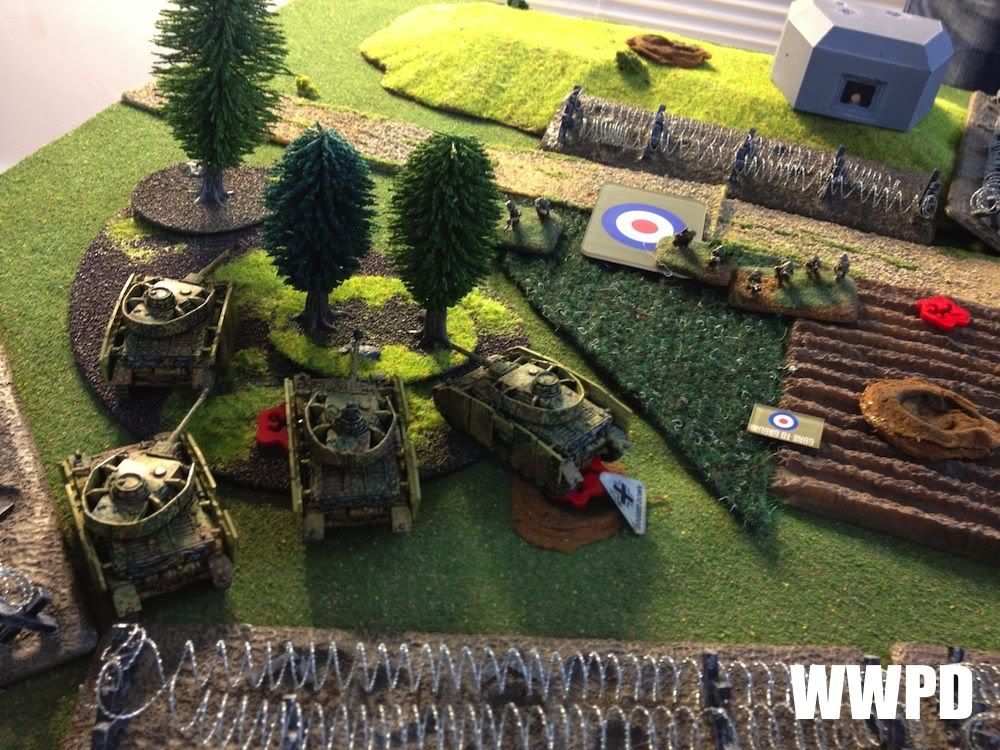
| German Pioneers: tauchpanzers deploy on the left in the rocky outcroppings along with the CO and a pioneer platoon. Pioneers and Panzerwerfers deploy in the center, with the Panzerwerfers firing directly from the surf. On the right, schwimmpanzers and pioneers prepare to move forward! British Infantry: Infantry spreads out to defend all of the objectives. US Armor is rumored to be in the area. A British Auxiliary unit of the Home Guard has been training for this. | |
TURN 1
 |
| Panzerwerfers fire as soon as they can! |
 |
| Peppering the vital crossroads with fire, and knocking out a scout carrier. |
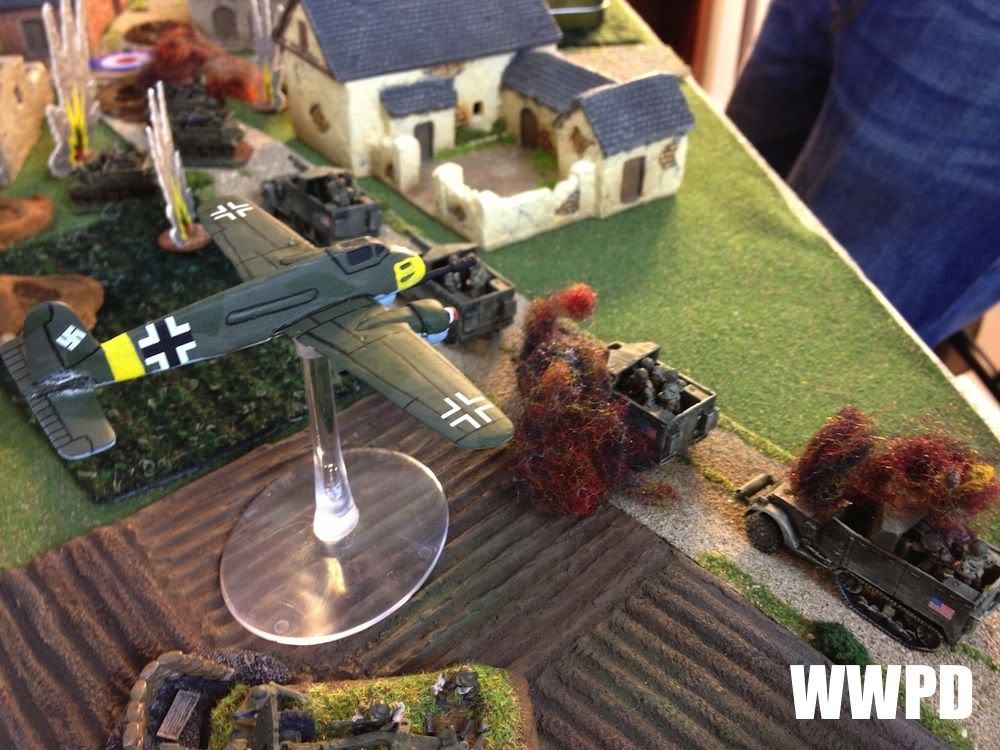 |
| Just as an HS129 knocks out 2 US 75mm TDs |
 |
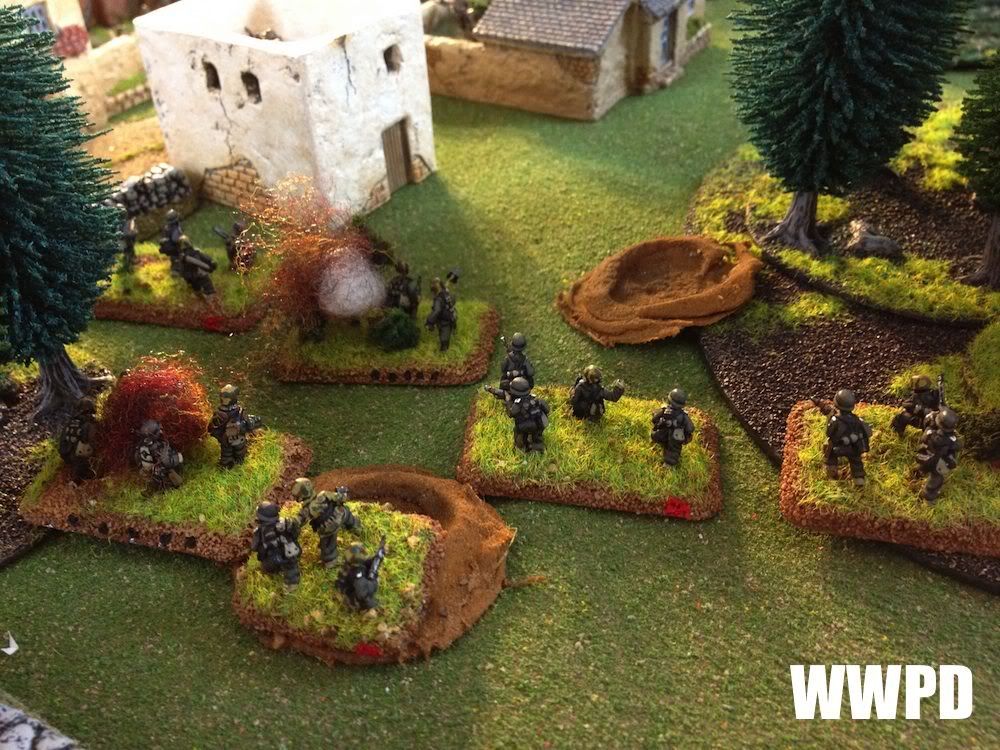
| Hauptmann von Odenkirk leads his Pioneers over the bluff on the left. |
 |
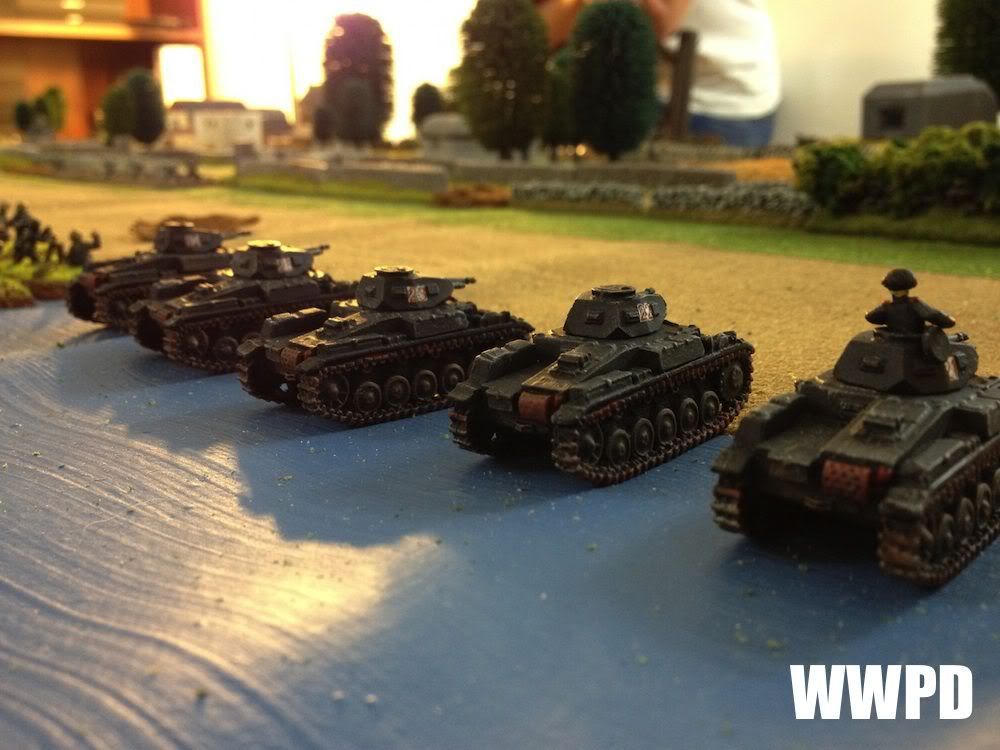
| Tauchpanzers make it off the beach. |
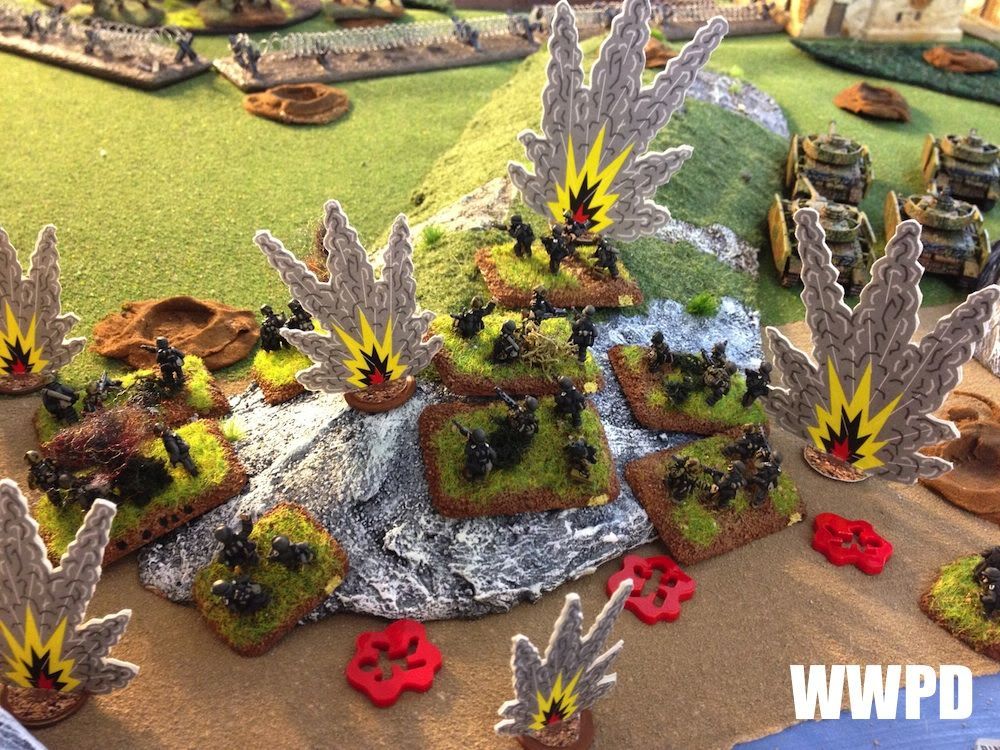 |
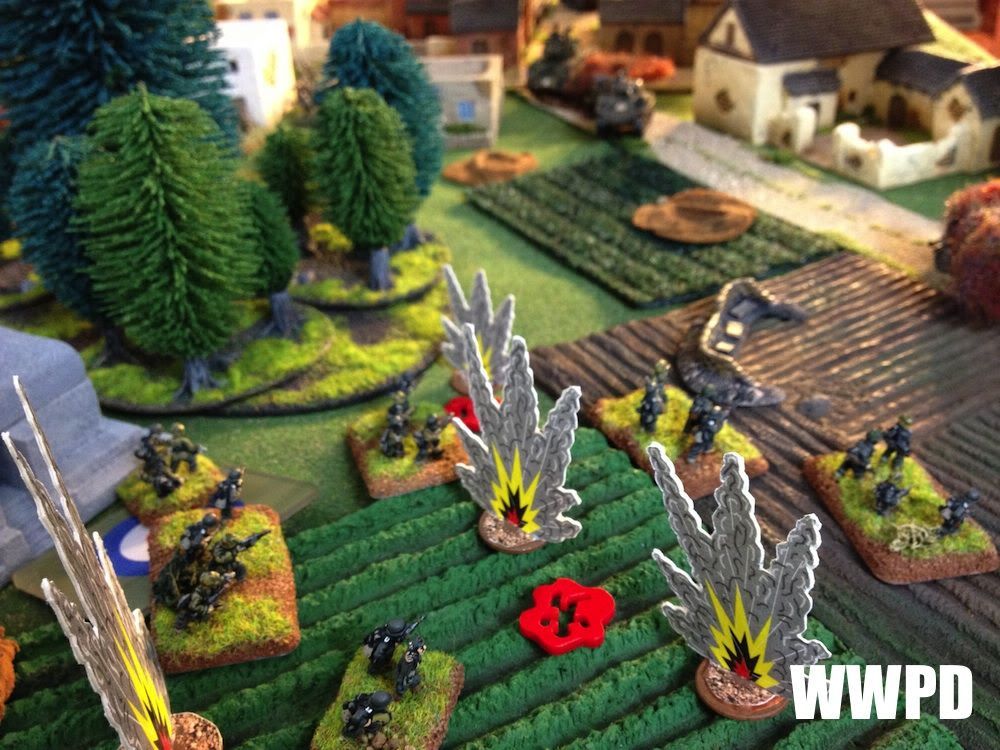
| The pioneers on the left come under intense fire from British artillery! Hauptmann Odenkirk is seen wiping tears from his eyes.. the men are not inspired. |
 |
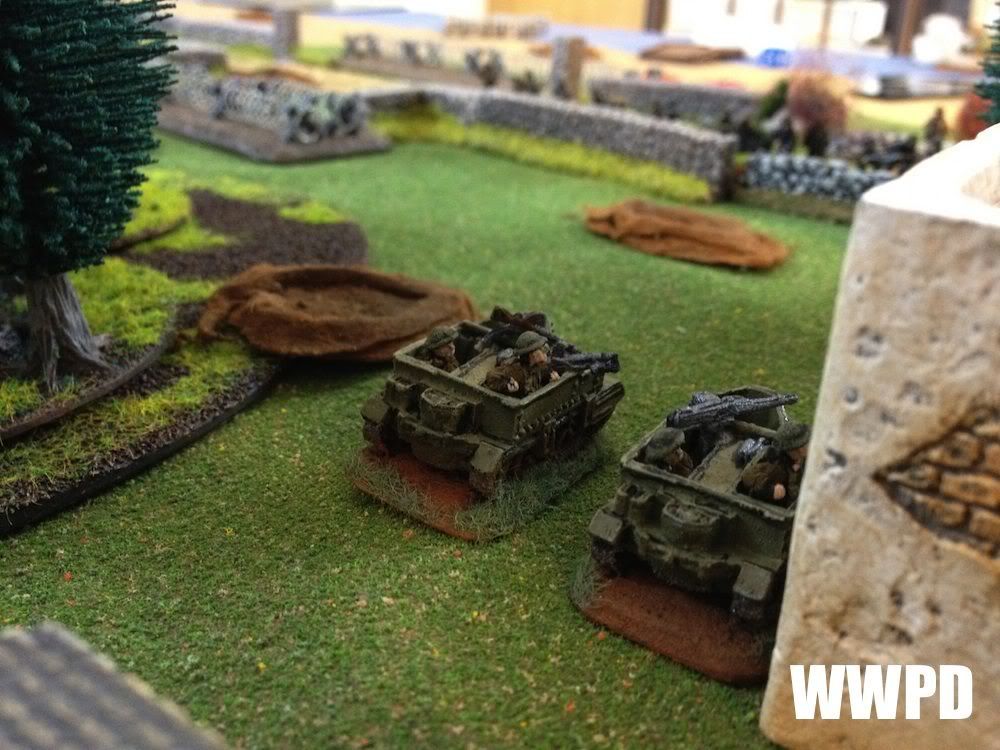
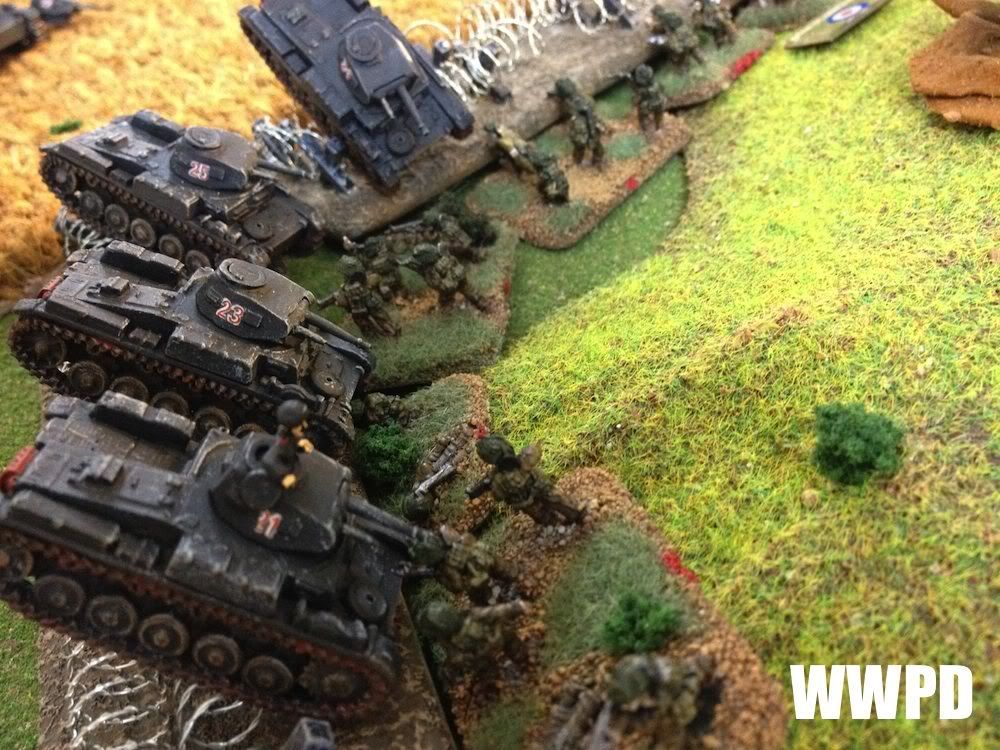
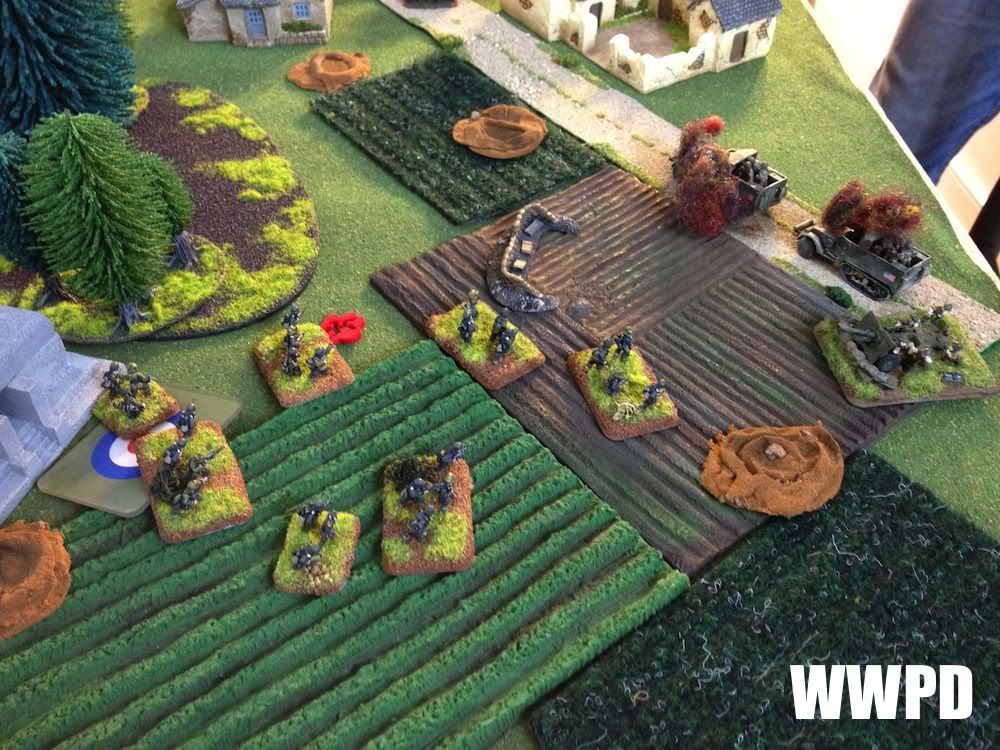
| Carriers race forward, MGs blazing! |
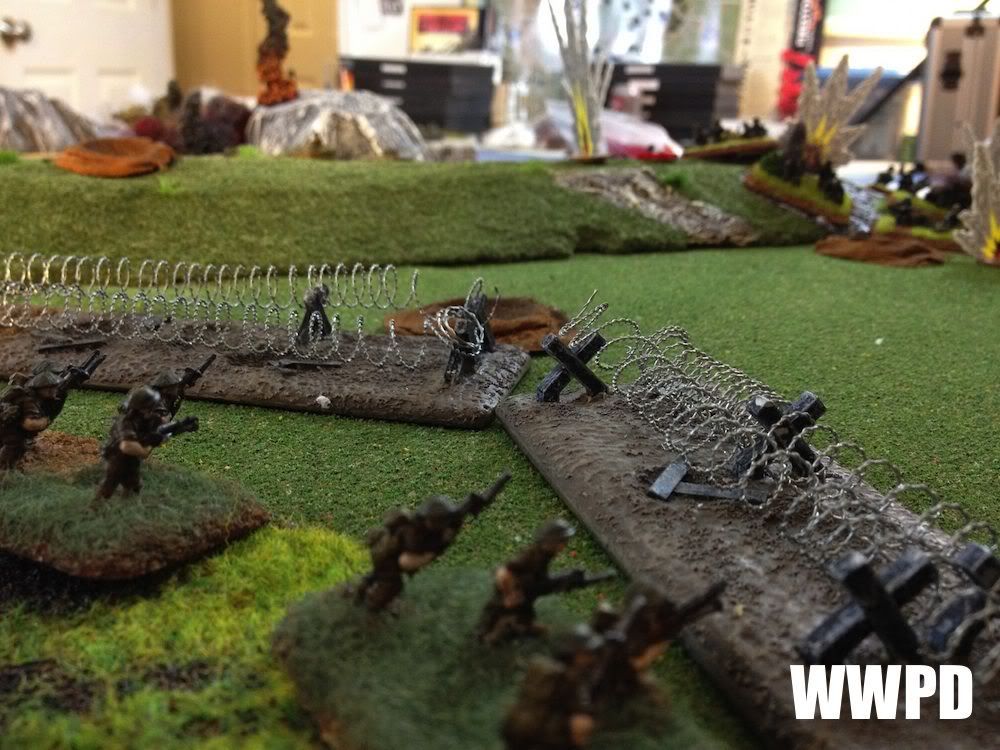 |
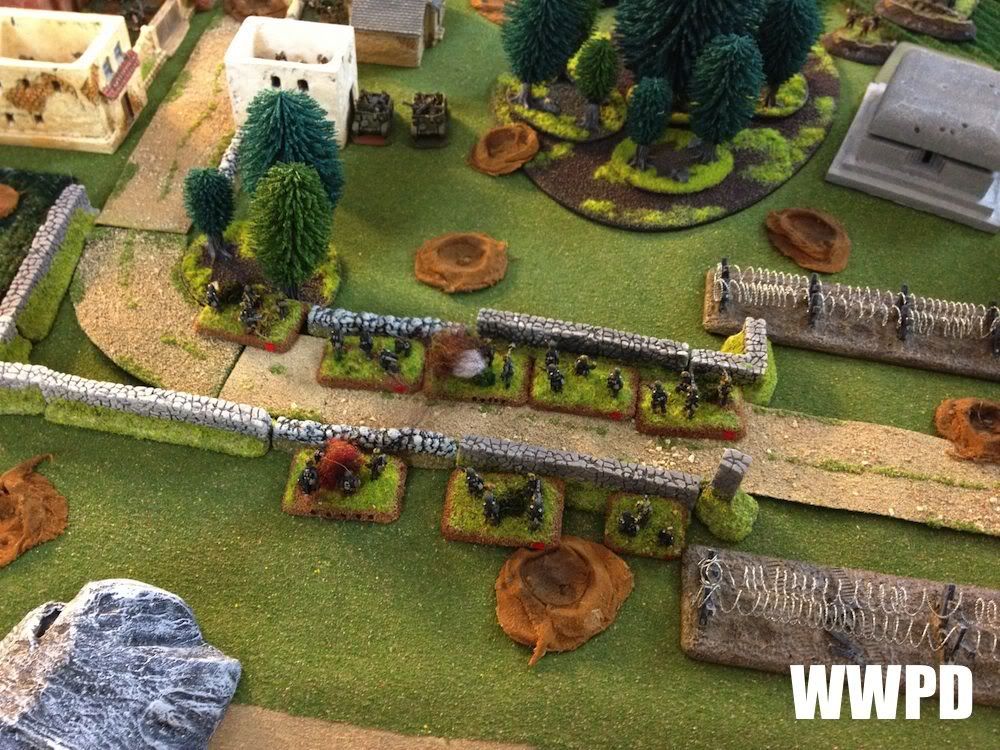
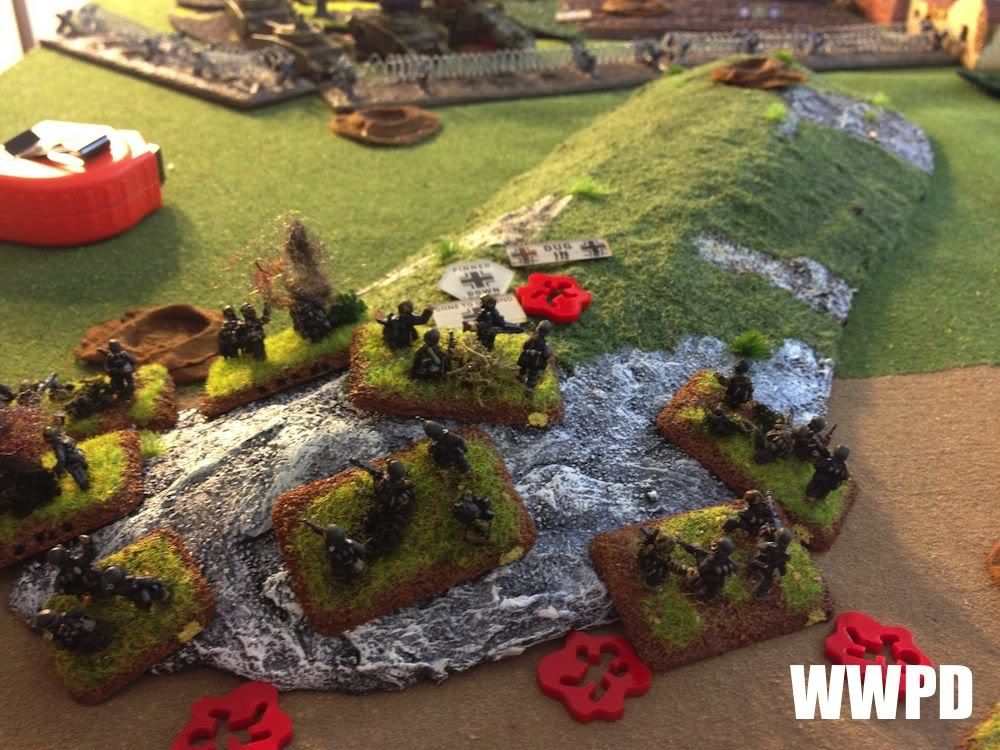
| Brit rifles pull back from the wire. "fall back by squad and regroup!" |
 |
| "Make 'em come get us!" |
 |
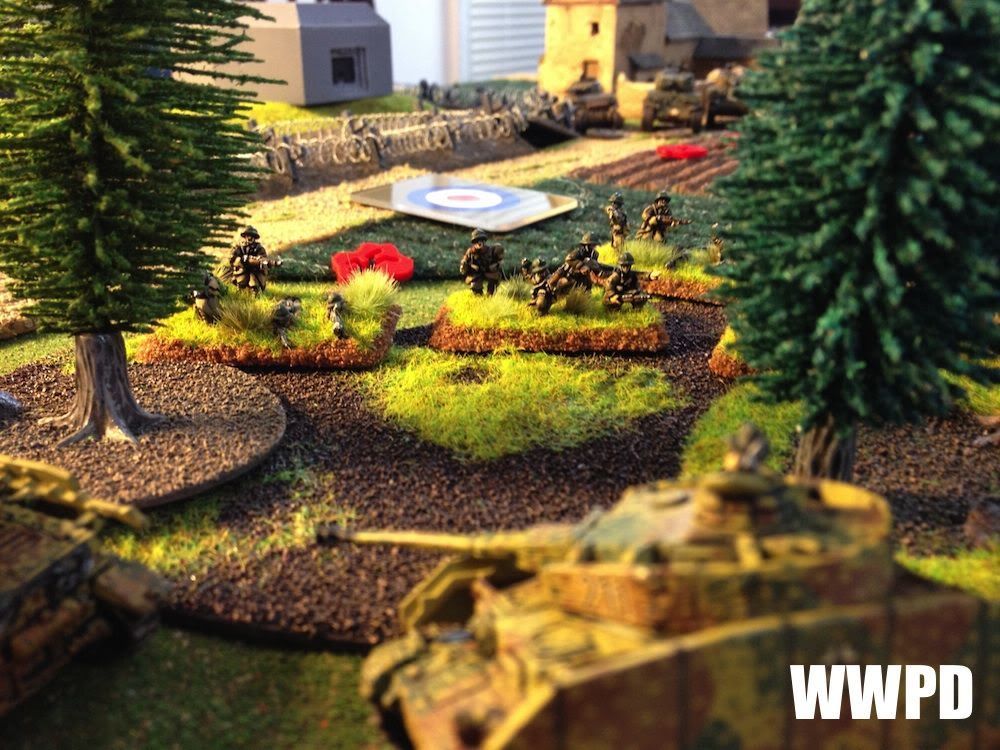
| Pioneers and schwimpanzers make it up the right flank after successful stormtrooper rolls (at this point I have made something like 18 bog checks! wow!) |
German Pioneers
|
British Infantry
|
| German Pioneers: Pioneers advance! British Infantry: Everything that can opens fire, while the left prepares a retrograd fighting withdrawal. | |
TURN 2
 |
| Top of 2 |
 |
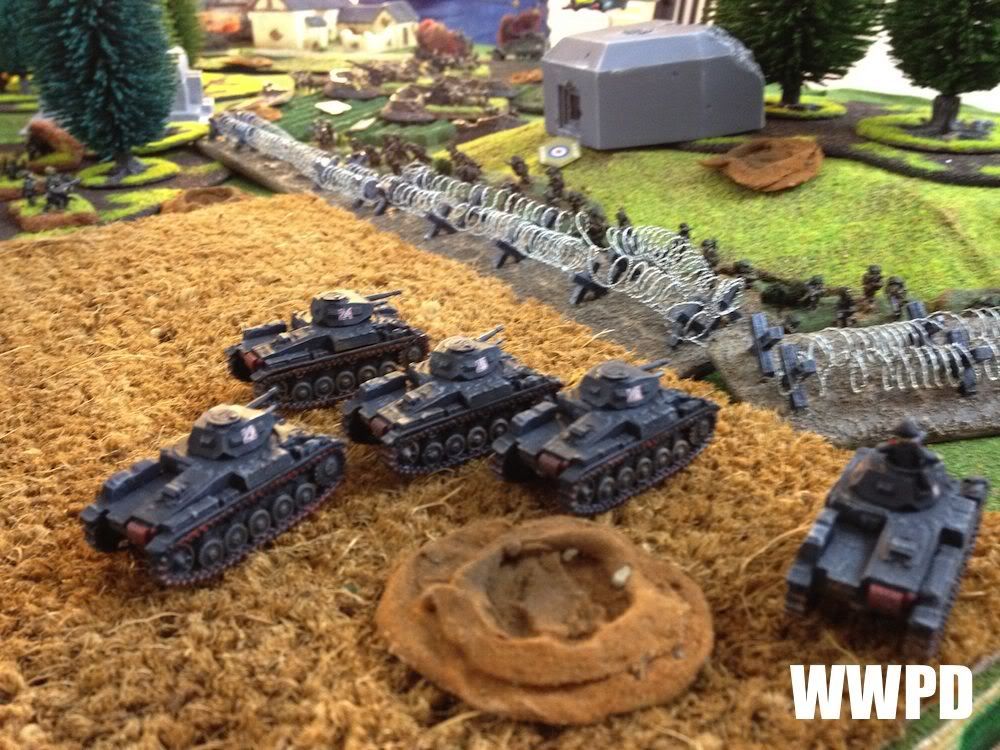
| 28 successful bog checks as the Panzer IIs push through 2 rows of hedges! |
 |
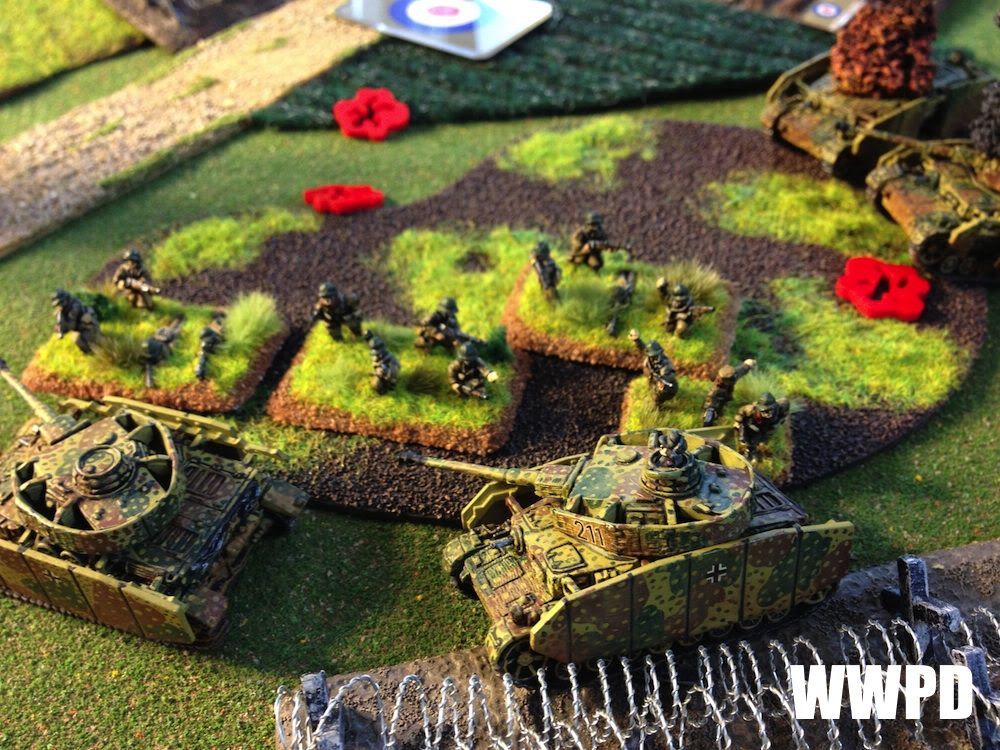
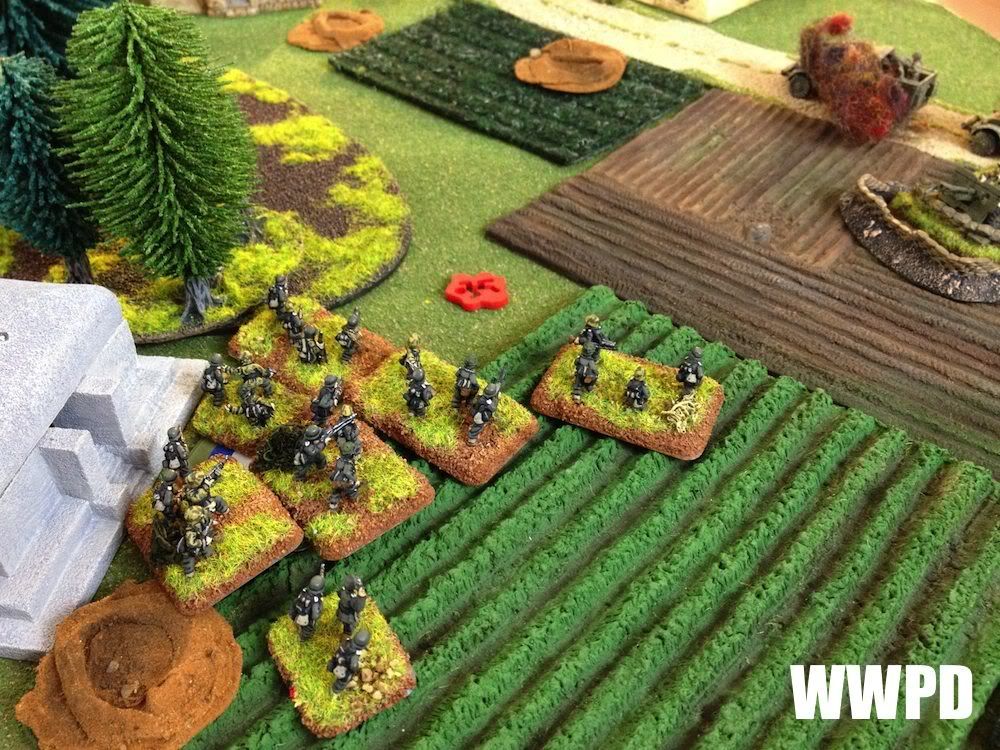
| The right Pioneers move up. |
 |
| Center pioneers reach the wall |
 |
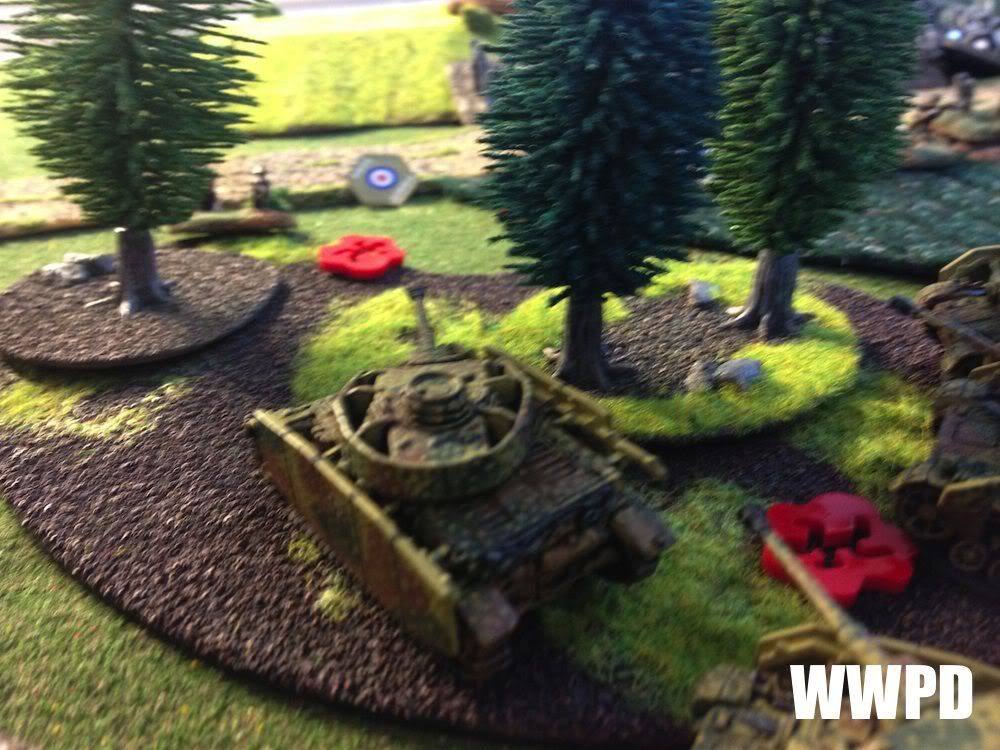
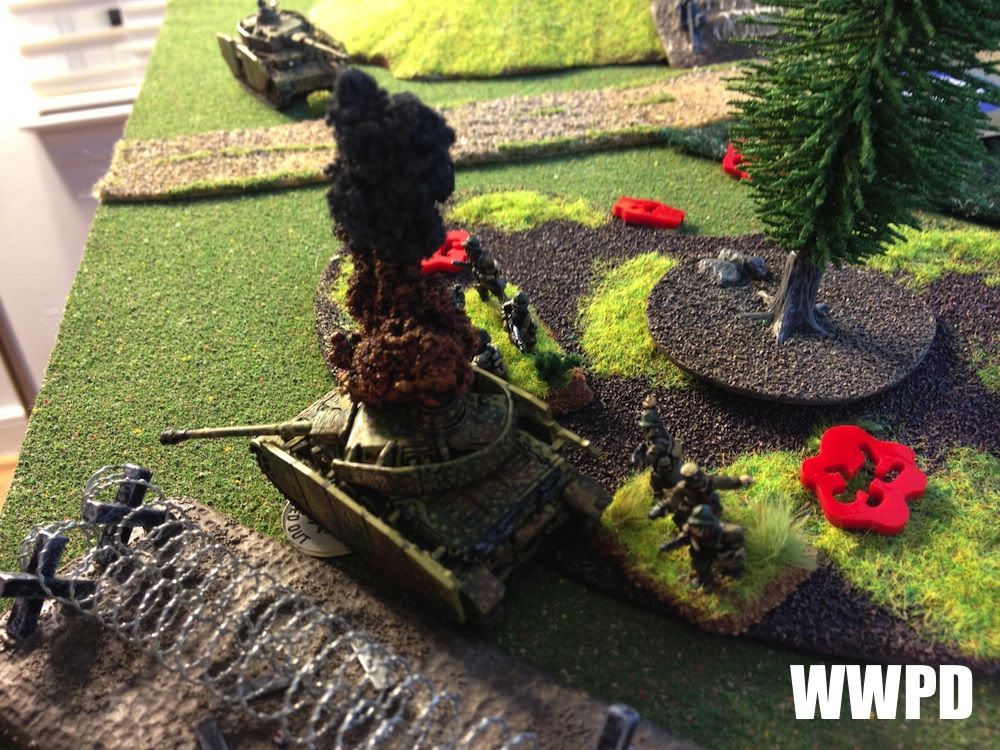
| Tauchpanzers scale the rise, hounding the infantry |
 |
| Even with the CO re-roll, the left pioneers stay pinned. |
 |
| The HS129 swoops in and knocks out the 25 pounders' staff team! |
 |
| The center pioneers stormtrooper far forward |
 |
| The tauchpanzers assault after chewing up the british with MG fire. |
 |
| The British infantry pulls back as the panzers consolidate into a wood. Finally I fail a bog check! |
 |
| Panzer IIs stormtrooper forward on the right. |
 |
| The central pioneers attempt to force a wedge in the British forces |
 |
| Left pioneers. |
 |
| A US platoon on maneuvers while practicing with brand new experimental tanks shows up! |
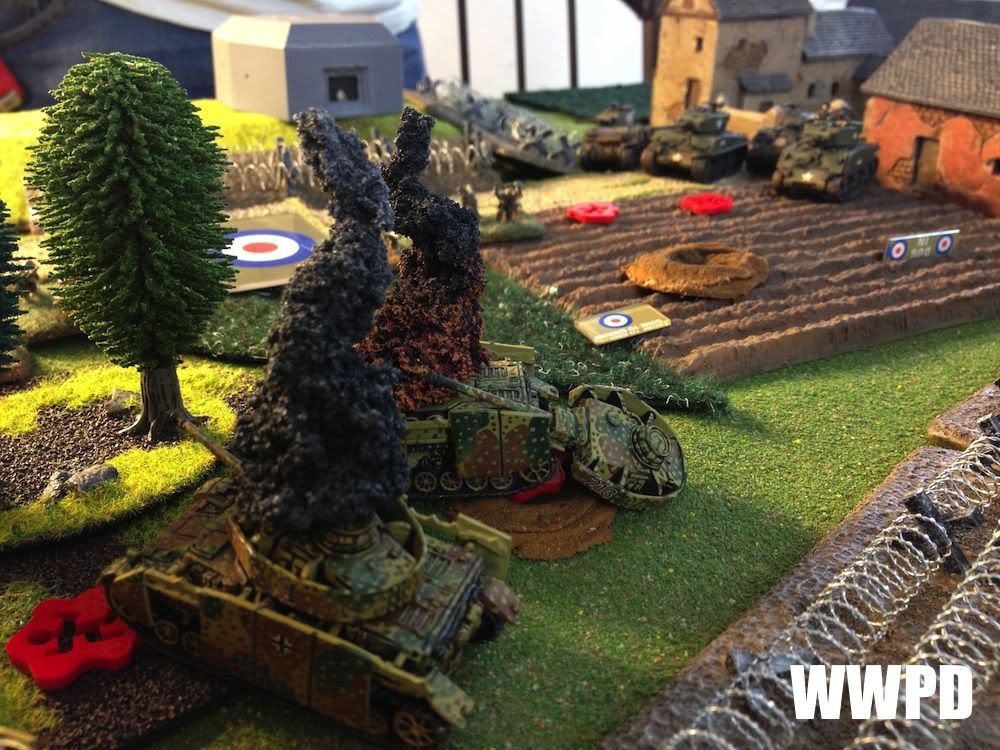 |
| And brews up 2 Panzer IVs! |
 |
| M3 TDs move down the road, firing on the pioneers |
 |
| Center pioneers weather fire from carriers and M3s. |
 |
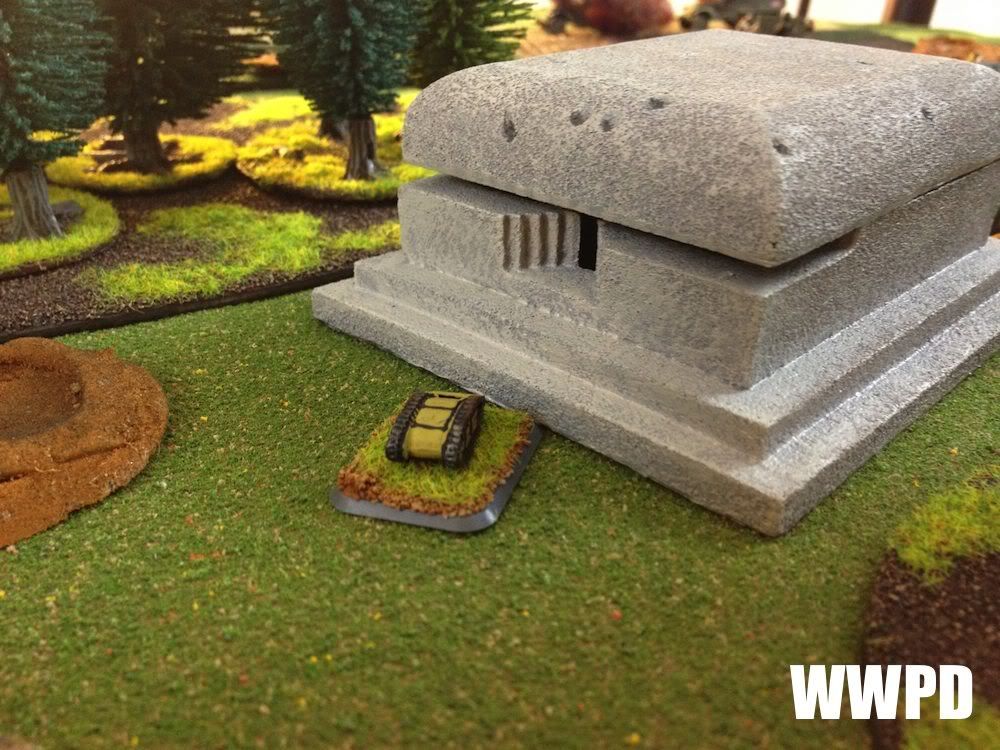
| Ready the Goliath! |
 |
| 25 pounders knock out a Panzer II! |
German Pioneers
|
British Infantry
|
| German Pioneers: The pioneers continue their advance, making huge gains on the right and left flanks. On the left, Panzers slam into the British, causing severe casualties. In the center, Pioneers push forward through a wood, threatening both an objective and the artillery battery. British Infantry: A US tank platoon arrives just in the nick of time, and shoots up the enemy panzers! Carriers and M3s form a rag tag mobile counter attack force and push the center | |
TURN 3
 |
| Top of 3 |
 |
| "Hey Jimmy- Look out!" |
 |
| The Hauptmann is seen muttering to himself. 2 more failed motivation checks to unpin! |
 |
| vroom! |
 |
| BOOM! as the smoke clears, the bunker is intact :( First time I've ever used a Goliath in FoW! |
 |
| Pioneers open up on the guns, knocking 2 out. |
 |
| Tauchpanzers open up on the brit infantry, knocking out a few stands but breaking their morale. |
 |
| 2 yank tanks are bailed |
 |
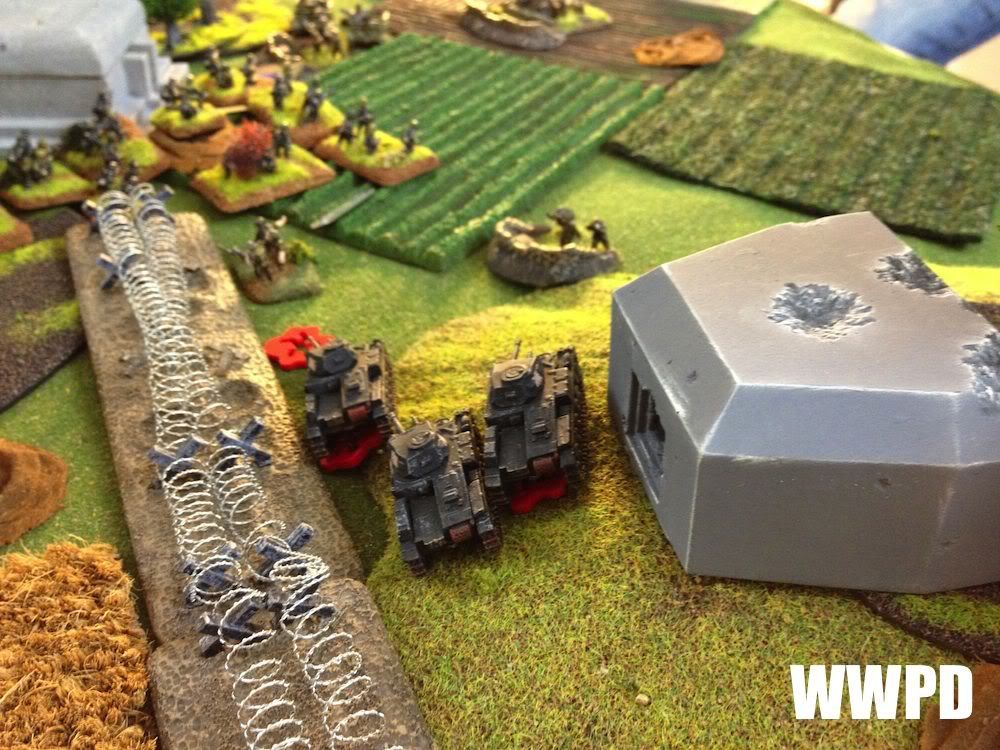
| Panzer IIs push across the wire and assault on the right flank! |
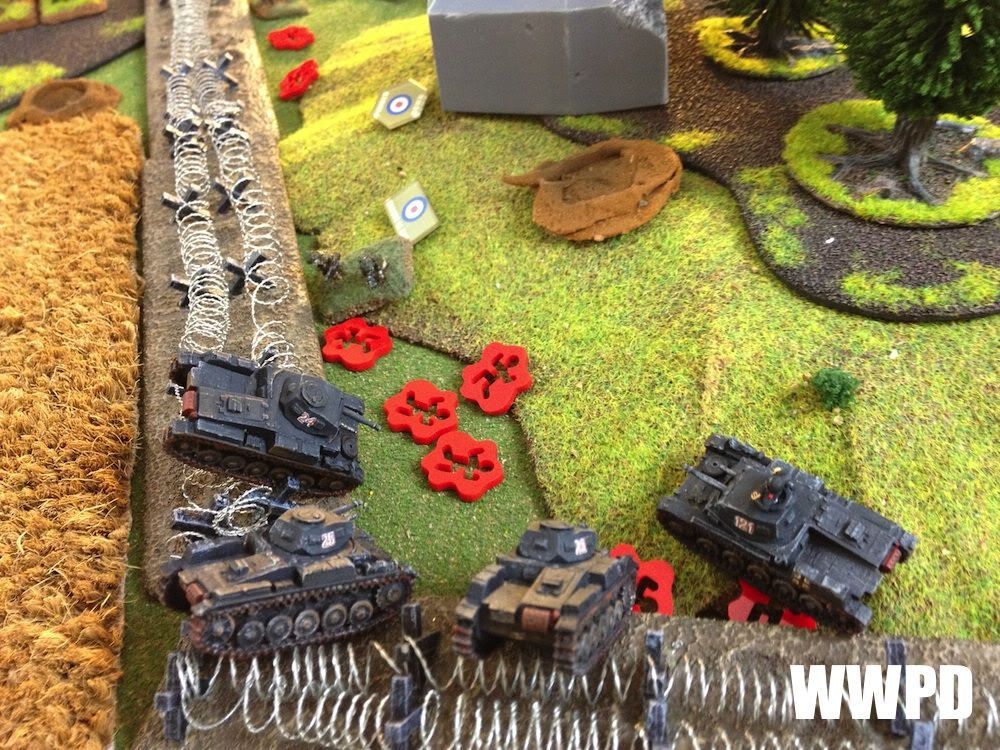 |
| Nearly wiping out the entire platoon! |
 |
| Sean tries to withdraw the sole surviving team, but fails his skill check! One platoon down and Sean still must withdraw someone! |
 |
| Opting to pull the M3s out. |
 |
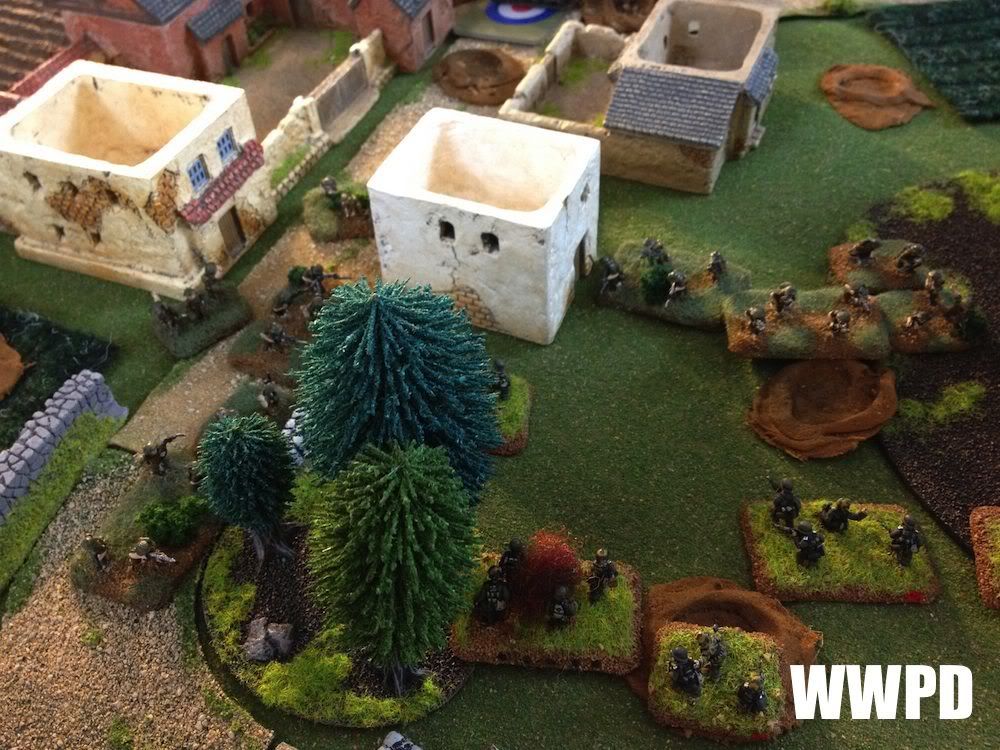
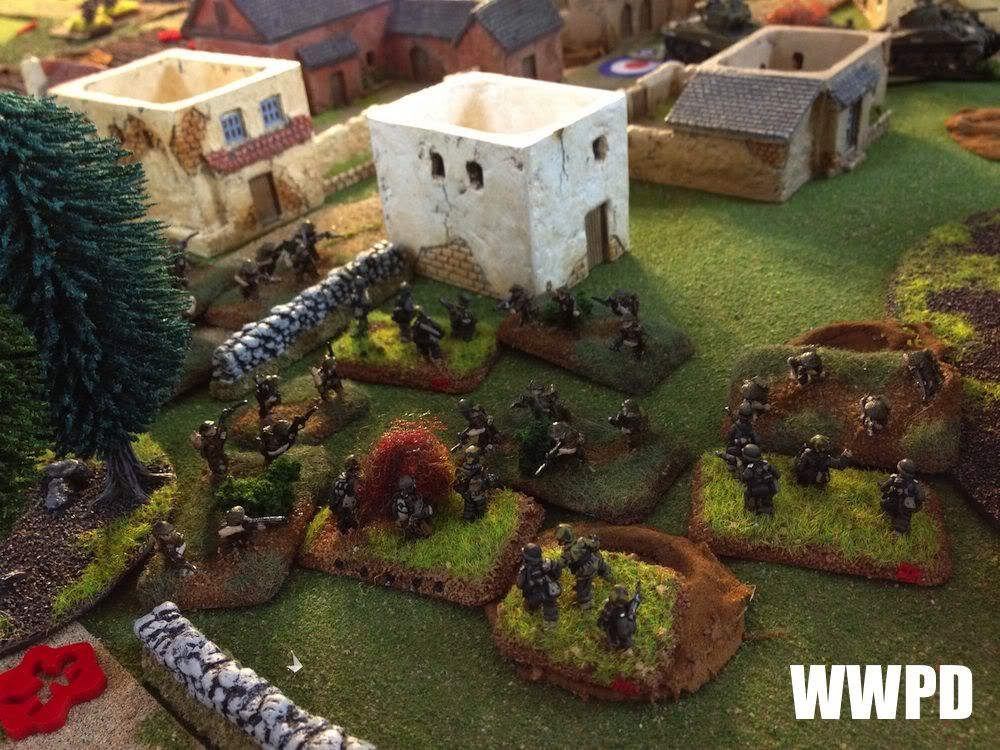
| Suddenly a well trained Auxiliary unit of the Home Guard (outfit in surpluss French kit) appaers from out of nowhere! |
 |
| And assaults! |
 |
| Despite casualties, they fight on! |
 |
| For King and Country! |
German Pioneers
|
British Infantry
|
| German Pioneers: In the center, Pioneers rush out of the woods and flame thrower the 25 pounders. On the right Panzer IIs completely wipe out a British rifle platoon. British Infantry: An elite Home Guard unit ambushes the 2 Panzer IVs on the left- knocking them out with demolitions and tank assault training! Despite protected ammo, neither sherman remounts. The 2 surviving Shermans push eastward towards the objective. | |
TURN 4
 |
| Turn 4. The Hauptmann fails to unpin. He is relieved of command by the Lt of the left Pioneer platoon. |
 |
| Panzer IIs drive on, firing on the carriers and bailing both. |
 |
| Center pioneers move out, making a push for the crossroads |
 |
| The HS129 circles around and finishes the job. |
 |
| Pioneers advance, and prepare to assault |
 |
| The commander of the battery is captured |
 |
| Pioneers now hold the central objective |
 |
| The 25 pounder falls back but fights on. |
 |
| The british in the town move out, and prepare to counter attack the center pioneers |
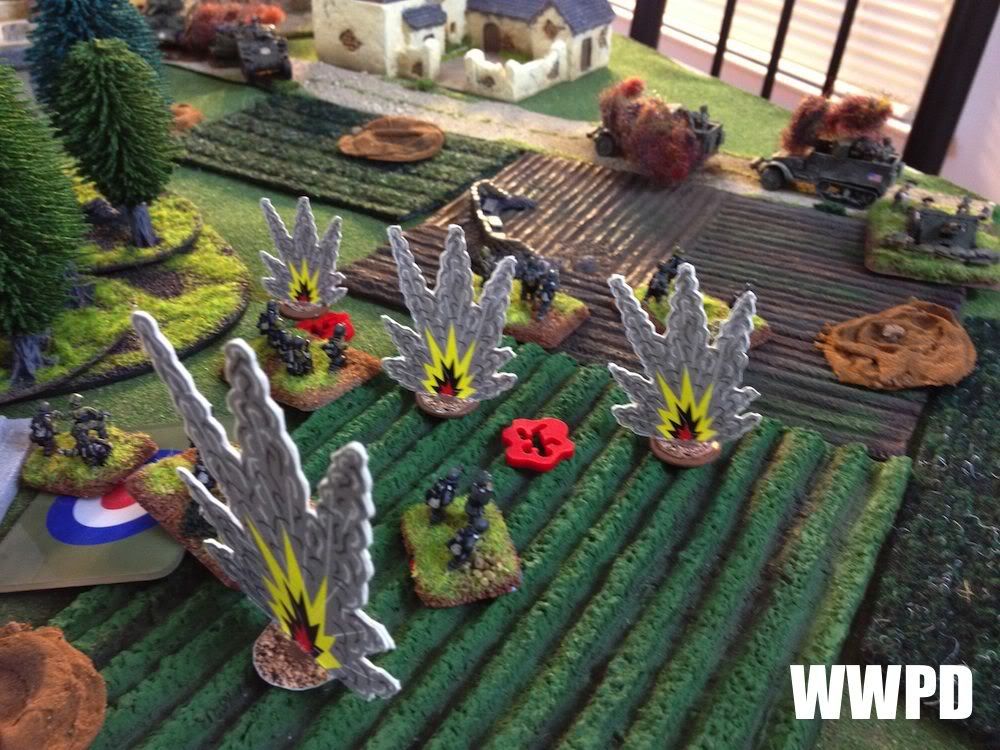 |
| 25 pounders off board poure fire into the pioneers on the objective |
 |
| Despite seeing the beach overwhelmed and their comrades killed or wounded, the crew of Gun 3 man their post firing over open sights at the Panzer IIs |
 |
| The road is clogged with wreckage, meaning the Shermans can't quite make it to assault range, but pepper the Panzergrenadiers with MG fire! |
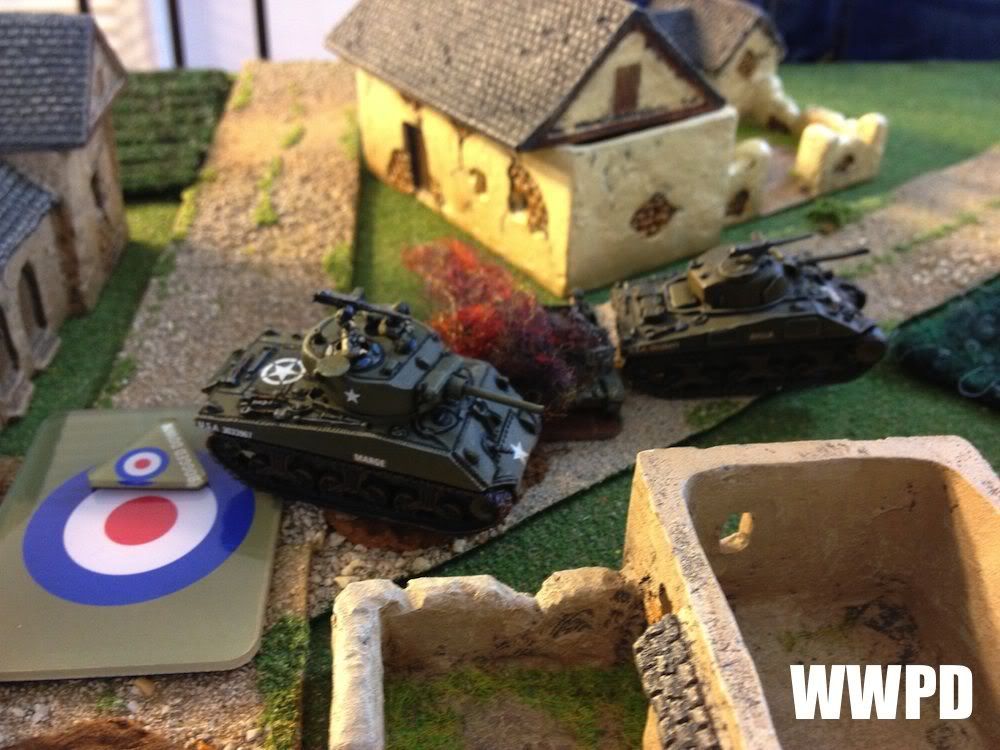 |
| Get that burning vehicle out of the way! |
 |
| The British assault the center pioneers |
 |
| and Devastate them! The 2 remaining teams pullback and hang on. But the British are just too far co consolidate on the objective |
 |
| And so the Germans start turn 5 holding an objective. 5-2. |
German Pioneers
|
British Infantry
|
| German Pioneers: The Hauptmann is relieved of command. The center pioneers successfully assault and wipe out the 25 pounder battery and the carriers, claiming the objective. British Infantry: Sean forms a solid counter attack, but is just out of range of the objective, reluctantly giving it up. Gun 3 of the battery fights on, even after being ordered to retreat. For this they are all mentioned in dispatches. Posthumously. | |
| And with that the Germans further secure their beach head on the Island! |
Generated by WWPD's BatRepper Software.


