Sean and I hadn't played an Early War battle in quite a while, and so decided to give it a shot. Because I forced Sean to take my newly painted kradschutzen in any list he ran, I gave him a few extra points to account for their shakedown cruise. The French list was rolled for at the beginning of the game from a list of 6. Unfortunately, I think this meant the match up was left somewhat unexciting. The battle itself was not terribly exciting either, though it did generate some pretty pictures! So with that in mind, I am not doing the standard battle report format, instead highlighting just the photographs.
The mission is The Cauldron. |
Steven's Compagnie De Combat
- HQ: 1 Char B1
- 3x Char B1
- 3x Hotchkiss H39 (long)
- 3x Hotchkiss H39 (long)
- 3x Hotchkiss H39 (1 long, 2 short)
- Colonial Infantry Platoon
- 5x Panhards
|
Sean's Mittlere Panzers
- HQ: 2x Panzer III e
- 4x Panzer III e
- 4x Panzer II (early)
- Full Kradschutzen
- 2x 6-rads
- 2x 6-rads
- 4x Panzer Is
- Stuka Schwerepunkt
|
 |
| The board. This is right after Sean's immediate ambush- initially he had no units covering the objective on the left hand hill, which is why 2 of my units are right on top of it! D'oh! |
 |
| Hotchkiss chillin behind a hedge |
 |
| Panzer IIs ready to go where needed |
 |
| Company command and recovery vehicle |
 |
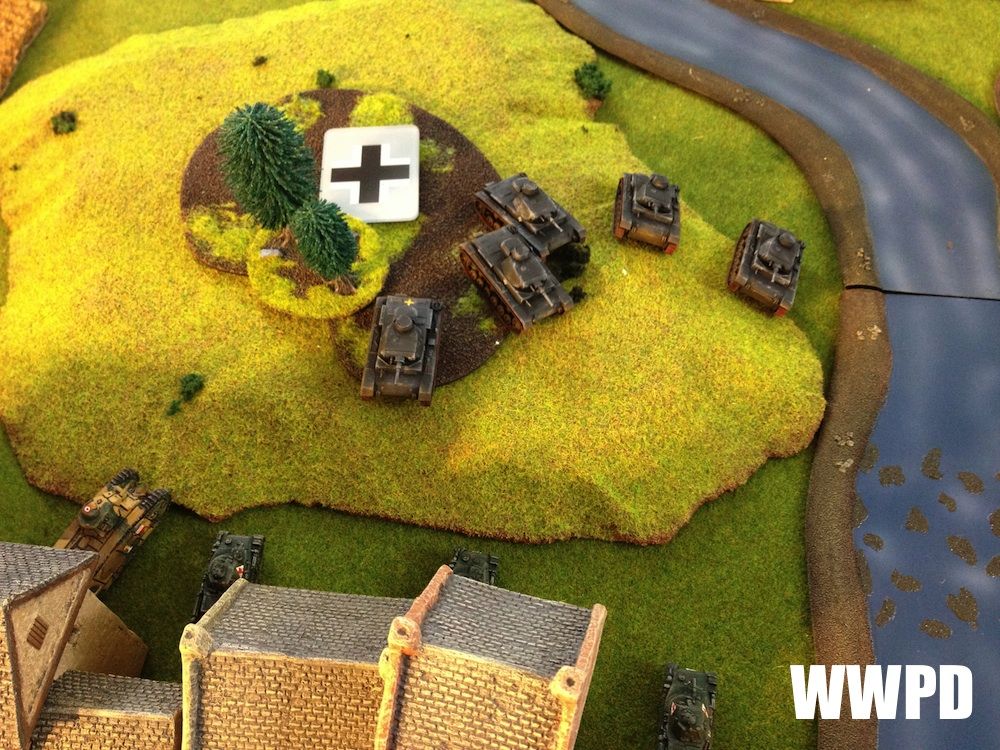
| Panzer IIIs ambush right on the objective! |
 |
| Hold! |
 |
| The Steel Colossus |
 |
| Sean has the first turn so his air strikes one of his only valid targets |
 |
| Panzer IIs join the C/O |
 |
| Panzer IIIs sight in on their target |
 |
| And let loose- hammering the Hotchkiss... |
 |
| ...and run the platoon... |
 |
| ...before pulling back out of the sites of the Chars. |
 |
| Hotchkiss position themselves in cover, ready to receive the german formation |
 |
| French reserves arrive! |
 |
| Turn 2 |
 |
| Air again swoops in on a Char B1. But as before, it does nothing. |
 |
| Who recovers the recoverer? |
 |
| Chars push for the objective |
 |
| Panzer IIs come out swinging and bail a Hotchkiss! |
 |
| Panzer IIIs withdraw, with the 2iC bravely staying behind |
 |
| The french return fire |
 |
| Tearing into the early Panzer IIs |
 |
| The panzer IIs must make a morale check- which they pass. |
 |
| A Char nails a Panzer III |
 |
| Turn 3 |
 |
| Air comes screaming in on the Panhards. |
 |
| The 2iC abandons the objective- it isn't hot until 6 anyway. Sean is going to go after what he can kill. |
 |
| And this time manages to... bail one. Sean rolled a 1 for firepower! |
 |
| Panzer IIs recover and pull back |
 |
| Chars rolling over the hill. |
 |
| Kings of the hill. |
 |
| French infantry arrives |
 |
| Chars keep on keepin' on |
 |
| Objectives still aren't quite hot |
 |
| Planes find a great target! |
 |
| More Hotchkiss arrive! |
 |
| Panhards and Hotchkiss hound the enemy |
 |
| And eliminate the Panzer IIs |
 |
| Even the poor recovery vehicle |
 |
| The battle over here is hopeless for the germans |
 |
| Kradschutzen arrive! |
 |
| vrooooooom! |
 |
| Vroom vroom! |
 |
| Panzer IIIs shift focus |
 |
| With french reserves piling in, and things looking bleak for the germans- we call the game. |
Sean tries to call this a French victory, but in actuality we've been playing for a while. Though the objectives are about to go hot, Sean can "feed" the objectives for a while, keeping him in the game and running the clock. Though there's no draws in Flames of War, I prefer to consider this one a draw. Take that, rules as written!