


 |
8th Army Brits
| Afrika Korps
|
SETUP AND DEPLOYMENT
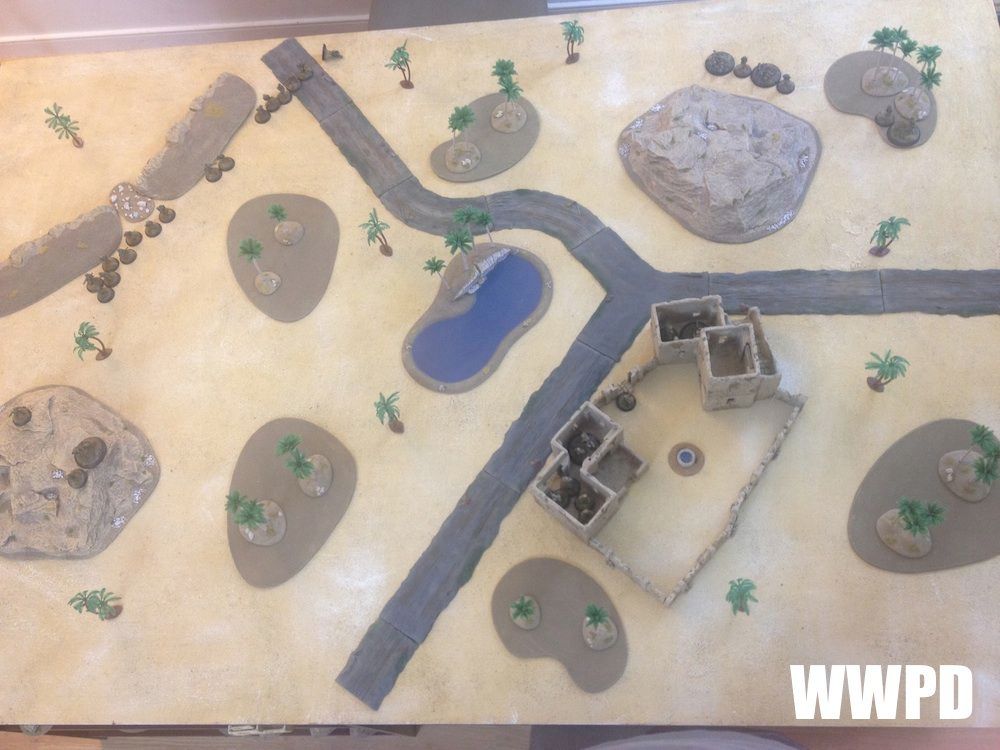 |
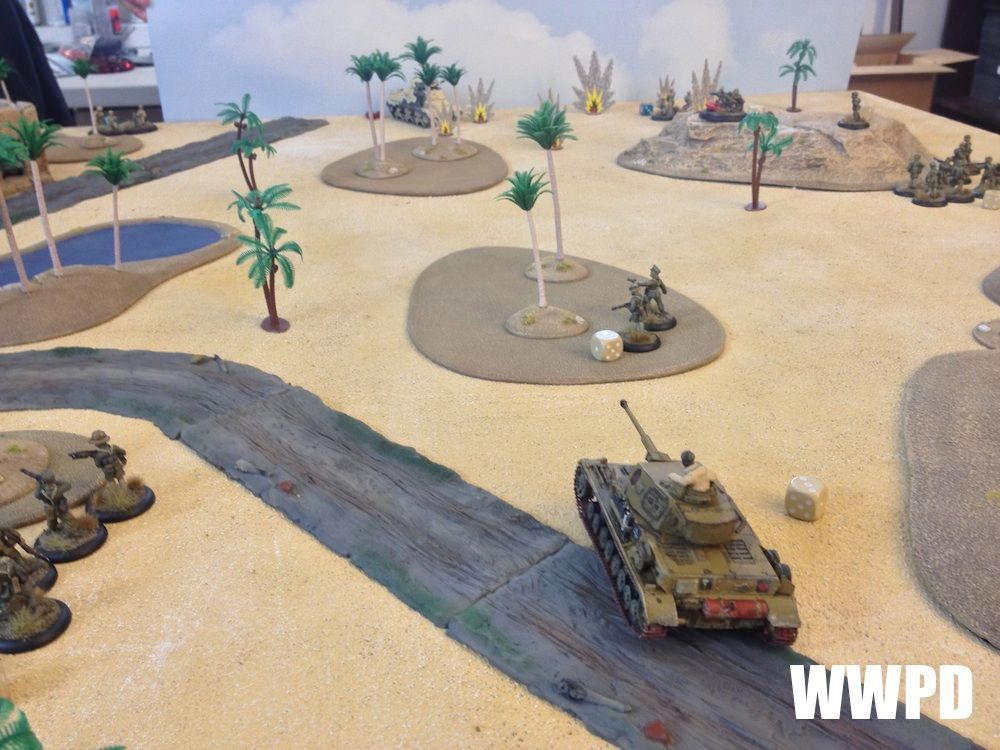
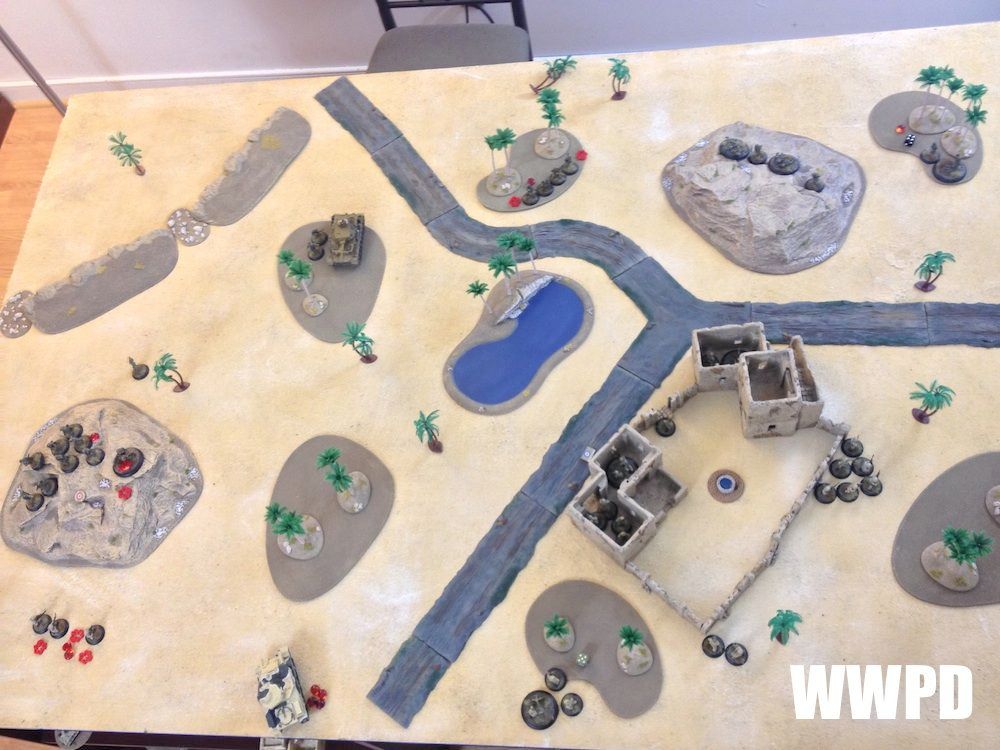
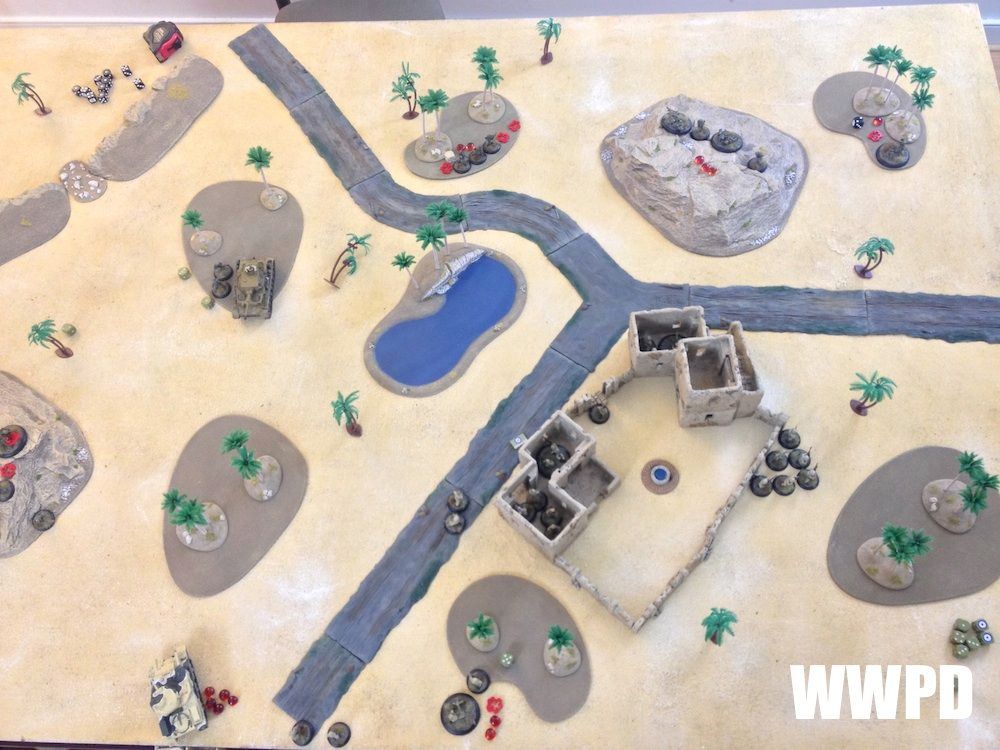
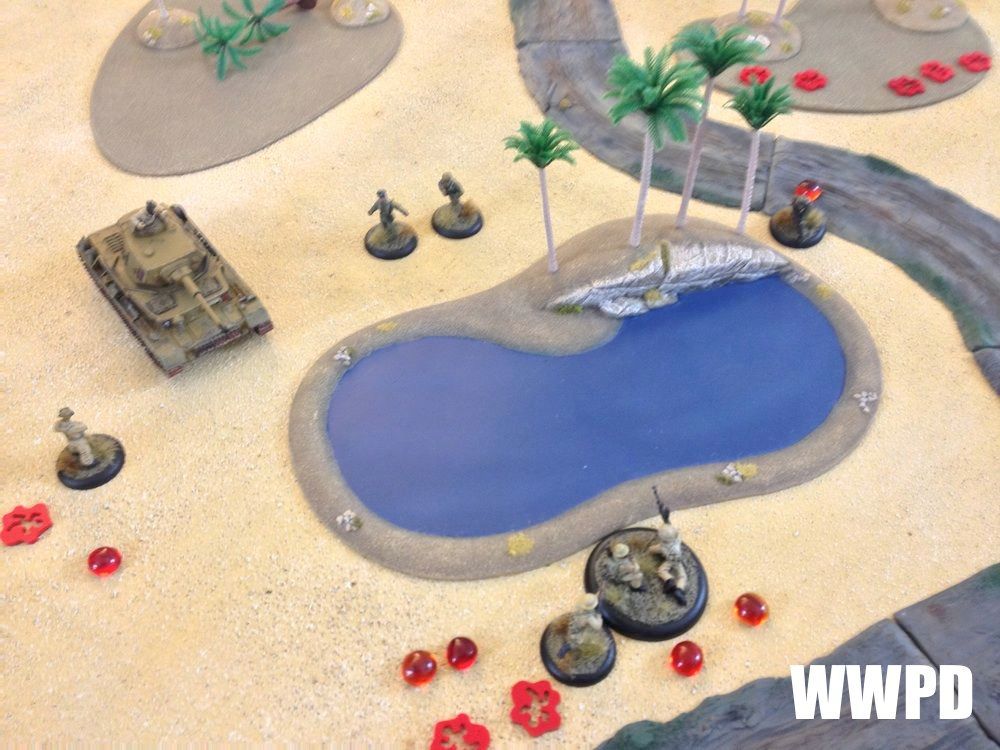
| The board |
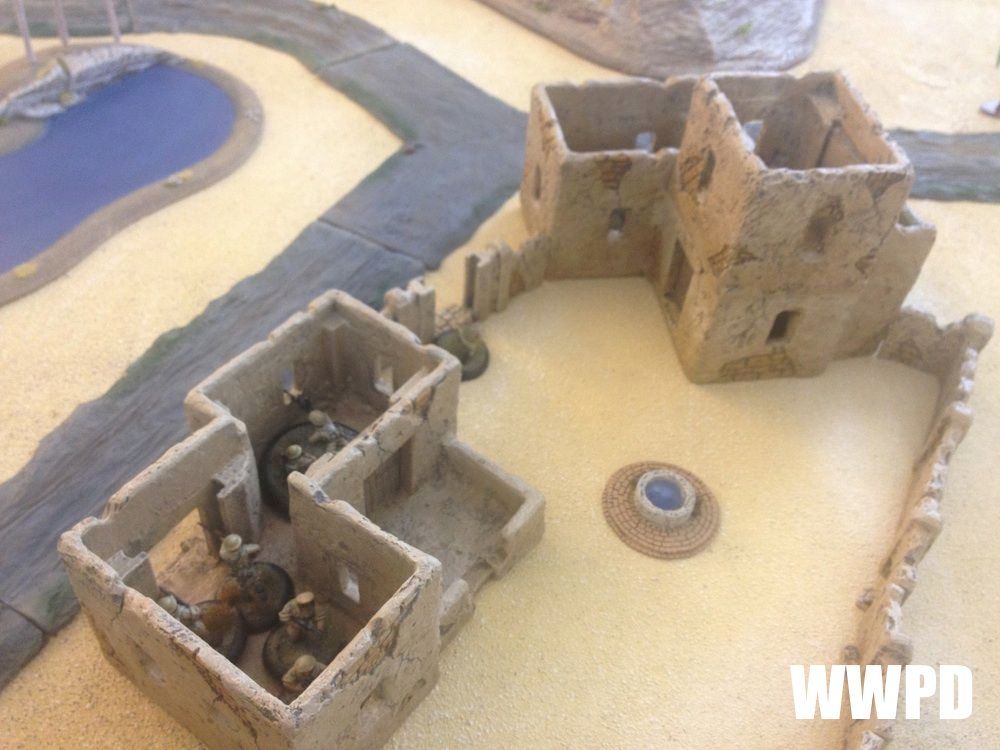 |
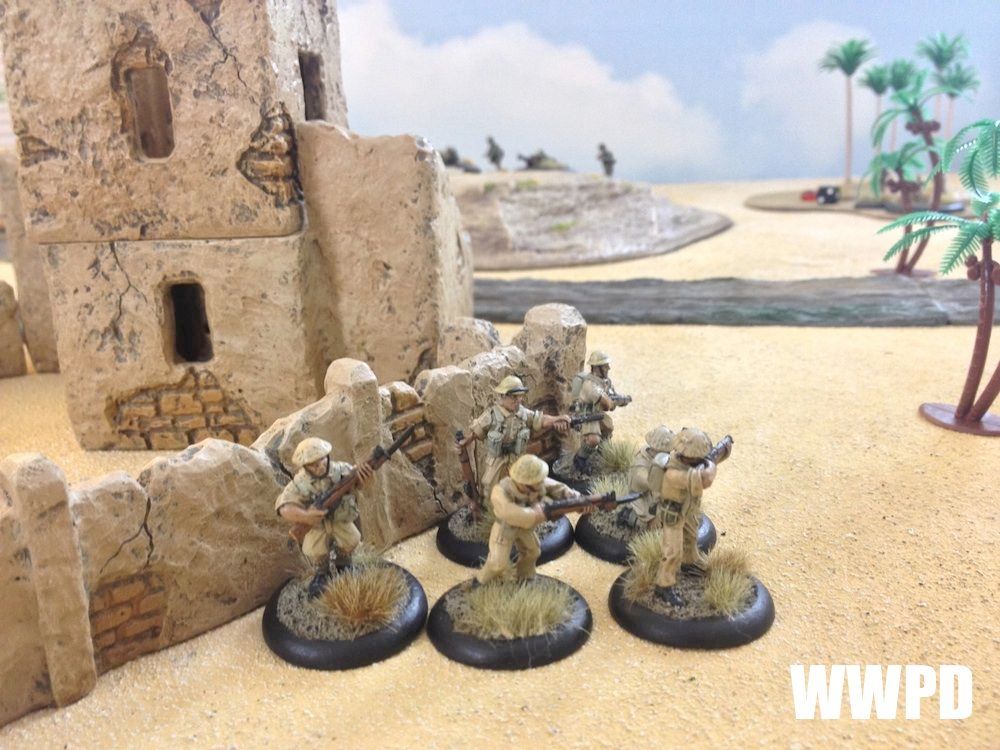
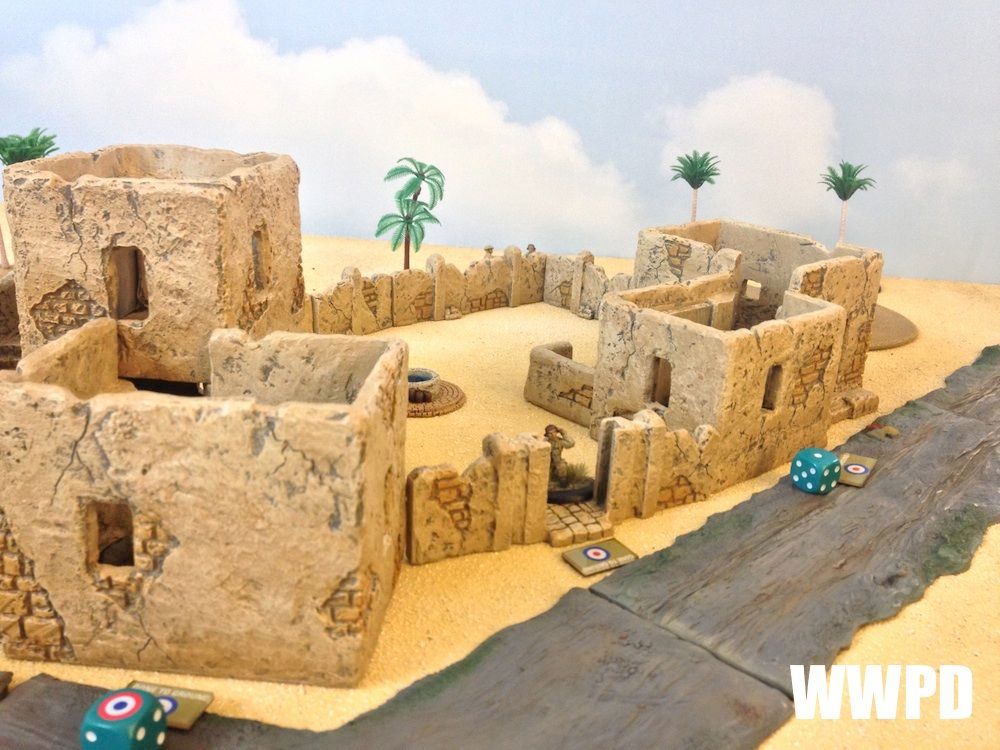
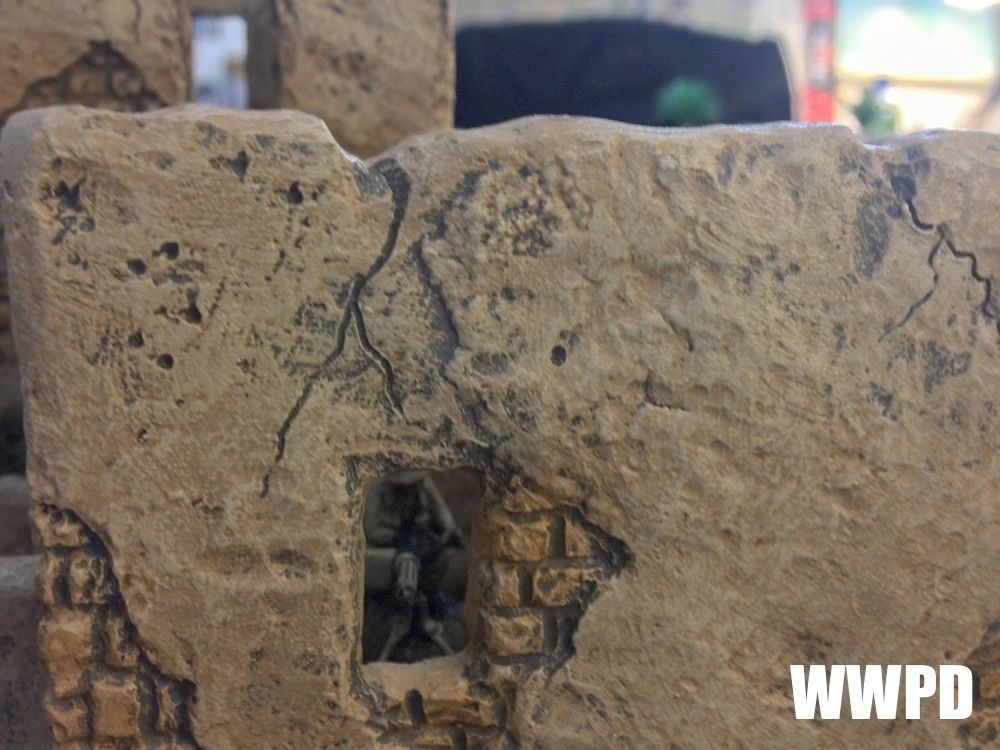
| Brit Defenders opt to take the small compound. |
 |
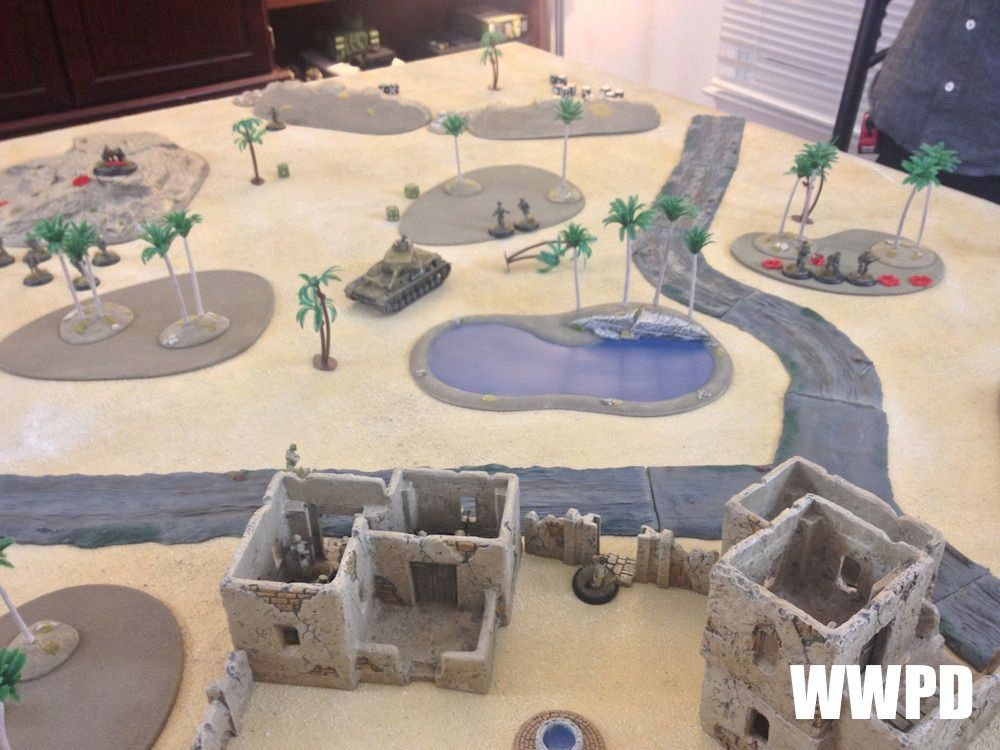
| The Assault Squad, Squad 2, and the LT approach from the 11 O'Clock |
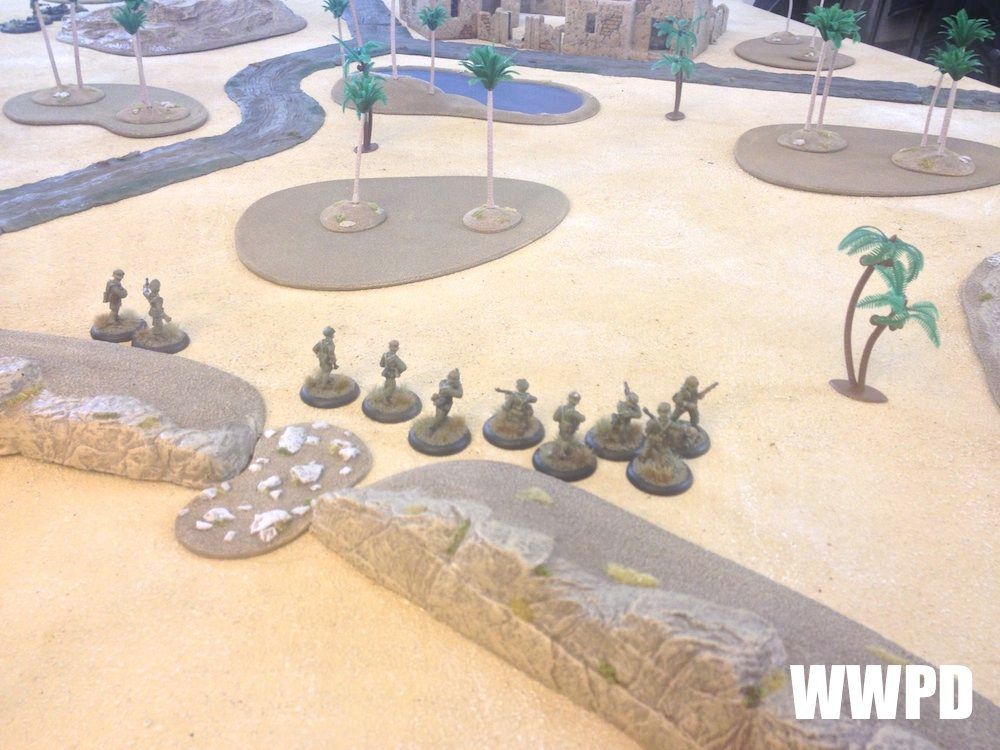 |
| The view from the German main force |
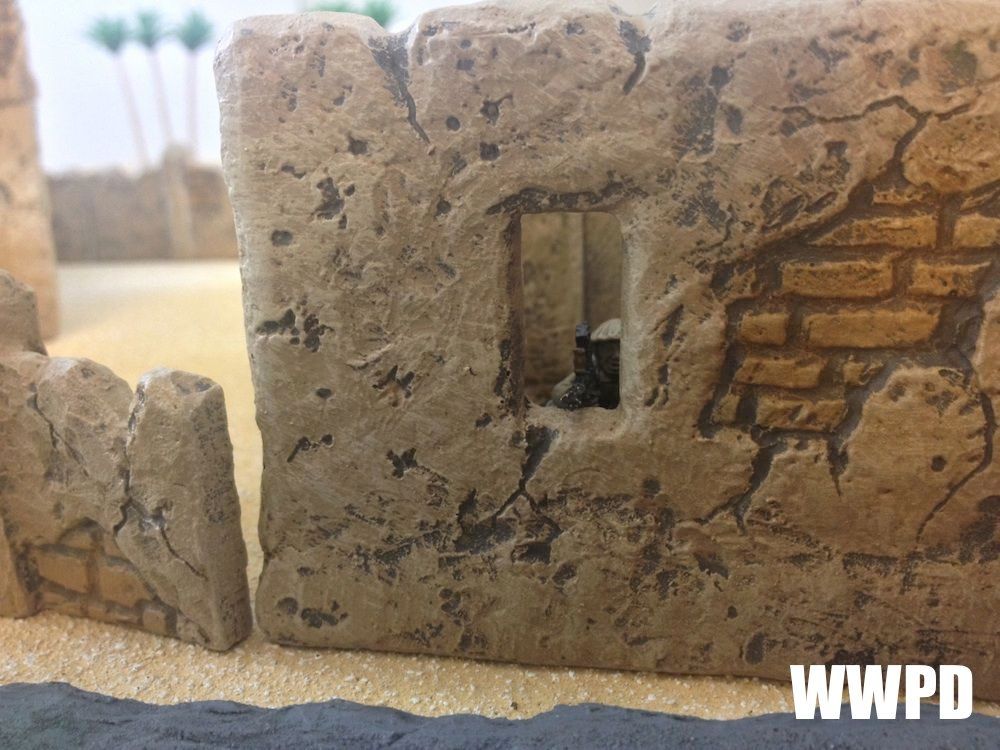 |
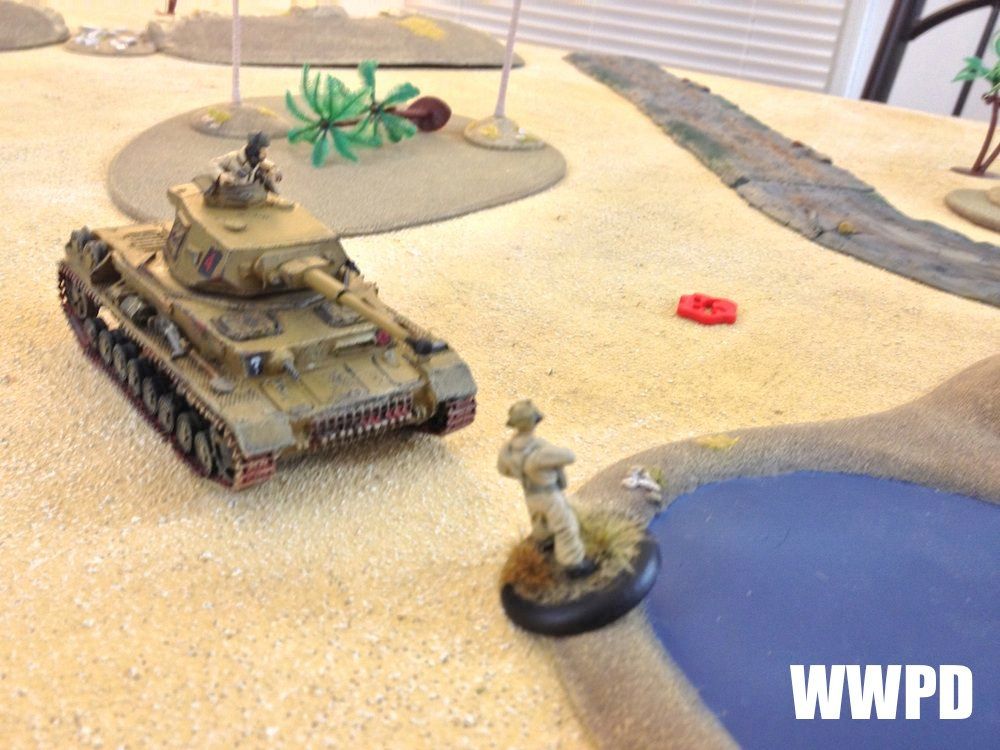
| Brit defender |
|
| (Duplicate Overhead View for referencing deployment below) |
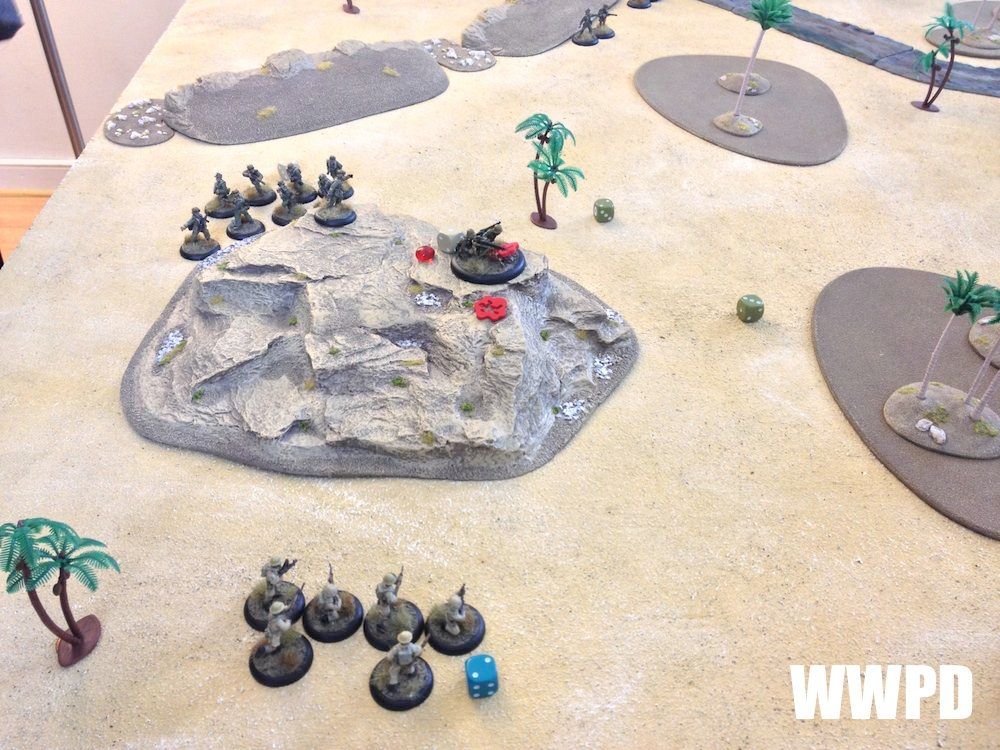
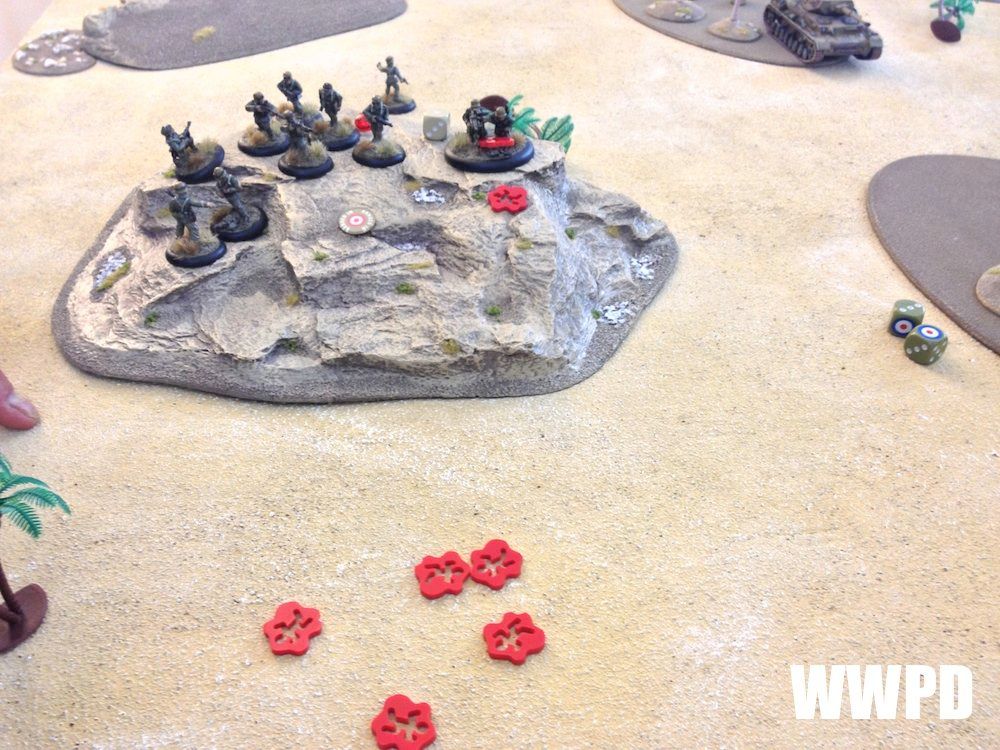
| 8th Army Brits: (Using Overhead pic above): Squad 1 in the building at 5:00, Brit MMG at 3:00. The first wave is the other 2 infantry squads and the Grant. The 2 spotters, Mortar, and LT are in reserve. The Mortar spotter is at the gate to the compound between the 2 deployed platoons. Afrika Korps: Squad 1 at 1:00. Light Mortar ar 1:30. MMG and Artillery Spotter on the ridge at 8:00. Squad 2, Assault Squad, and LT at 10:00-11:00. | |
8th Army Brits
| Afrika Korps
|
TURN 1
 |
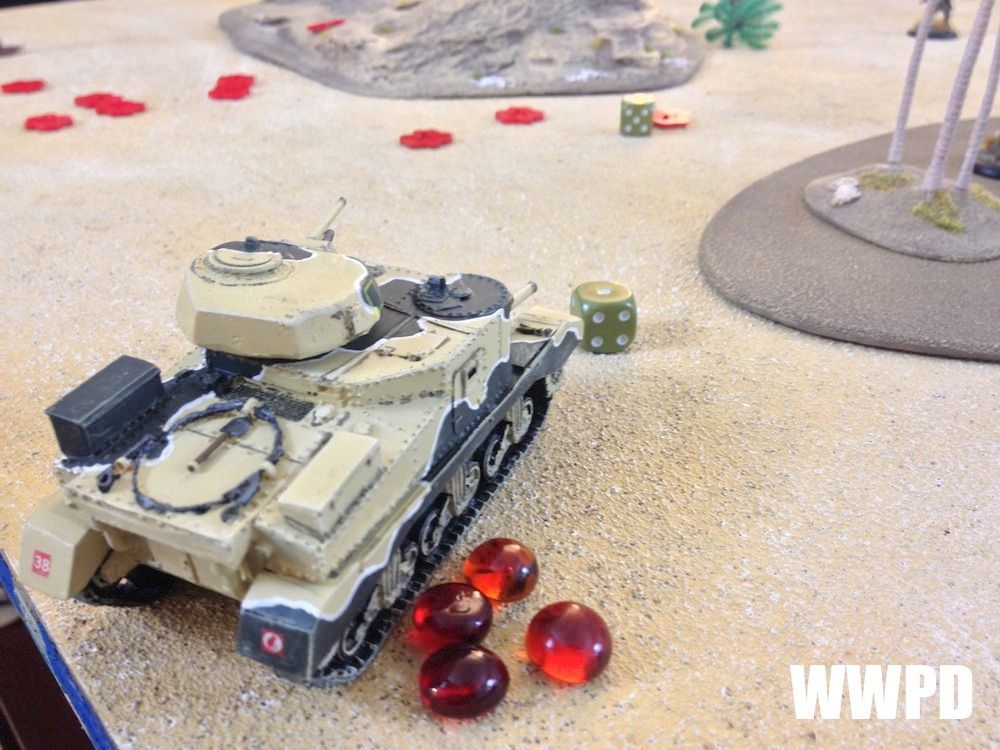
| Right off the bat the Grant rolls on the table and chews into the German MMG. 1 man is left standing, but passes his leadership test to stick around. |
 |
| Brit squad 2 arrives from the first wave, and tries to finish off the MMG, but can't bring it home. |
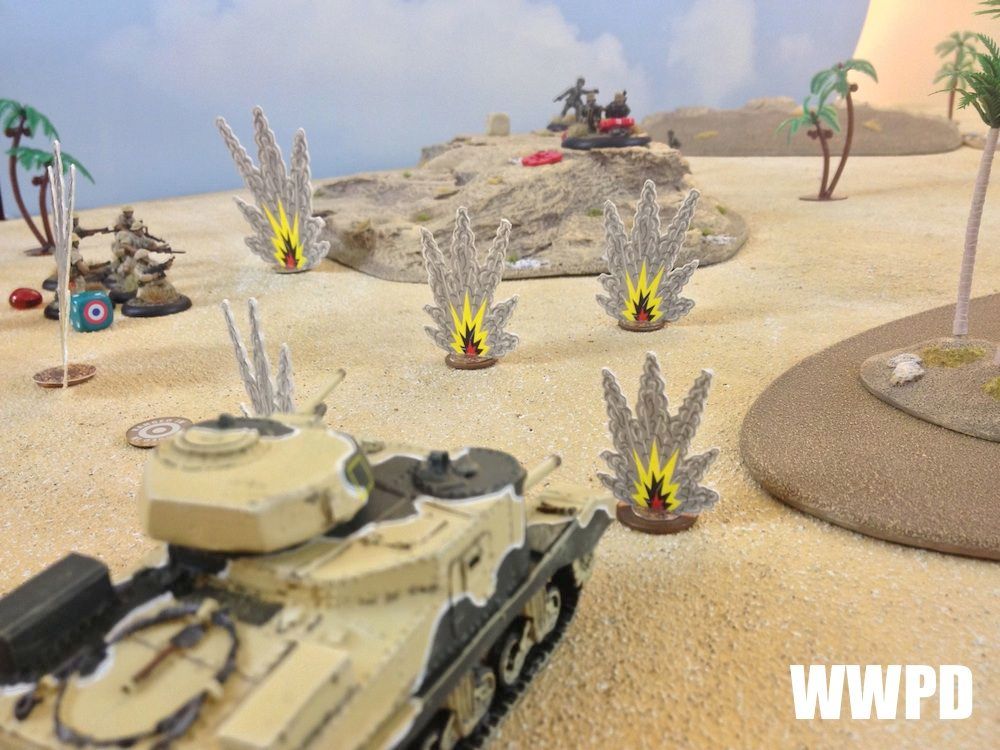 |
| German artillery at the end of turn 1 puts some pins on the British arrivals. |
 |
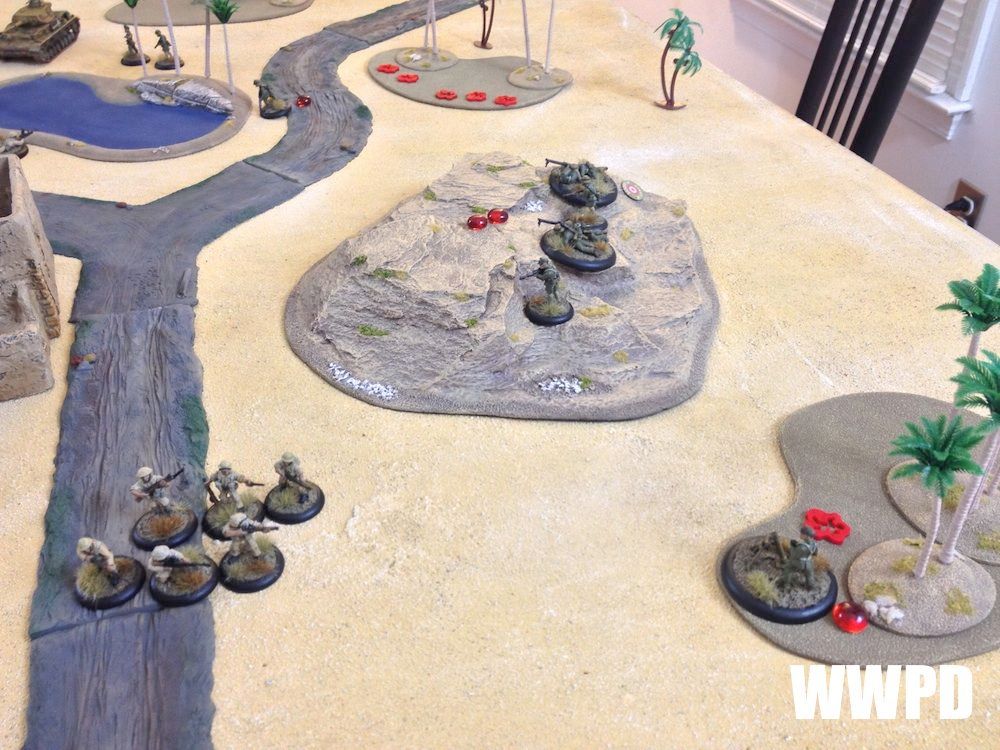
| Blood Ridge. |
 |
| The Panzer IV arrives earlier in the turn, but can't quite hit the Grant. |
 |
| The compound stays quiet. |
| 8th Army Brits | Afrika Korps
|
| 8th Army Brits: The Grant rolls on and opens up on the German MMG- hammering it but not destroying it. The 2 infantry squads arrive moving up either flank. The mortar also arrives as well as the vet observer. The LT fails his leadership test and so stays offboard. Afrika Korps: Artillery nails a squad of infantry and the Grant. Everyone else moves forward to get into position. | |
TURN 2
 |
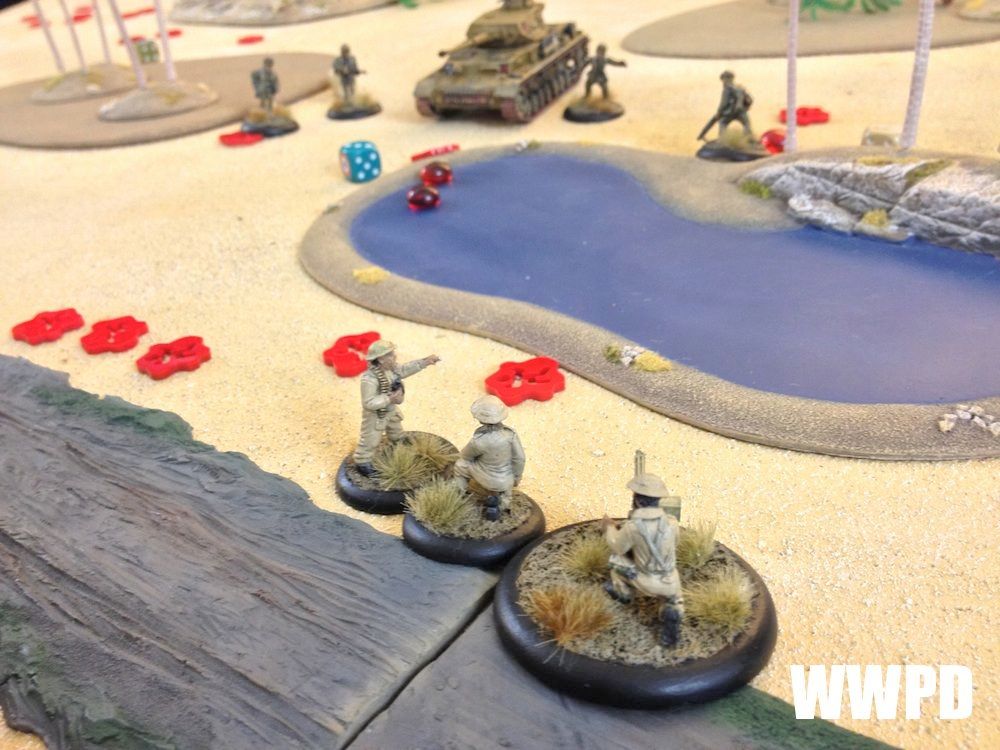
| The other flank- the Germans fire on the compound but fail to score any kills for a while. |
 |
| The Panzer IV nails the Grant- the shot barely bounces off, but the pins have really added up! The Assault Squad tears into the British 2nd Squad. |
|
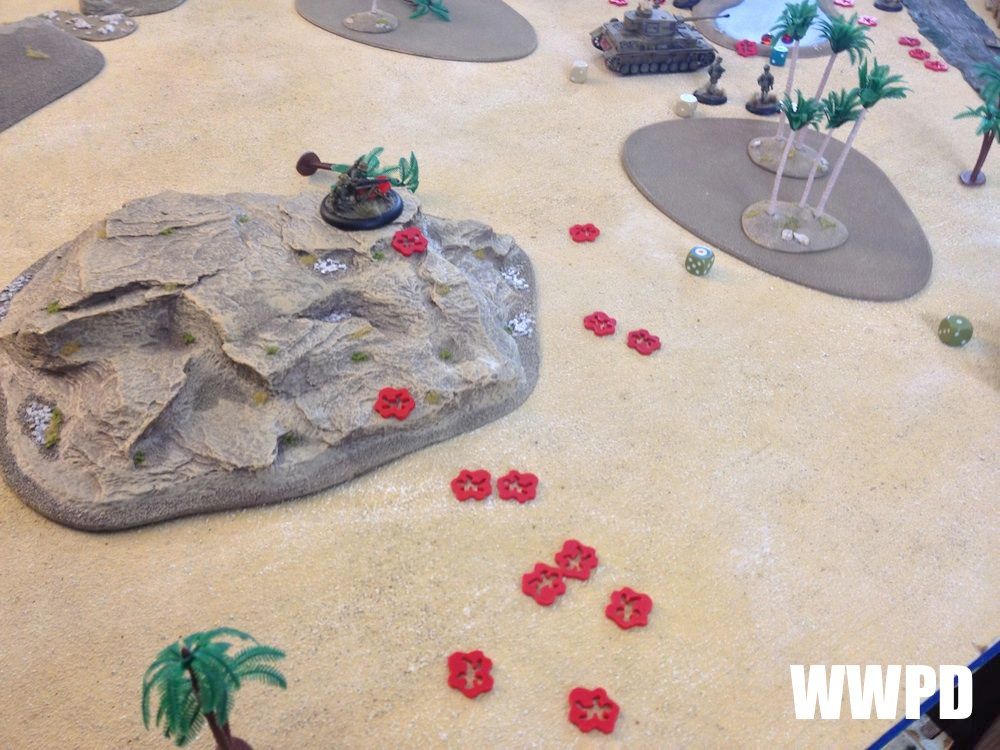
| Squad 3 on the British right moves forward and takes potshots at the German light mortar. |
 |
| The ridge is the sight of most of the fighting. The German LT advances alongside the Panzer IV. In the top right, German Squad 2 has taken casualties after the British MMG in the building opens up. |
 |
| Keep moving! |
8th Army Brits
| Afrika Korps
|
| 8th Army Brits: The Grant fails to act due to the number of pins. The LT fails to arrive again. The Brit MMG tears into an advancing German squad. Afrika Korps: The Panzer IV and LT advance, pinging a round off the Grant. The Assault Squad lights up the Brits from atop the ridge! | |
TURN 3
 |
| Top of 3. |
 |
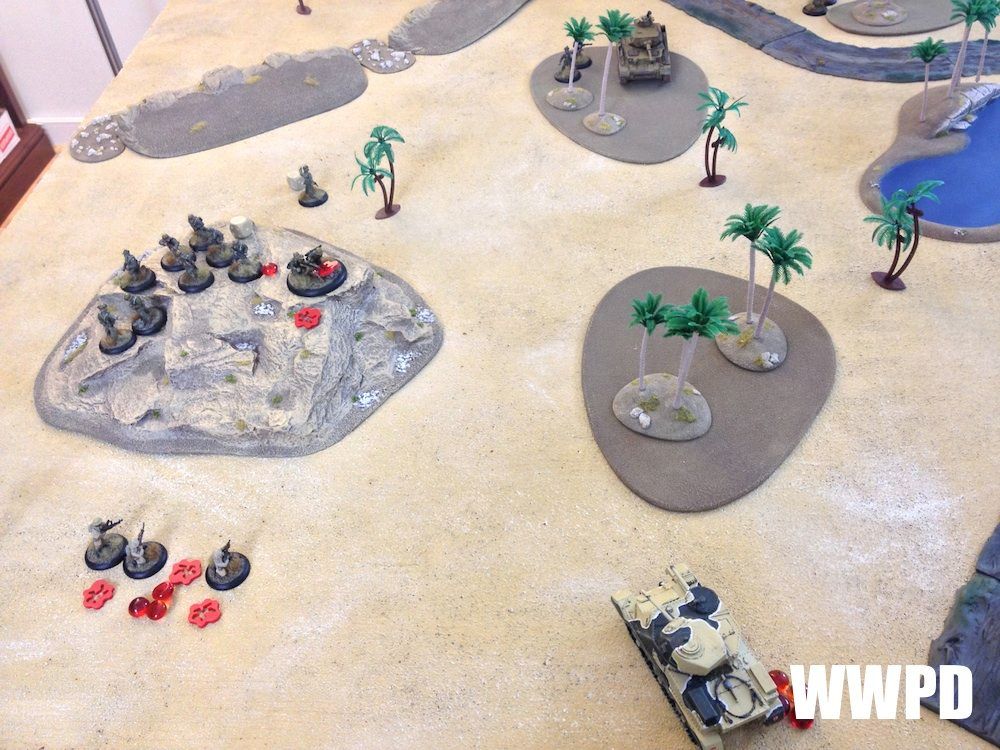
| Combined fire from a one-man MMG and the Assault Squad eviscerates 2nd Squad! |
 |
| Shortly after arriving on the left flank, the German spotter goes after the Brit spotter! |
 |
| The Grant fails to rally. |
 |
| Brit MMG keeps eating into Squad 2. |
 |
| Squad 3 keeps up fire on the light mortar. |
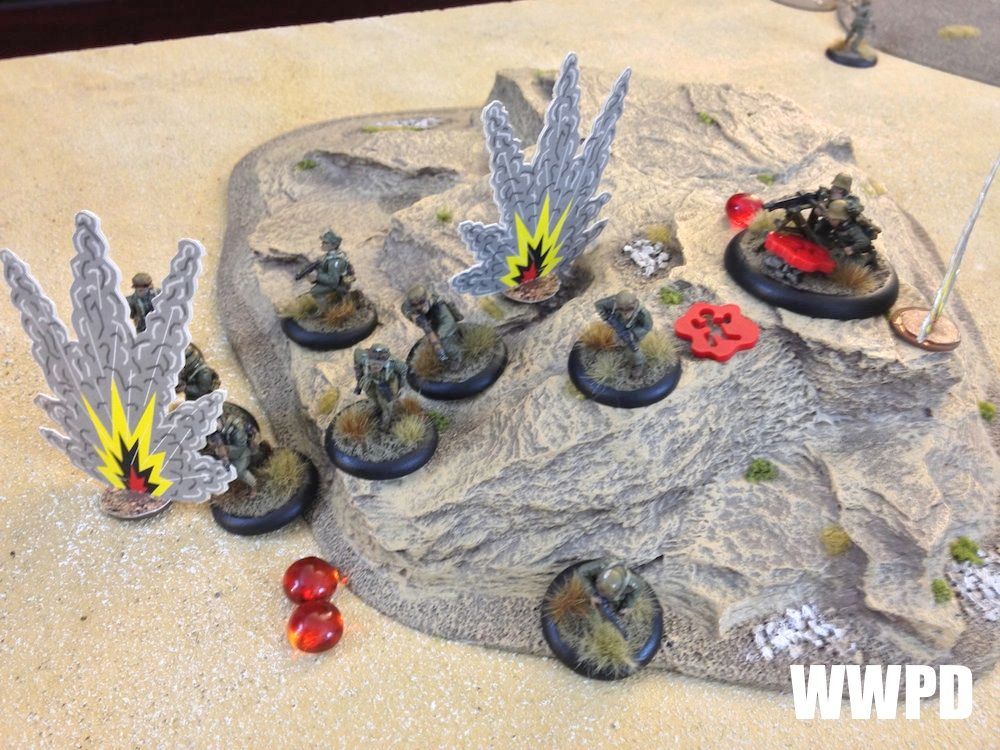 |
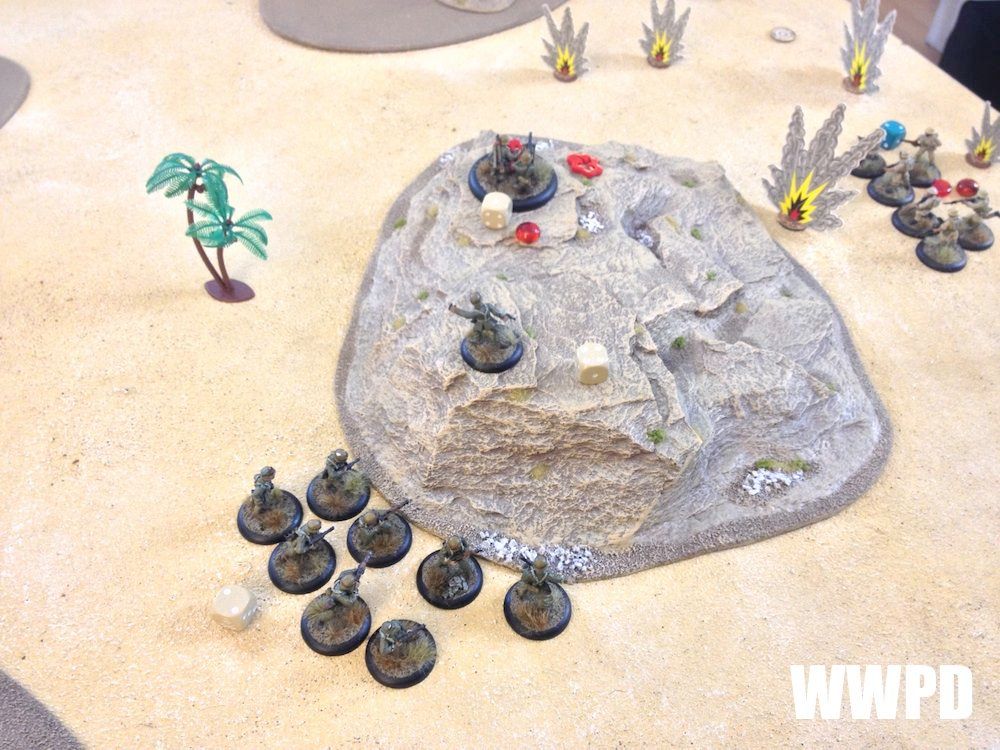
| Artillery falls on the ridge! |
8th Army Brits
| Afrika Korps
|
| 8th Army Brits: The Grant sits unable to act. The British have no real push, only taking potshots. The observer arrives on the left. Afrika Korps: The Germans keep pushing, lead by the Panzer IV! | |
TURN 4
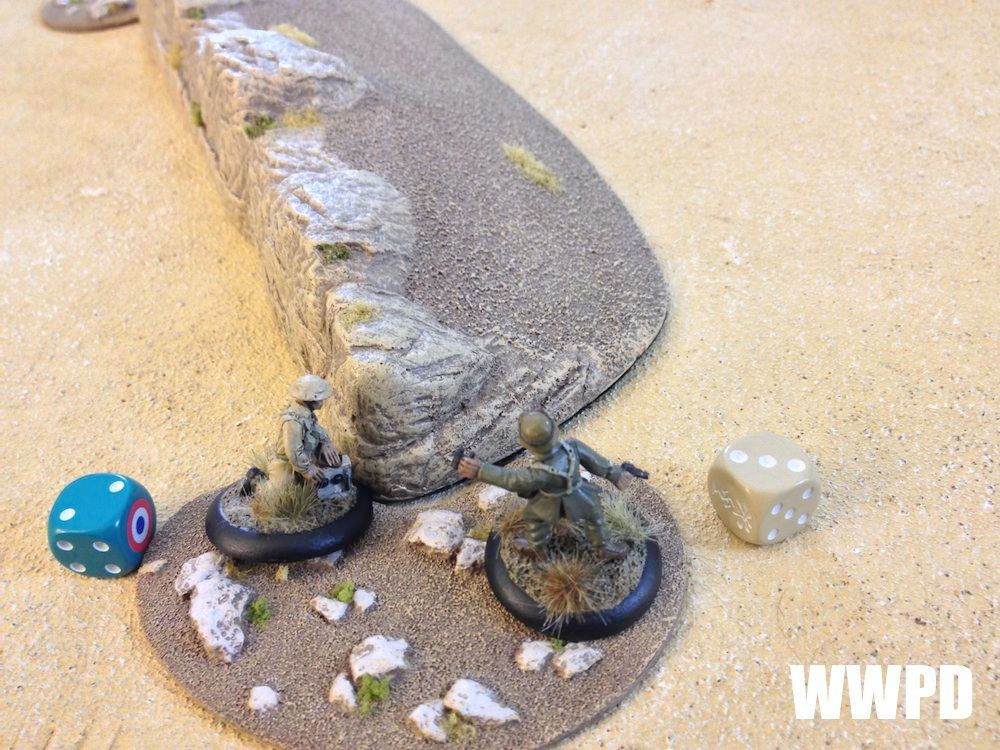 |
| Just after calling in the coordinates, the British observer is charged by the German! |
 |
| And killed dead! |
 |
| But he successfully called in fire on the ridge near the compound. |
 |
8th Army Brits
| Afrika Korps
|
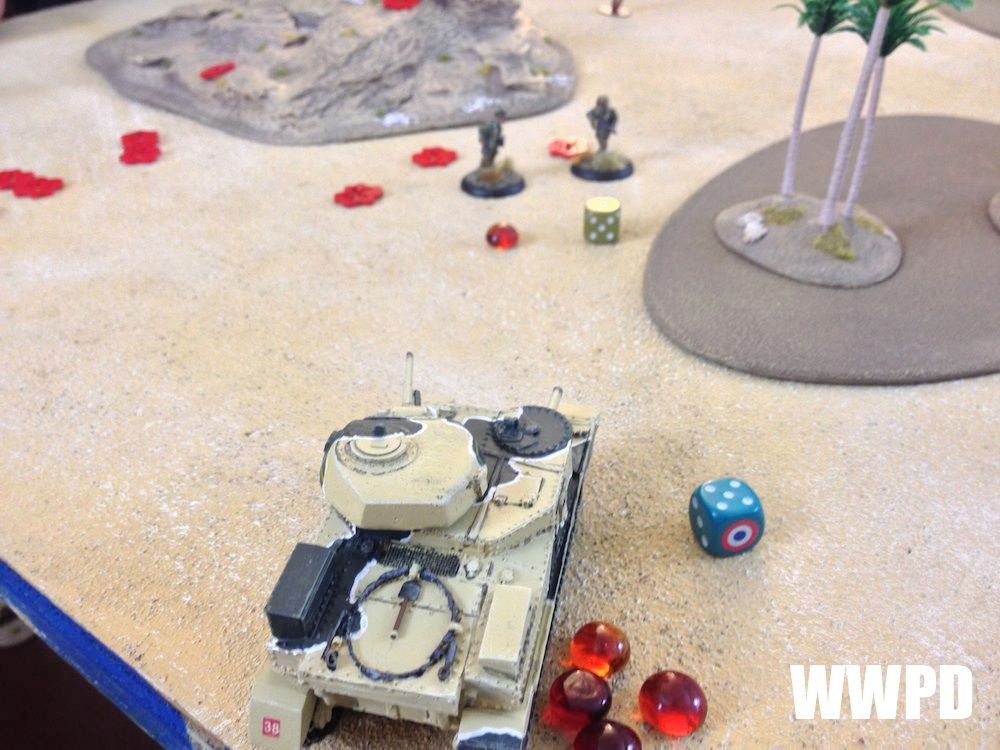
| 8th Army Brits: With the timely arrival of the LT, the Grant rallies and fires on the Panzer IV. It scores a hit, but the shot bounces off. The co-ax MMG guns down 3 men from the German assault squad. Artillery fire rains down on the hill at 1:00. Afrika Korps: The Panzer IV thwacks the Grant, immobilising the vehicle! | |
TURN 5
|
| Top of 5! |
 |
| The Panzer IV drives forward, and the hull MG wipes out the Brit LT! |
 |
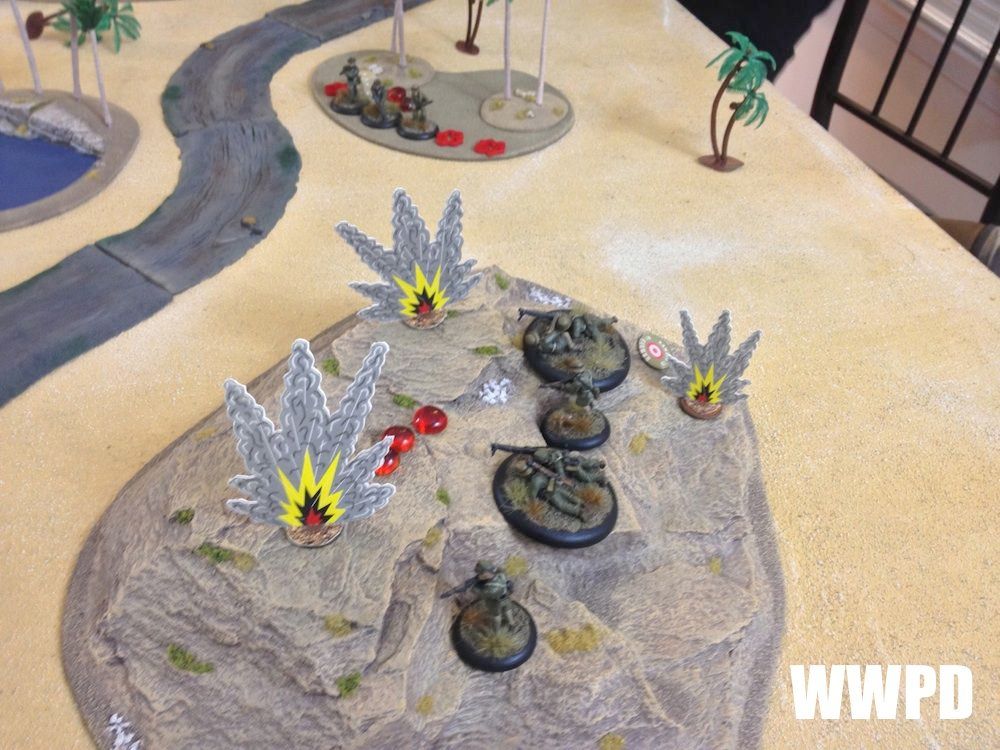
| The Germans are swarming the Oasis now, but they've suffered casualties! |
8th Army Brits
| Afrika Korps
|
| 8th Army Brits: The Brits are suffering losses now, but still do not commit to the Oasis. The Grant tries to rally but fails. Afrika Korps: Lead by the Panzer IV, the Germans creep up on the Oasis. | |
TURN 6
 |
| Turn 6- could be the end! |
 |
| The Brits have to move out now. In hindsight, I should have moved this unit out dead last. |
 |
| Because the losses they suffer are horrendous! Squad 1 and the RA observer hold it down! |
 |
| The Grant temporarily roars to live as the MG shreds the Assault Squad! The Assault Squad lives on, however. |
 |
| At the end of turn 6- but the dice gods speak and a turn 7 is to be played! |
8th Army Brits
| Afrika Korps
|
| 8th Army Brits: The Brits go for it, but are looking at a draw. Afrika Korps: Both sides have nothing but battered units contesting the objective. The Panzer IV is unstoppable now. | |
TURN 7
 |
| The Grant sits unable to act with so many pins. |
 |
| Both of the remaining full strength squads on either side are just out of range to make a difference. |
 |
| The British MMG has kept firing from the window, scoring numerous kills and pins. But now, the barrel is silent with no targets. |
 |
| The lone artillery observer rushes forward and sees off the German LT with his pistol before being gunned down himself by the assault squad. |
 |
| At the last, the British MMG moves out to make the game a draw. |
 |
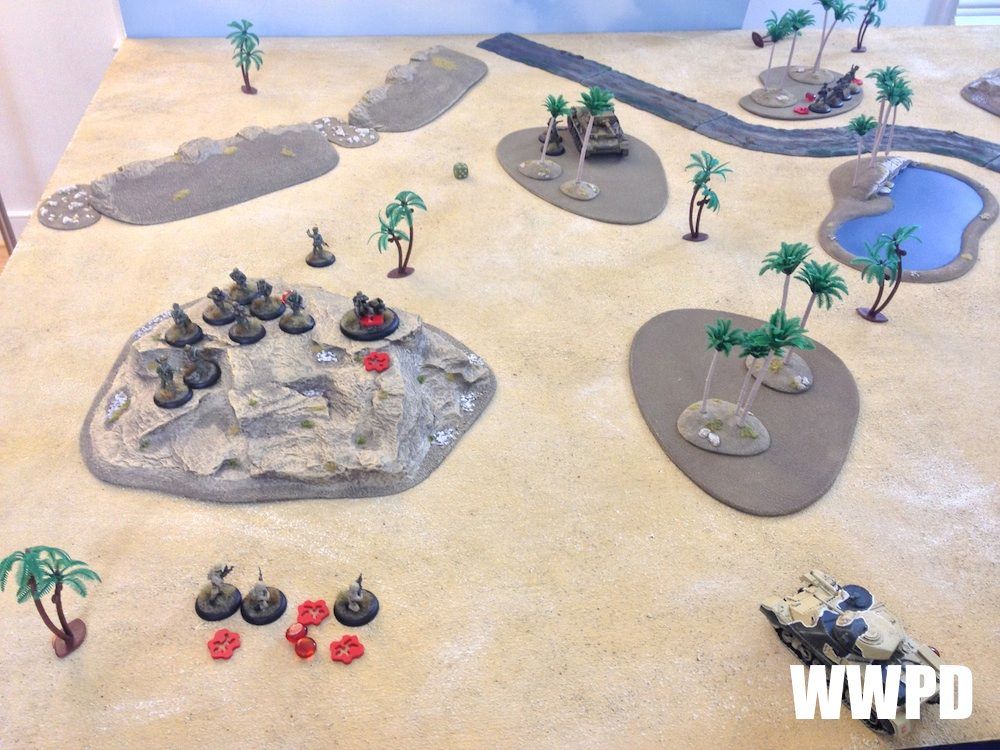
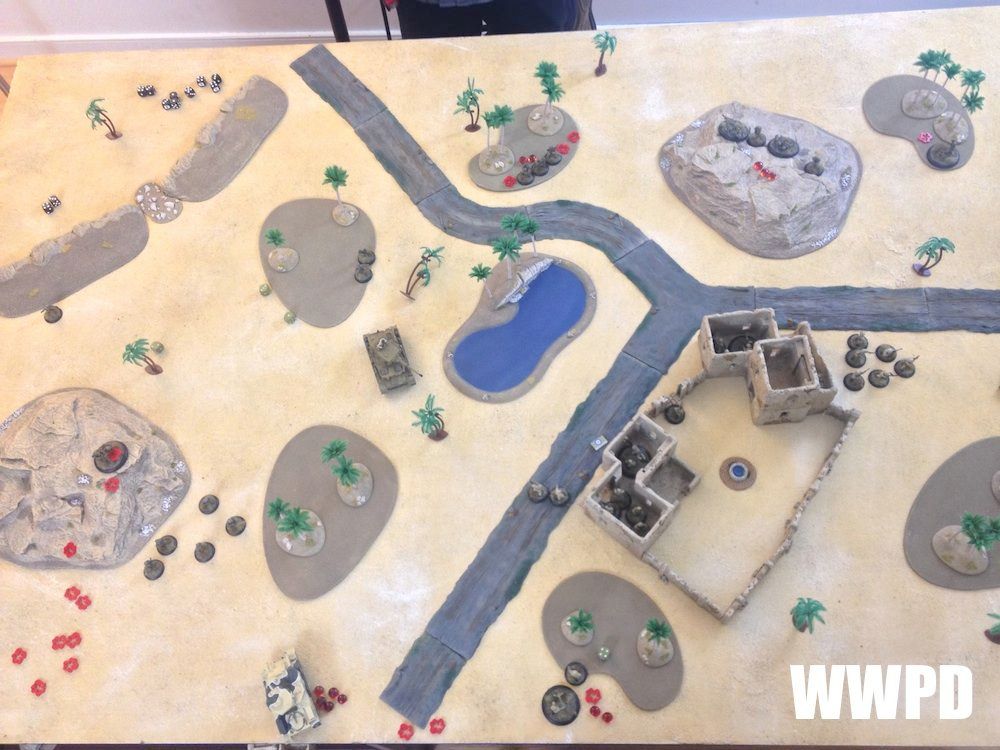
| The battlefield on the left flank. |
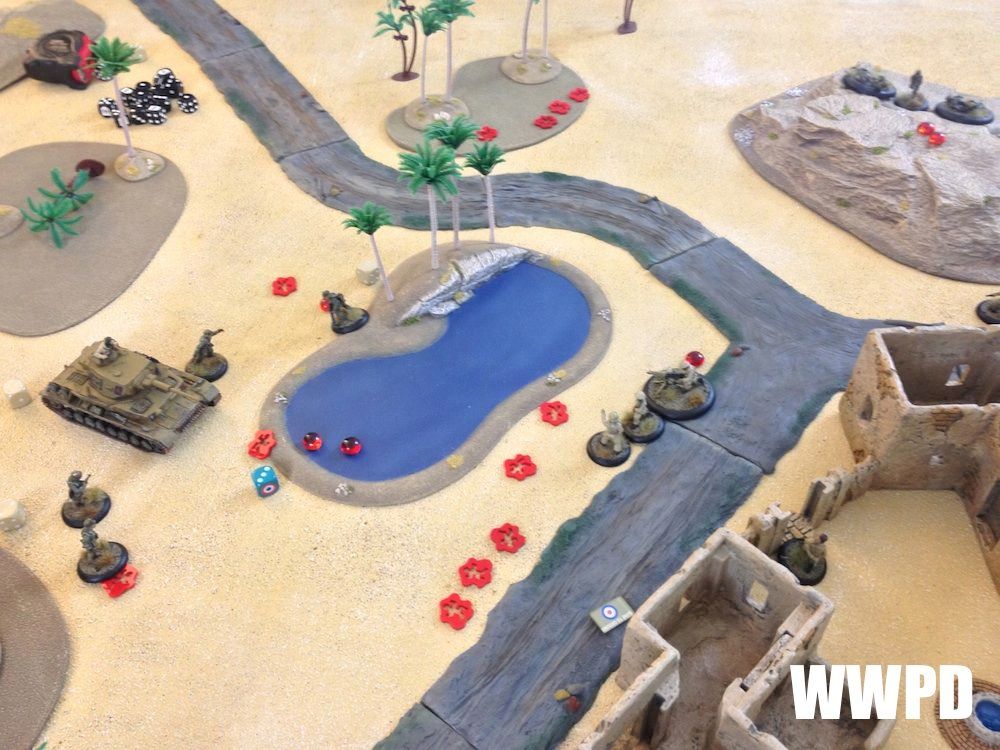 |
| The Oasis. |
 |
| The whole bloody battlefield. |
8th Army Brits
| Afrika Korps
|
| 8th Army Brits: With time running thin, the Brits get desperate. At the end the MMG is able to move out and force a draw. Afrika Korps: The Germans are clearly poised to annihilate the remaining British resistance! | |
| This turned out a draw unless we go to attrition in which case the Germans clearly took the upper hand! I had a great game, and I think Sean enjoyed it too. The BA rules are finally starting to get under my fingers, but I'm still far from a pro. Better listen to the BAH some more. |
Generated by WWPD's BatRepper Software.


