


| Jon and I were anxious to get back to the Western Front and run some lists we were excited about. Jon wanted to get back into Brit paras, and I was excited to try the Generic Gepanzerte Panzergrenadier force out of Forces. We rolled for the mission and came up with Breakthrough. We played for a very long time, and thus I sort of lost track of some pictures. Consequently, this is going to be another summary-heavy battle without a turn by turn breakdown. Sorry if that's tough to follow, but the action should largely speak for itself! |
Steven's Gepanzerte Panzergrenadiers
| Jon's British Paratroopers
|
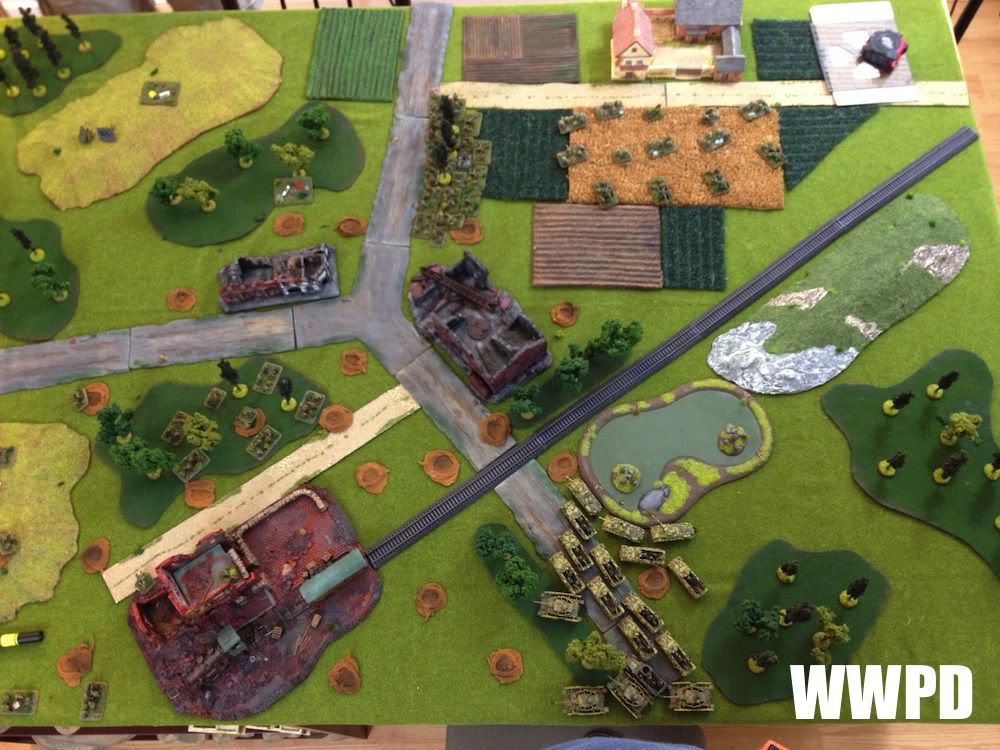 |
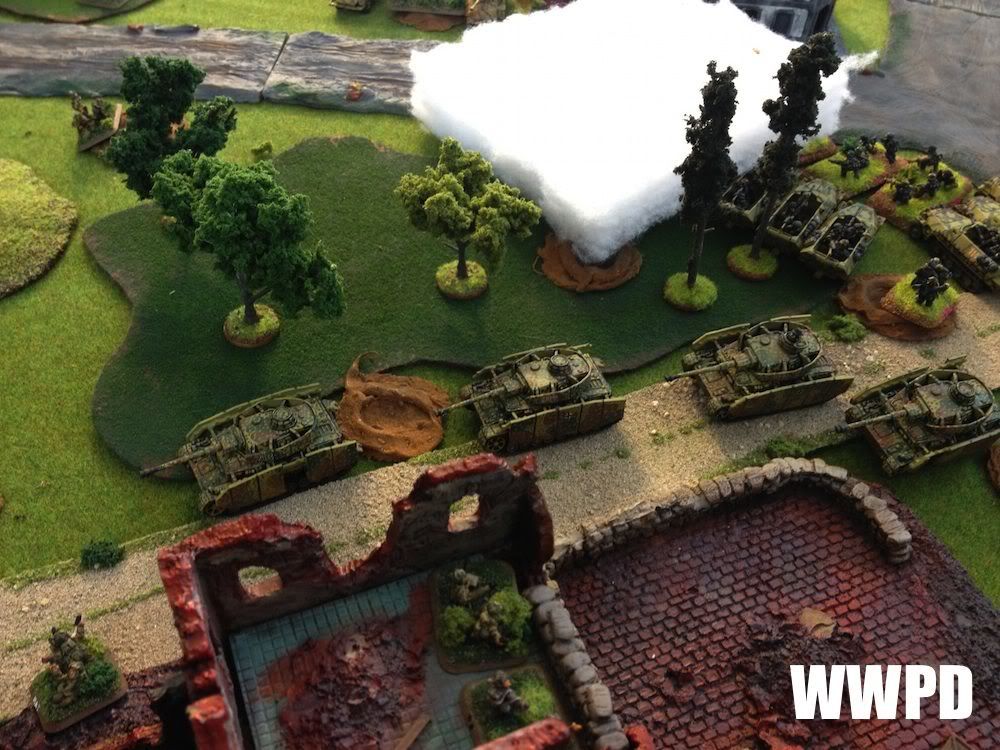
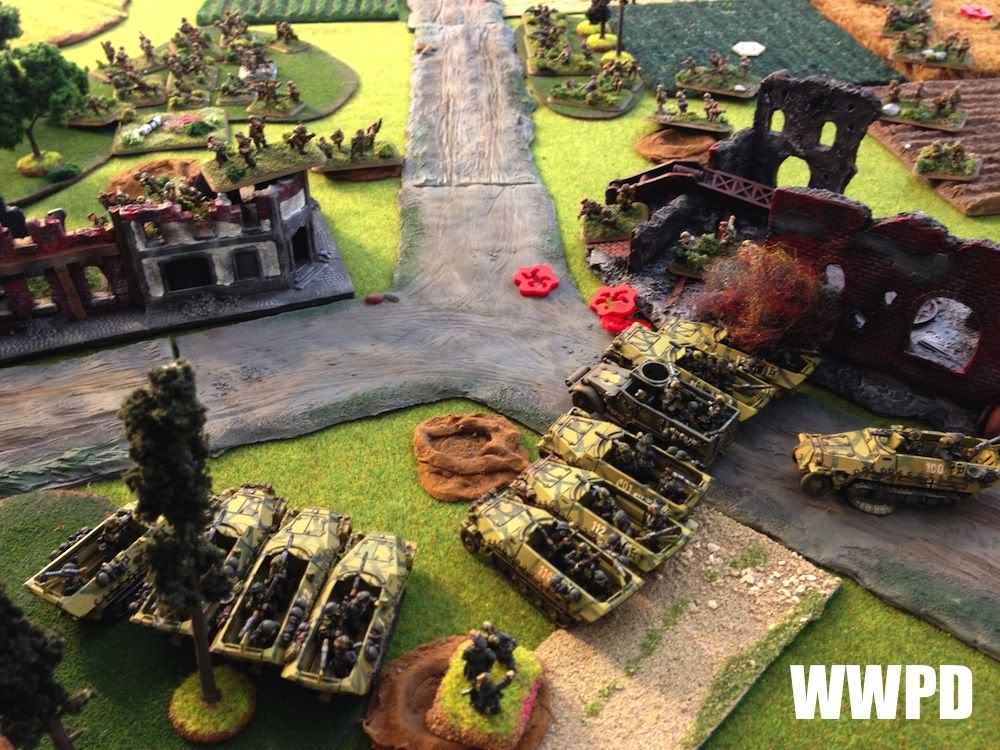
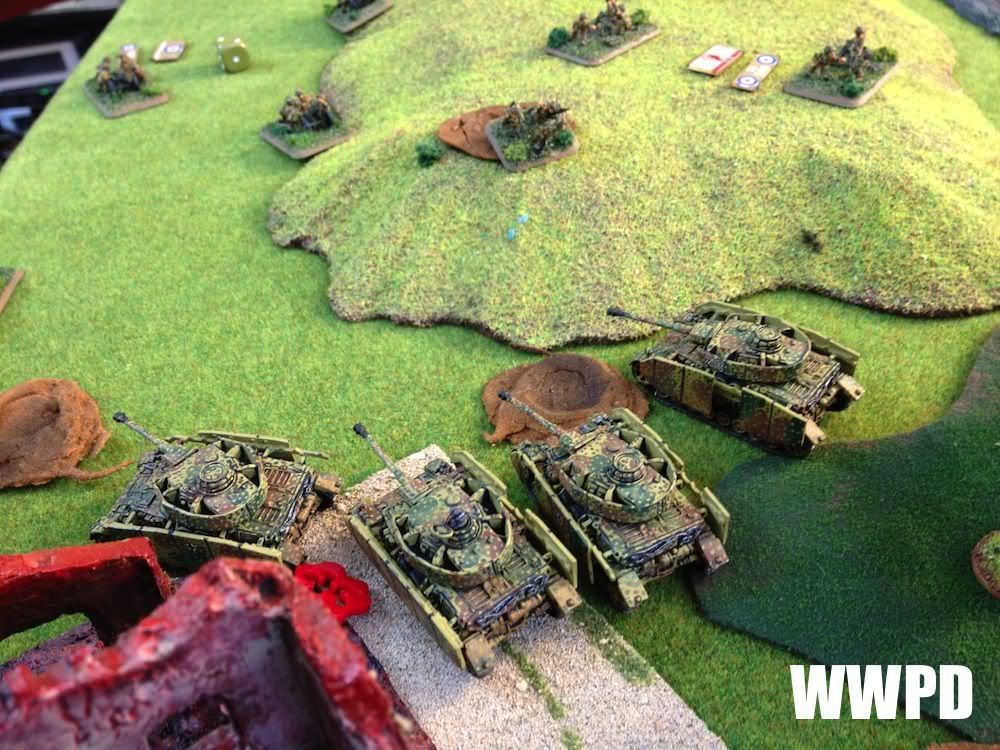
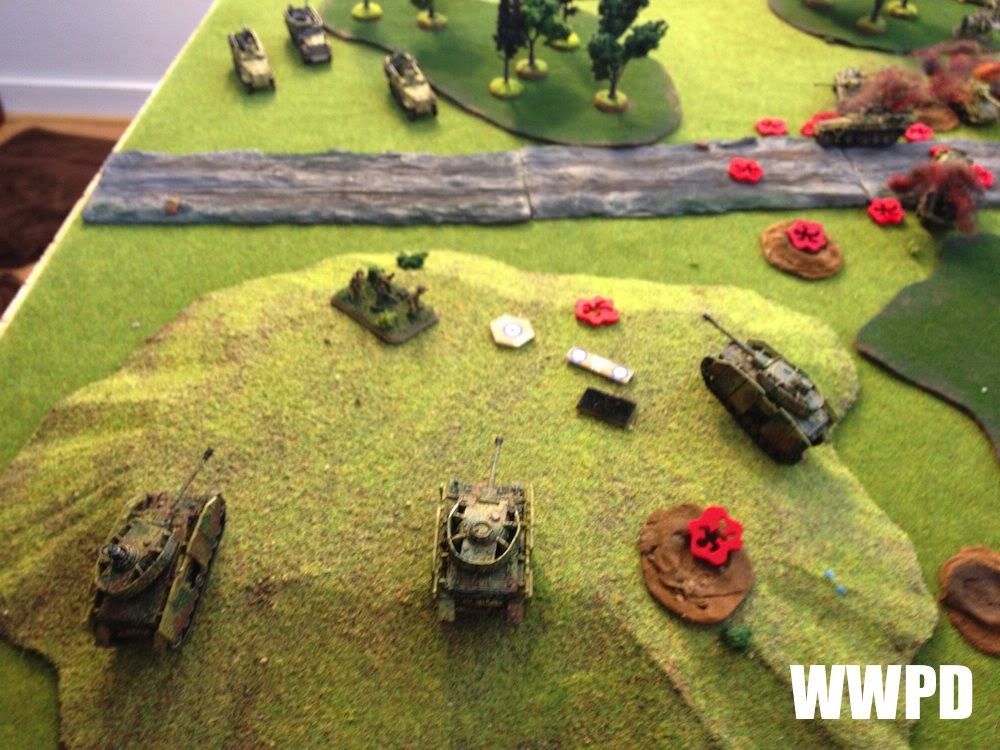
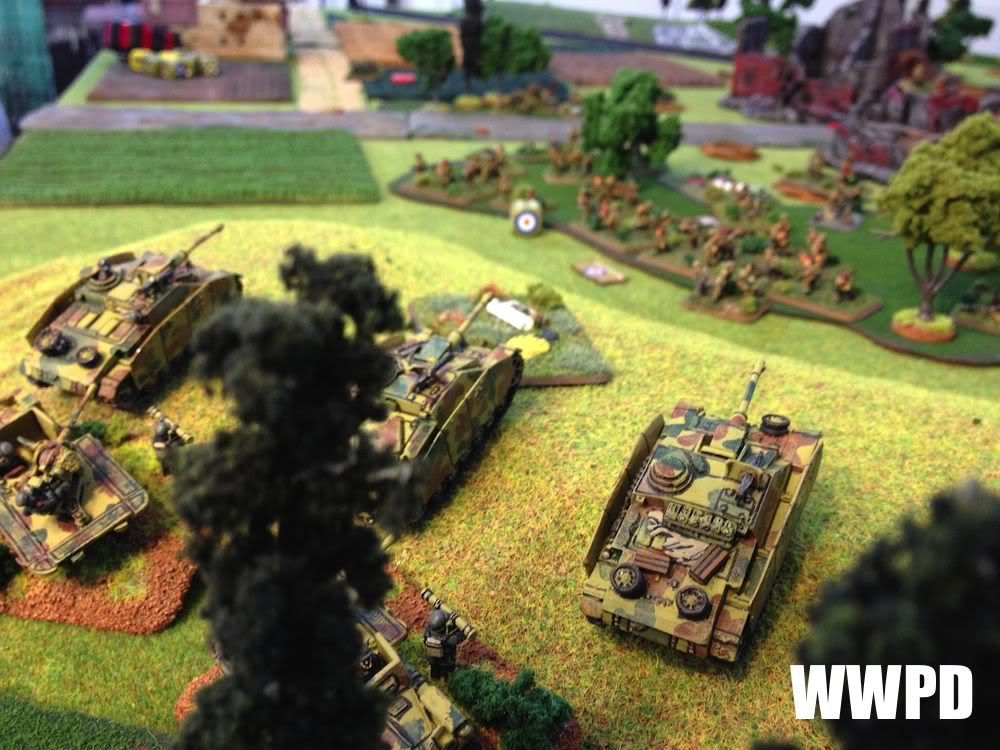
| I put my Stugs and AAA in reserve. Panzergrenadiers and Panzers crowd the congested terrain. |
 |
| Very Congested deployment zone. |
 |
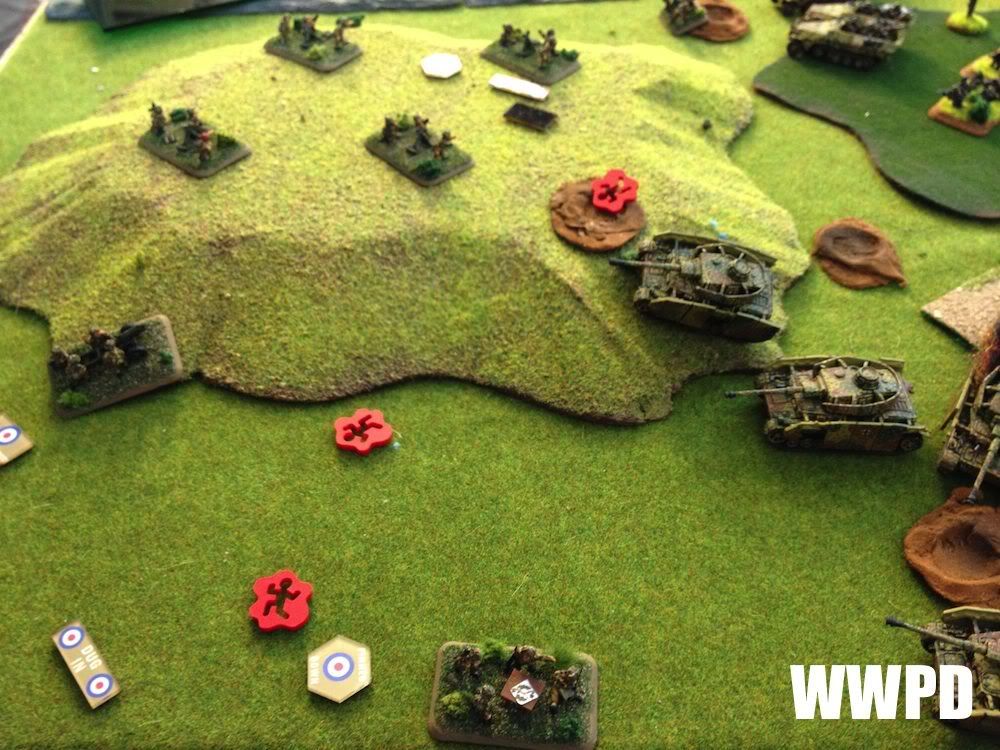
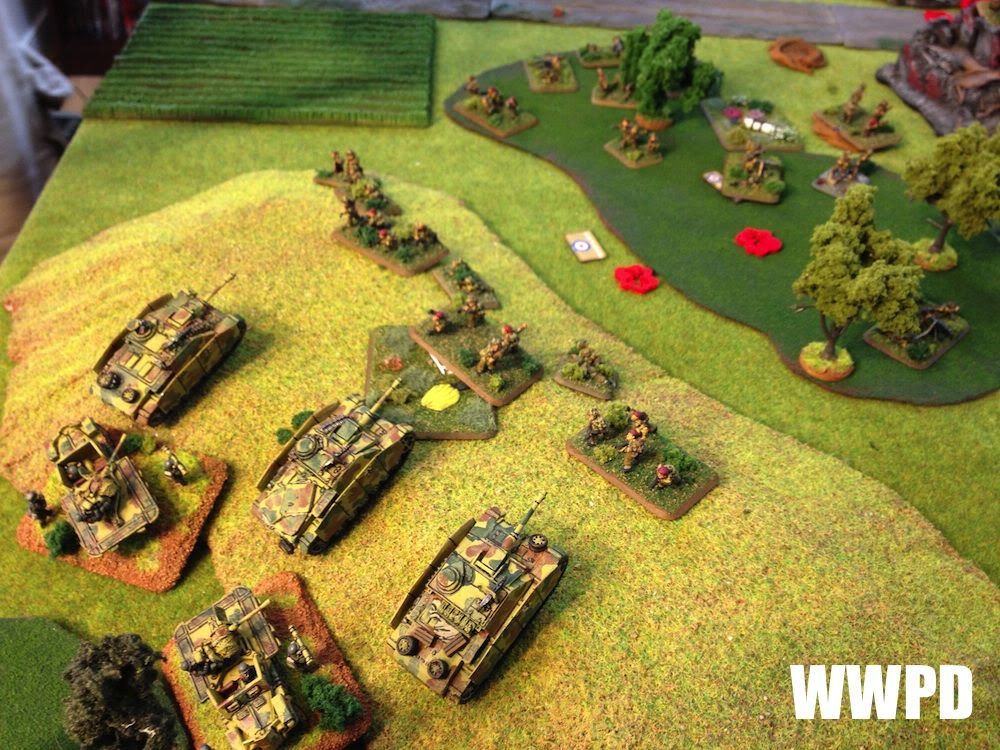
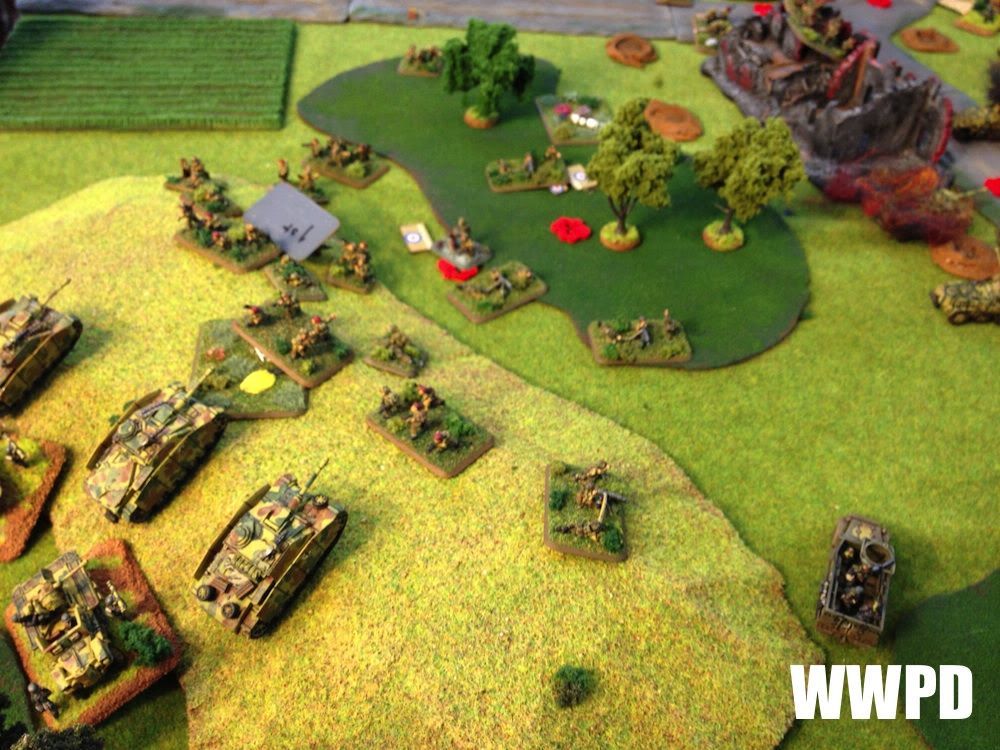
| 6 Pounders and Paras cover the right flank. |
 |
| The view from the right. |
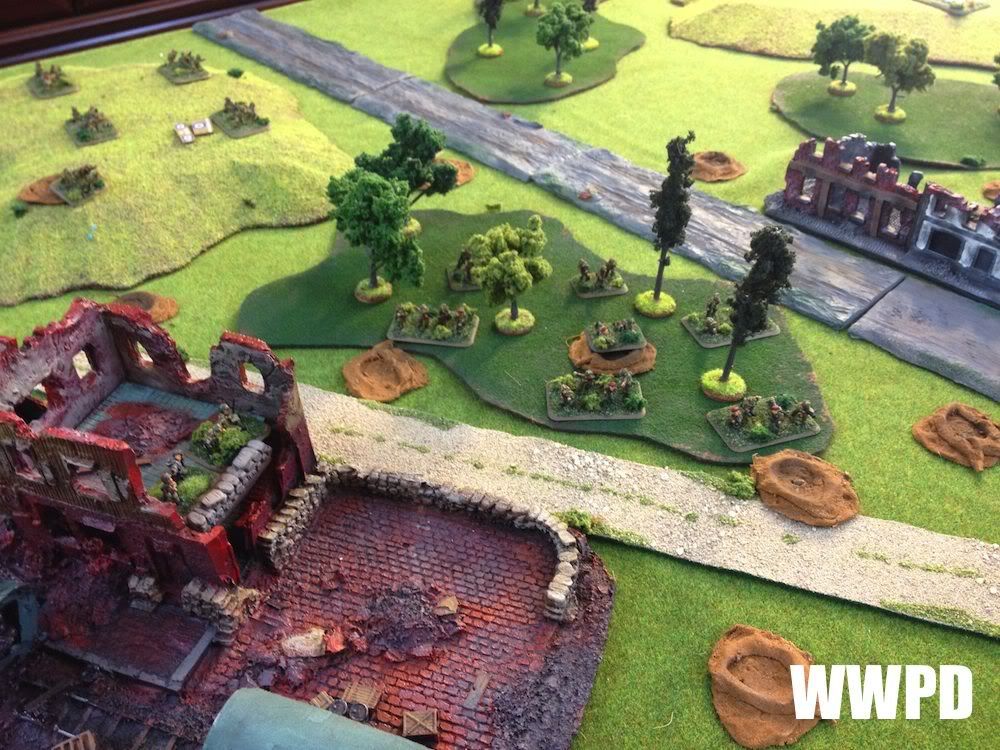 |
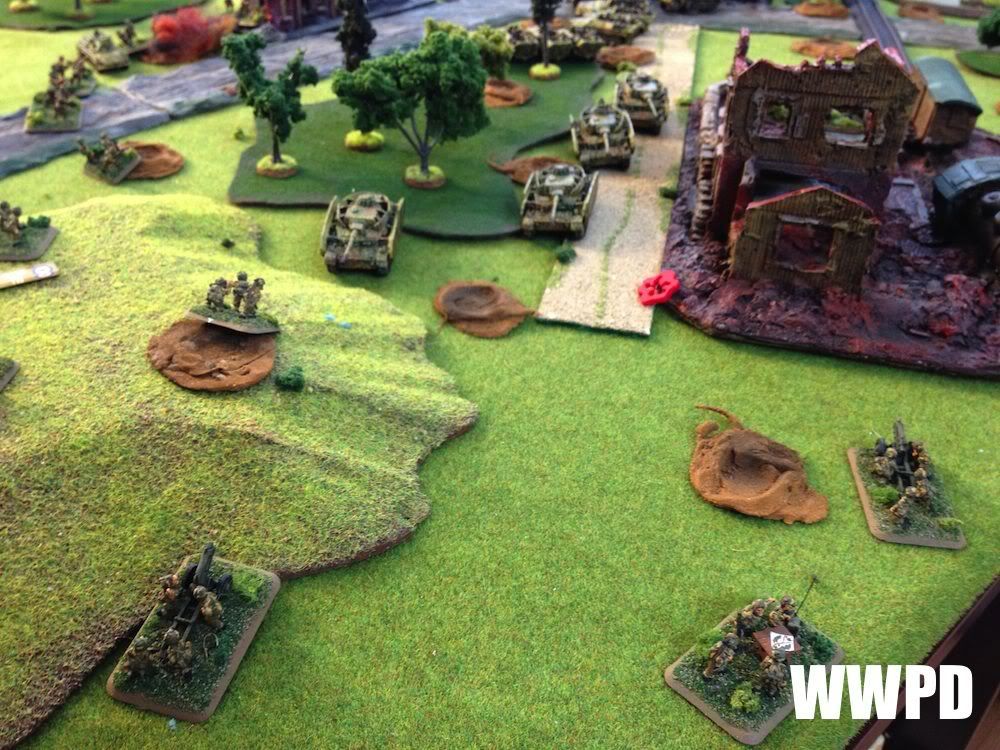
| Glider Pilots cover the approach to the artillery park on the Left. |
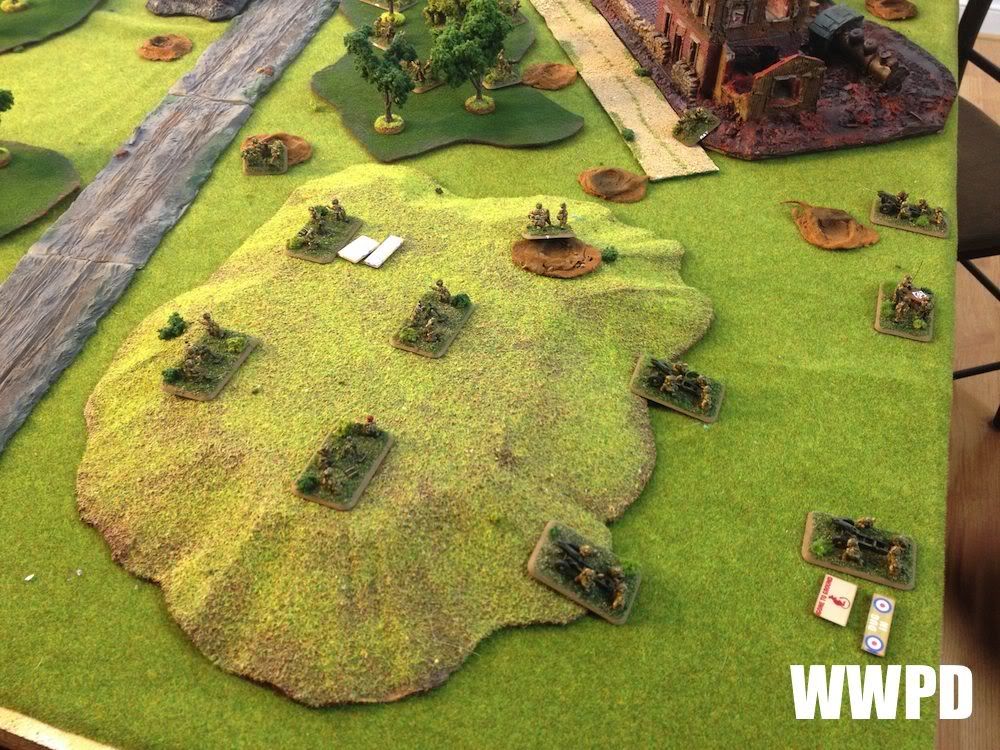 |
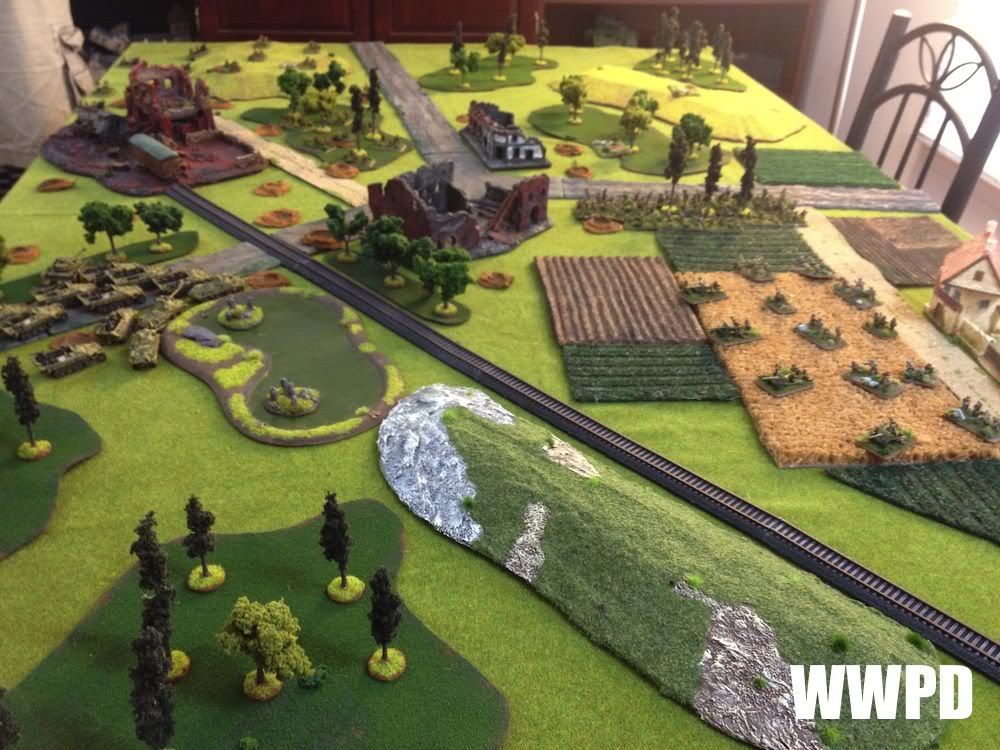
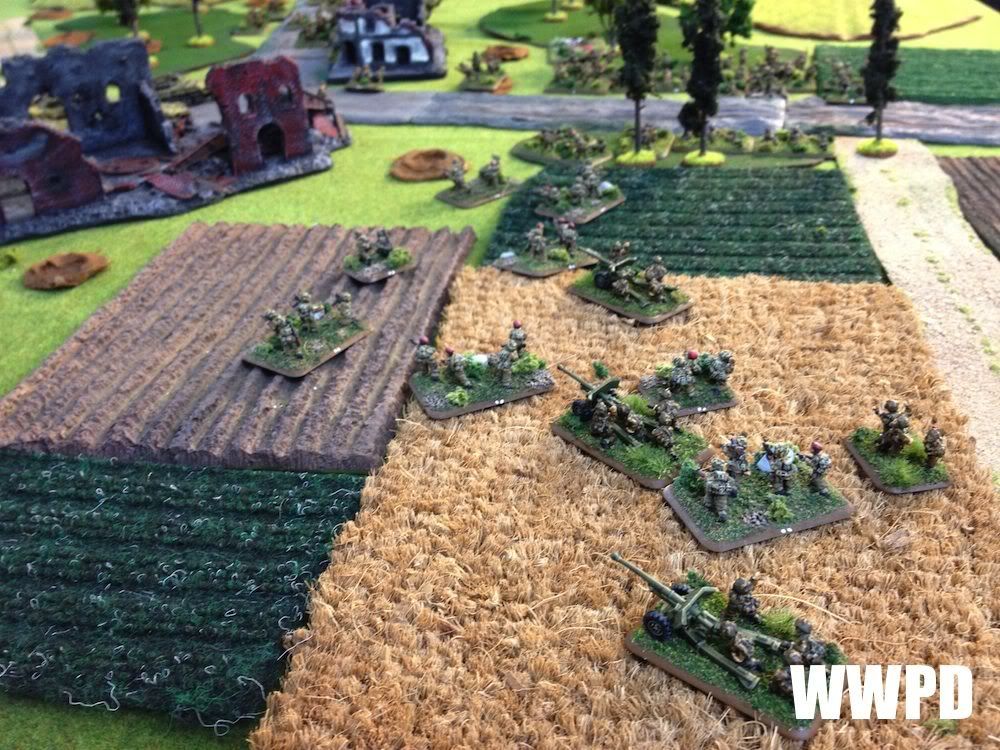
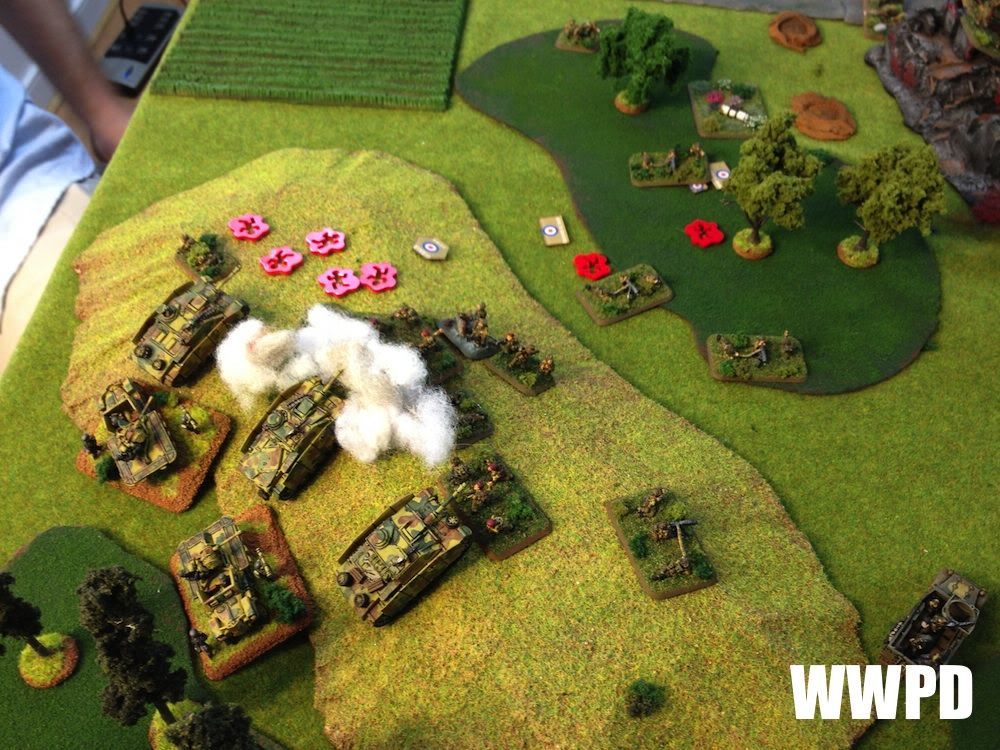
| The Artillery park deploys on the German left, watching the objective zone. |
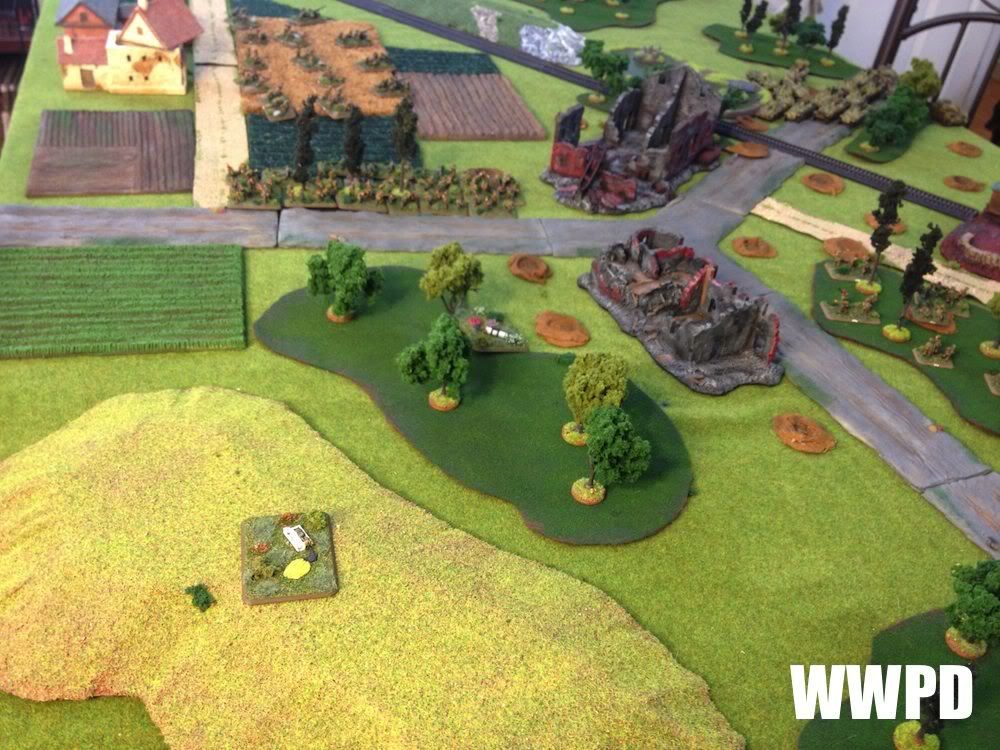 |
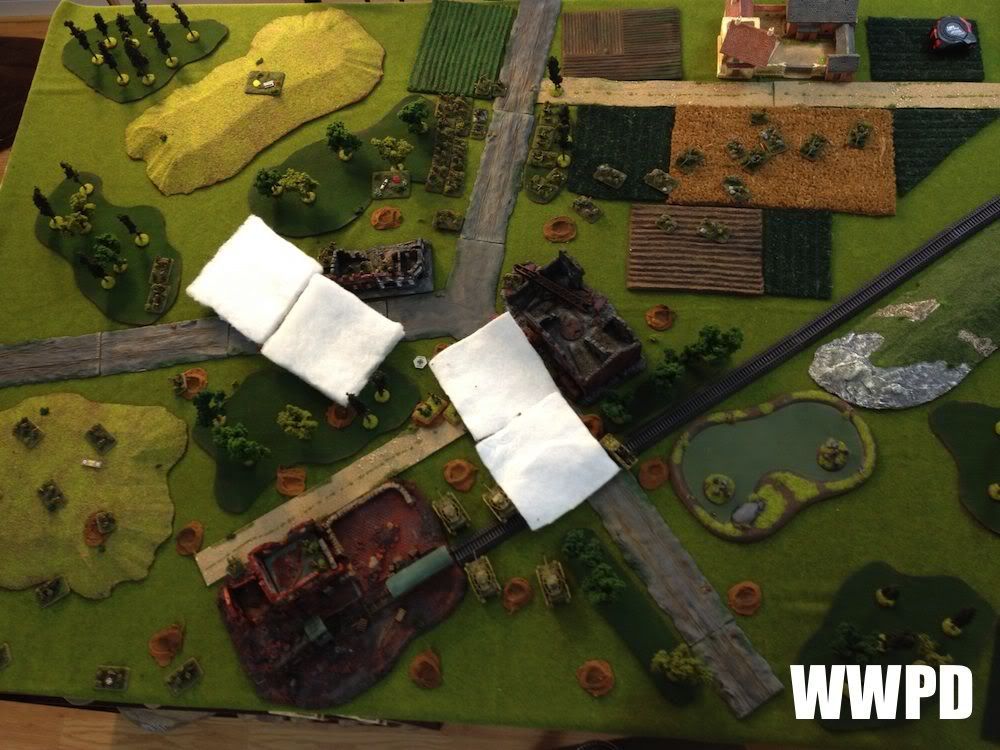
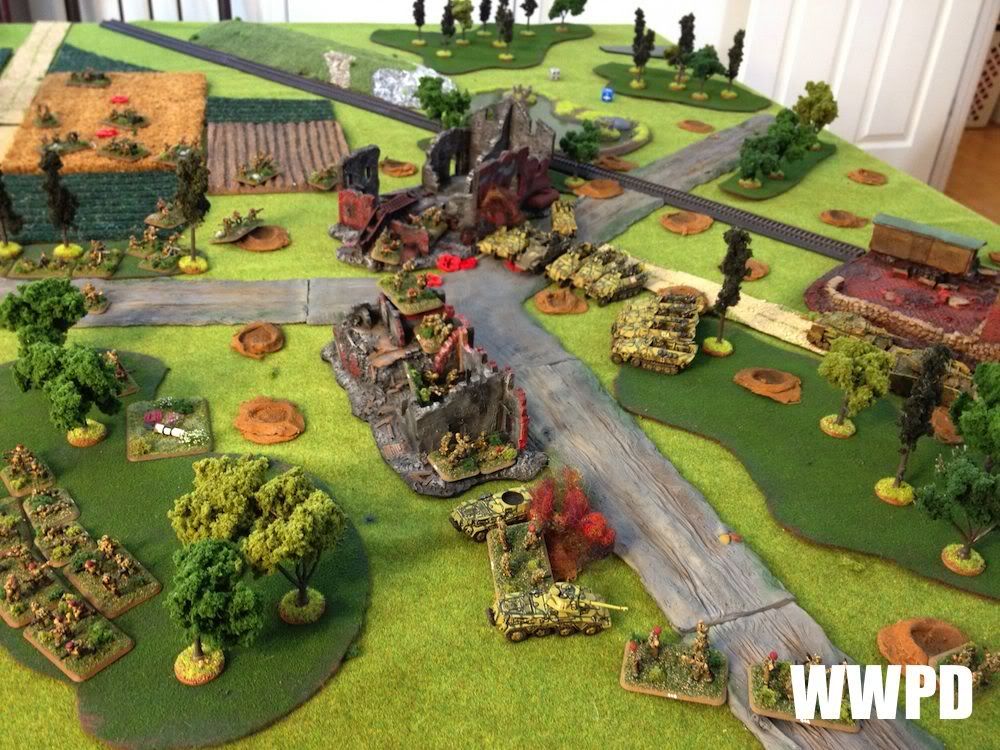
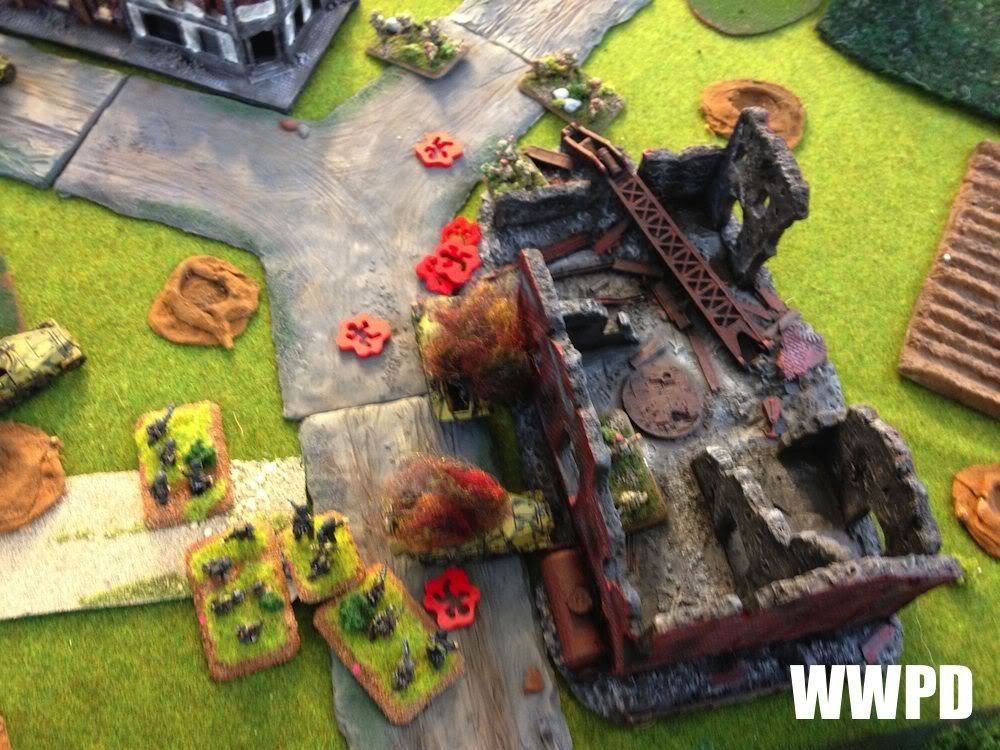
| The objectives. |
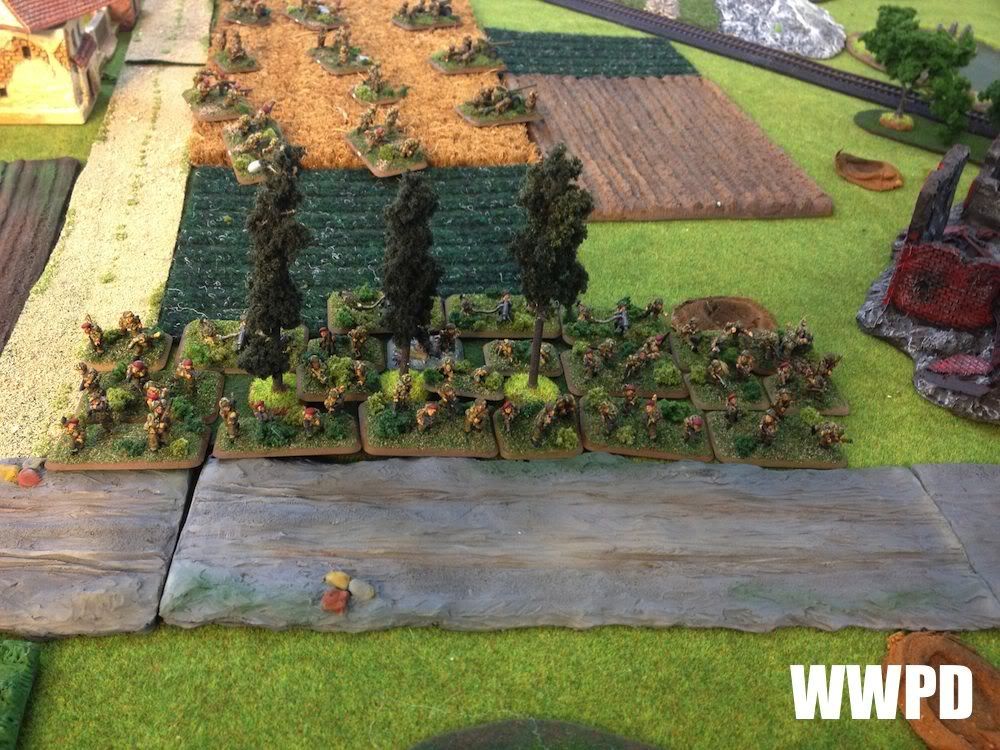 |
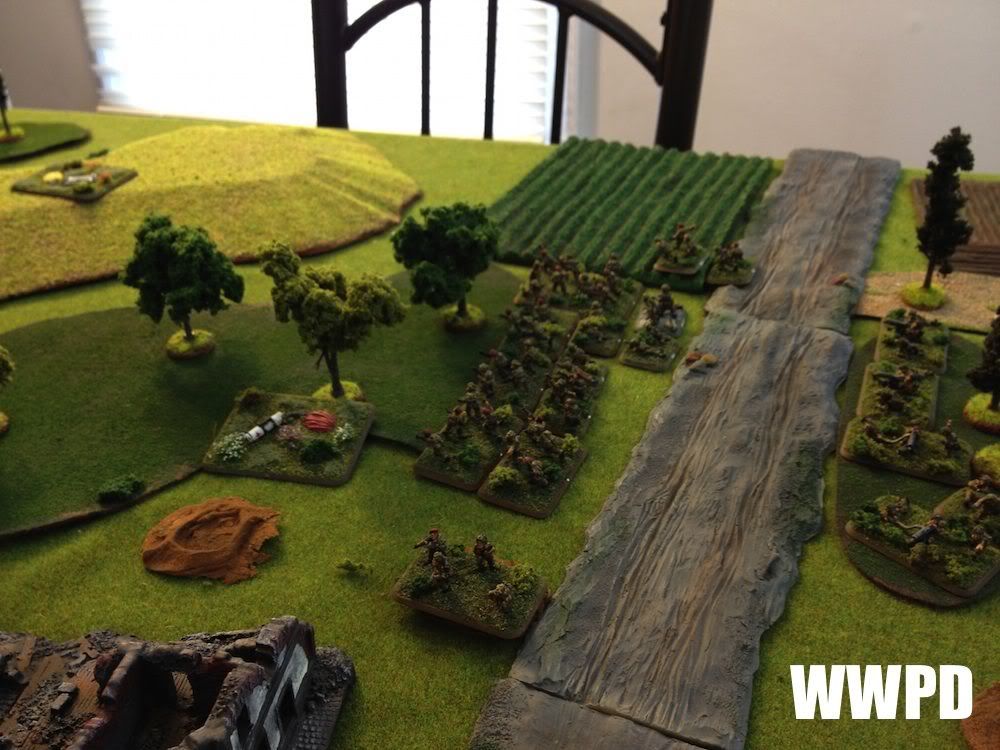
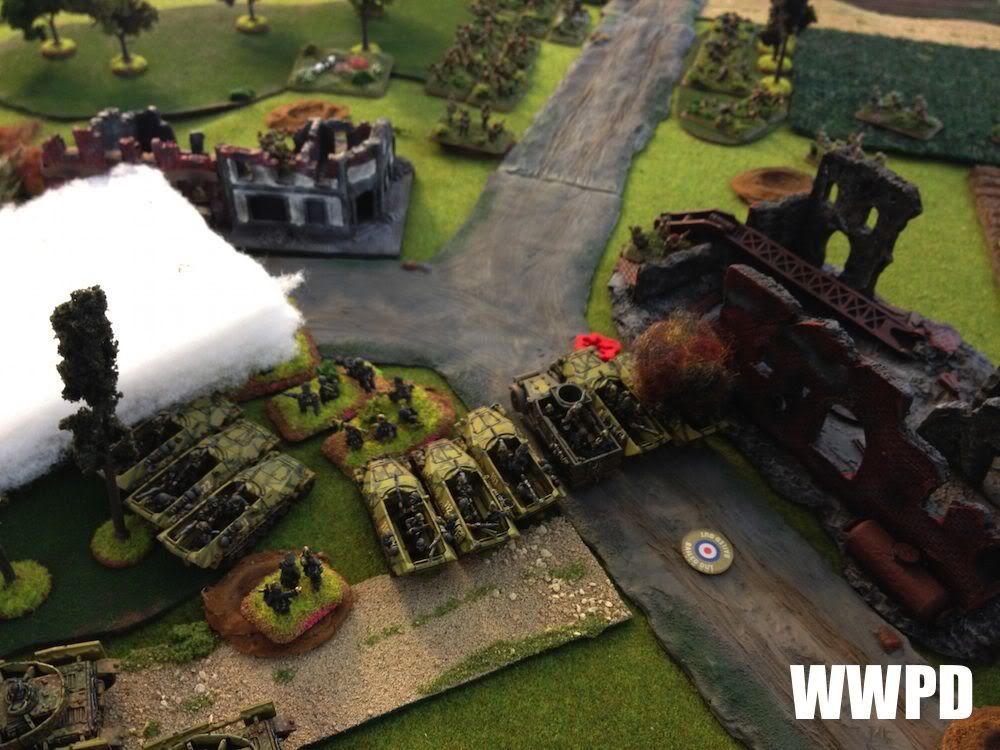
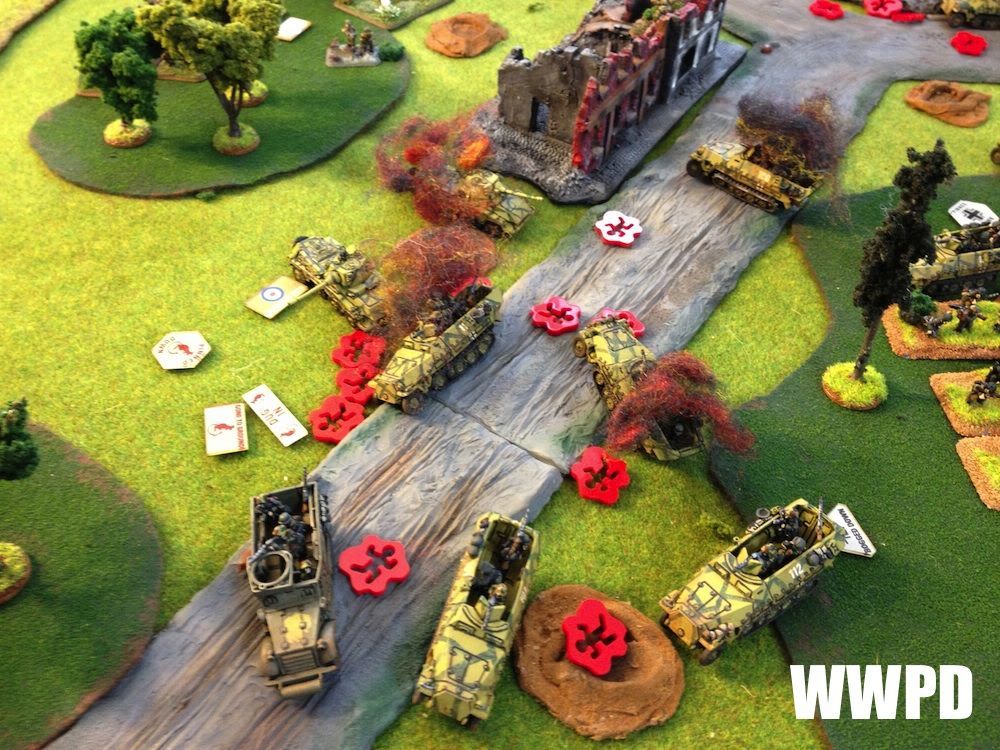
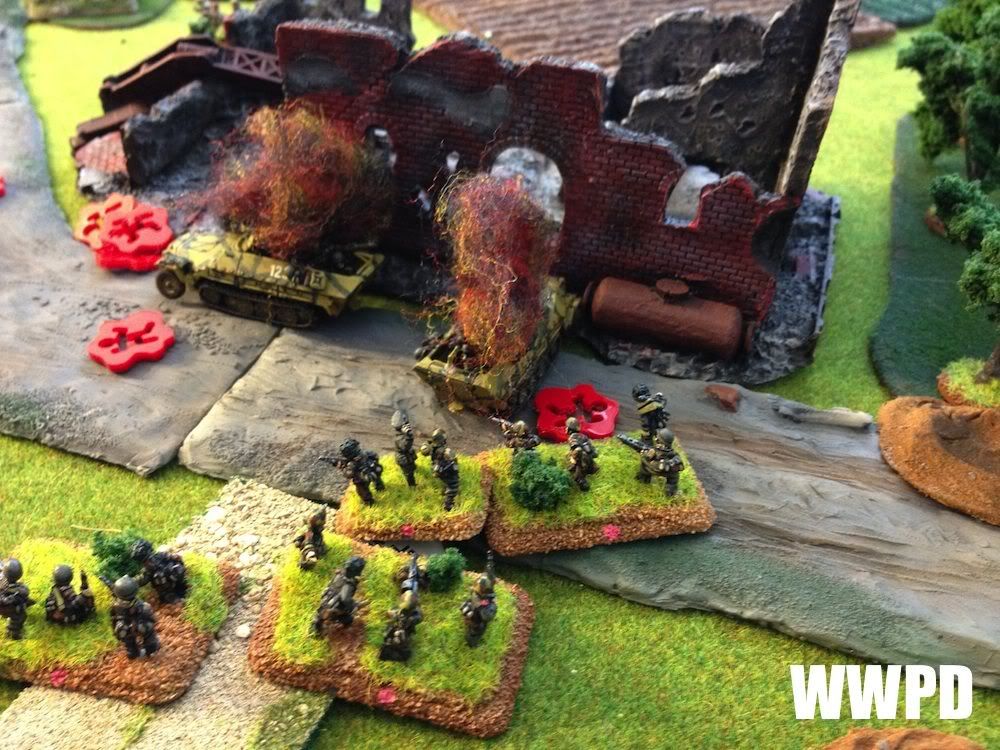
| Brit Paras stack up, ready to race across the road and get to the objectives. |
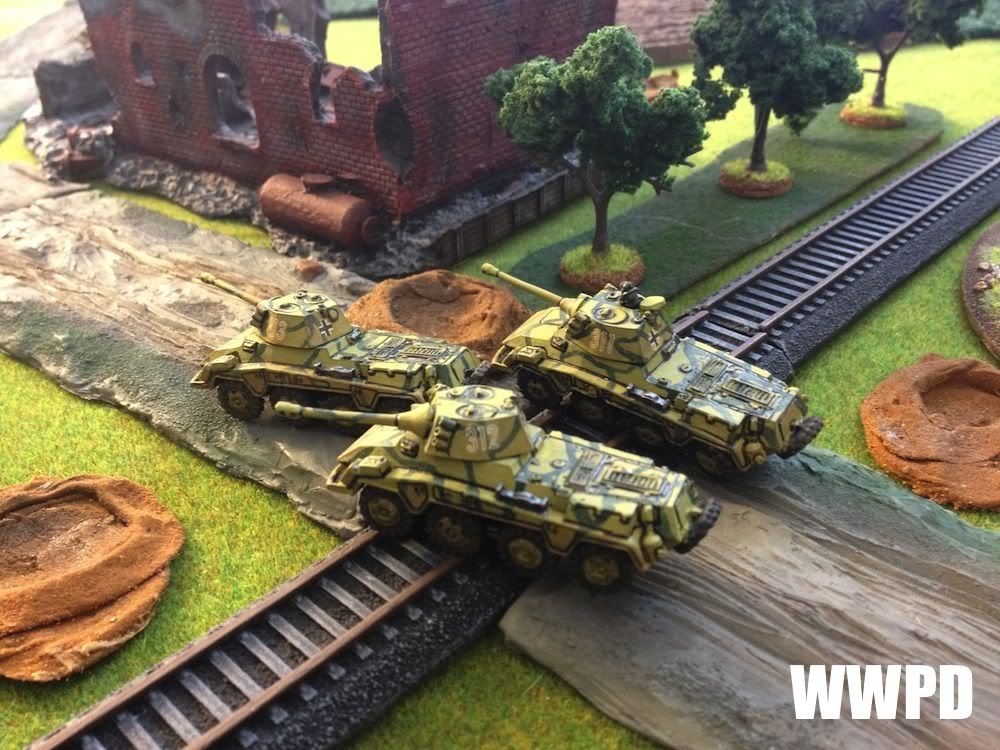 |
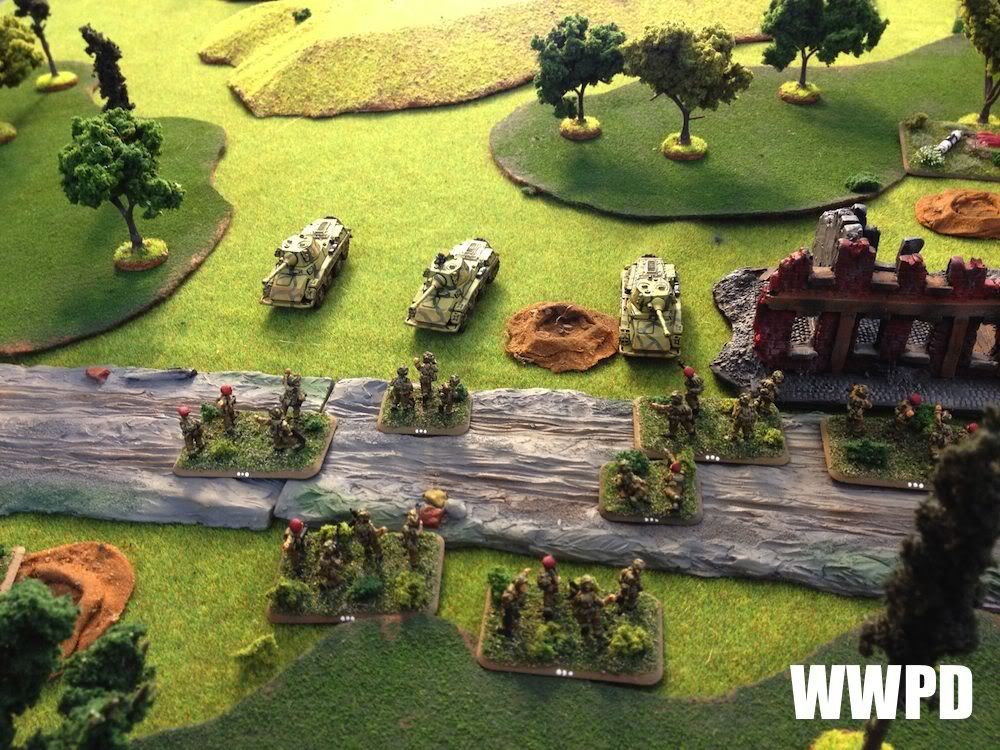
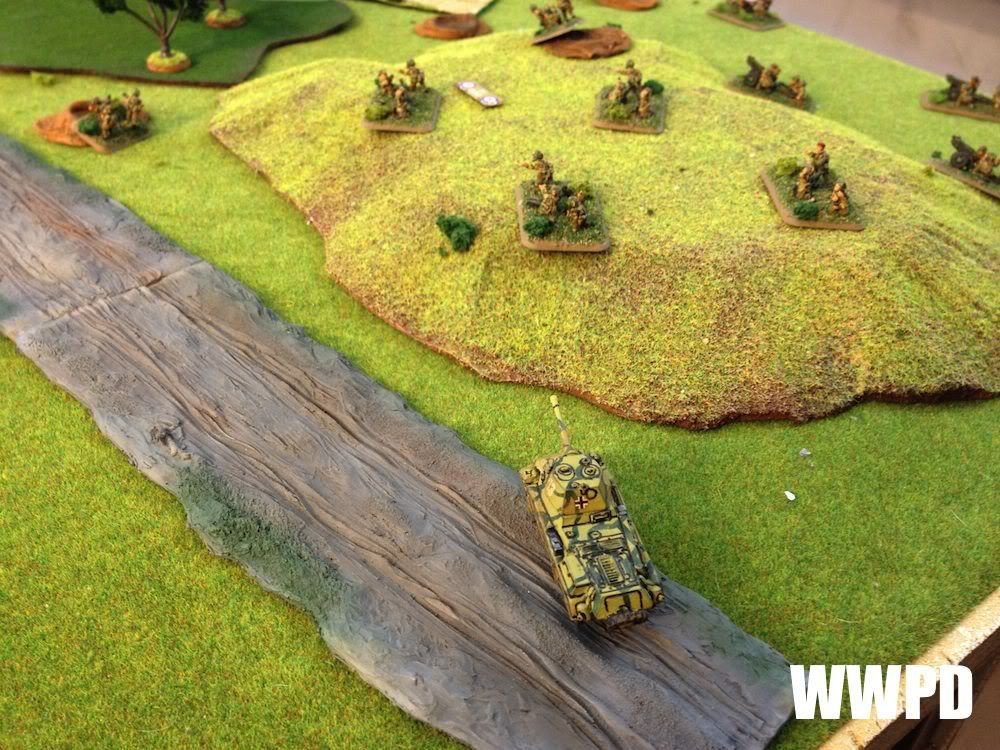
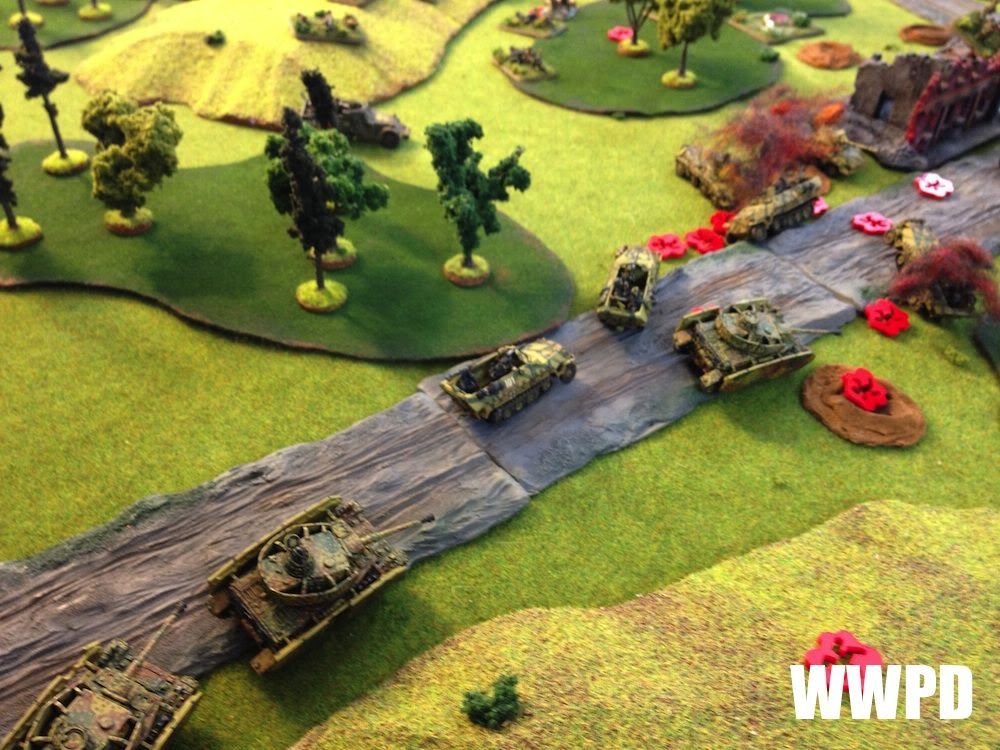
| Pumas scout ahead |
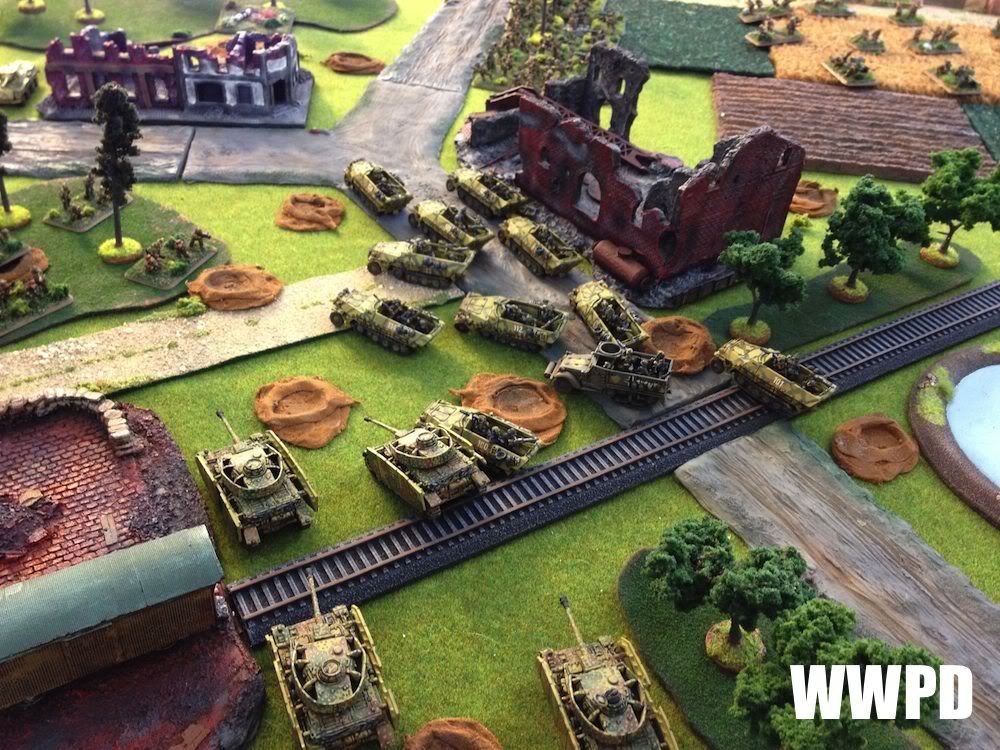 |
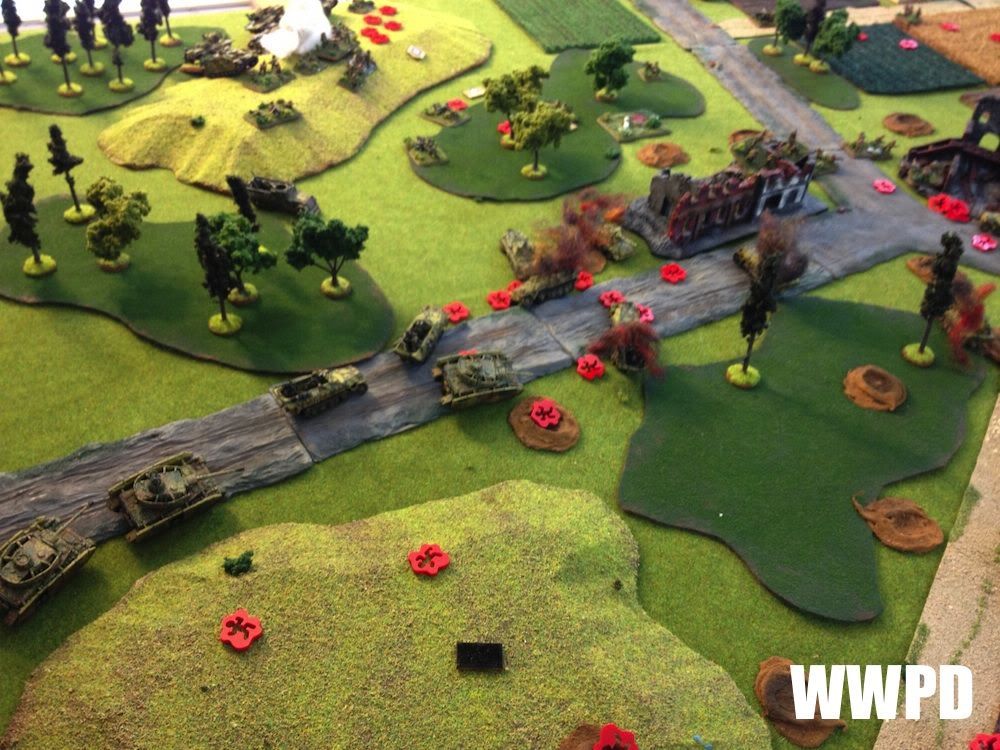
| The rest of the force races forward. |
 |
| They haven't spotted the British yet. |
 |
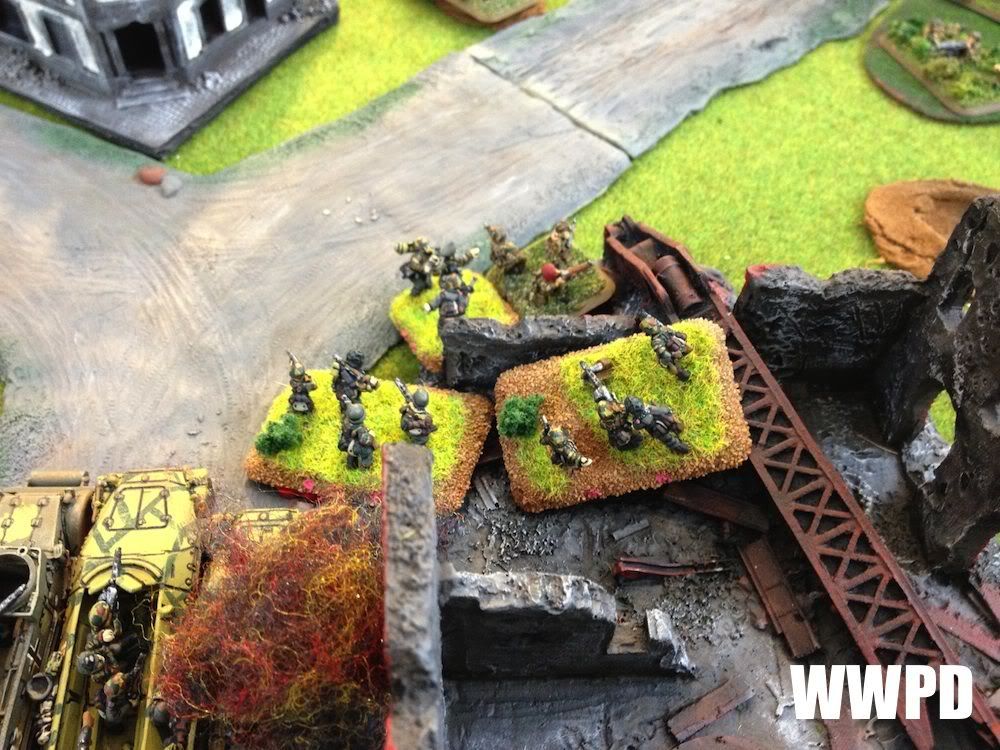
| The Glider Pilots rush out to nail the Pumas! |
 |
| 6 Pounders and Paras pull off from the right flank and head towards the objective. |
 |
| Go Go Go! |
 |
| Mortars and 75s rain smoke on the Germans. |
 |
| Glider Pilots Assault (smoke removed for ease of play, but the smoke enabled the Glider Pilots to get into assault easy) |
 |
| Predictably, Gammon bombs hurt. |
 |
| The lone commander escapes, cursing me for being so careless! |
 |
| Top of 2. |
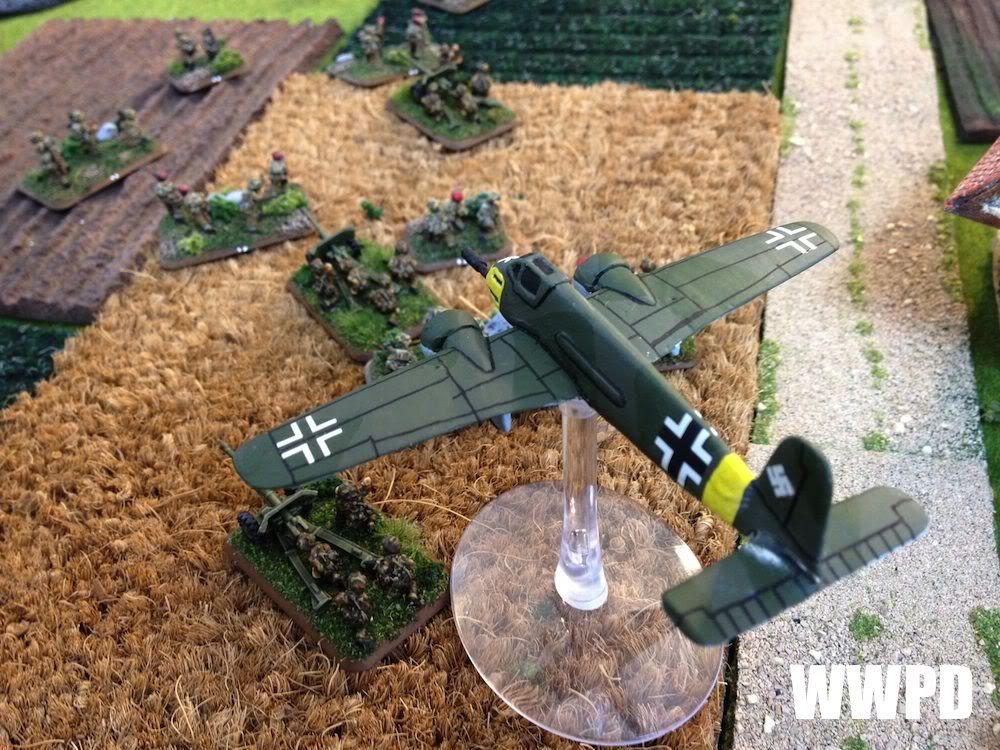 |
| HS129s swoop in on the guns. |
 |
| Panzers move forward, licking their lips at the prospect of getting into the artillery park. |
 |
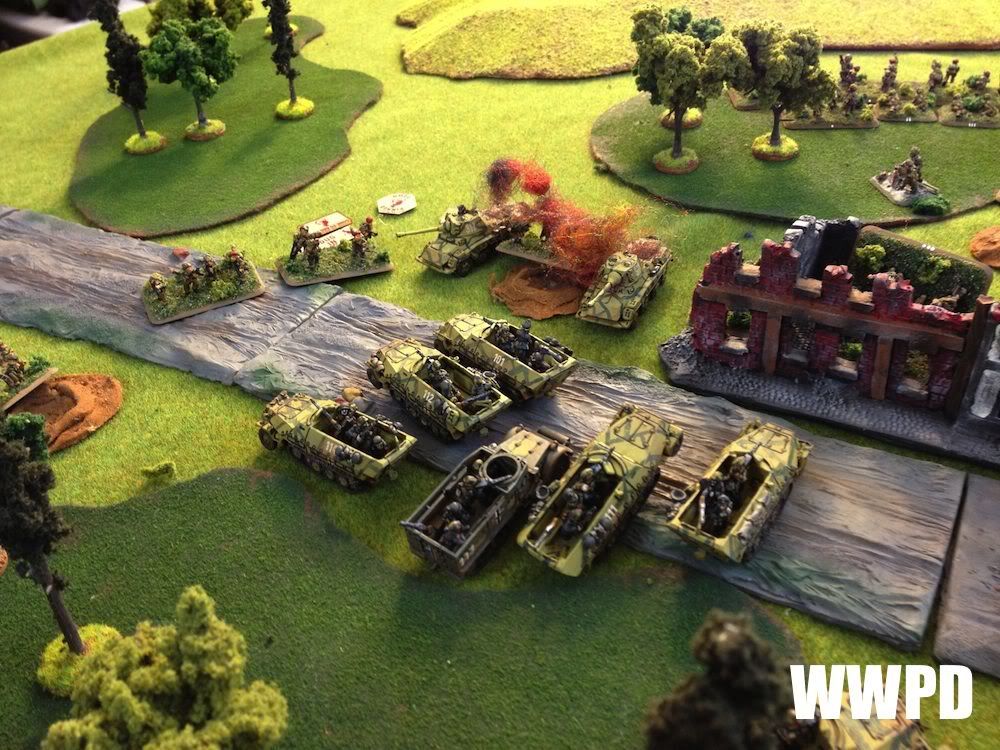
| Halftracks line up to provide a base of fire as one unit prepares to hit the Glider Pilots. |
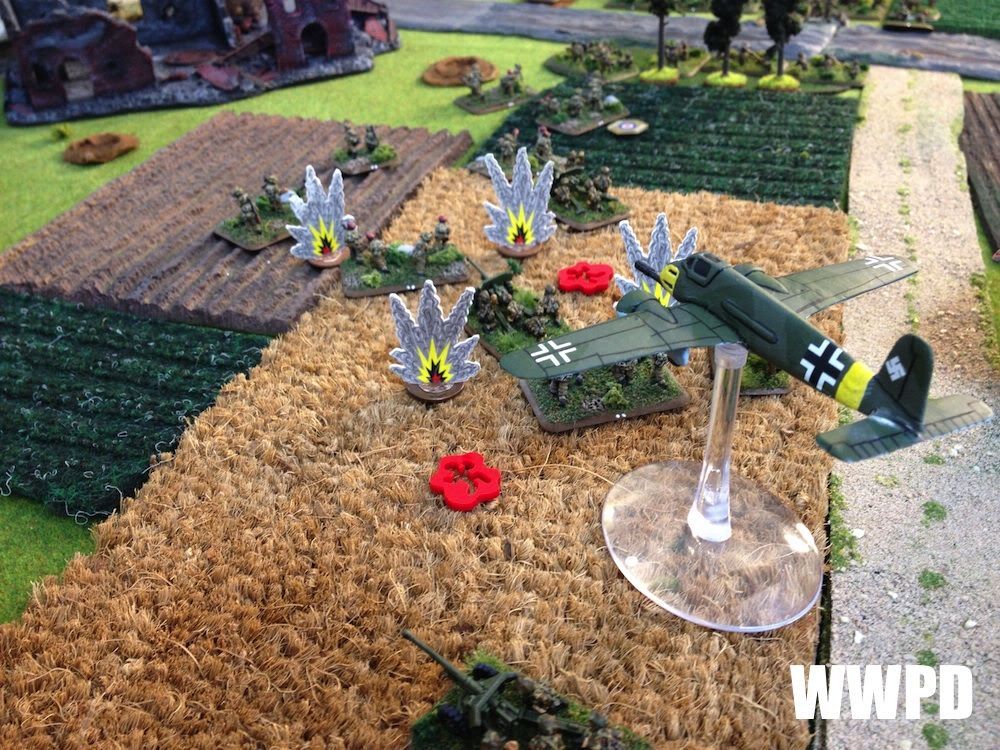 |
| HS129s strike and disappear! |
 |
| In order to the clear the way for the main assault, a hit must be scored on the Assault platoon from the right. |
 |
| But the troops are demoralized from the loss of one of their halftracks... |
 |
| And totally whiff. Even a single hit would've pinned the Assault Troop cutting the defensive fire (from them AND the CO) drastically. |
 |
| The Germans remount their halftracks and decide not to assault. |
 |
| The MG parking lot. |
 |
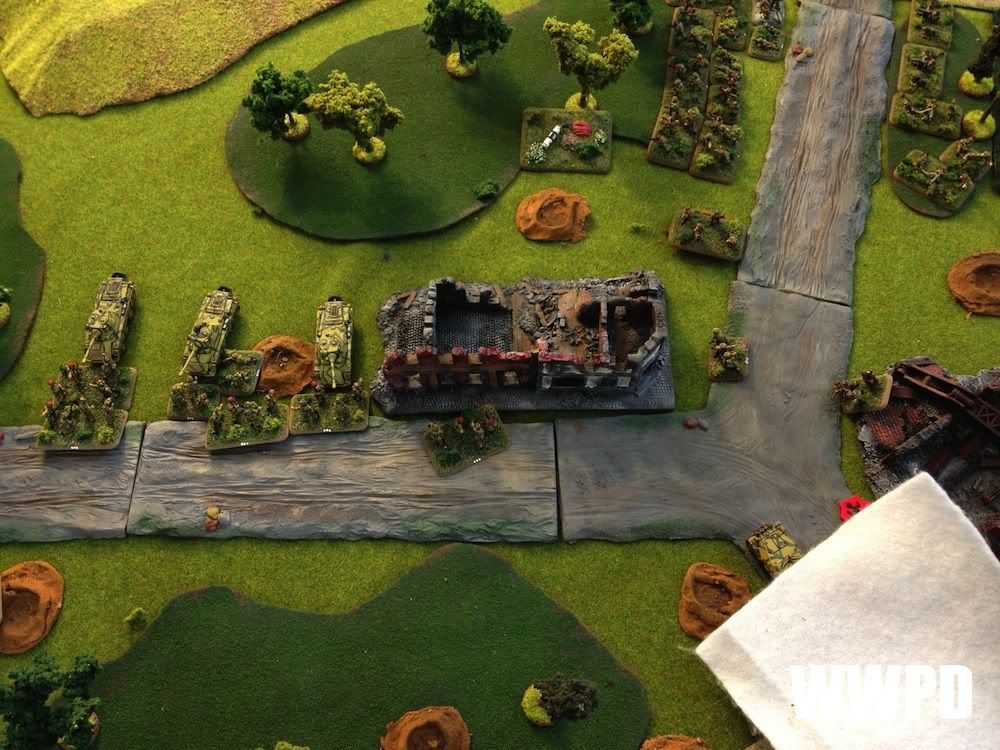
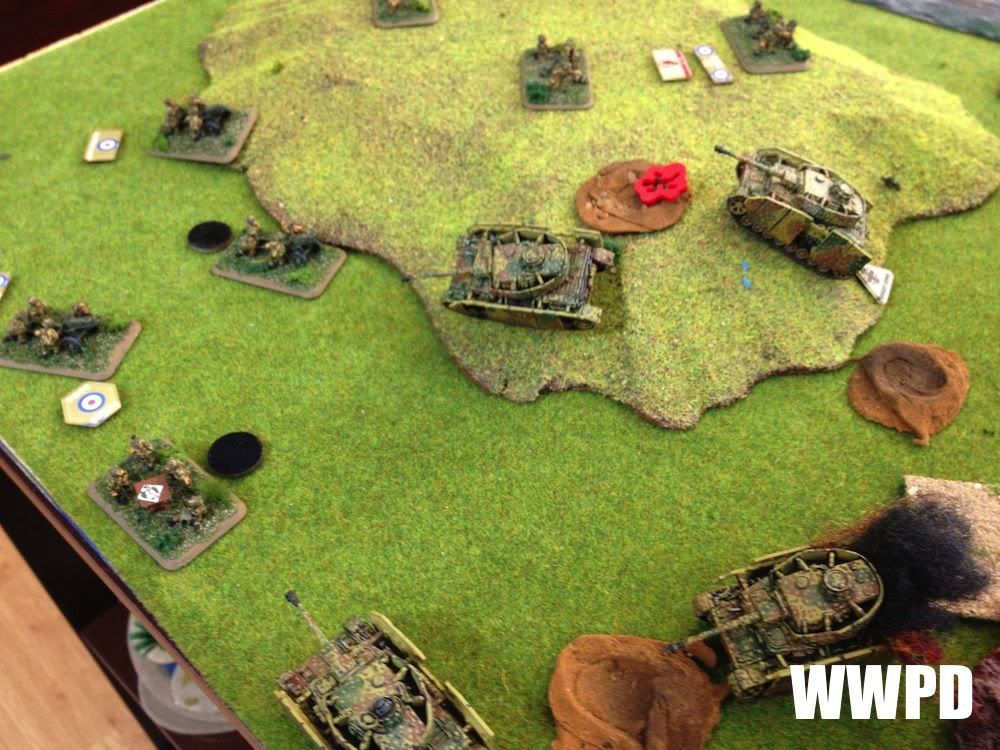
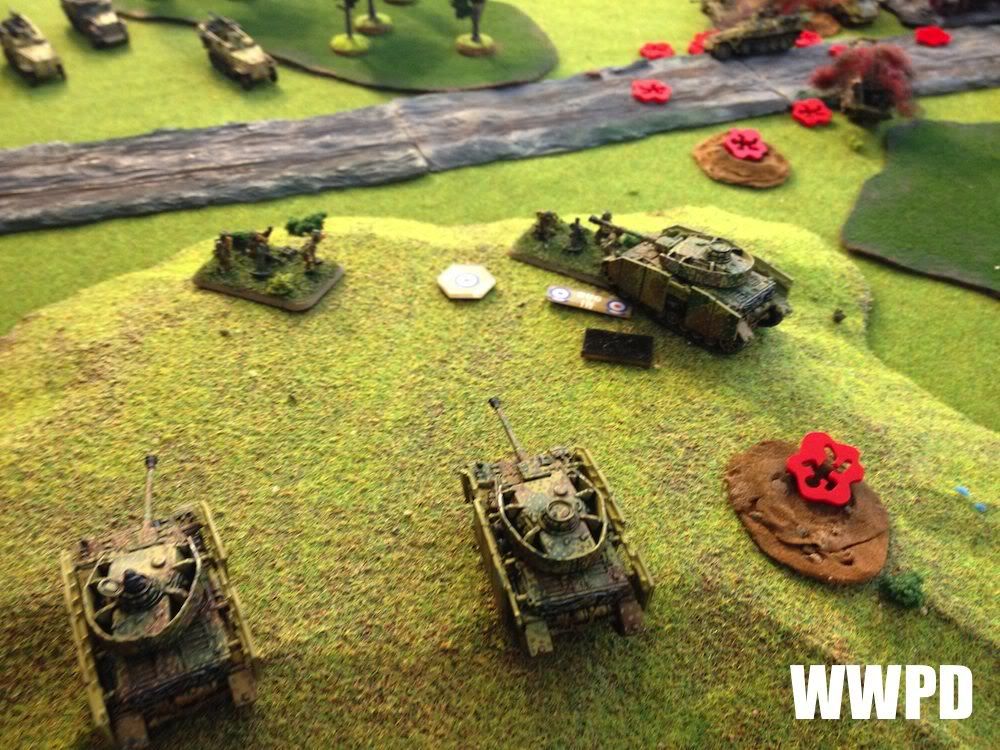
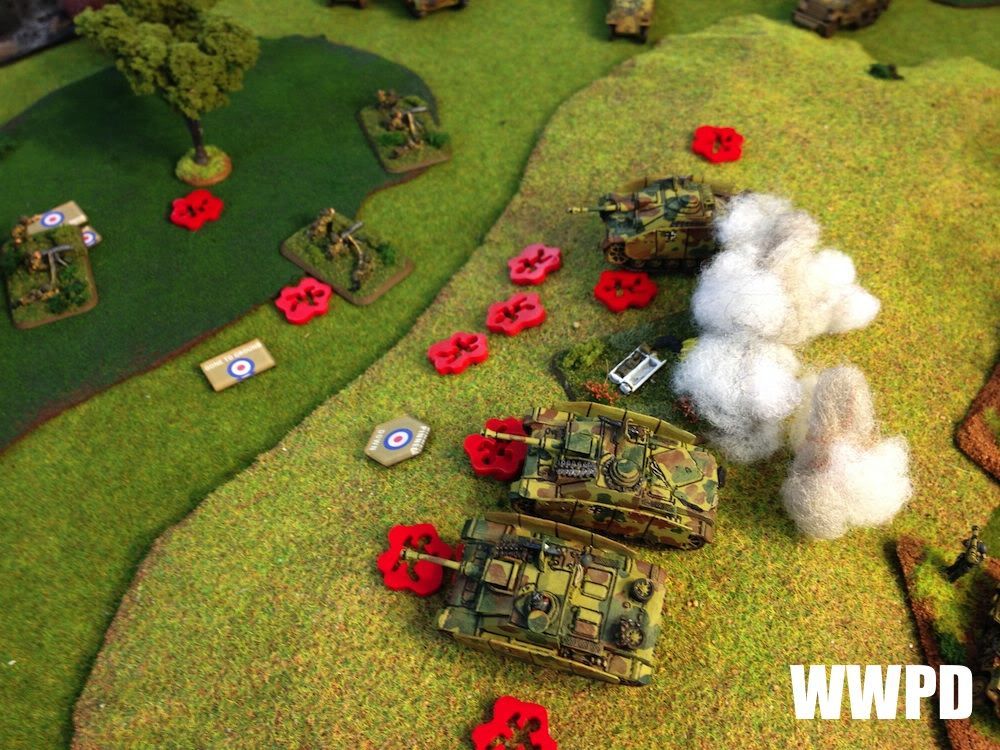
| Tanks clear the way into the British artillery park. |
 |
| British consolidate their hold on the objectives, but shut down the advance of the armored forces solidly. |
 |
| Panzergrens push out, trying to force their way past the British |
 |
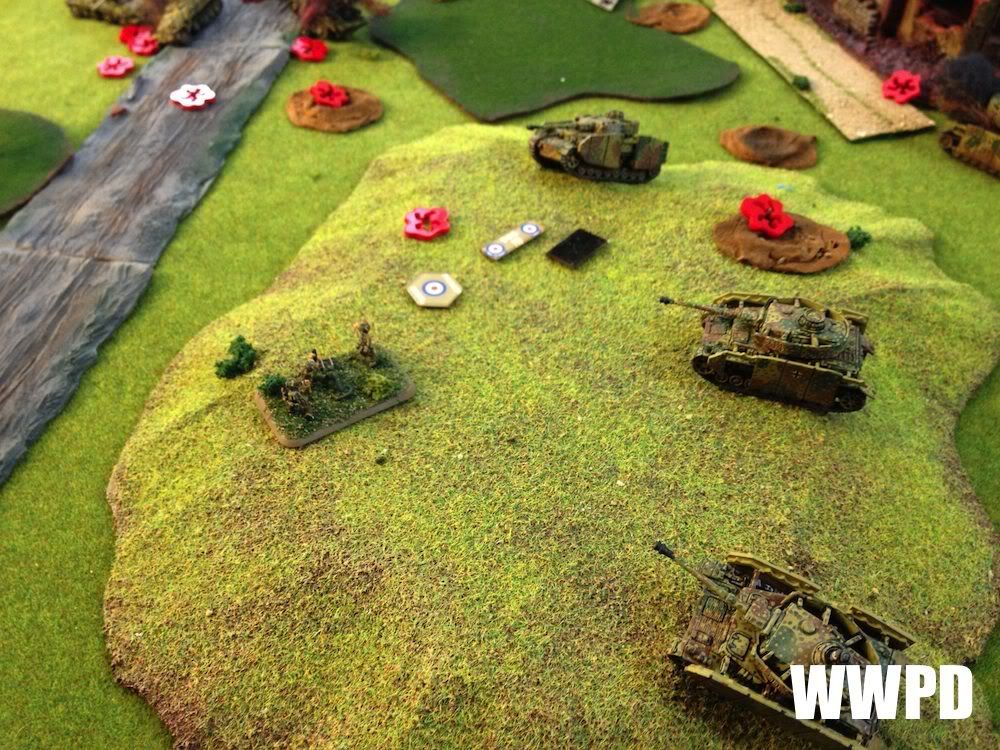
| Panzers push into the artillery Park. |
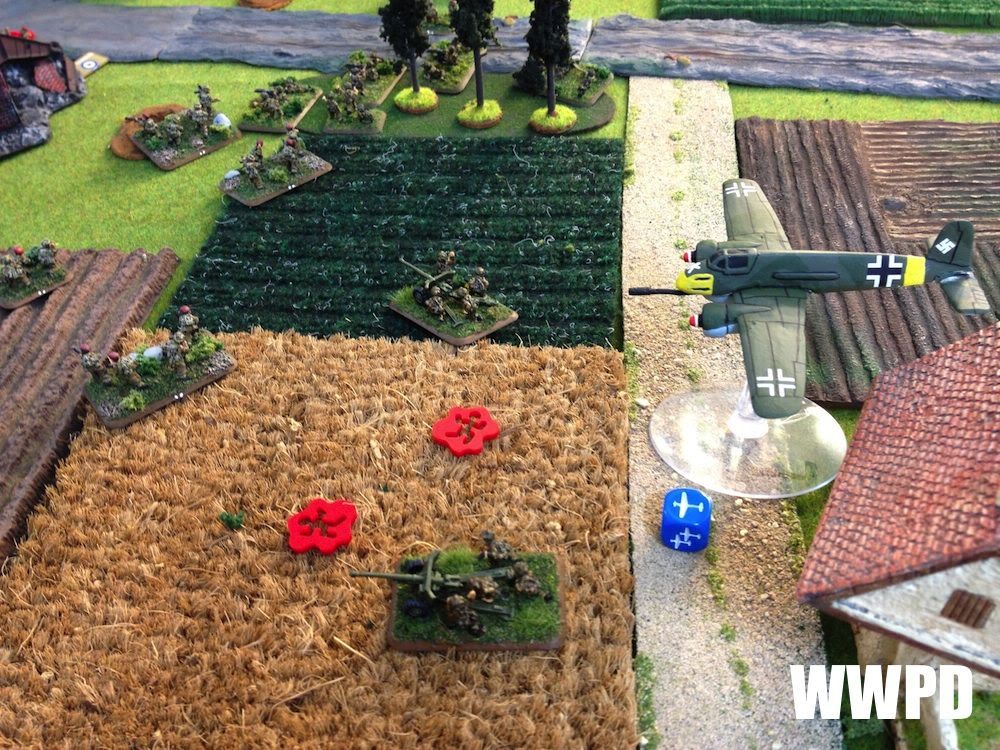 |
| Planes continue to harass |
 |
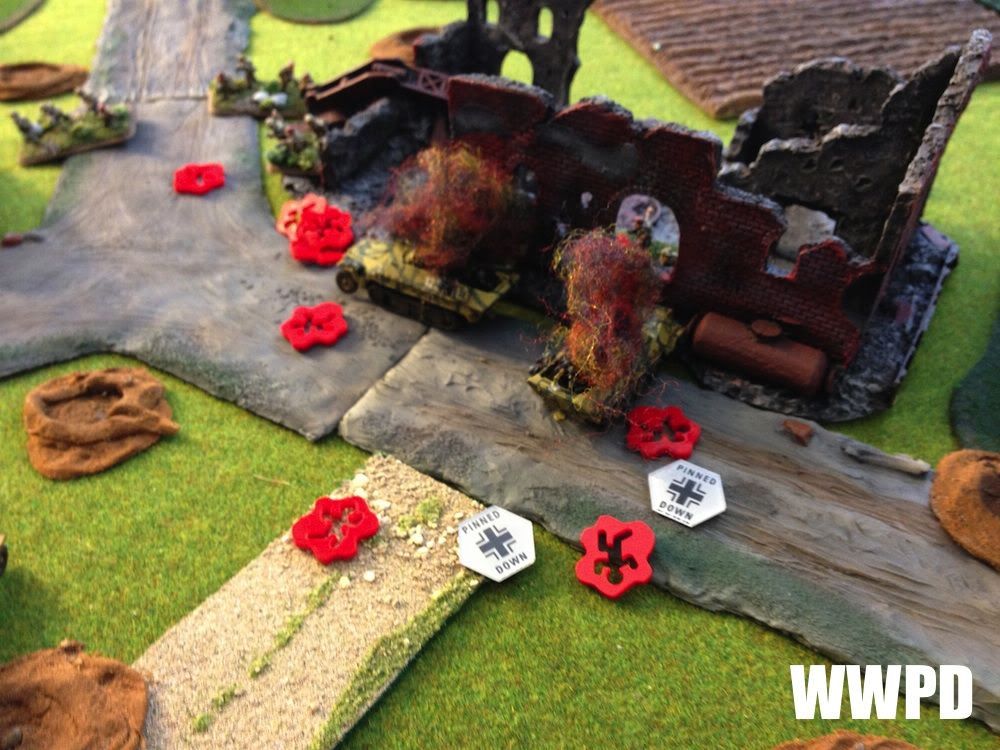
| Panzer IVs assault the 75s- one blows up in defensive fire and one bogs on a shell crater! |
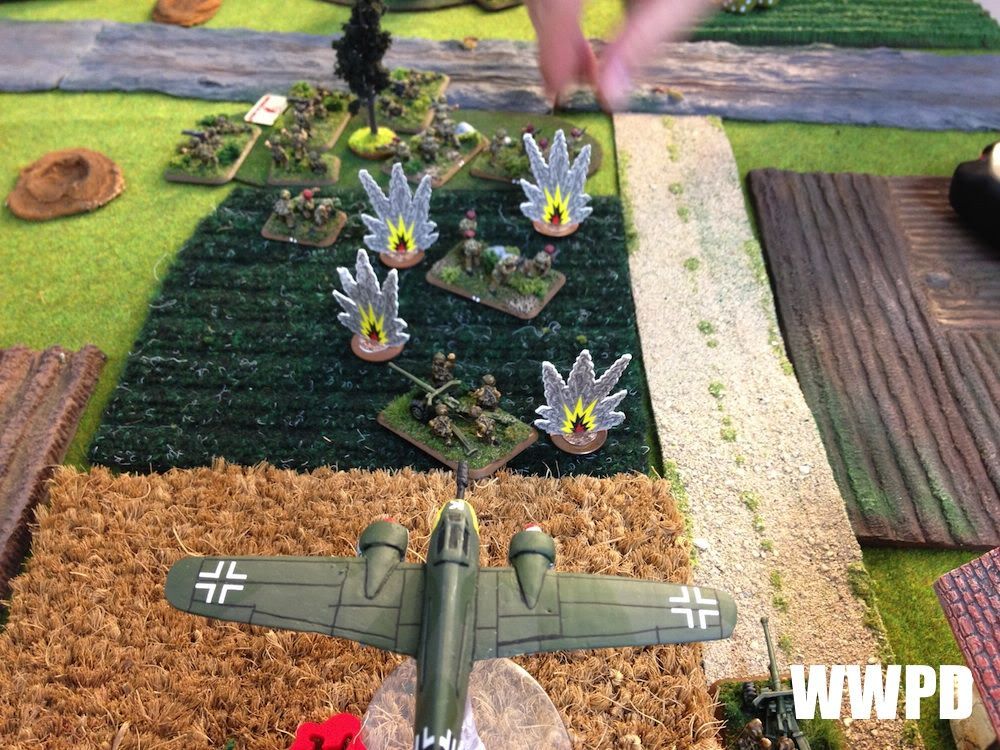 |
| Planes are fairly successful at whittling down the 6 pounders and paras. |
 |
| The 75s pull bacl as the tanks consolidate. |
 |
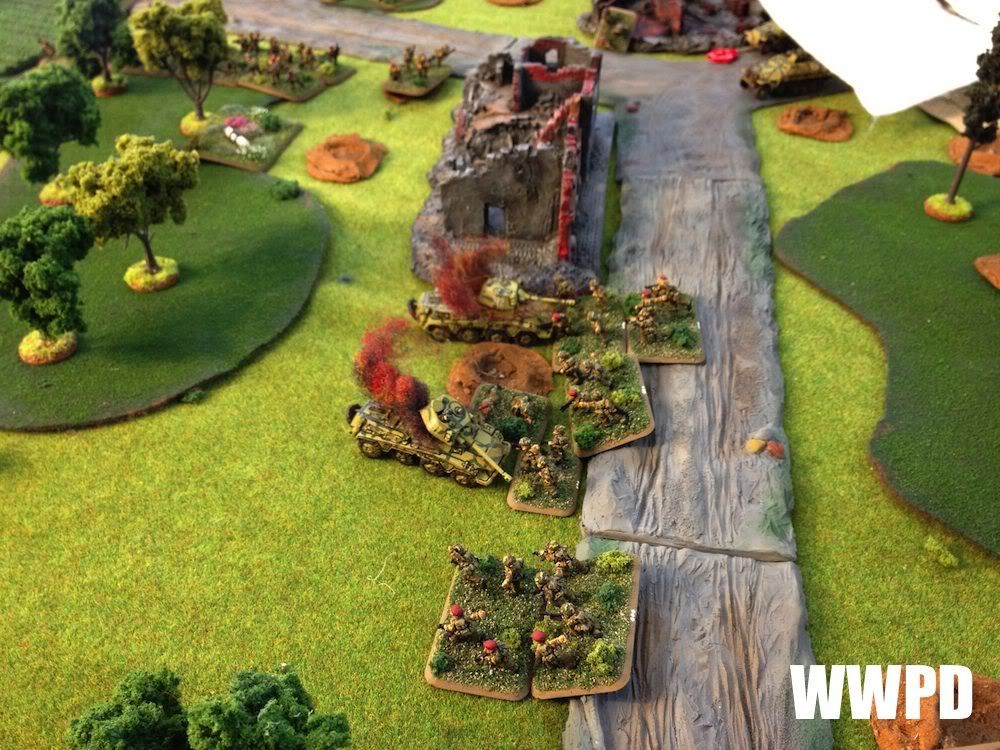
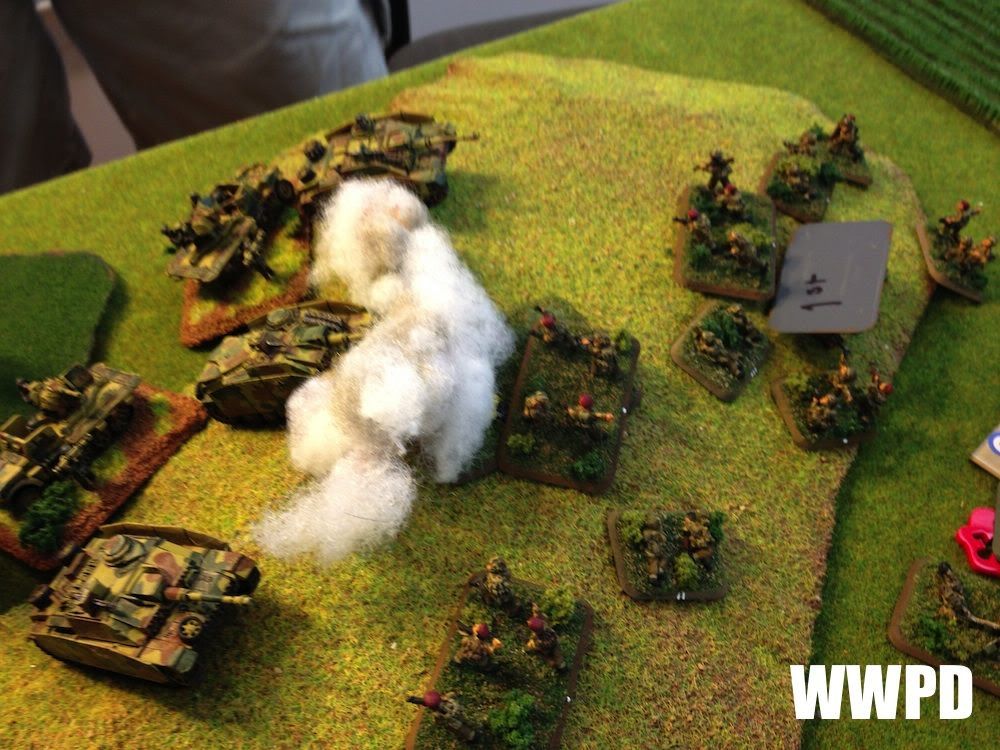
| Panzergrenadiers launch a succesful assault! |
 |
| The counter attack hurts, but the panzergrenadiers do emerge successful after wiping out the Glider Pilots. |
 |
| Horrendous casualties. The Panzergrenadiers hop back in their tracks. |
 |
| The collapsing British right. |
 |
| After seeing off the 75s, the Panzer IVs hunt down the mortars. |
 |
| 1 Fearless mortar fights back the tanks. |
 |
| The Germans maraud on the finally opened flank. |
 |
| Finally on Turn 5, the first reserves arrive! |
 |
| and are quickly followed by the 10/5s. |
 |
| A battered Panzergrenadier unit gets greedy and attempts to go after the Assault Platoon. |
 |
| After playing for many long hours, Jon knows he COULD sit and feed 1 team to the objective every turn, but decides there's no glory in that. |
 |
| The Panzergrenadiers lose their halftracks and are caught in the open! |
 |
| As tanks and panzergrenadiers race towards the objectives after clearing the artillery park. Jon is down Glider Pilots, 75s, and Mortars. Steven is down Pumas. |
 |
| The pending assault! |
 |
| One rifle team fires his smoke mortars, giving the paras a chance! |
 |
| As the Panzergrenadier unit on the right flank is eliminated (after... being... double pinned?) |
 |
| The bloody board |
 |
| The defensive fire is horrendous, leaving the paras caught in the open. |
 |
| The German retaliation is predictably brutal. |
 |
| At this point we decide to call the game. |
| This was a bloody one! It's tough to call this a German victory- but neither was it a British win. Jon decided to perform the "F it mode" move, but we had only gotten to the top of turn 7 in the four hours we played! Clearly some big mistakes on my part early on, but persistence paid off. Paras are tough cookies! In the end I lost my Panzergrens and Pumas, and Jon lost Paras, Glider Pilots, Mortars, and 75s. He was down to 1 gun as well, but had he not run out Frost would've kept these guys around all day long. |
Generated by WWPD's BatRepper Software.


