


 | |
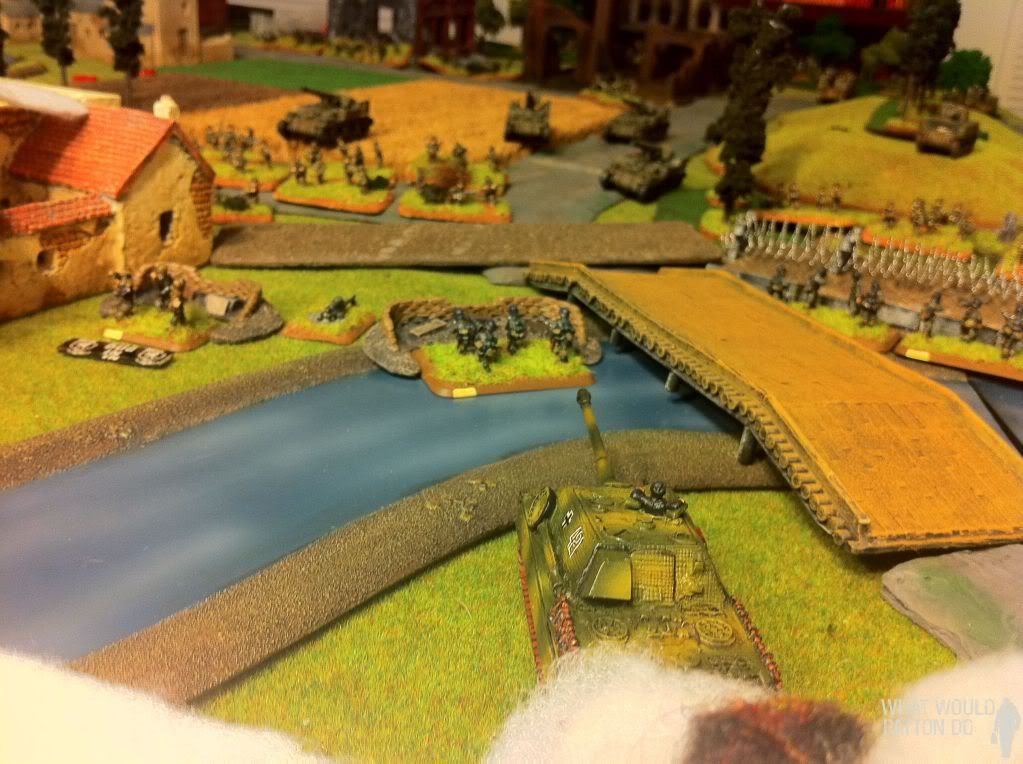
| The Grant rolls on. What a weird looking beast! |
Difference
Front Armor (down) vs Anti-Tank (across)
FA/AT | 2 | 3 | 4 | 5 | 6 | 7 | 8 | 9 | 10 | 11 | 12 | 13 | 14 | 15 | 16 |
1 | 1 | 2 | 3 | 4 | 5 | 6 | 7 | 8 | 9 | 10 | 11 | 12 | 13 | 14 | 15 |
2 | 1 | 2 | 3 | 4 | 5 | 6 | 7 | 8 | 9 | 10 | 11 | 12 | 13 | 14 | |
3 | 1 | 2 | 3 | 4 | 5 | 6 | 7 | 8 | 9 | 10 | 11 | 12 | 13 | ||
4 | 1 | 2 | 3 | 4 | 5 | 6 | 7 | 8 | 9 | 10 | 11 | 12 | |||
5 | 1 | 2 | 3 | 4 | 5 | 6 | 7 | 8 | 9 | 10 | 11 | ||||
6 | 1 | 2 | 3 | 4 | 5 | 6 | 7 | 8 | 9 | 10 | |||||
7 | 1 | 2 | 3 | 4 | 5 | 6 | 7 | 8 | 9 | ||||||
8 | 1 | 2 | 3 | 4 | 5 | 6 | 7 | 8 | |||||||
9 | 1 | 2 | 3 | 4 | 5 | 6 | 7 | ||||||||
10 | 1 | 2 | 3 | 4 | 5 | 6 | |||||||||
11 | 1 | 2 | 3 | 4 | 5 | ||||||||||
12 | 1 | 2 | 3 | 4 | |||||||||||
13 | 1 | 2 | 3 | ||||||||||||
14 | 1 | 2 |
Save at Short range
Front Armor (down) vs Anti-Tank (across)
2 | 3 | 4 | 5 | 6 | 7 | 8 | 9 | 10 | 11 | 12 | 13 | 14 | 15 | 16 | |
1 | G/2+ | 3+ | 4+ | 5+ | 6+ | G6+ | - | - | - | - | - | - | - | - | - |
2 | G/2+ | 3+ | 4+ | 5+ | 6+ | G6+ | - | - | - | - | - | - | - | - | |
3 | G/2+ | 3+ | 4+ | 5+ | 6+ | G6+ | - | - | - | - | - | - | - | ||
4 | G/2+ | 3+ | 4+ | 5+ | 6+ | G6+ | - | - | - | - | - | - | |||
5 | G/2+ | 3+ | 4+ | 5+ | 6+ | G6+ | - | - | - | - | - | ||||
6 | G/2+ | 3+ | 4+ | 5+ | 6+ | G6+ | - | - | - | - | |||||
7 | G/2+ | 3+ | 4+ | 5+ | 6+ | G6+ | - | - | - | ||||||
8 | G/2+ | 3+ | 4+ | 5+ | 6+ | G6+ | - | - | |||||||
9 | G/2+ | 3+ | 4+ | 5+ | 6+ | G6+ | - | ||||||||
10 | G/2+ | 3+ | 4+ | 5+ | 6+ | G6+ | |||||||||
11 | G/2+ | 3+ | 4+ | 5+ | 6+ | ||||||||||
12 | G/2+ | 3+ | 4+ | 5+ | |||||||||||
13 | G/2+ | 3+ | 4+ | ||||||||||||
14 | G/2+ | 3+ |
This chart shows the score a give Armor value needs to Save against different AT values. Here, the useful values make a band down the chart. Above this band, Penetration is automatic. Below that band, the target will automatically pass its save. On the lower border of the band, you can see that the target can only be Bailed, and even then if it rolls a 1 (marked G/2+). At the top end, it will at least suffer a Glance (marked G6+), even if it so lucky as to roll a 6. For a number like 3+, that is the number needed to escape Penetration. It can still be Glanced at 1 less.
Each differential between FA and AT has its inherent tactics. I will give common examples from different eras. Some of these are surprising at first glance, particularly in EW.
Common examples:
- Jagdpanther vs. just about anything
- Panther v Sherman 75
- Sherman 75 vs German half-track
At this difference, even at long range, no possible roll can save the target. He can't roll a seven. With such a superiority, your main concern is whether the target merits such overwhelming attention.
Seven
Common examples:
- Tiger IE vs Sherman 75
- Firefly vs. Panzer IVH
Six
Common examples:
- T34/85 vs. Panzer IVH
- Firefly vs. StuG
 Five
FiveCommon examples:
- Panzer IVH vs Sherman 75
- T34/85 vs StuG
Four
Common examples:
- Sherman 75 vs. Panzer IVH
- Firefly vs.Tiger IE
- Somua vs. Panzer IIE (late)
- Panzer IVD vs Hotchkiss
Three
Common examples:
- Sherman 75 vs. StuG
- Panzer IVH vs. T34/85
- T34 vs Panzer IV
- Panzer III (long 75) vs. Sherman
- Panzer III (long 75) vs. T34
- Somua vs. Panzer IVD
- Panzer IVD vs Somua

Common examples:
- T34/85 vs. Panther
- Panzer IVD vs. Char 1B
- Panzer II vs. Hotchkiss
One
Common examples:
- Rifles or MGs against Halftracks
- Sherman 75s against Tiger IE
- Panzer IVHs against IS-2s
- Panzer III (long 75) vs Churchill III
Tactical Considerations
There are many factors to consider when you apply this math.
If you have the bigger gun, remember, no matter how superior it is, you still have to hit the target. If the enemy is skilled and concealed, he may die slowly, indeed, and your gun may be better used elsewhere. Likewise, every weapon has a Firepower rating. Usually a 3+. This means, that even if you Penetrate a target, usually it will still only Bail 33% of the time. Against Fearless tanks or tanks with Protected Ammo, Bails may not mean much at all.
Conversely, if your tanks face the crappy end of the math, bear in mind -- they still have to hit you. Try to stay at range and in concealment. Or better yet, out of LoS together. Force the big gun to move, cutting down on its RoF. Depending on your own armament, you may be able to snipe at him, or just swarm or flank.
You need to look at the chart from both directions. Your tank may have an awesome gun but terrible armor -- Nashorn, anyone? Or it may have great armor and a pathetic gun -- like the KV-1.
Finally, FA vs AT considerations completely ignore the possibility of flanking shots on side armor. Most tanks have a significantly weaker side armor. The chess of tank battles requires you to think ahead to prevent side shots and to close or open range, depending on where and how you have the advantage.


