


Hey Everyone,
Eric Riha reporting for guest article duty!
Eric Riha reporting for guest article duty!
A friend of mine sent me a link to Tom De Mayo's excellent "Tank on Tank Love" article and I enjoyed seeing the oft forgot FoW Math on display – so much so that I felt the community could use a follow-up article (or three). The concepts explored in Tom’s article are very important in FoW, and provide a great lead-in/opportunity to talk about two other key concepts in the world of FoW Statistics: Expected Value and Potential Value.
In this first article of the series, I'll cover what Expected Value is and how to calculate it. In future articles, I'll talk about how it relates to Potential Value and (the important part) how to translate both of them into applicable tactics on the FoW board. I'm also going to cover this from the very ground up, so bear with me if I start too slow for you!
Expected Value is exactly what it sounds like it is - what you should expect to roll out of a set of dice. Since we know there are only 6 results possible for each die roll, we can predict the Expected Value or Result of an action based on a certain set of conditions.
For example, let's take a quick look at infantry saves. The only condition in this setup is that infantry save on a 3+. On your standard 6-sided die (which is all we use in FoW - no d8's allowed!), that means you pass a save on a die roll of 3, 4, 5 or 6 and fail on a 1 or 2. Statistically, this means your possible rolls result in a fail 2 out of 6 times (or 1/3rd) and a success 4 out of 6 times (or 2/3rds).
Individual Expected Values don't tell us much (an expected save of .66666~ doesn't really mean anything), but it allows us to make educated guesses regarding what to expect in a set of dice. For instance, if someone shoots at me and hits 3 infantry teams, I should Expect to roll 2 infantry saves and 1 failure.
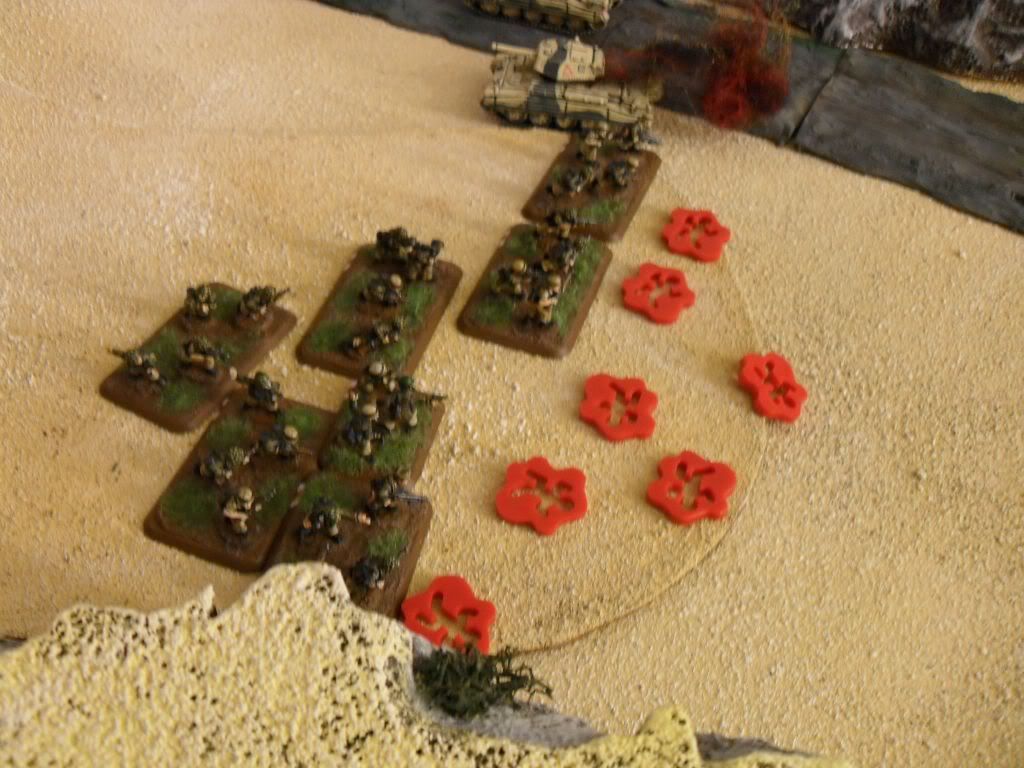
Now, most of you probably already figured that last part out, but things start to get more complicated as we add more and more conditions to our equation. And calculating Expected Values are important because they give us a roughly 'average' result. If I have 5 stationary Sherman 76's shooting at a platoon of 4 StuG G's, concealed and at long-range; how many StuG's should I expect to kill? Is moving to close range with reduced RoF, but lower To-Hit numbers and Armor saves better for me? It is here that we can see where these calculations pay off. I should also mention that these types of equations should all be worked out before each game - taking 10-20 minutes to figure out the exact odds in the middle of a round might negatively impact your Sportsmanship score!
So let's use that first situation as another example. What are the conditions the bound this scenario?
5 Stationary Sherman 76's = 10 Shots
Sherman 76 Main Gun = Anti-Tank 12, Firepower 3+
Confident, Vet StuG = 4+ to Hit, +1 for Concealed, +1 for Long-Range = 6 to Hit
StuG G = 7 Front Armour, +1 for Long-Range = 8 Front Armor
Now, let's walk through the steps in FoW from shot to killed tank:
First, we roll to hit. Based on the above conditions, we have a 6 to hit which means we will score a hit on the StuG 1 result out of 6 possible results.
Next, out opponent rolls an armor save. Based on the above conditions, we have a 12 AT to an 8 FA. Since we are looking for kills, we will ignore Bailed Results (ties). [As a brief aside, it is always best to ignore bails in your calculations as you should ALWAYS expect your opponent to roll to remount his tank.] This means our shot will penetrate the armor of the StuG when our opponent rolls a 1, 2, or 3 - 3 results out of 6 possible results.
Lastly, we must successfully roll a Firepower test to destroy the StuG G after its armor is penetrated. With a 3+ Firepower, we know that 4 out of 6 possible results will destroy the tank.
Now that we've walked through the steps in the game, creating Expected Values for each step, we need to combine those values together to produce a singular result. We do this by multiplying the fractions created by each step.

Now, multiplying fractions is actually easier than is sounds. Split the top numbers (numerators) and the bottom numbers (denominators) into separate equations. Multiply each set of numbers separately to get the numerator and denominator of the cumulative Expected Value. Now stick those last two numbers into your calculator to get your final result.

Based on our calculations, we should expect to kill .05556 StuG G's for every 76mm Sherman round. With 10 shots from 5 stationary Sherman 76's, we would expect to kill .5556 StuGs - or a little over "half a StuG". Terrible odds indeed! In 'on-table' terms, we should not expect to kill anything in that StuG G platoon.
Moving to close range (with the StuG's still Vet + Concealed) gives us the following equation:
So we would expect to kill .14815 StuG's for every 76mm round. At 5 shots, that gives us an Expected Value of .74 killed StuGs - better, but still not all that great.

Since none of the options above result in a single dead StuG, we know that if the above situation pops up in one of our games - we probably shouldn't take either of them! However, we can see that moving to close range (-1 to hit, -1 to armor saves) usually makes up for a reduced RoF and can use this as a general rule going forward.
And that's what Expected Values are really for - building a set of 'general rules/guidelines' for maneuver on the FoW board. By calculating these scenarios ahead of time, we provide ourselves with an expected result for each of our actions. Most ‘real-world’ scenarios on the FoW board will never match exactly with what you work out 'in theory'; however, the general concept of each mock engagement remains the same a majority of the time.
Calculating Expected Values also helps us re-align our expectations with reality, since we all 'usually' remember about "that one time where that one 105mm battery took out, like, 5 Panthers and it was really awesome - and I can't understand why it's not working this time....."
And since there are SO MANY different combinations of the above scenario (Panthers vs IS-2's, Sherman 75's vs Panzer IV's, Cruiser Mk IIIa vs. Panzer IV F, Concealed vs. Open, etc.), it is best to work them out for your specific army list vs. your generally expected opponent(s).
It is also a good idea to see where the 'turning point' is - what does it take to make each scenario "worth it"? Do you need more Shermans to get that StuG kill? Do you need to wait until they move out of cover? How many shots do you need to get that 1st Expected dead StuG?
So try some on your own, and join me next time when I talk about our next topic: Potential Value!
Eric Riha
FoW Mathamagician


