


Sean was eager to try some Reluctant Trained German tanks, and I couldn't wait to try out some of the newer US stuff! We rolled for the mission and came up with Pincer. I knew I'd have a hard time being forced to leave half of my stuff off the board until at least turn 3, but was hopeful that my reserves could arrive and wreak havoc with stabilized 76mm shots! |
Sean's Panzer Brigade
| Steven's 7th AD Armor
*Note: The tanks are slight proxies- they are M4s and M4s with M4A1 76mm Turrets. I don't yet have any M4A3s!
|
SETUP AND DEPLOYMENT
 |
| Sean knew he needed to hit me hard and fast. He expected to take losses, but by concentrating his fire, he thought he could overcome. |
 |
| His armor ready to roll out. |
 |
| Sean's Left flank. |
 |
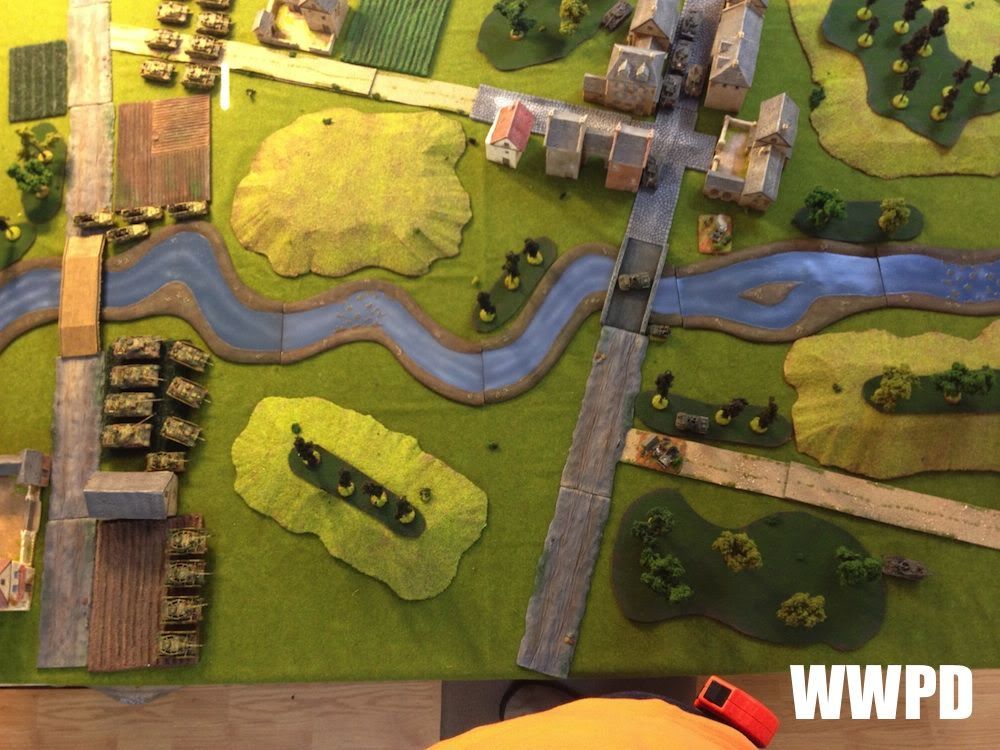
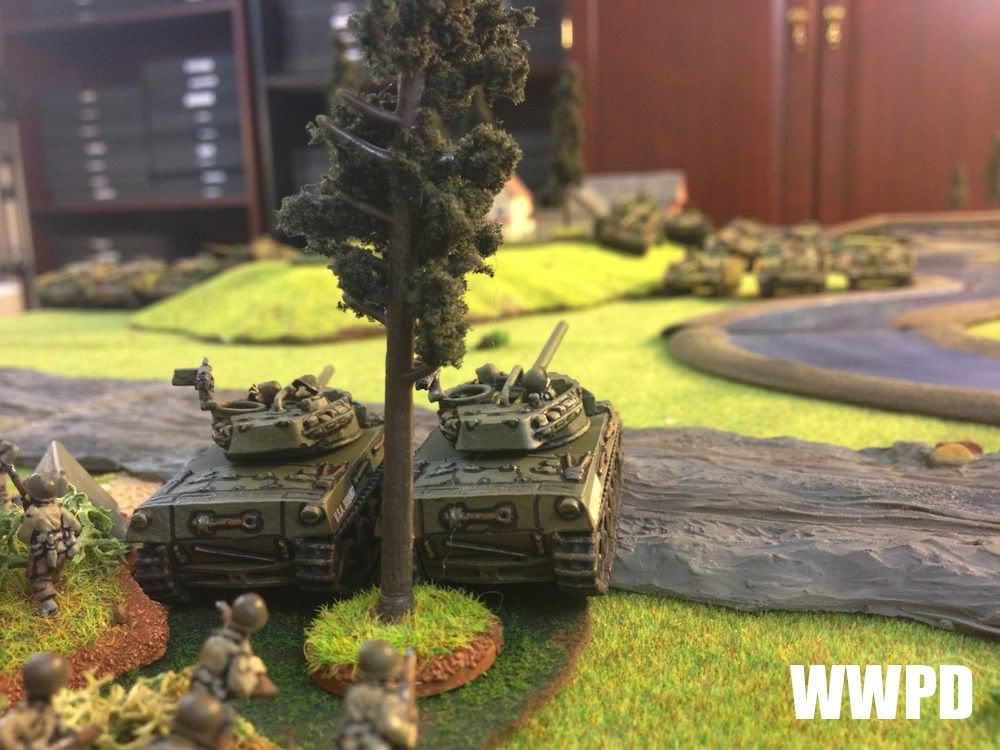
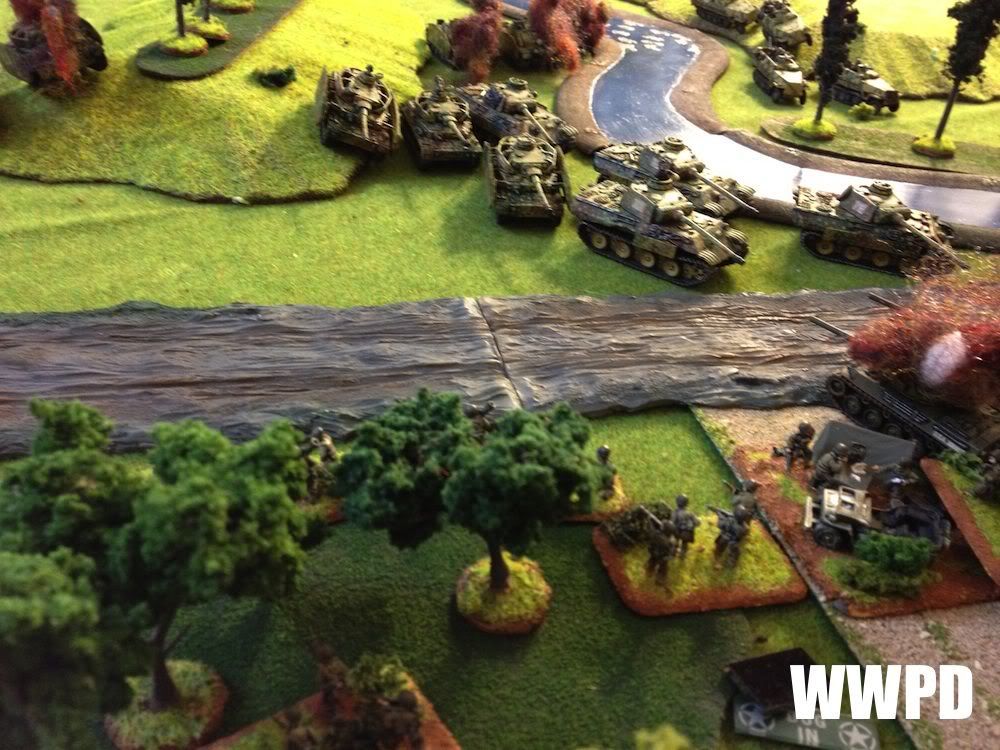
| Steven's left objective. The US start with 1 tank platoon, M18s, and Armored Rifles on the board. ARs are in ambush. |
 |
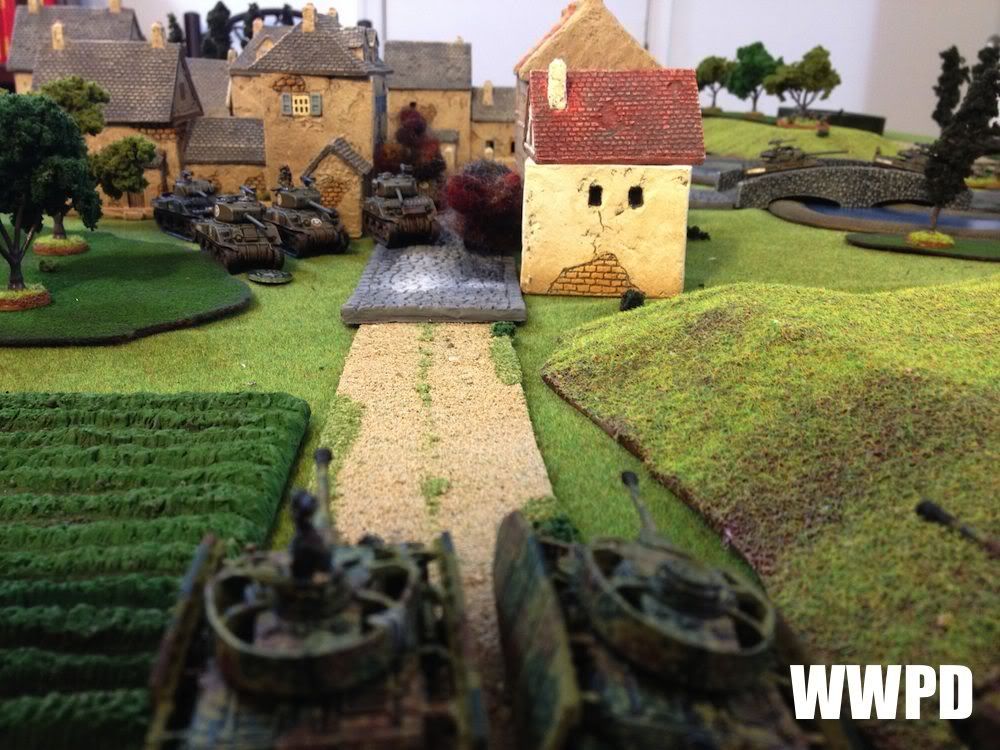
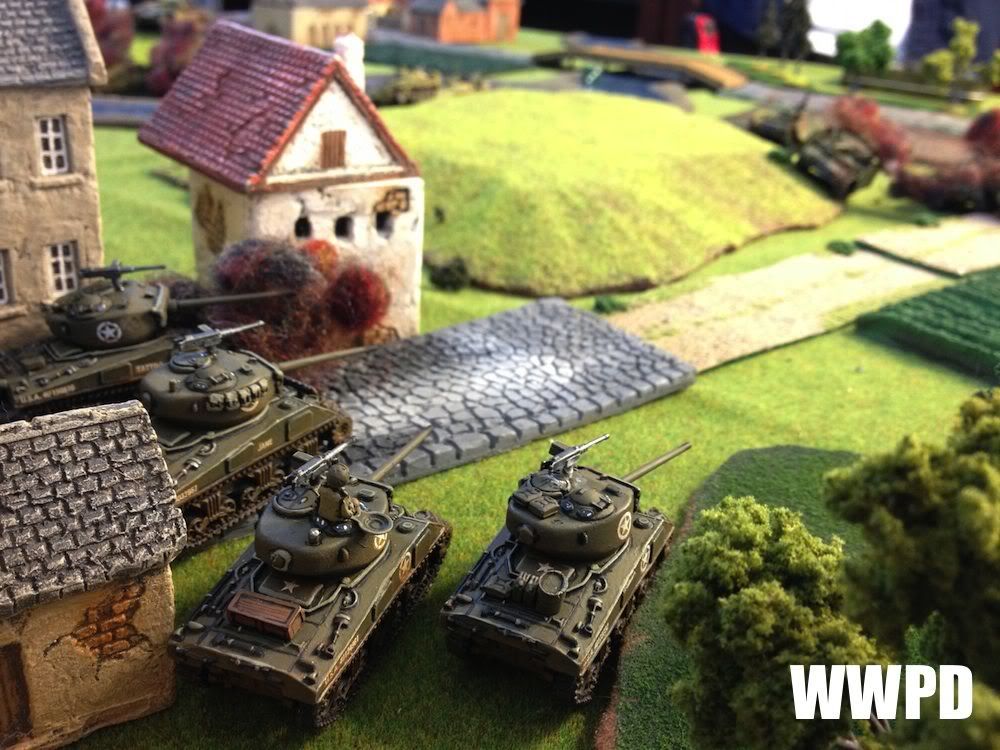
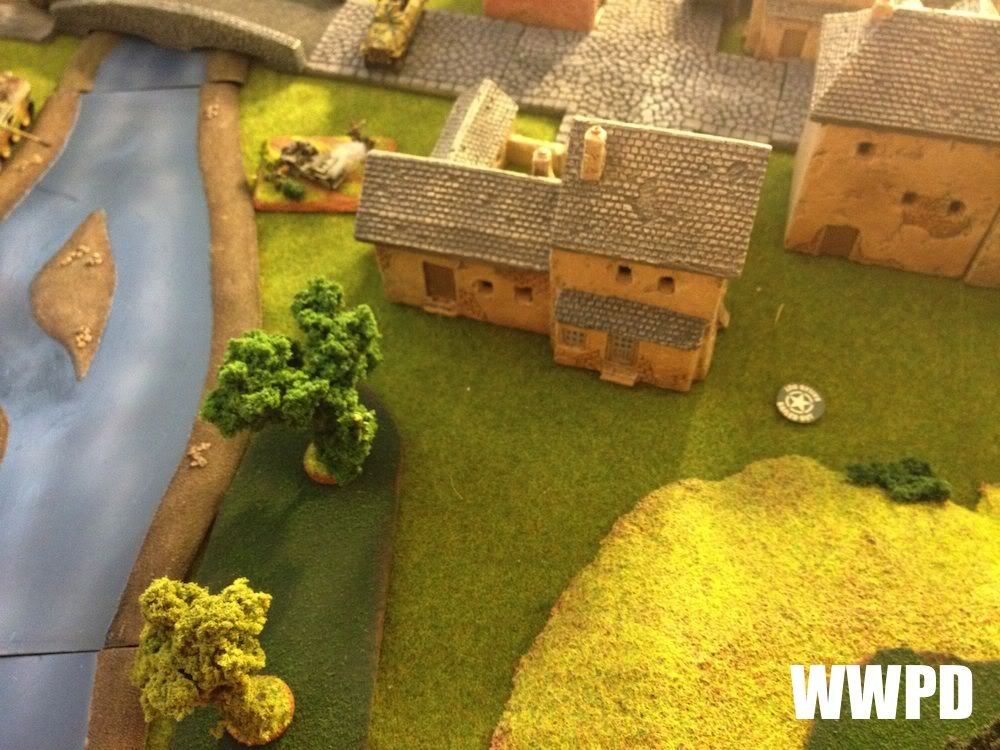
| US Armor set up in the small town. |
 |
| Sean's Panzer Brigade | Steven's 7th AD Armor
|
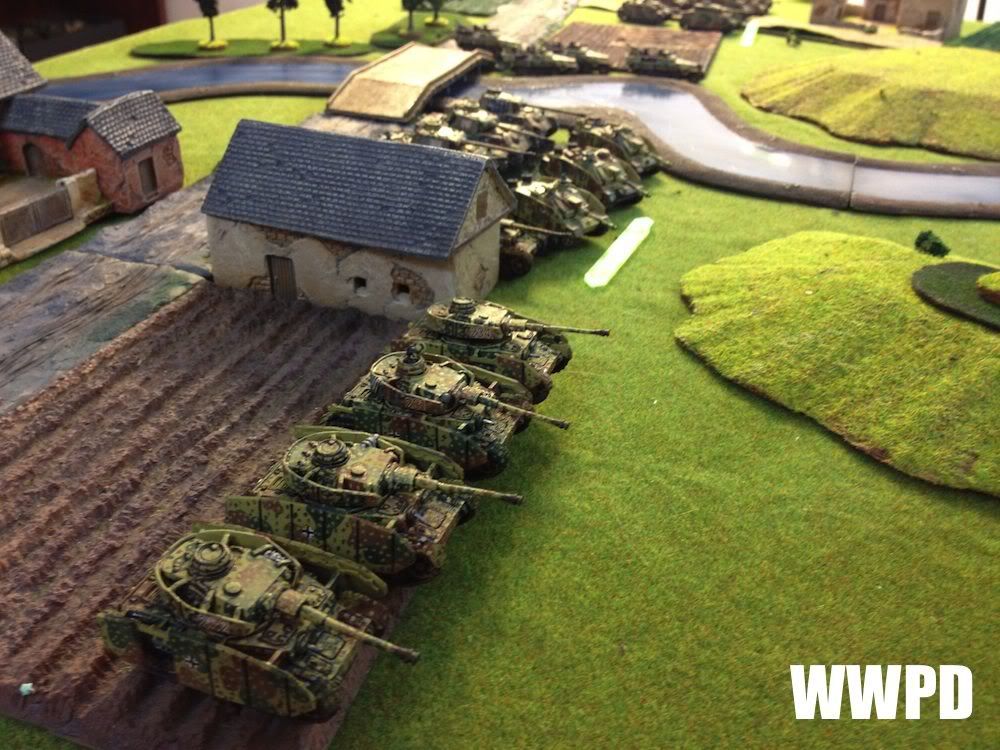
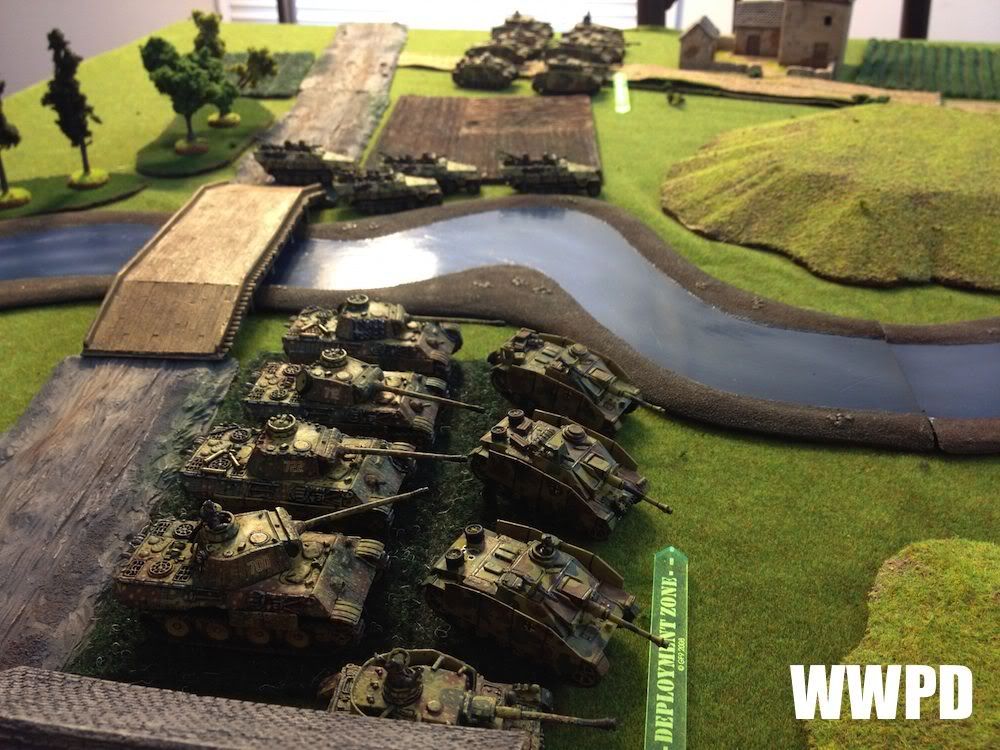
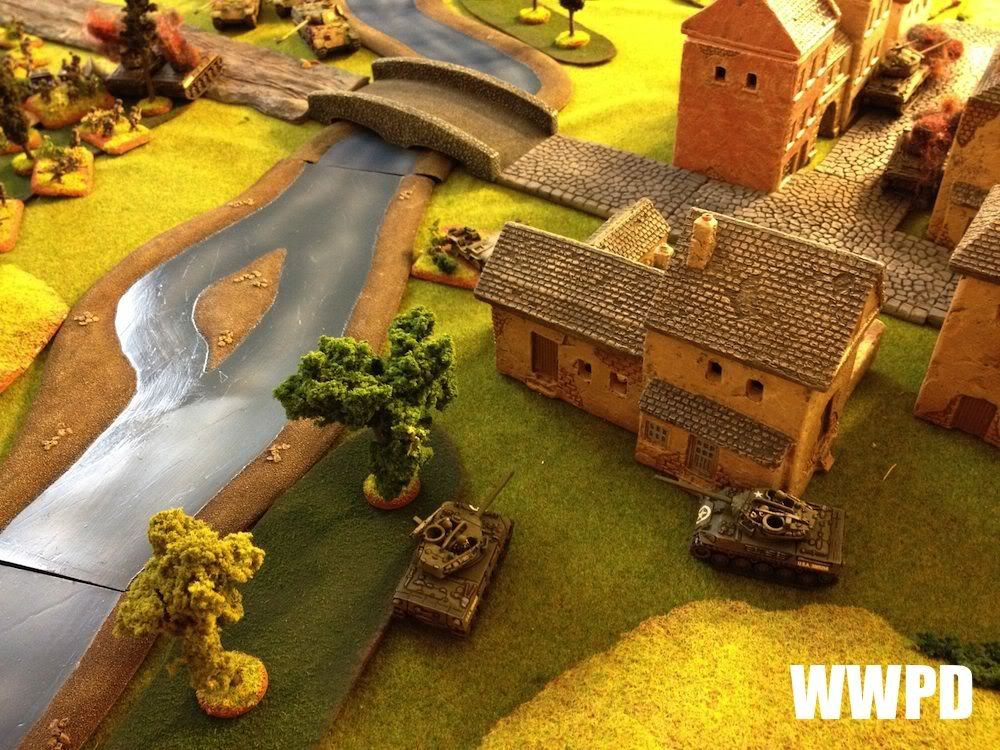
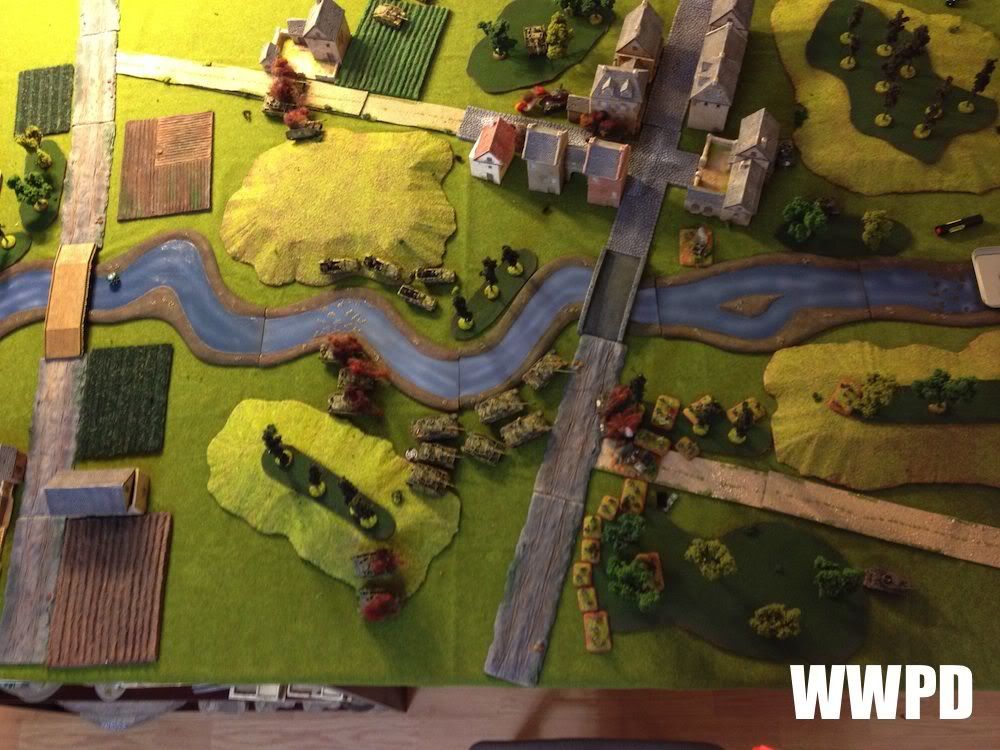
| Sean's Panzer Brigade: The board is bisected by a tributary of the Meuse river. Sean deploys Panzer IVs, Stugs, and Panzergrenadiers on the northern side, and Panthers, Stugs, and Panzer IVs on the southern side. Steven's 7th AD Armor: a tank platoon, cav recon, and mortars start the game in reserve. Armored Rifles in ambush. The US are outnumbered wildly, and need to inflict heavy casualties before they are swamped! | |
TURN 1
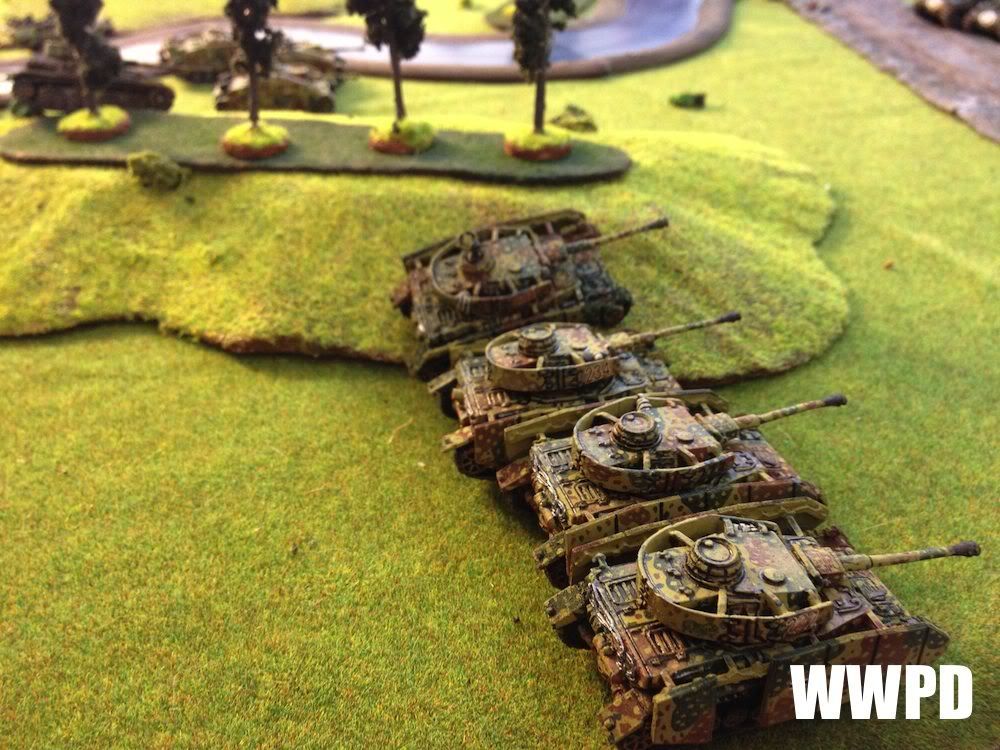 |
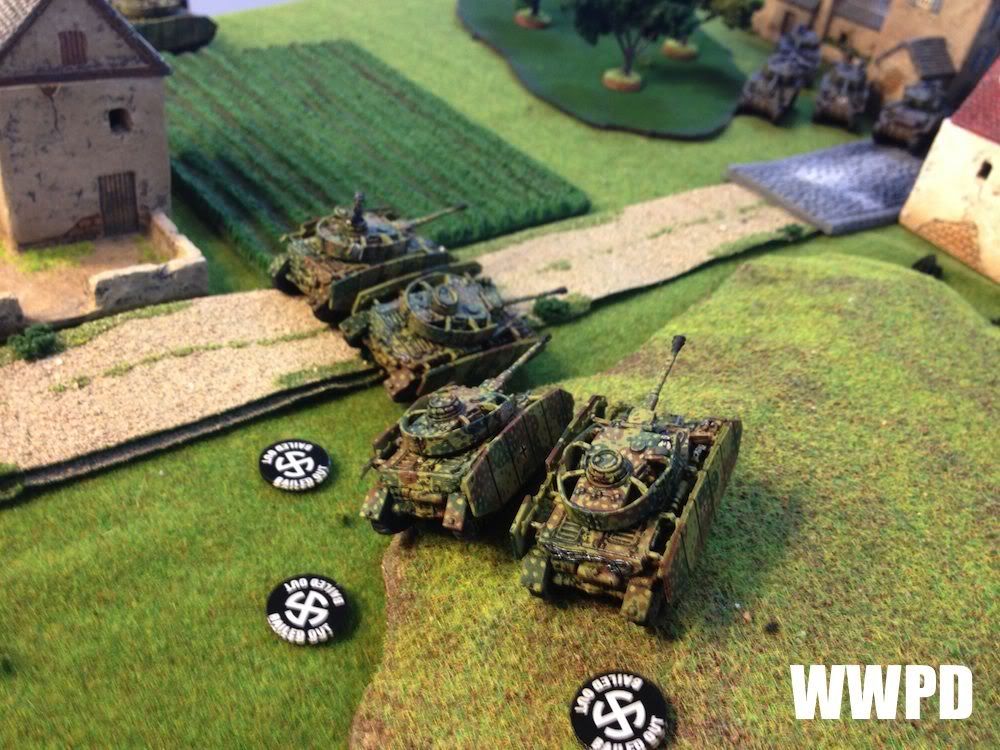
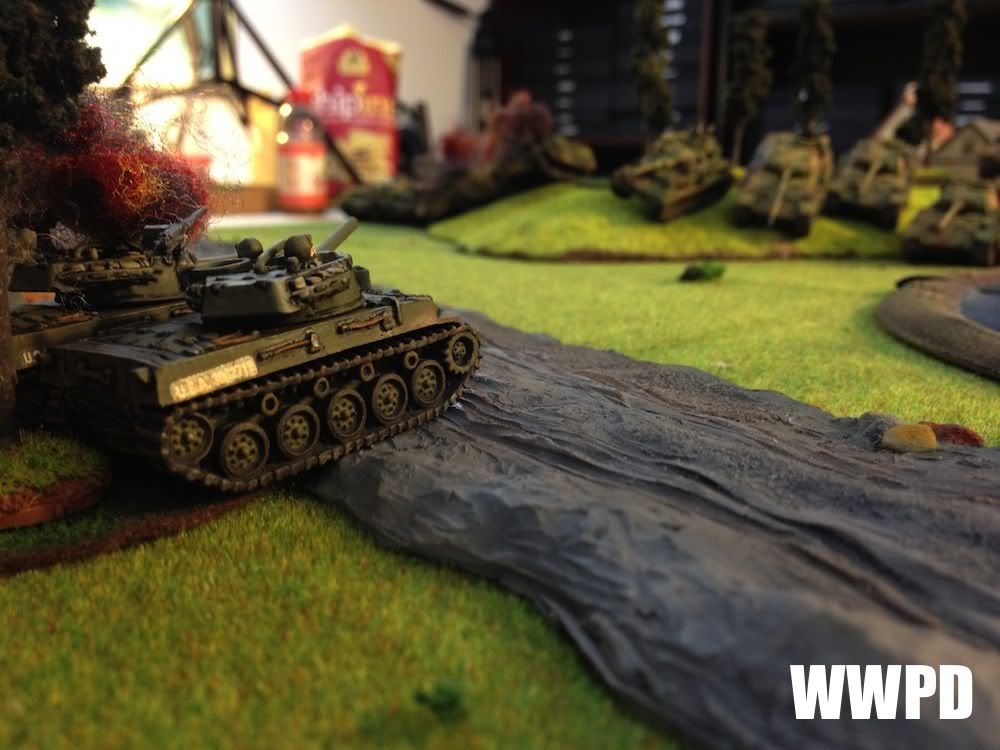
| Panzer IVs roll out on Sean's right flank. |
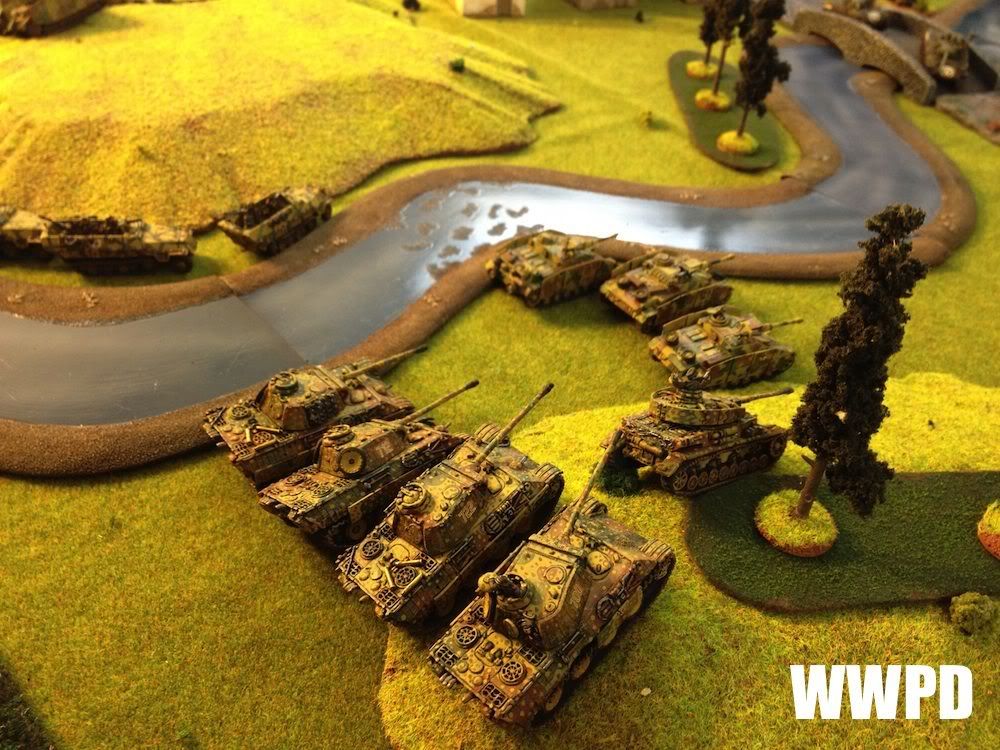 |
| Panthers, Stugs, and Panzergrenadiers all drive forward. |
 |
| The left flank. |
 |
| Panzergrenadiers |
 |
| With the majority of Sean's forces on the left flank, Armored Rifles and M18s spring their ambushes. |
 |
| M18s line up on the Stugs. |
 |
| And in their first outing, the M18s claim the whole Stug platoon! |
 |
| Shermans roll out to engage the Panzer IVs. 8 shots hitting on 4s with AT 13- this should go well! |
 |
| 5 hits! and FIVE FAILED FIREPOWER ROLLS! Ouch. Sure the Panzer IVs are reluctant, but protected ammo mitigates that quite a bit. |
Sean's Panzer Brigade
| Steven's 7th AD Armor |
| Sean's Panzer Brigade: The Panzers roll forward with nothing to shoot at. Steven's 7th AD Armor: The US engage in a big way. Things are looking good when a Stug platoon is totally eliminated, but the 76s on the right flank fare terribly against the Panzer IVs- failing to cause any lasting harm! | |
TURN 2
 |
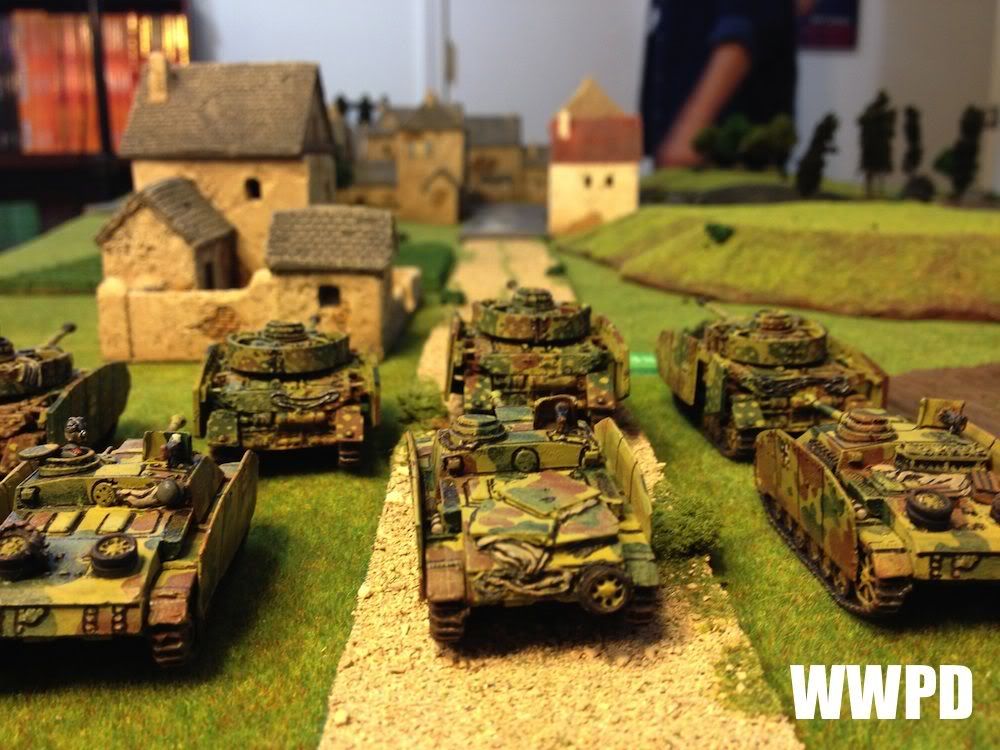
| The horde rolls on. |
|
| The M18s watch in horror as more and more German tanks appear through the light fog. |
 |
| Panzer IVs remount all but one tank and return fire, knocking out 2 shermans. |
 |
| The 2iC goes for a flank shot, but misses. |
 |
| Panthers move to engage the M18s. |
 |
| Shermans return fire, knocking out 3 Panzer IVs. |
 |
| One M18 is left behind, and knocks out 2 Panzer IVs. The other 2 move to join the action in the town. |
 |
| The Panzer IVs on the right run away! |
Sean's Panzer Brigade
| Steven's 7th AD Armor
|
| Sean's Panzer Brigade: Despite some opening losses, Sean presses forward! On the left flank, 2 shermans go up in flames, while on the right his panthers take out an M18. Steven's 7th AD Armor: The Shermans stand their ground, KOing the Panzer IVs on the right. 2 M18s pull into the town, while the one left behind opens up 2 Panzer IVs. | |
TURN 3
 |
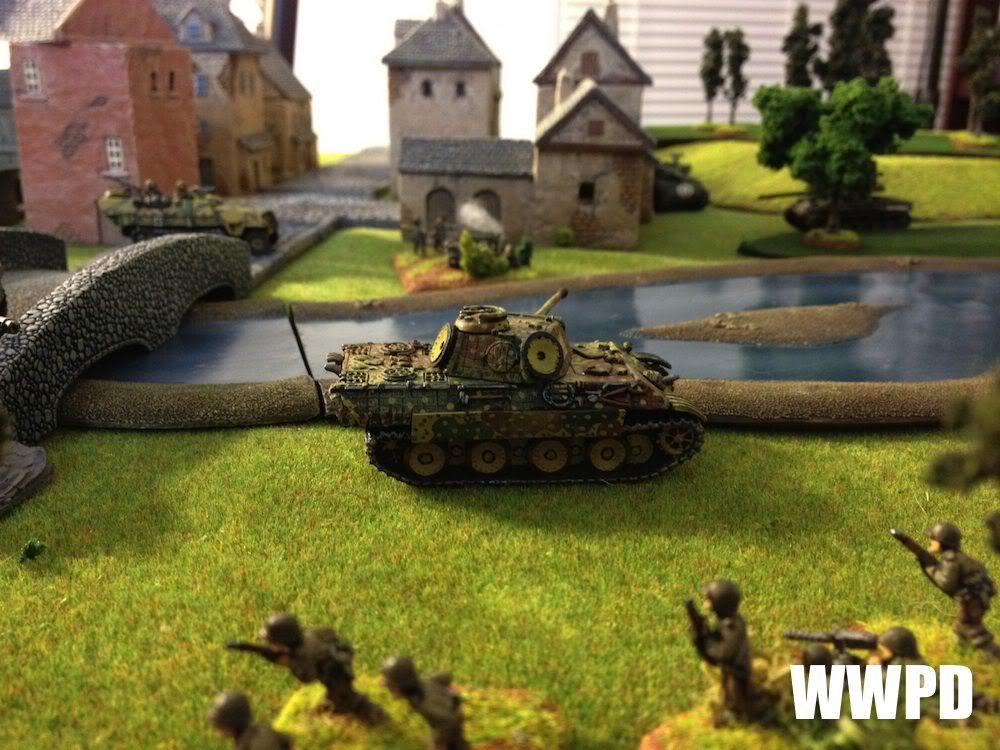
| So many Panzers left! |
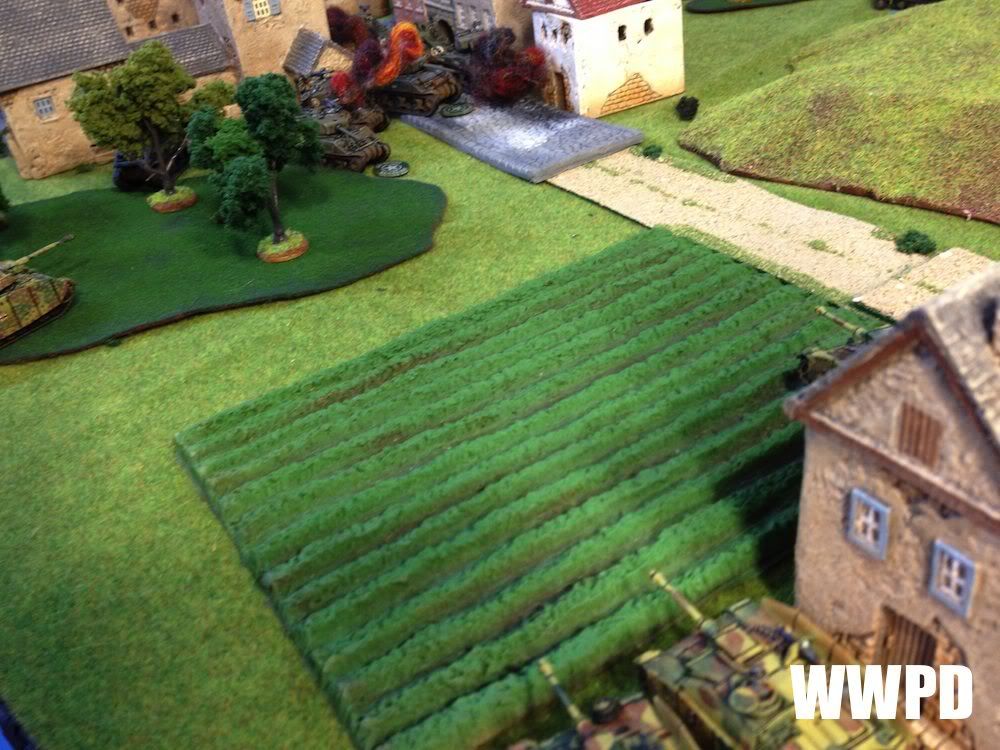 |
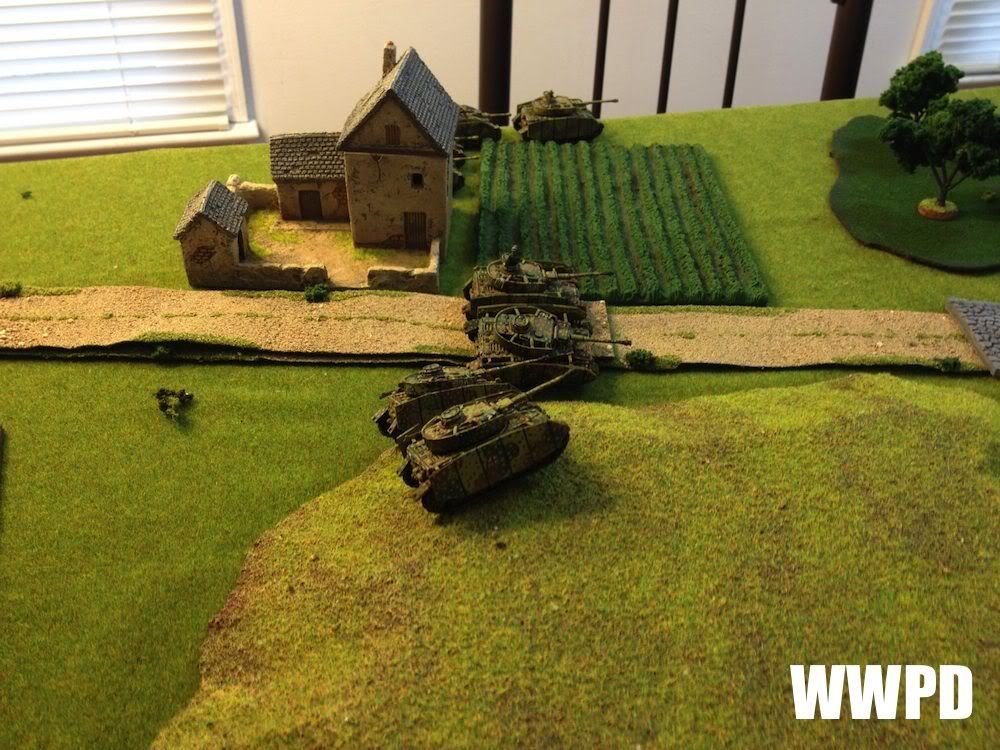
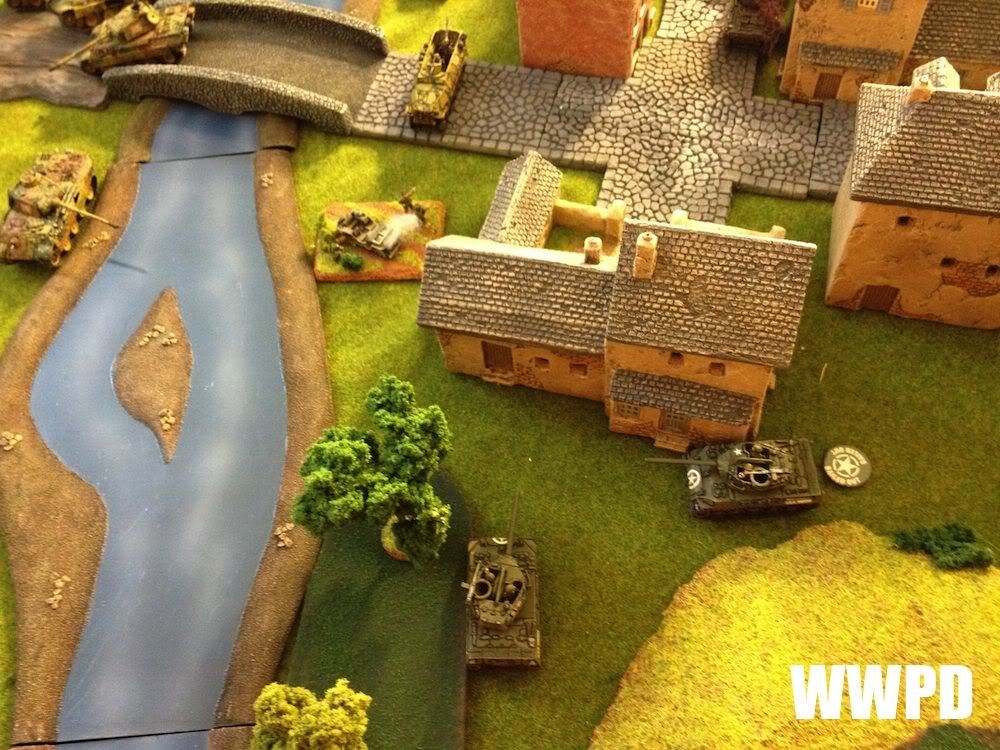
| Stugs and the flanking 2iC put the hurtin' on the Shermans in town. |
 |
| 3 tanks are left, but 2 are bailed and 1 is bogged! The platoon then quits the field. |
 |
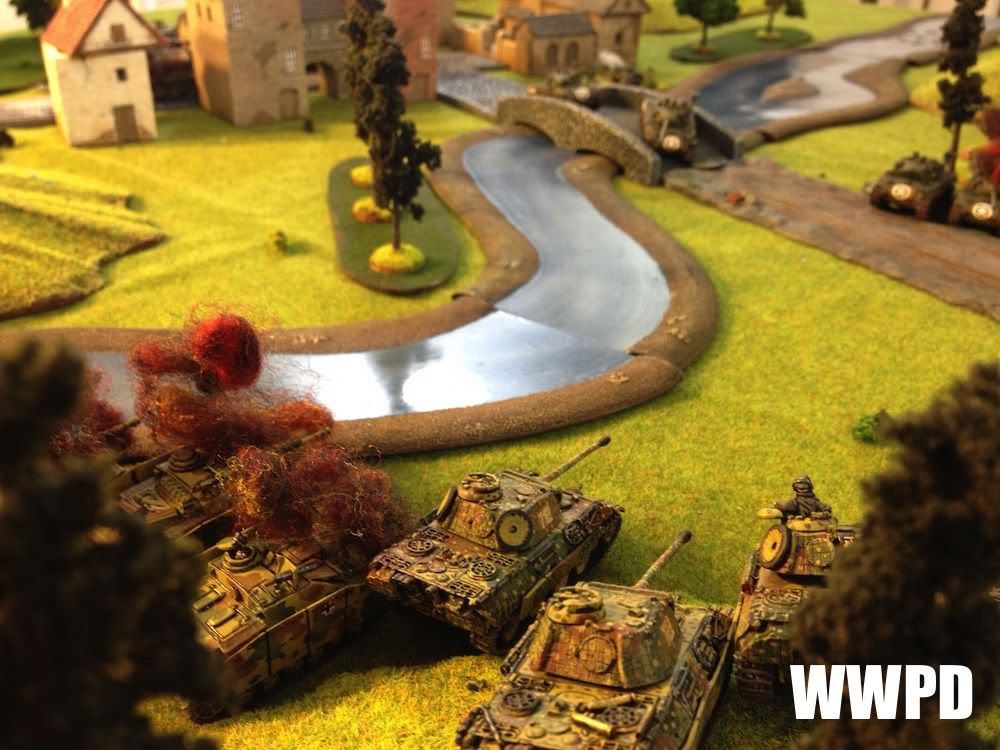
| Panthers push forward and knock out another M18. |
 |
| With the CO and 1 platoon knocked out, and no reserves arriving, the M18s pull back in an attempt to hide and await reinforcements. |
 |
| The Armored Rifles are still holding strong. |
Sean's Panzer Brigade
| Steven's 7th AD Armor
|
| Sean's Panzer Brigade: In a very good round of shooting, Sean sees off the brunt of the US right flank. Steven's 7th AD Armor: No reserves, and the M18s are one loss from a motivation check which will now cost us the whole game! | |
TURN 4
 |
| Can the US hold out now? |
 |
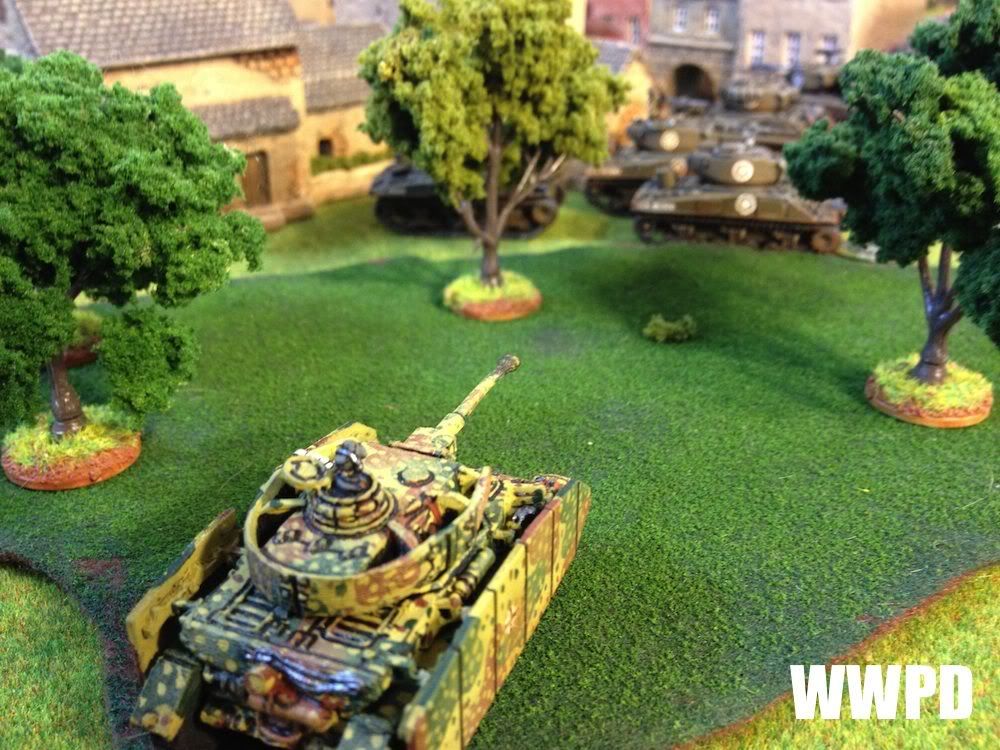
| Sean can maneuver one Panther to get a shot on the M18s. It's a gamble with us infantry right behind him, but a gamble that can win the game. |
 |
| The single shell bails out the M18 crew! The game now comes down to a motivation check. |
 |
| Which the US fail, costing them the game! |
Sean's Panzer Brigade
| Steven's 7th AD Armor
|
| Sean's Panzer Brigade: Sean pushes forward with everything, and send 1 lone panther after the game winning shot. Steven's 7th AD Armor: With no CO and 2/3 platoons destroyed, the game is lost! | |
| Wow- what can I say? Sean played a great game- he pushed hard with his forces knowing he has the advantage in the shooting step. Defending with armor is not my forte. I might have to consider taking Patton so I can be auto attack! Well played game. We had a good time, and it was over relatively quickly, which is a far cry from some of our epic recent games! |
Generated by WWPD's BatRepper Software.


