


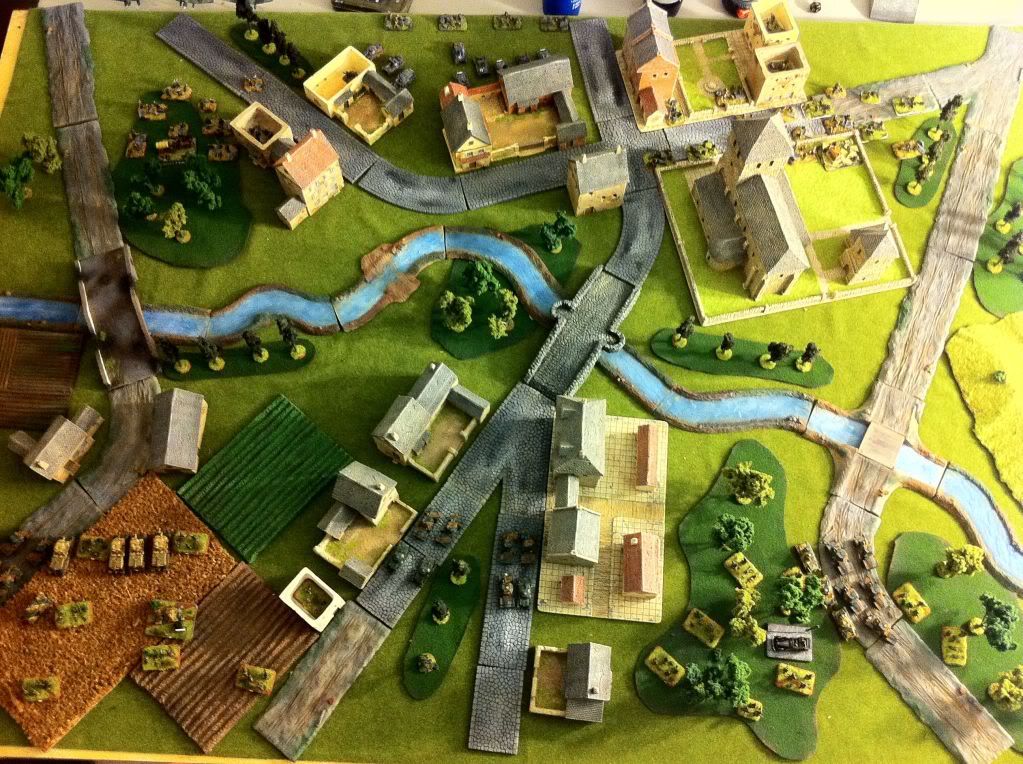
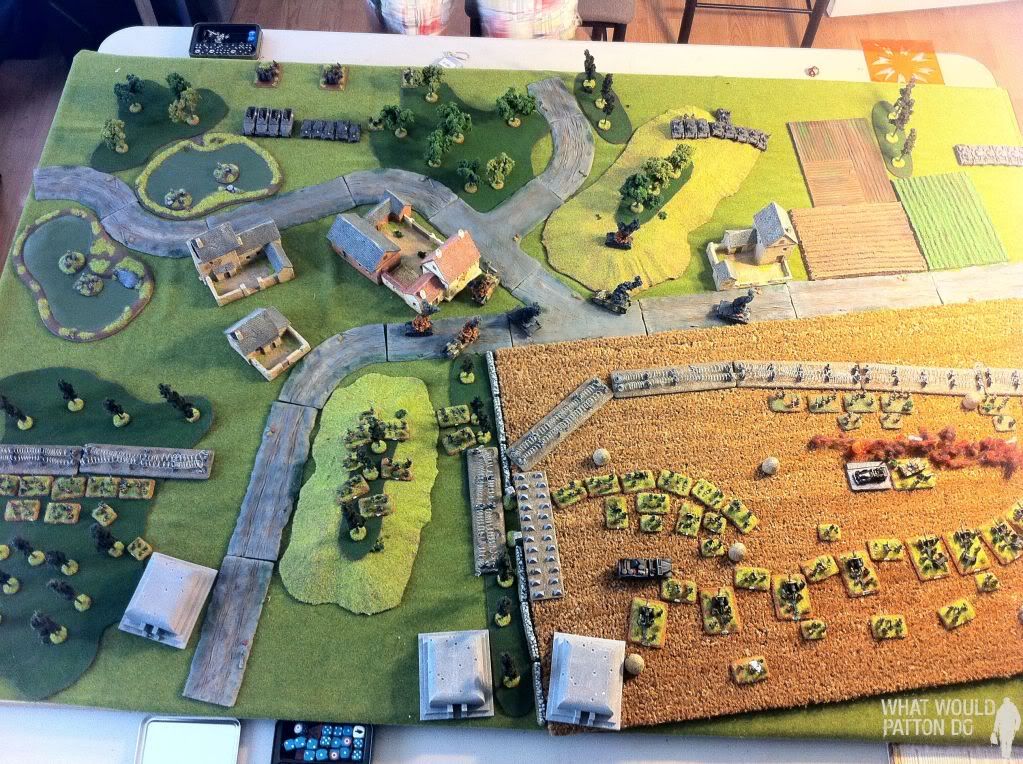
 | The Chinese get ready for a Fortified Mission (1937). |
"An error in the first stages of deployment can never be made good."
--- von Moltke (one of them, anyway)
The Deployment phase determines where your units will be and which enemy units they will oppose at the start of the game. The decisions you make in Deployment are perhaps more important than those in any other part of the game, even list selection. In Deployment, you can win FoW --- or lose it -- before ever rolling a die.
Here is some advice about how to Deploy, in what order, and where.
The Strip-Tease: Alternating Deployment
In Deployment, your aim should be to get your units to the most favorable possible positions. Many common scenarios require that you alternate your deployment with your opponent. Such a setup provides plenty of opportunity for tricks -- and to be fooled yourself. The key to success is to delay revealing your plans while learning as much as possible about your opponent's.
 |
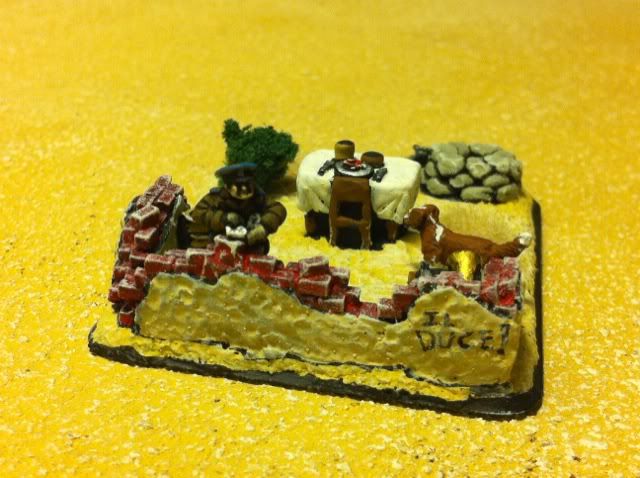
| Machiavelli. Master of Sneaky. |
First, deploy those units that your opponent already knows the optimal placement. So if you have an artillery battery and a big concealing hill, go ahead and put them behind it. Where else were you going to put them? Now your opponent must deploy -- and hopefully reveal part of his plan.
There can be wheels within wheels here, depending on the board, the scenario, and your penchant for Machiavellian head-games. For example, many players will delay deploying their most powerful unit til last. (A platoon of Panthers, say.) Very often, this is a wise move -- you might need the Panthers to counter his IS-2s, say, because he has no other unit that can do the job. But information is the ultimate currency in these moves not lethality. If you have a big hill that can see the whole board -- why not put the Panthers there early? It's the best place for them. He can put the IS-2s wherever he wants -- you'll still see them. But
meanwhile you can hold back a big platoon of PzIV Hs to go wherever the IS-2s aren't.
You can also try to use social cues to pull your opponent's attention away from your real axis of attack. If you are creating a distraction with a Platoon, ask lots of questions about terrain near it. Ask if you think the platoon is visible or Concealed. Make a lot of measurements. Direct your eyes and your attention to that flank. Pay as little attention as possible to your real corridor of attack. (Without seeming too suspicious.)
Third, consider all the possible moves for your units. You may be able to place a unit into a position that is inherently deceptive. A really fast unit, like Stuarts, on one flank, can easily double-time to the other. But if you place it as though it were going to attack on the left, maybe by jamming it as far forward as possible and hiding behind trees, your opponent will naturally expect it to go forward. When the game begins, though, ninja them away to the right, with those same trees providing cover.
These tricks only last so long. Eventually, you will have to place units for your main attack. Eventually, by the choices you have made, you will reveal your intentions to a canny enemy. But hopefully, by that time, you will have pulled your opponent out of line or positioned your units against favorable enemy units.
Deploying Blind
So? You can hedge bets in other ways.
Try to create situations where whatever your opponent chooses, you can punish him. For example, Consider the board divided into sections -- left, right and center. Units deployed to either the left or the right are pretty much committed to that flank. Units in the center can move to either flank, particularly armored units. So if you must deploy, a central position can still leave your opponent in doubt. Do you mean to take those StuGs left? Or will you push them up the center? Heck, maybe you don't even need to decide till the enemy moves.
In such scenarios the Defender often gets an Ambush or Immediate Ambush. An Ambush is the ultimate go-last, enabling you to trump an enemy deployment. Usually, armored vehicles are the greatest threat, and you'll prudently Ambush of vehicles of your own. It's not automatic, however. A powerful infantry Platoon sometimes makes an excellent situational choice.
Splitting your Force
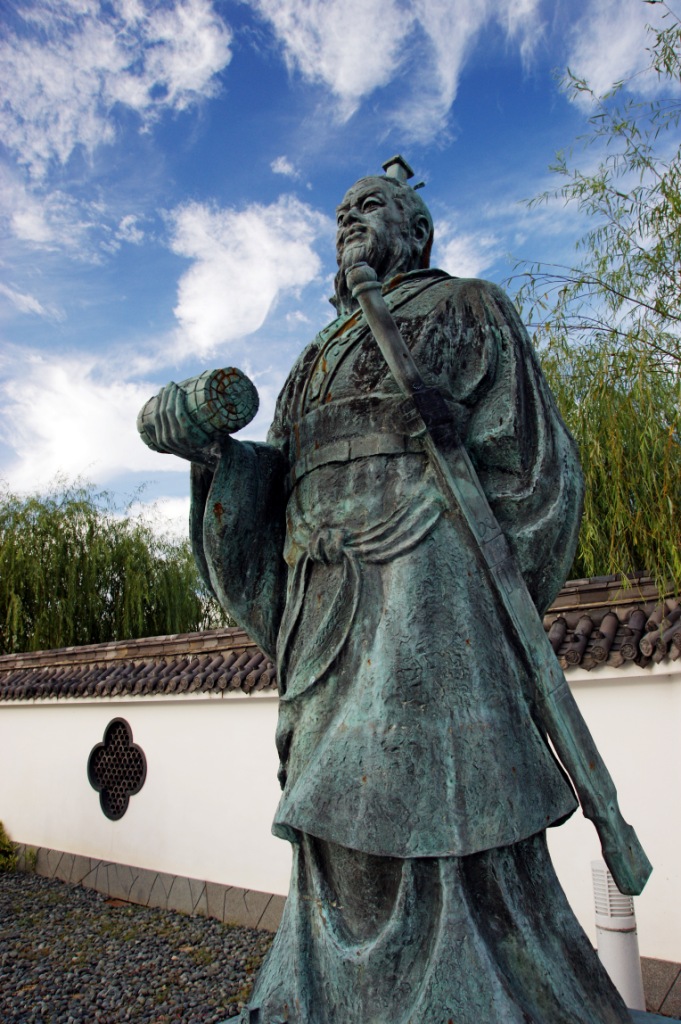 |
| Sun Tzu. Maybe Sneakier. |
This adds another wrinkle to Deployment. There are several things you can do to avoid the down-sides of Reserves.
First, be very ware of who must chose first to split heir force. You may well be able to know what your Opponent must deploy before you must chose yourself. If you have to chose first, you may be able to fake him out.
Second, always plan your army for a split. Take an even number of Platoons. (Or if you are German, know when and how you will Kampfgrup to reach an even number.) Decide in advance which ones you will Reserve against forces of different types. For example, you may decide to deploying 57mms against tanks, but HMGs against infantry.
Infantry companies, in particular, must carefully balance the number of mostly static elements against the number of durable and mobile platoons. Very often the units easiest to bring in from Reserve (like Tanks) are also the ones you really want on the board against an early armored push.
Third, carefully consider Combat attachments and HQ platoons. Combat attachments allow you to put more stuff on the board. If you add (say) 2 HMGs from an HMG platoon and leave 2 in Reserve, you've now got 1/2 a platoon on the board you wouldn't have had before. (The downside is the now almost useless dinky platoon in Reserve.) HQ attachments are basically free stands. Most armies can create a large, well-armed Platoon -- at the cost of having several less useful ones in Reserve.
Deploying Objectives
Often, it's just plain hard to fake out someone with an Objective. The zones are narrow, and there are only two or three of them.
Still, you can draw enemy units by placing one Objective far to a side or in a bad zone for your opponent -- but not so bad they can just ignore it. The best possibility is to place the Objective somewhere that you opponent thinks it's vulnerable or secure -- but where you have a cunning plan to seize or defend it.
Deployment for Specific Missions
Here are some tips for several of the more common Missions.
Free for All
Free for All in many ways constitutes the "default" mission for FoW. The armies line up, nothing in reserve, and slug it out. No complicated rules.
Not much subtlety either.
In Free For All, you will want to aim for one or the other Objective while defending your own. In practice, there is usually an Objective in each quarter.
There are two basic strategies for Free For All. You can push for a win immediately, by attacking an Objective. Or you can try to kill the opponent as he attacks yours. Assuming you force a favorable rate of attrition from your defense, you can either try to take an Objective after he exhausts himself, or just break his company.
If you are going to attack, you will want to determine which Objective has a more favorable route of approach. Then, in Deployment you want to draw your opponent's forces away from it while concentrating your own in front of it. You will also wish to keep enough of a force in front of your own week flank to prevent him from advancing on it. Because you will be advancing, this forward guard doesn't need to sit on your objective but can move up to shield your advancing flank.
If you are Defending, your goal is to occupy positions that can devastate corridors of attack, while not losing either side.
Encounter
Encounter is basically just Free For All with Scattered Reserves. (Okay, the Objective placement is a tiny bit different too.) But the Scattered and Delayed Reserves fundamentally change the game. You won't be getting Reserves any time soon, and you won't know where they will arrive.

Reserves are key to Free for All. One third of the time they will appear on the left corner or flank, one third, they will appear on the right, and one third they will appear anywhere on the back. If you wish to play conservatively, this means you can defend either flank pretty easily. If you wish a unit to arrive on a particular flank, you have a 2/3rd's chance that it will arrive there or that you can bring it off the rear edge on that flank. Only 1/3 of the time will it be stuck on the opposite flank. If you wish to be more aggressive, you can bring the unit on farther forward on a corner, supplying a great movement boost up the board.
Usually, however, I try to create a core force around each Objective. Then as Reserves arrive, I decide which flank will better favor a push. I concentrate mobile forces to that flank, and begin an attack when I have received a critical mass of units.
Fighting Withdrawal
There will be three Objectives on the Defender's side of the board. In practice, there will usually be one center objective and one on each flank.
The Defender gets to place one, and first. The Defender should almost always place one of these on a flank. For reasons I'll discuss in a second, such a move will likely funnel the Attacker towards that flank, and thus the Defender should chose the flank with the most favorable (for him) terrain.
The Attacker will place the other two objectives. The Defender will have the opportunity to remove the Attacker's Objectives. The Defender cannot remove his own Objective. Thus in placing his Objectives, the Attacker has a choice of evils. He can put them next to each other, naturally concentrating the Defender's units around them, or spread them out. But whatever he chooses, the Attacker's last opportunity to win is to take the Defender's Objective. Therefore, the Attacker's best chance is to aim for one of his own objectives, but if he fails to re-direct his attack towards the Defender's objective. Thus his line of attack will probably pass between the Defender's Objective and the most favorably placed of his own. If the third Objective is removed from the others, it will be a long shot. The Attacker will probably possess enough resources to threaten it, but only enough to prevent the Defender from leaving it uncovered.
The Defender must remove Platoons in Fighting Withdrawal. This is sort of like Deployment in reverse. If you are the Defender, pull a Platoon that isn't any more use anyway. If you can't pull the one that will reveal the least about your intentions.
The Defender also gets to remove Objectives, but only the Attacker's Objectives. So, if you are the Defender, pull the one the enemy is most likely to seize. If you are the Attacker plan for the Defender to pull it. Always, always count turns. Know the last turn at which you can take an Objective and if it has passed, ruthlessly turn your units towards something you can.
Hold the Line/No Retreat/Pincer
These are short-board edge scenarios. The Attacker must take a Defender's Objective, but in compensation gets to Deploy second.
Here the burden lies on the Defender to select his on-board units and his Ambushes optimally. The forward Objective is more vulnerable; therefore, the Defender will place a sturdy Platoon upon it, likely backed up with AT or (more rarely) Anti-Tank Assets. The rear Objective is far enough away that the Defender can usually count on his Reserves to defend it.
On a short map, there isn't much point in trying to distinguish between flanks or try for a fake-out. The board is narrow enough horizontally that you can treat it as being all "center." More important is the vertical or "depth"dimension, which is far more likely to isolate your units and facilitate or prevent their mutual support.
Breakthrough
Breakthrough is one strange scenario. The Defender gets everything on the board, except for more than one Mobile units. The Attacker has a small force on board and others in Reserve.
But the Attacker's Deployed forces are almost irrelevant. In almost every Breakthrough I've ever played, the Attacker's Reserves have decided the game. That's because they arrive right next to the Defender's Objectives. The Defender must rush to defend them and the Attacker usually tries to break these defenses on the turn they arrive.
For that reason, the Attacker rarely goes wrong placing a big tank Platoon in reserve. If he has a powerful Infantry unit, like ARs or PzG Lehr units, that's almost an even stronger choice. His main force needs only to be strong enough to threaten the Defender. (And not die before his Reserves arrive.)
I really dislike Breakthrough.


