


FIRESTORM TURN 2 GAME 3 After the fall of Vitebsk, the North thrust of the Soviet advance was back in supply, and knocking on Minsk's doorstep! After the fall of Vitebsk, the North thrust of the Soviet advance was back in supply, and knocking on Minsk's doorstep!The Germans won the initiative for round 3, and elected to attack from Lepel to Polotsk, despite Lepel being cut off from Supply. Sean is lucky, however, and suffers no ill effects from being cut off! Victory in Polotsk will again cutoff the tip of the Soviet spear. With no firestorm troops in Polotsk, the Soviets fight at a slight disadvantage! The mission is Fighting Withdrawal. Sorry for the poor lighting, I didn't have my good lighting available. |
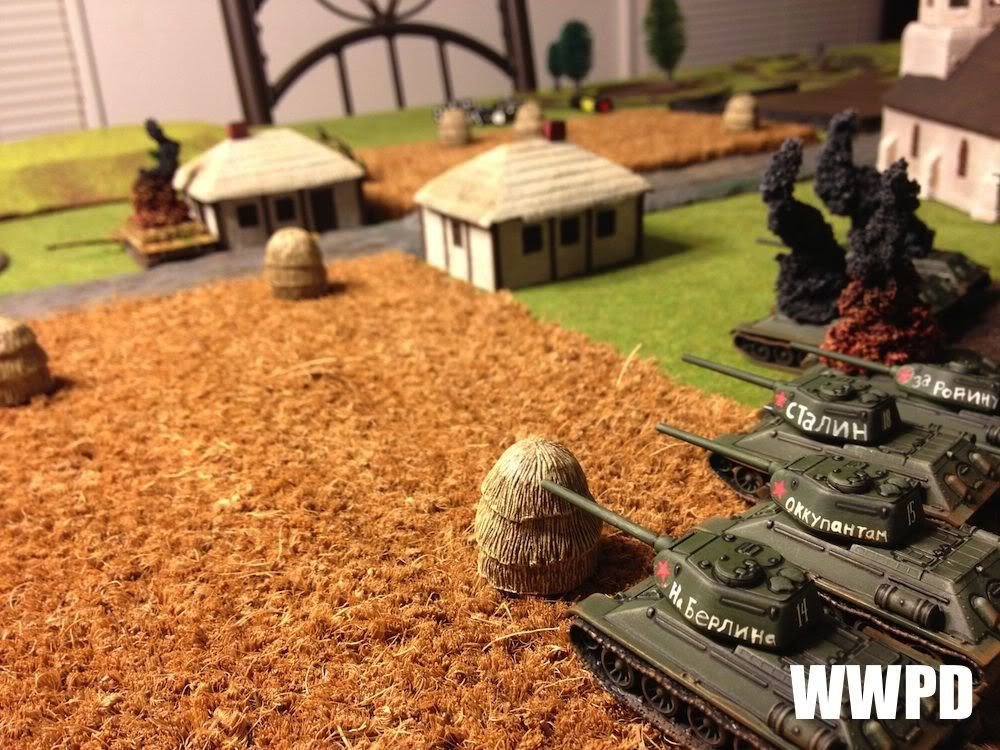
Sean's 2nd SS Panzers
| Steven's Rota Razvedki (Guards)
|
SETUP AND DEPLOYMENT
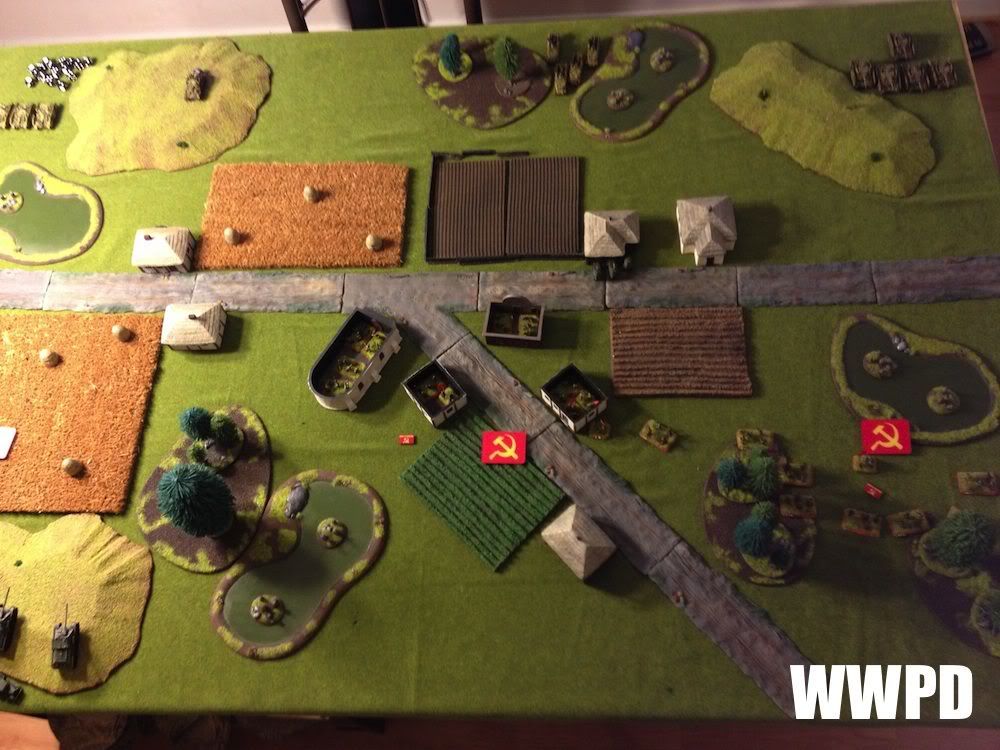 |
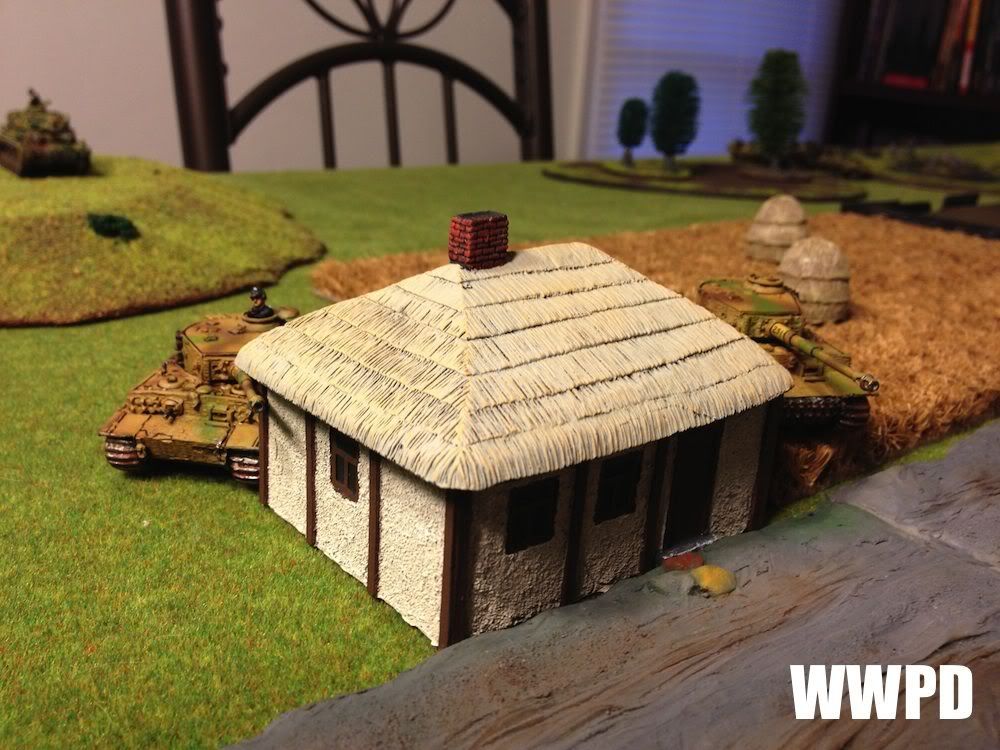
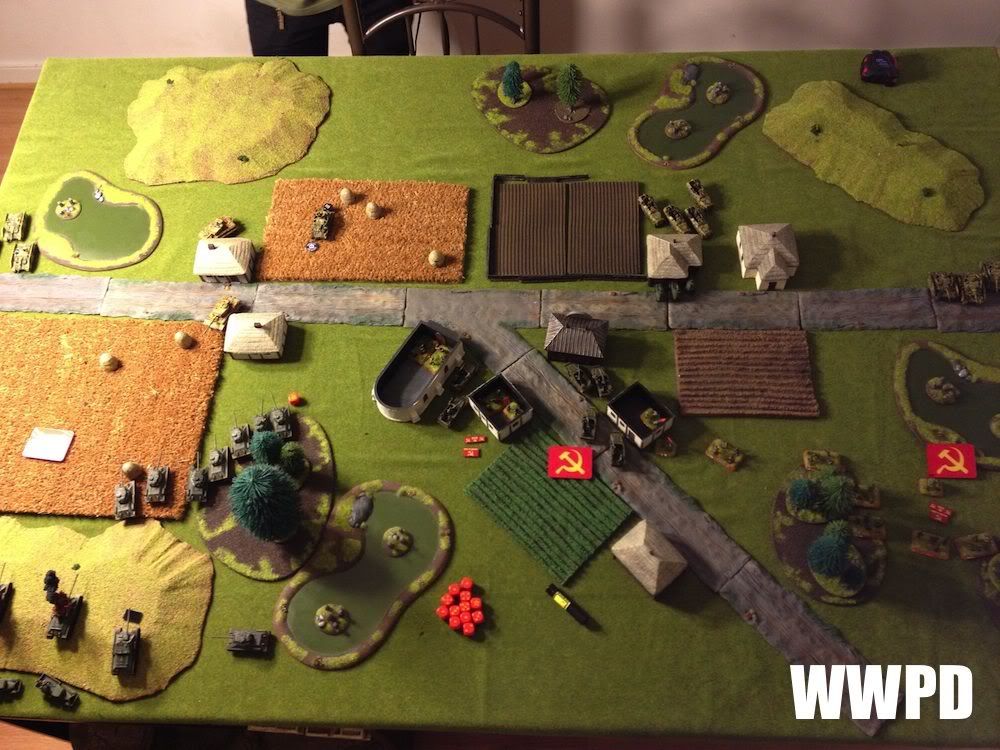
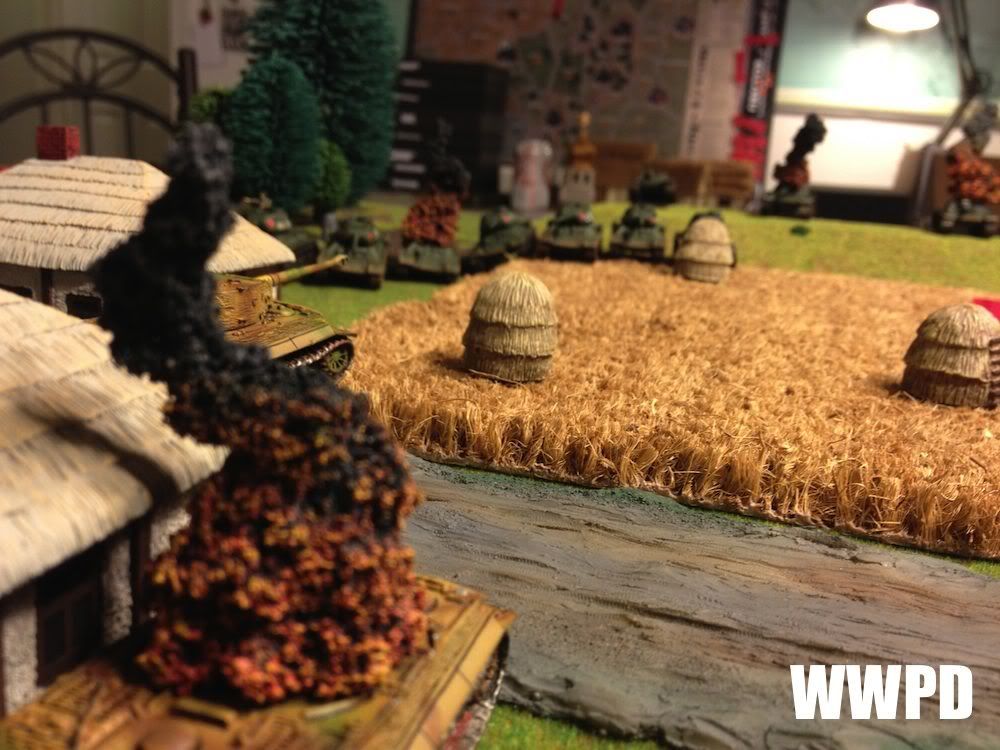
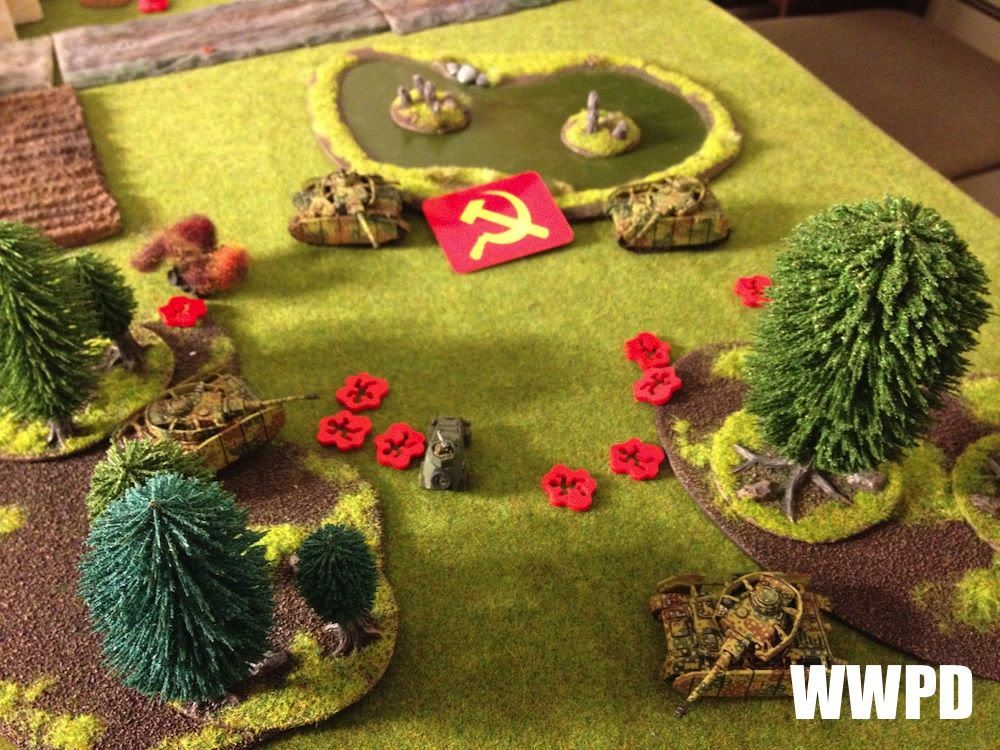
| The board |
 |
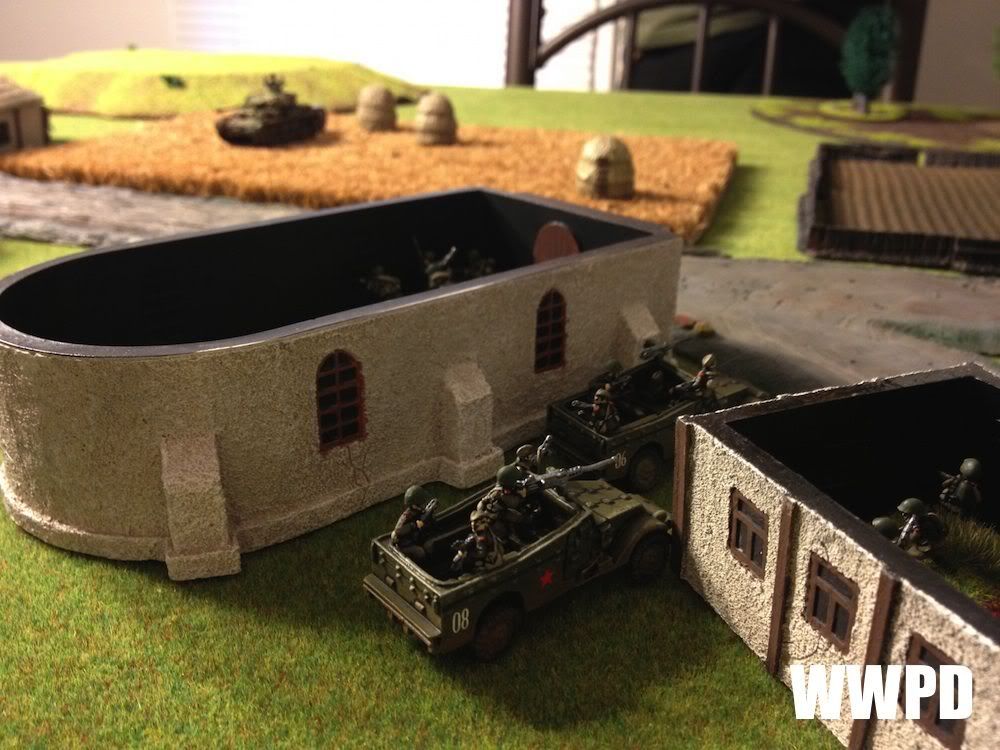
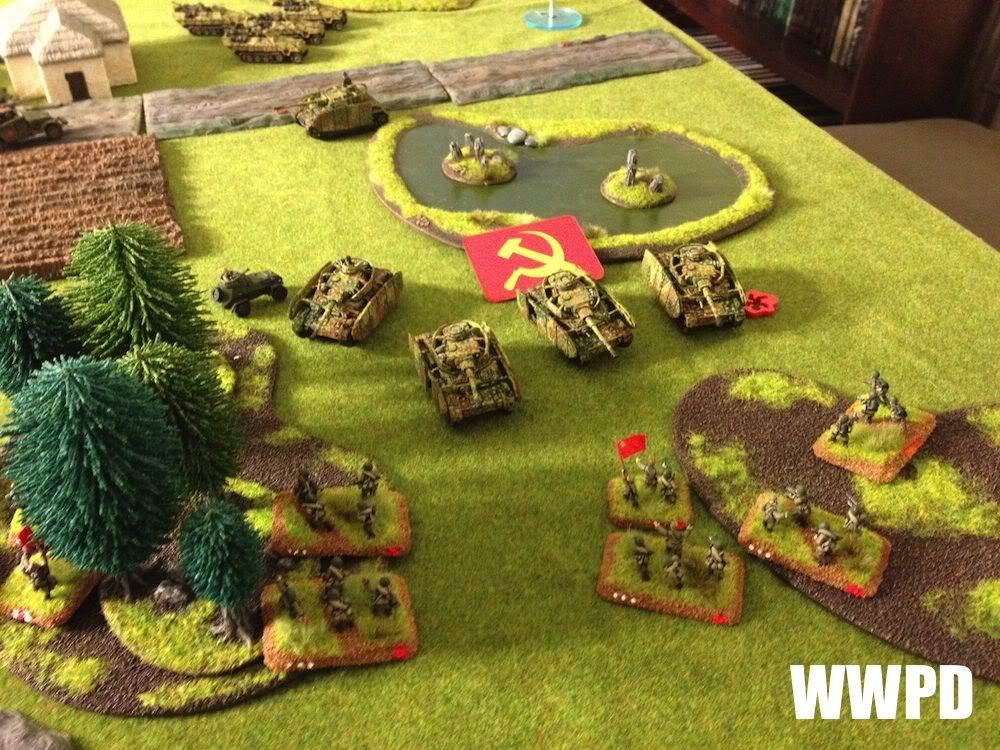
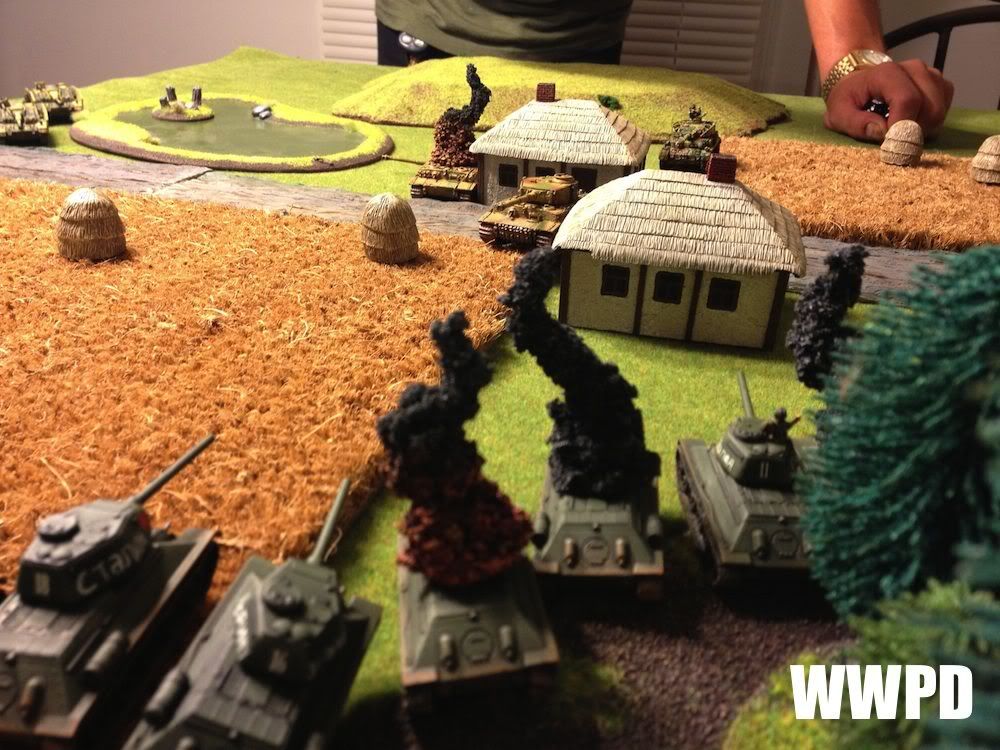
| The Rota defend 2 objectives |
 |
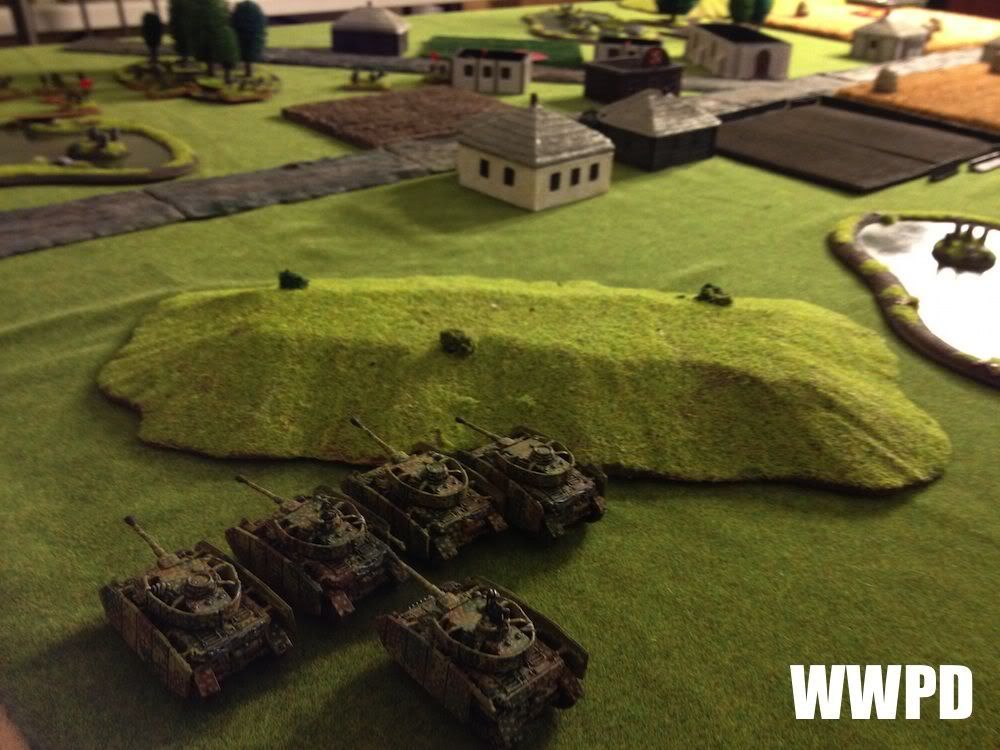
| SU-85s overlooking the left flank |
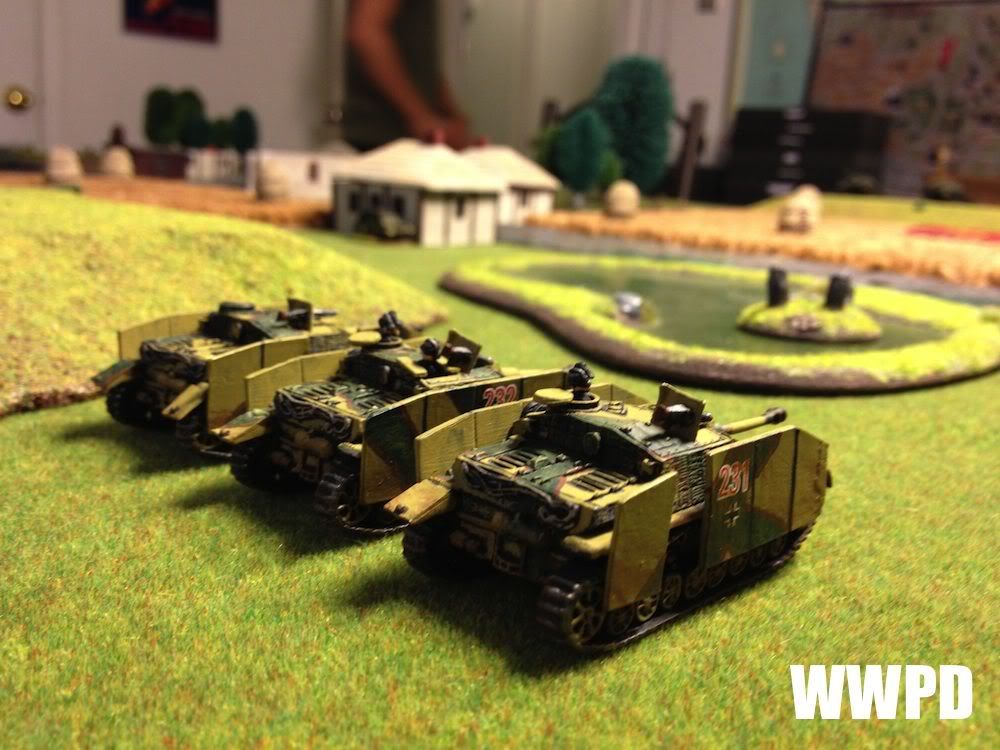 |
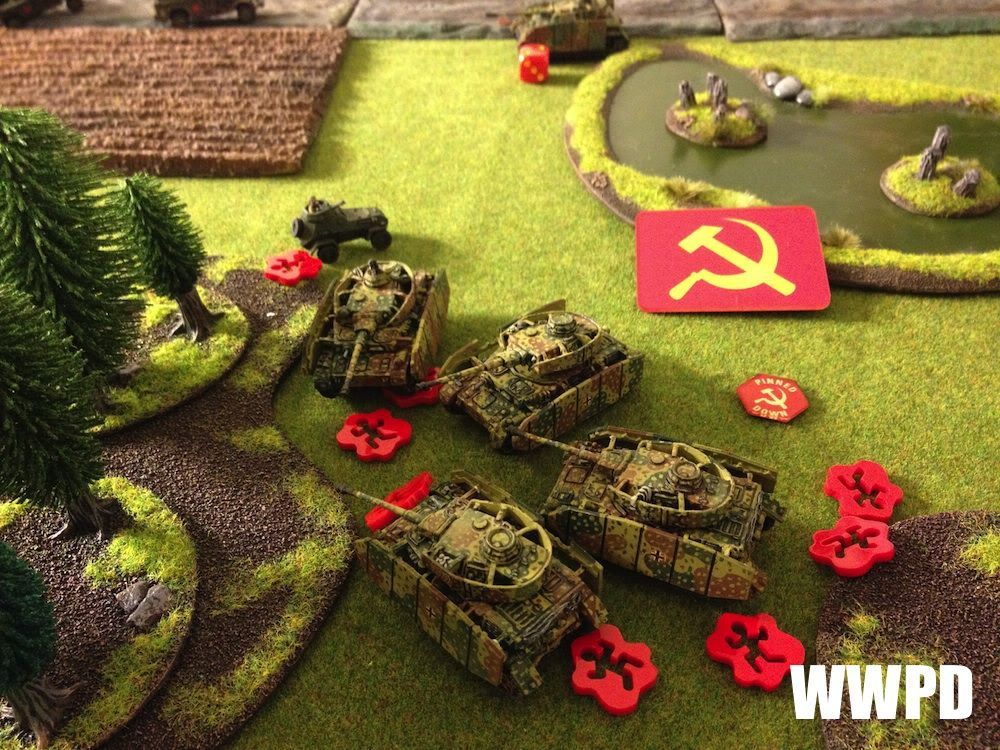
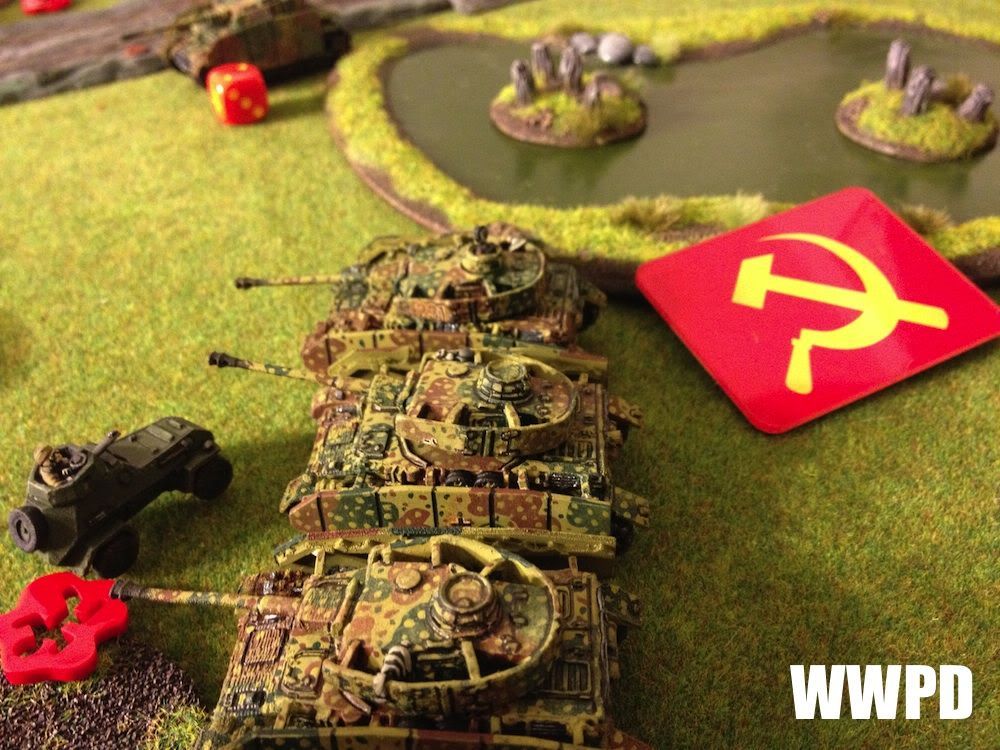
| Stugs |
 |
| Hans Von Dietrich, again leading the SS Panzers from the front! |
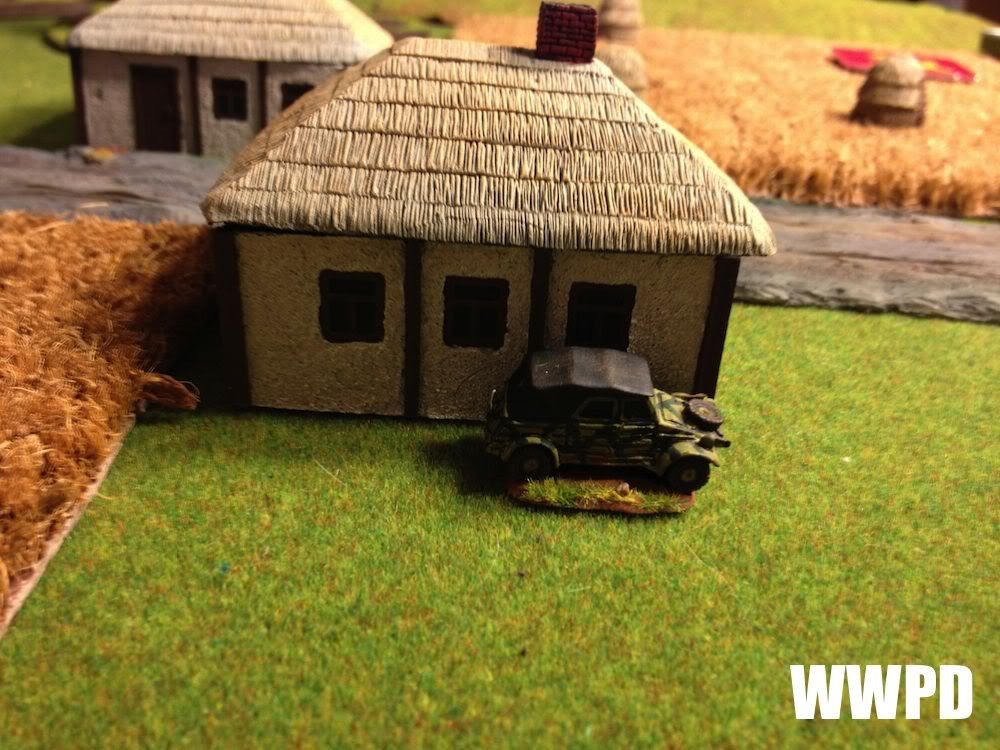 |
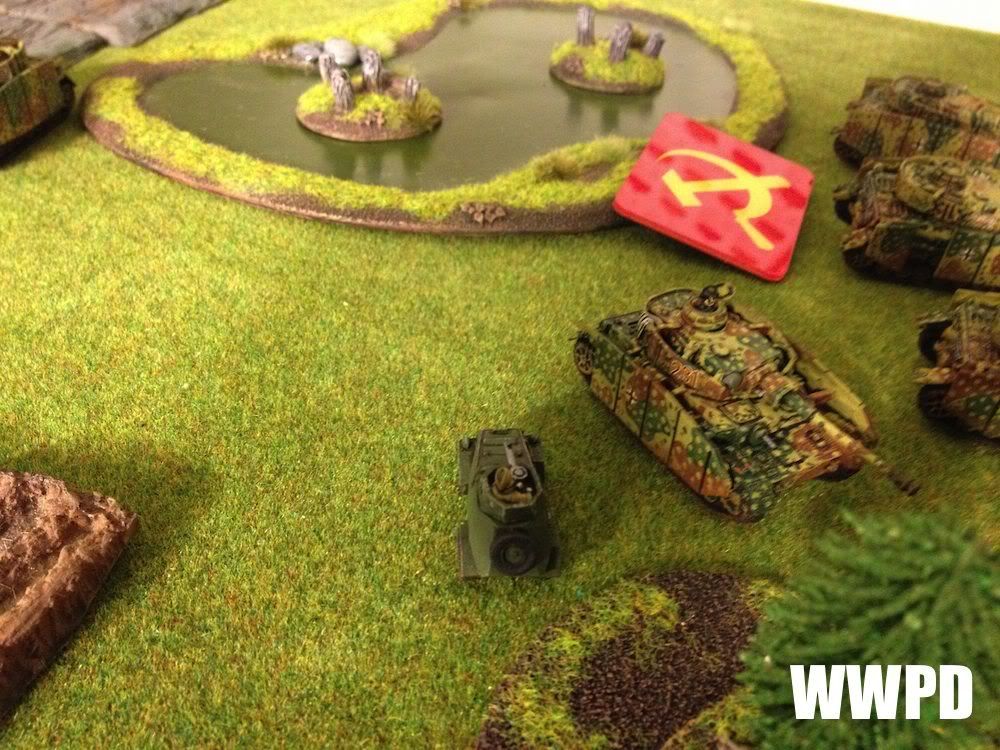
| Carrius scouts ahead |
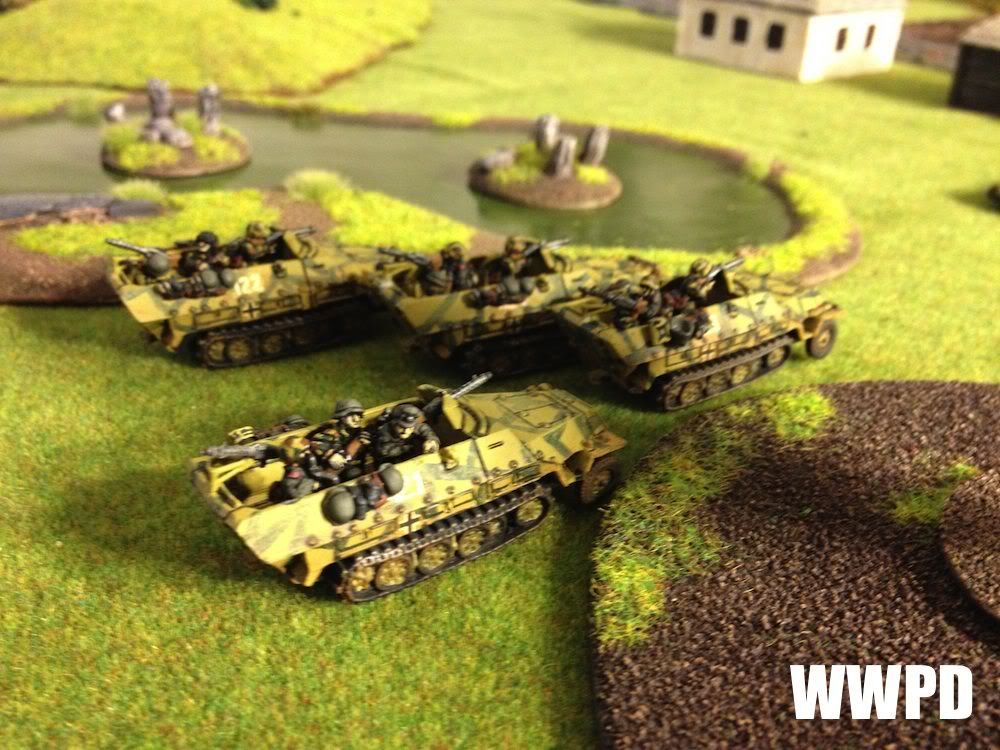 |
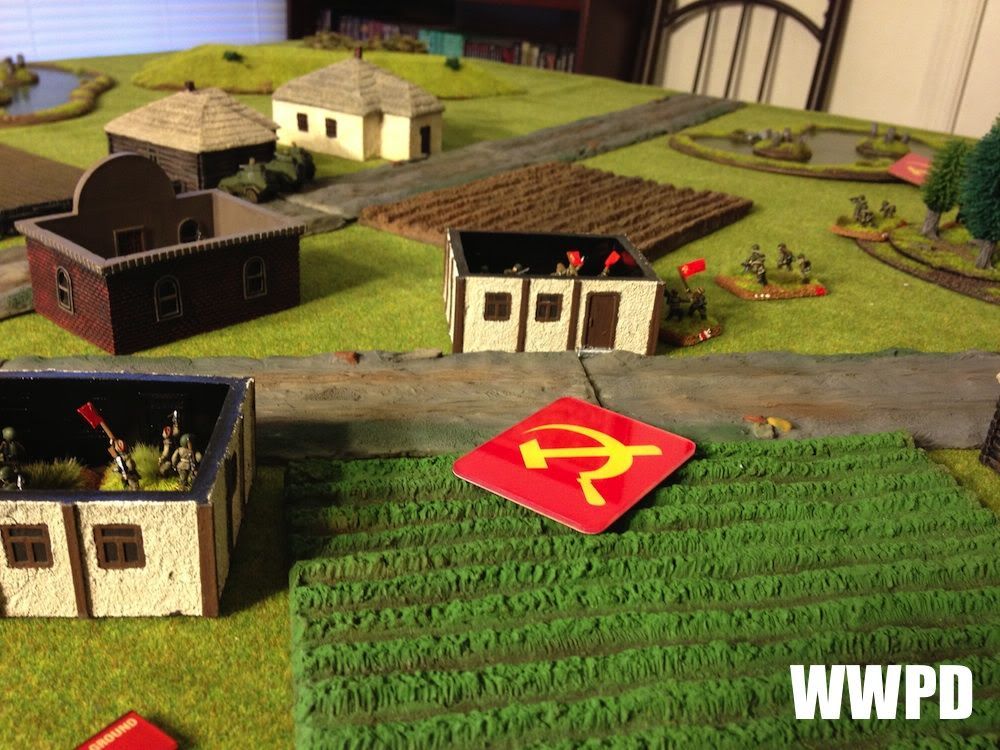
| Firestorm troops |
 |
| Sean's left |
| Sean's 2nd SS Panzers | Steven's Rota Razvedki (Guards) |
| Sean's 2nd SS Panzers: Sean splits his force. Stugs and Carrius on the far Soviet left flank. Panzer IVs on the far Soviet right flank. Gepanzerte panzergrenadiers deploy in the center, ready to shift where needed. Steven's Rota Razvedki (Guards): The Rota deploy strung out along the right flank, covering 2 objectives. SU-85s and AAA deploy along the left flank (with the AAA staying hidden ready to withdraw). T-34/85s in ambush. | |
TURN 1
 |
| Carrius and Kersher make their appearance |
 |
| And switftly dispatch 3 SU-85s. Ouch. |
 |
| One of the Rota platoons recalls their transports. |
 |
| More transports |
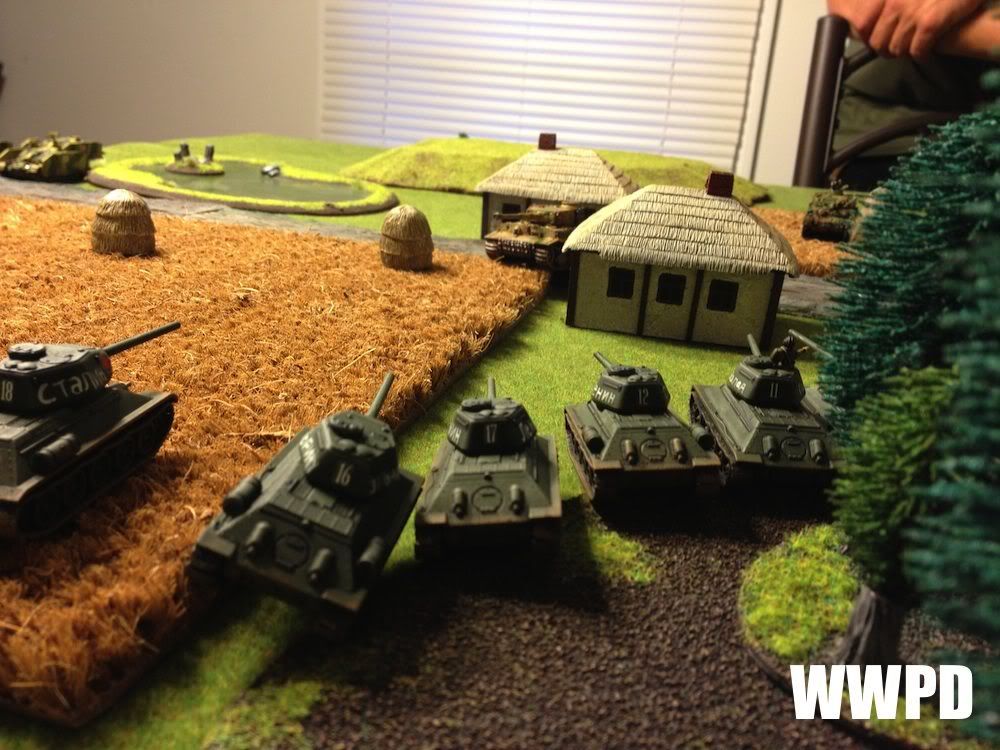 |
| T-34/85s ambush Carrius and friends |
 |
| But do no lasting harm |
| Sean's 2nd SS Panzers | Steven's Rota Razvedki (Guards)
|
| Sean's 2nd SS Panzers: Sean advances along both flanks. Carrius and Kersher clear out 3/4 SU-85s, forcing the T-34s to commit to the left flank early. Steven's Rota Razvedki (Guards): The T-34s ambush and do nothing! The Central rota platoon recalls their transports. | |
TURN 2
 |
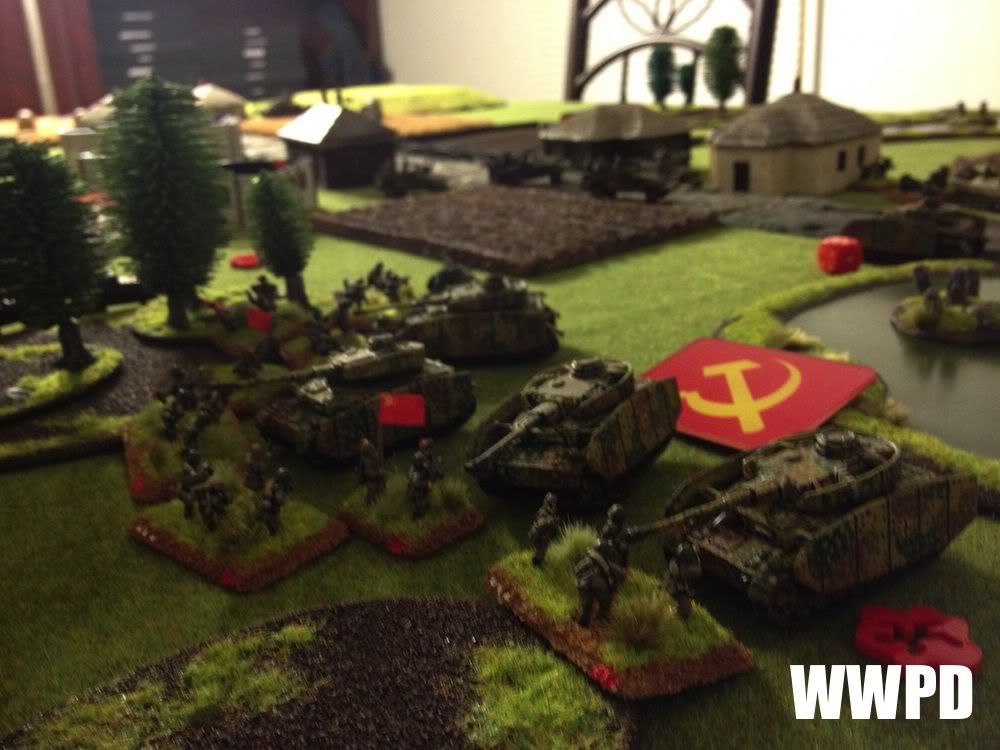
| Turn 2 |
 |
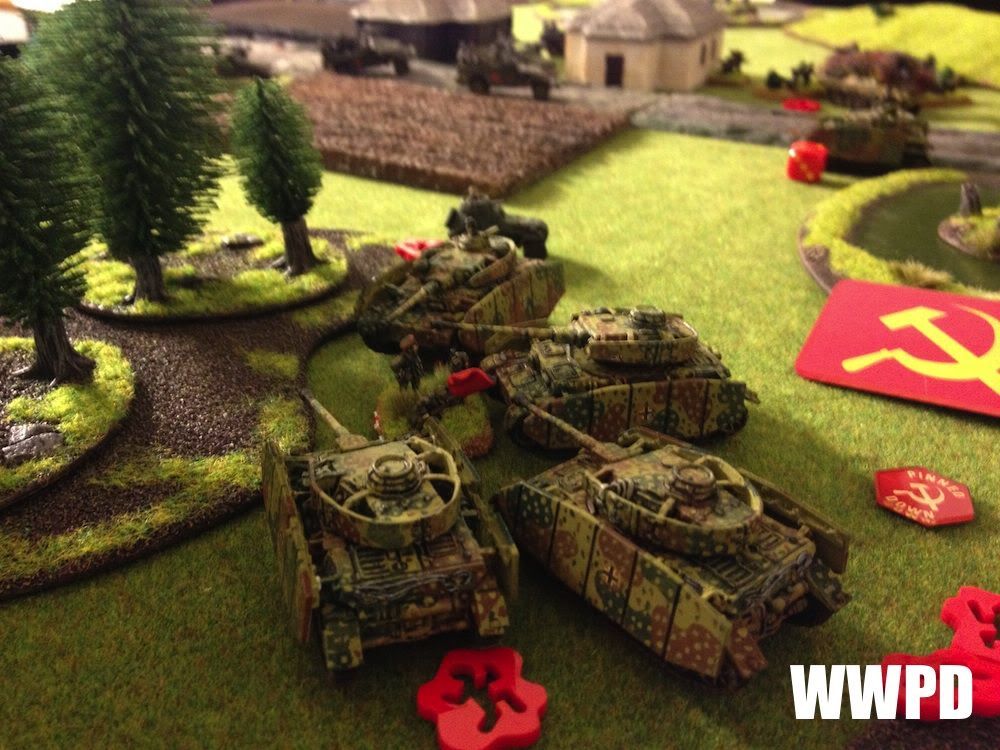
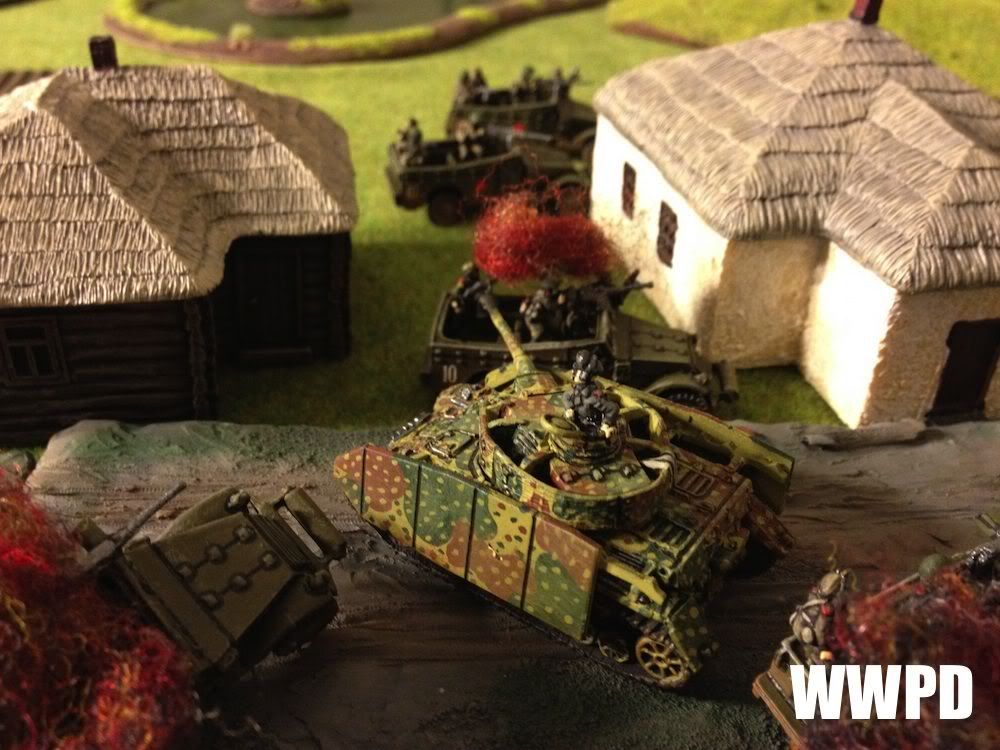
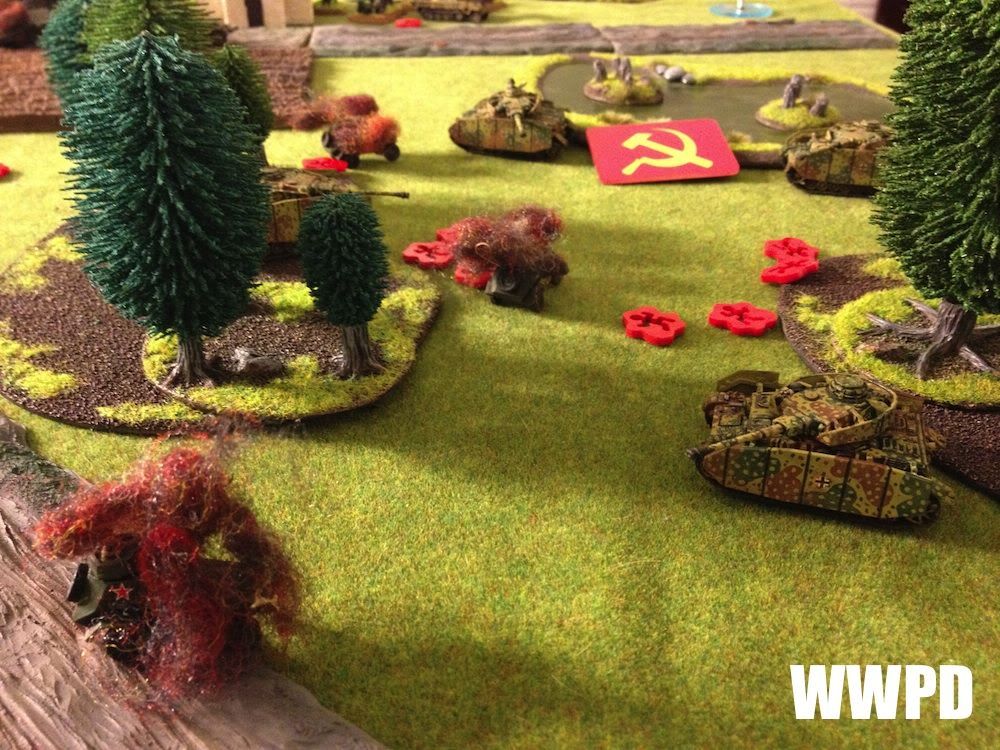
| The SS Panzers waste no time getting in close. |
 |
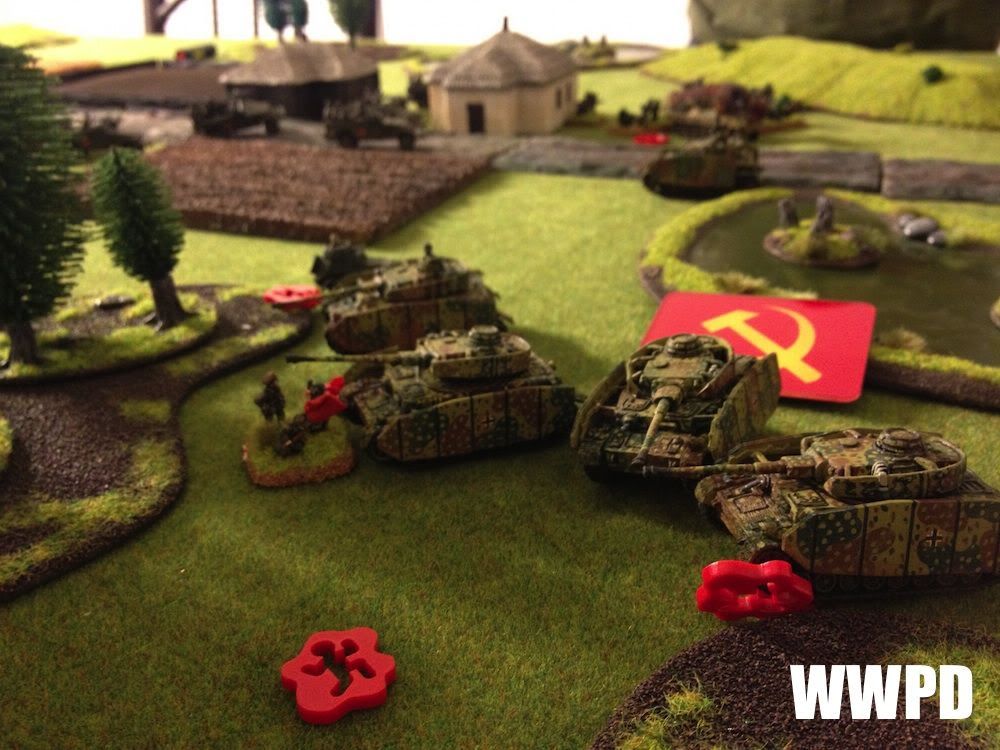
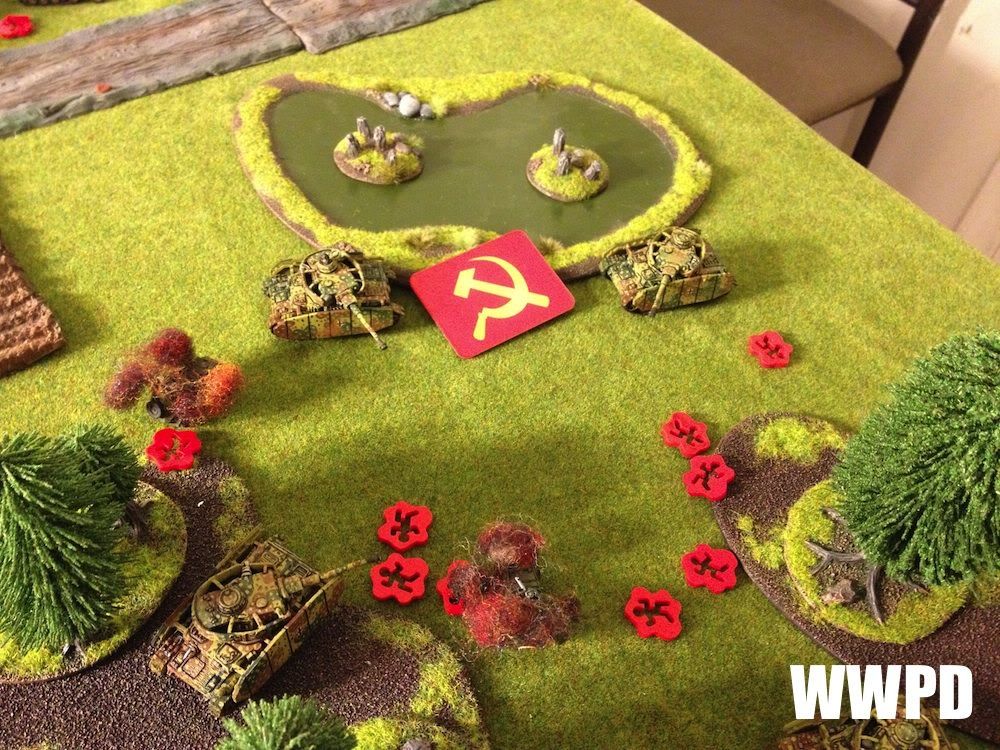
| Hold! |
 |
| Panzergrenadiers shift to support the Panzer IVs. |
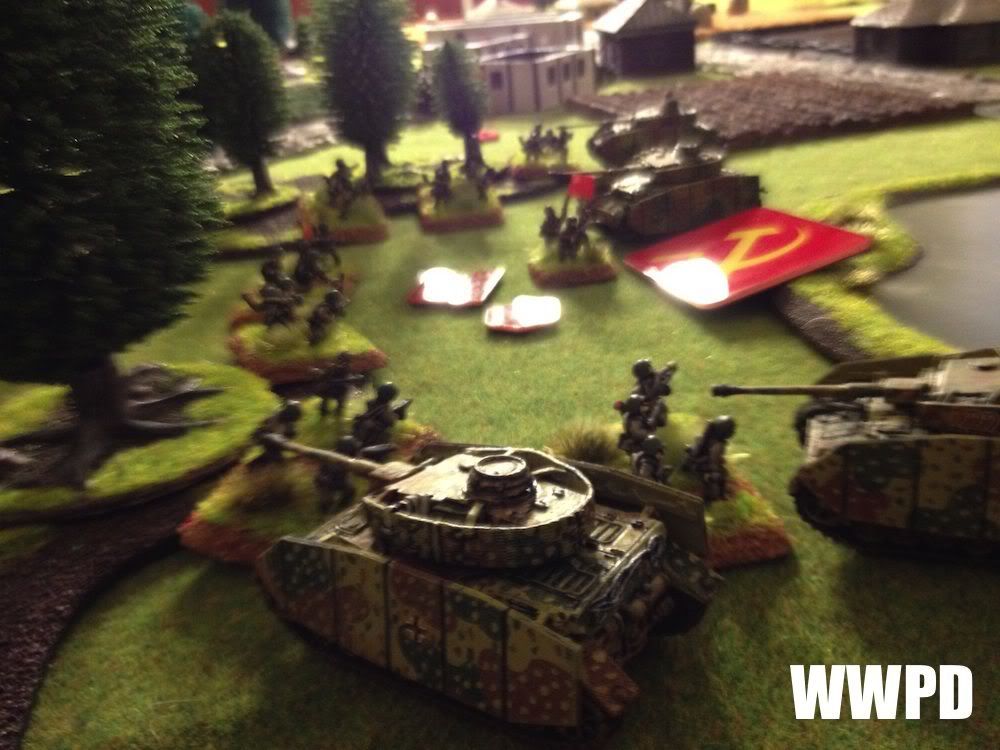 |
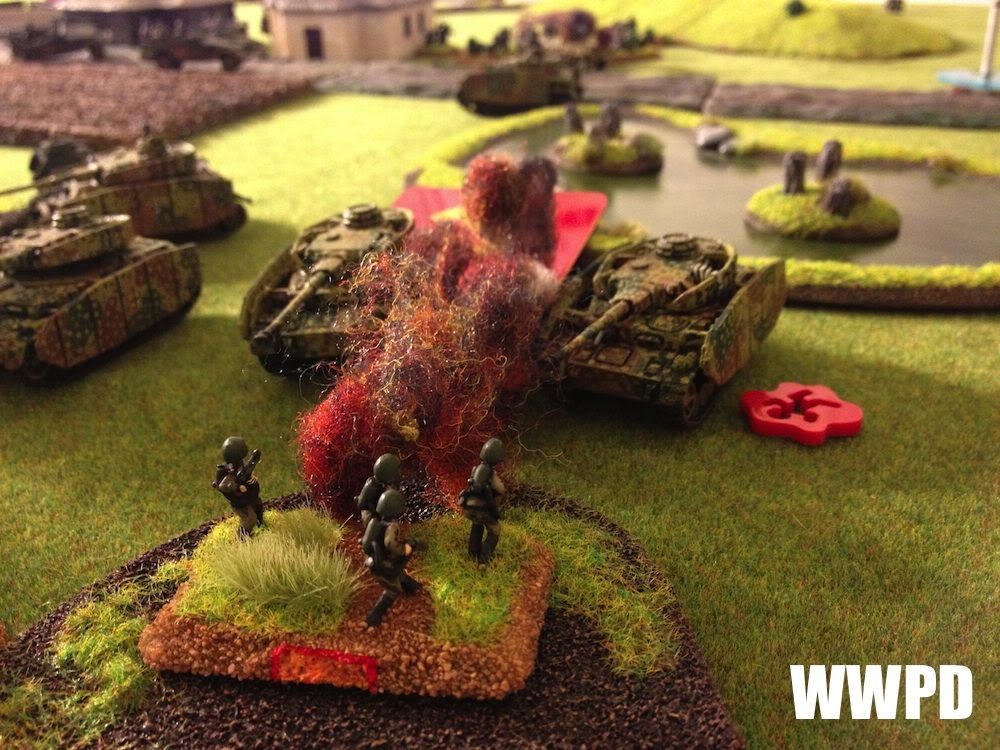
| The assault is launched! |
 |
| Forcing the Rota backwards. |
 |
| Top of 2 and the SS hold the objective! |
 |
| But the left flank fares better- Carrius himself is knocked out. |
 |
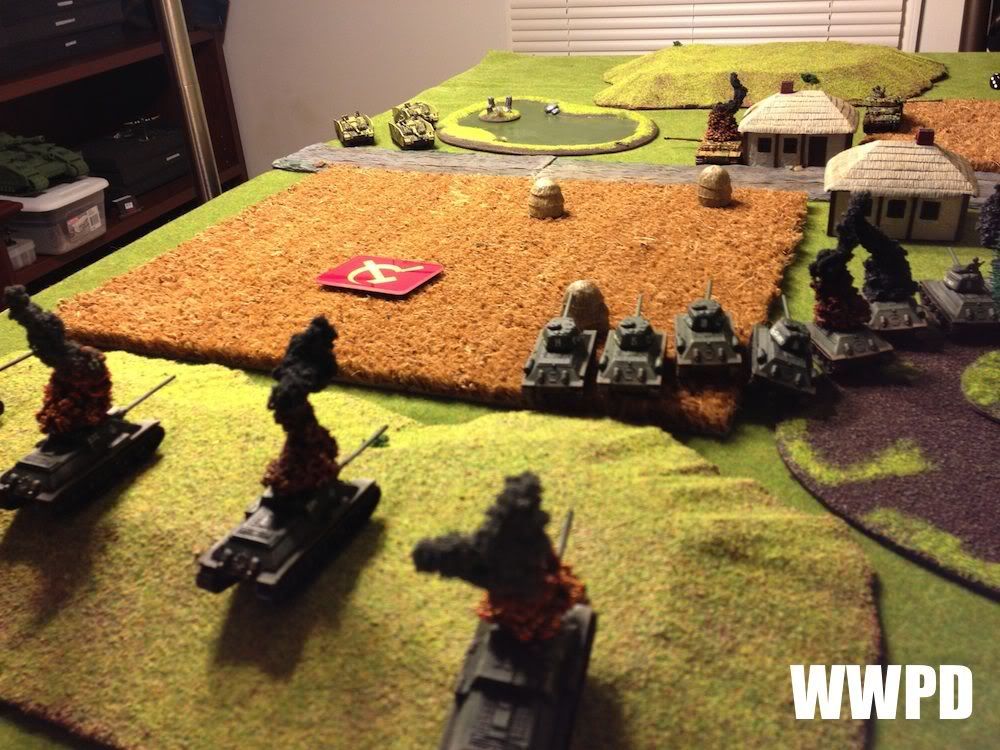
| At the cost of just 1 T-34/85 |
 |
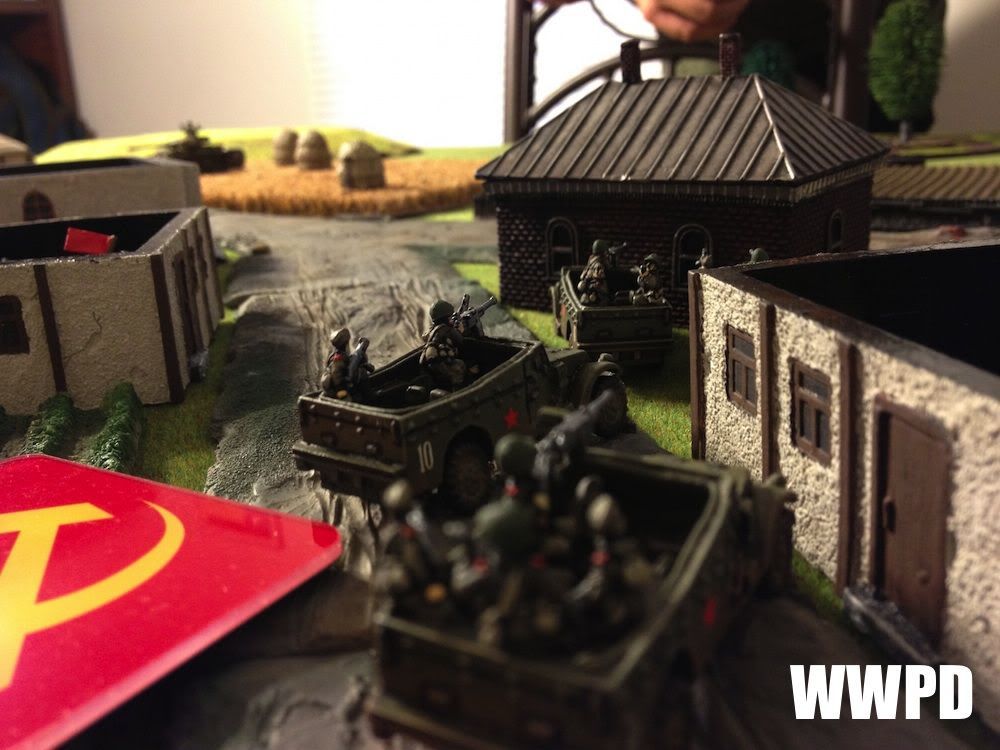
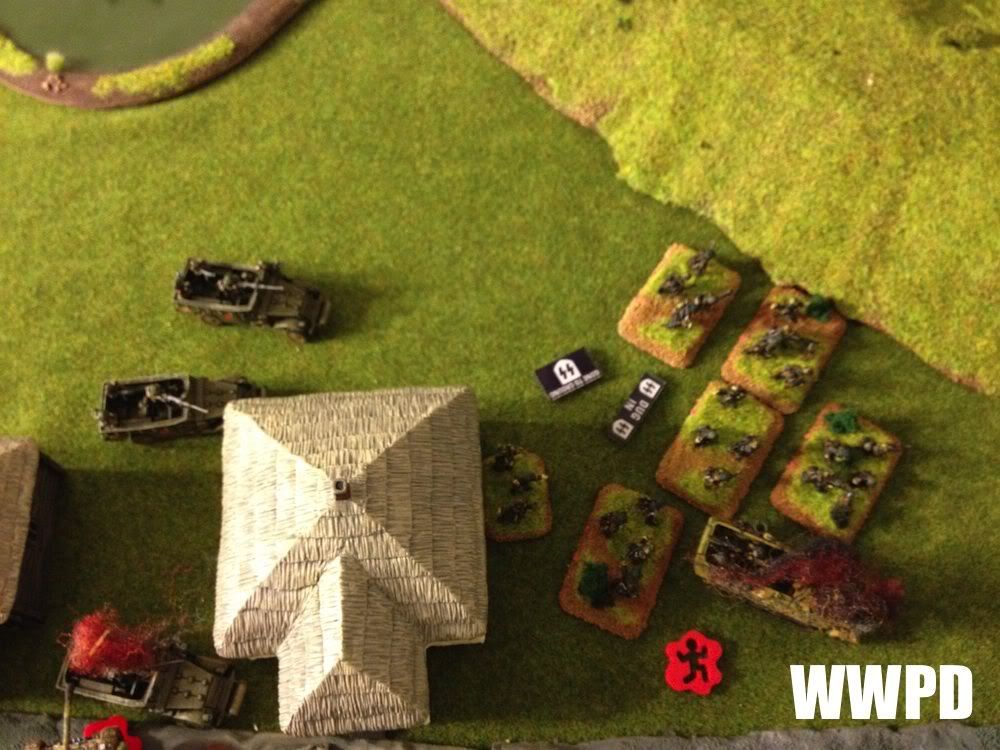
| The Rota race out with their jeep mobility to .50 cal the panzergrenadiers! |
 |
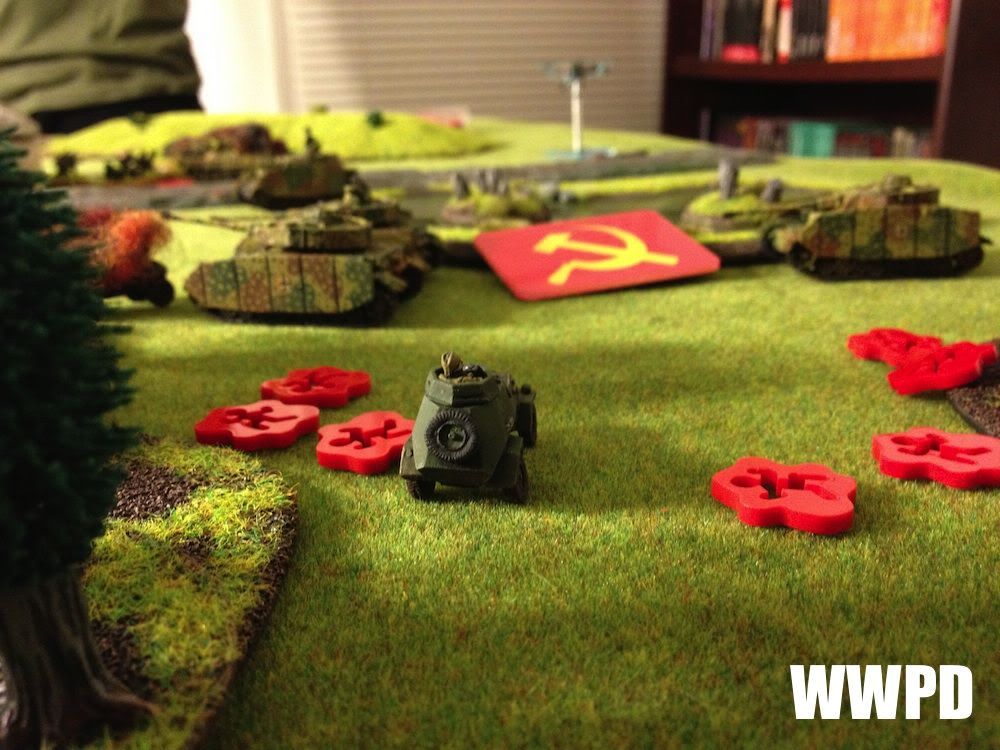
| One brave little armored car keeps the objective hot! |
 |
| In Soviet Russia, objective takes you! |
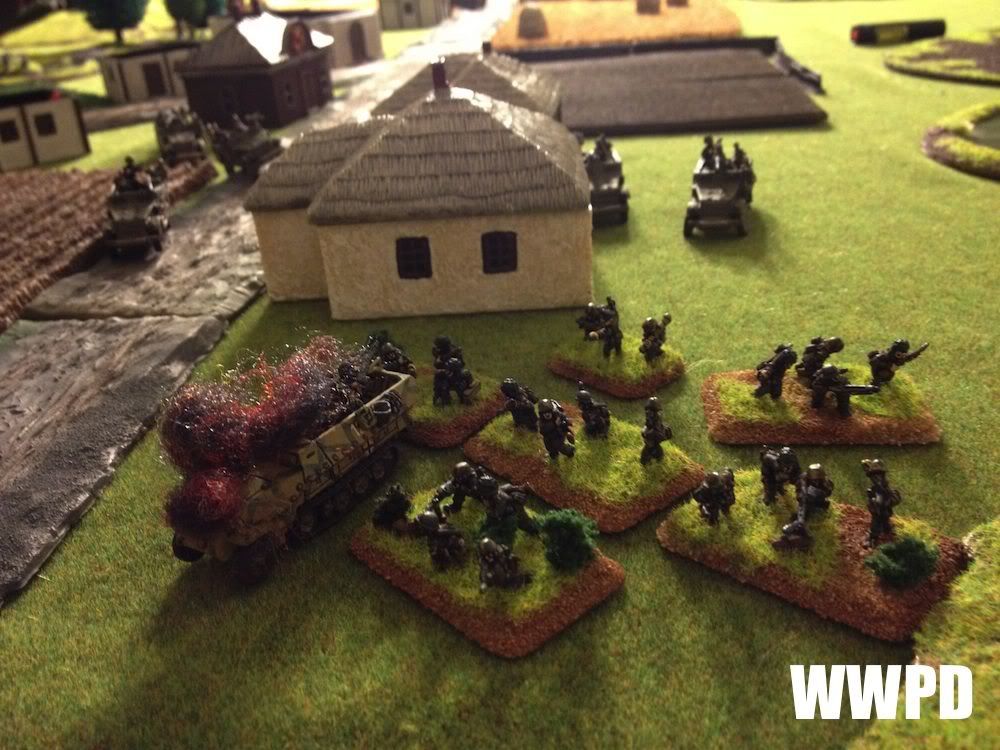 |
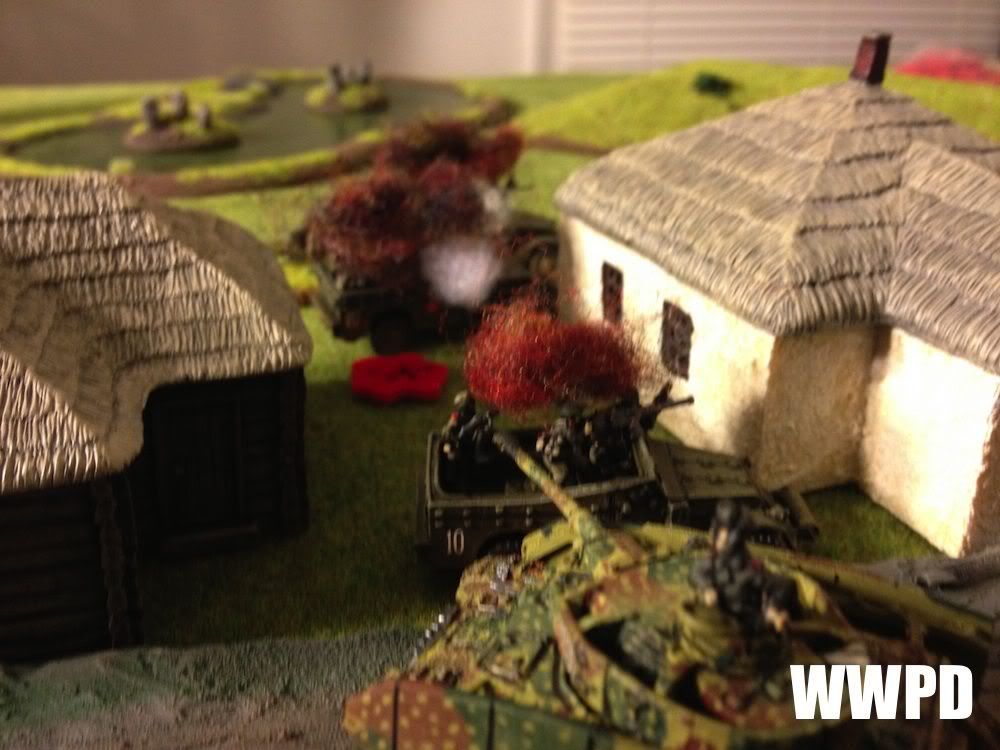
| .50 cals tear into the transports! The Germans dismount under fire, and lose one stand. |
 |
| A flamethrower knocks out the defensive fire from 2 tanks! |
 |
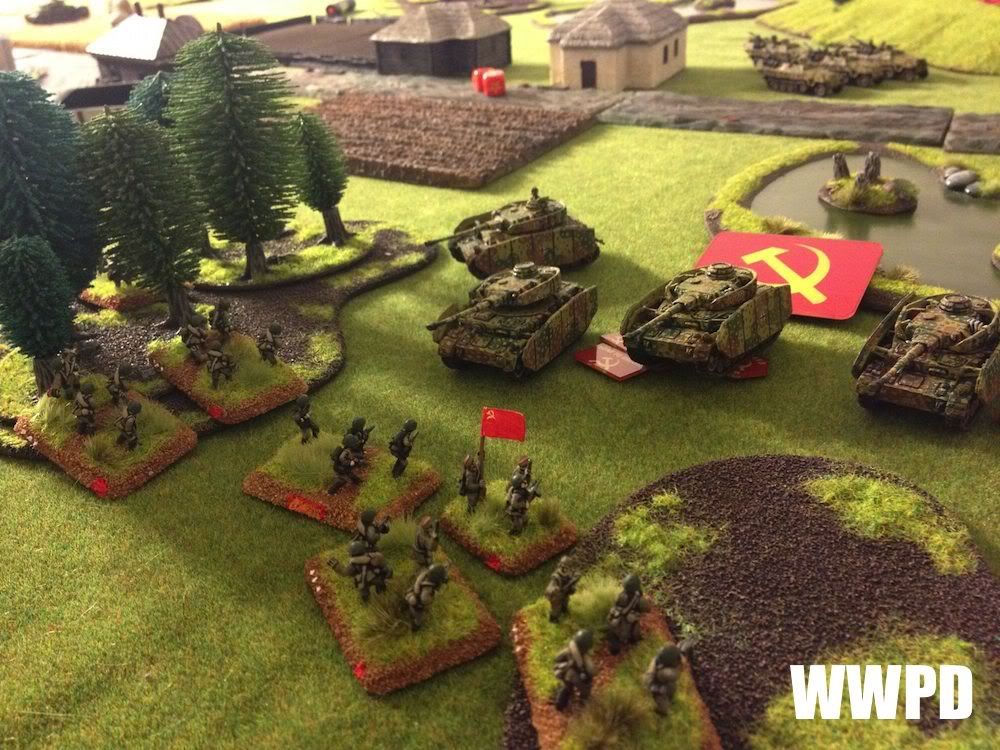
| And the Rota charge! Oh if only they had some sort of integral AT... |
 |
| Every single man falls around him, but the CO fights on. |
 |
| FOR MOTHER RUSSIA!!! |
 |
| Ouch |
Sean's 2nd SS Panzers
| Steven's Rota Razvedki (Guards)
|
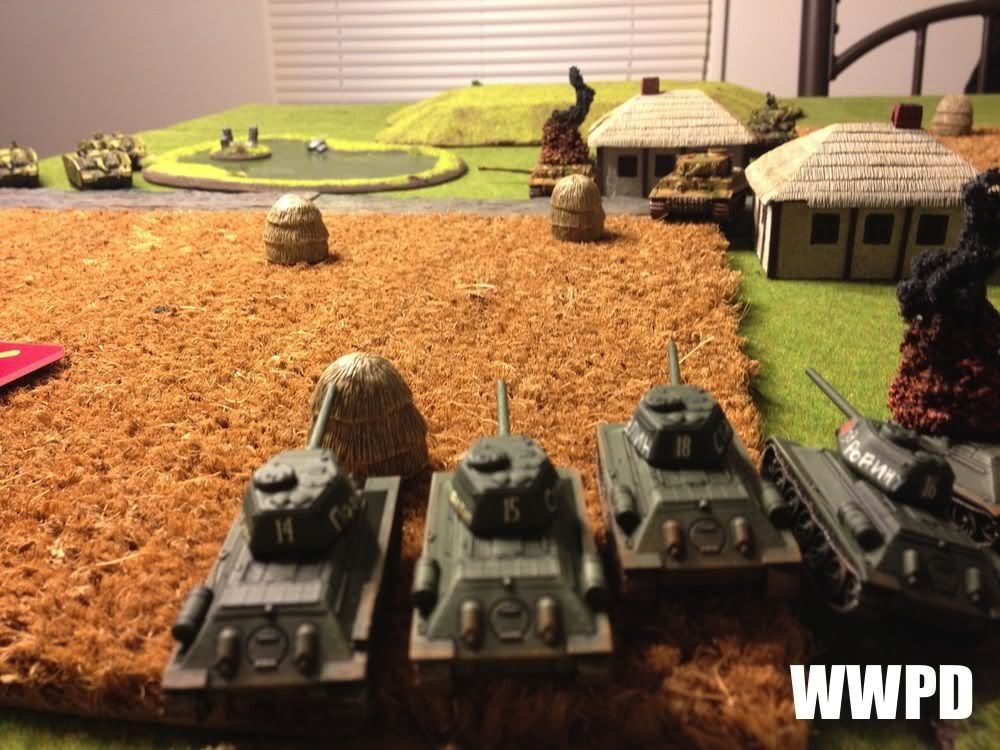
| Sean's 2nd SS Panzers: Sean pushes hard on his left flank, slamming into the Rota and systematically destroying them while taking the objective. In the wheat on the other side of the board, shot after shot bounces off the T-34/85s (3 hits from the Tigers, 3 6s on armor saves!) Steven's Rota Razvedki (Guards): Carrius falls in a torrent of 85mm fire, but the right flank has quickly turned critical. | |
TURNS 3 and 4
 |
| Turn 3 |
 |
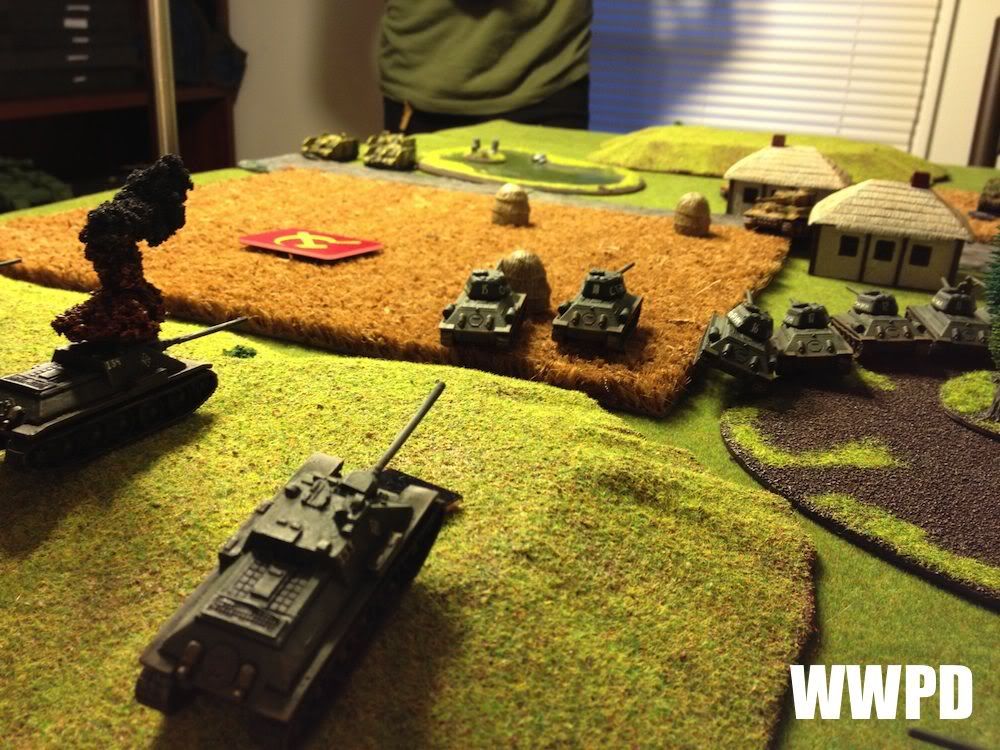
| David vs Goliaths. |
 |
| The battle in the wheat continues |
 |
| The BA-64s again move to keep the objective alive. |
 |
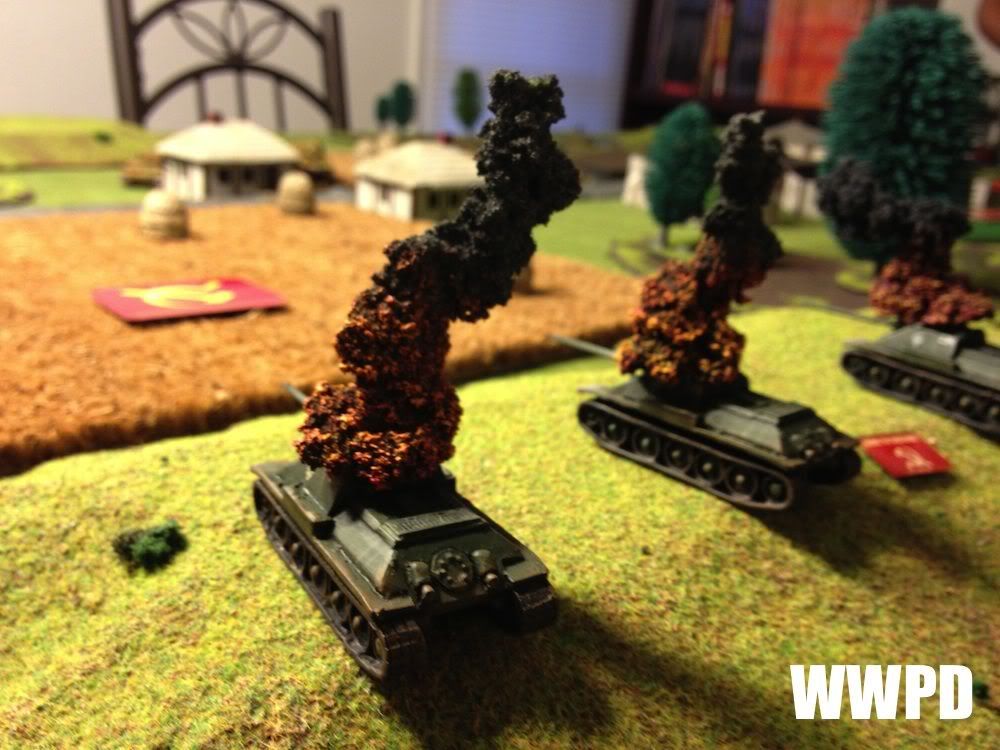
| 3 T-34s burn. |
 |
| ow. |
 |
| The Rota stay on the panzergrenadiers |
 |
| The 2iC charges out! |
 |
| The BA-64s are eliminated |
 |
| The Razvedki transports are eliminated (they are all that is left to contest the objective) |
 |
| The Stugs annihilate the last SU-85 |
 |
| The Germans solidly hold the objective |
Sean's 2nd SS Panzers
| Steven's Rota Razvedki (Guards)
|
| Sean's 2nd SS Panzers: Sean hammers the Soviets across the front. The last SU-85 (which valiantly fought on) is knocked out just as the BA-64s and M3A1s that were still a threat to the objective are dealt with. Steven's Rota Razvedki (Guards): Being both below half strength AND having no way to contest the objective, the battle handily goes to Sean in a 5-2! | |
 Polotsk falls to the Germans.  The Soviets win the iniative, and decide it's time to smash the German resistance and take Mogilev. |
Generated by WWPD's BatRepper Software.


