


Let me preface this by saying, most people who know me know my least favorite part of our hobby is the modeling aspect. I love painting, but I hate everything that leads up to brush hitting primer! So, take the following tutorial with this knowledge: I took the easiest approach. Extra work could make this work MUCH better. Nevertheless, I hope this inspires someone out there who's about to work on some Portee AT Guns or something along those lines!
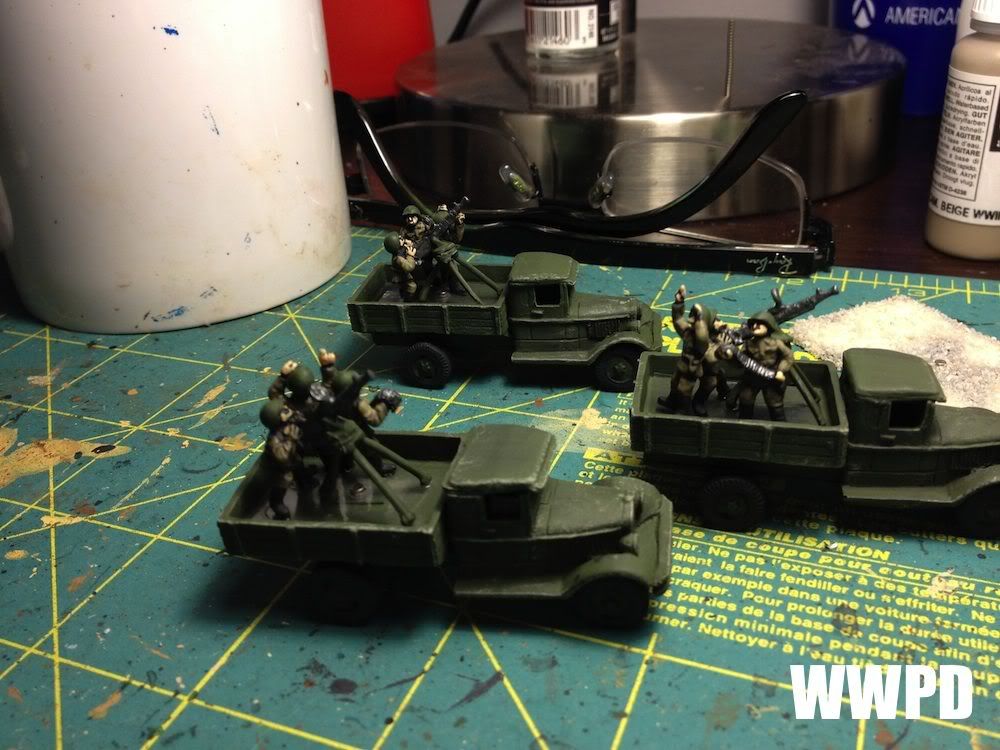
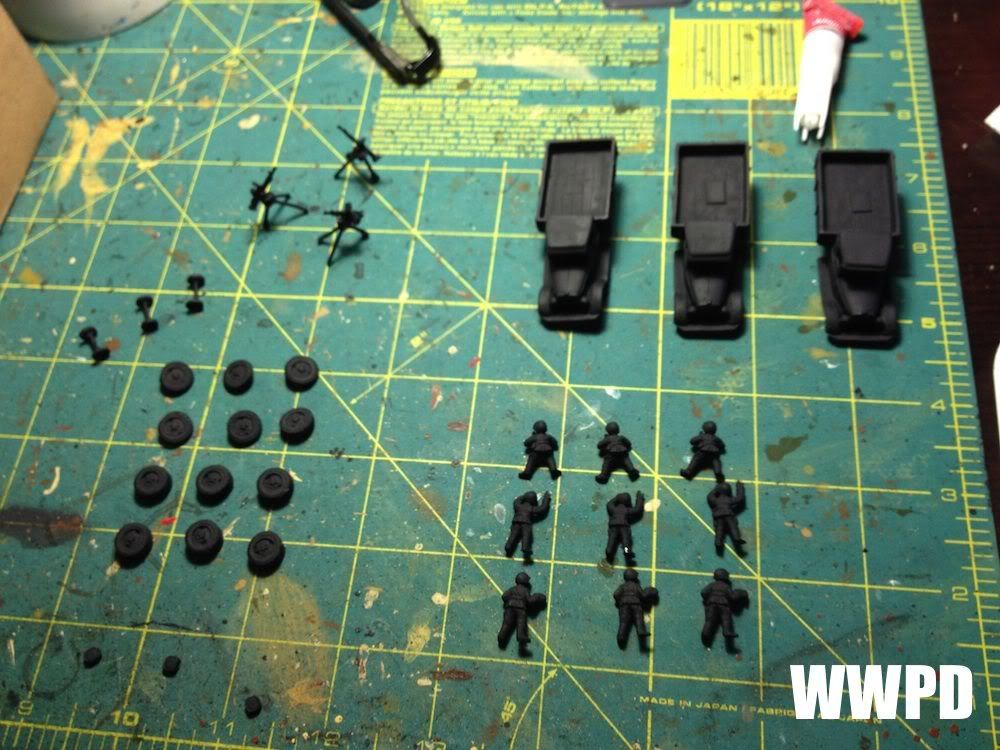
So, The Soviet DShK option for the Soviets in Flames of War allows for the guns to be either truck mounted OR dismounted. The blister pack comes with one crew and weapon, one truck, and a medium base. So you have to choose one or the other, or make an ugly compromise. I decided to try to make a decent looking compromise using my new found love of magnets.
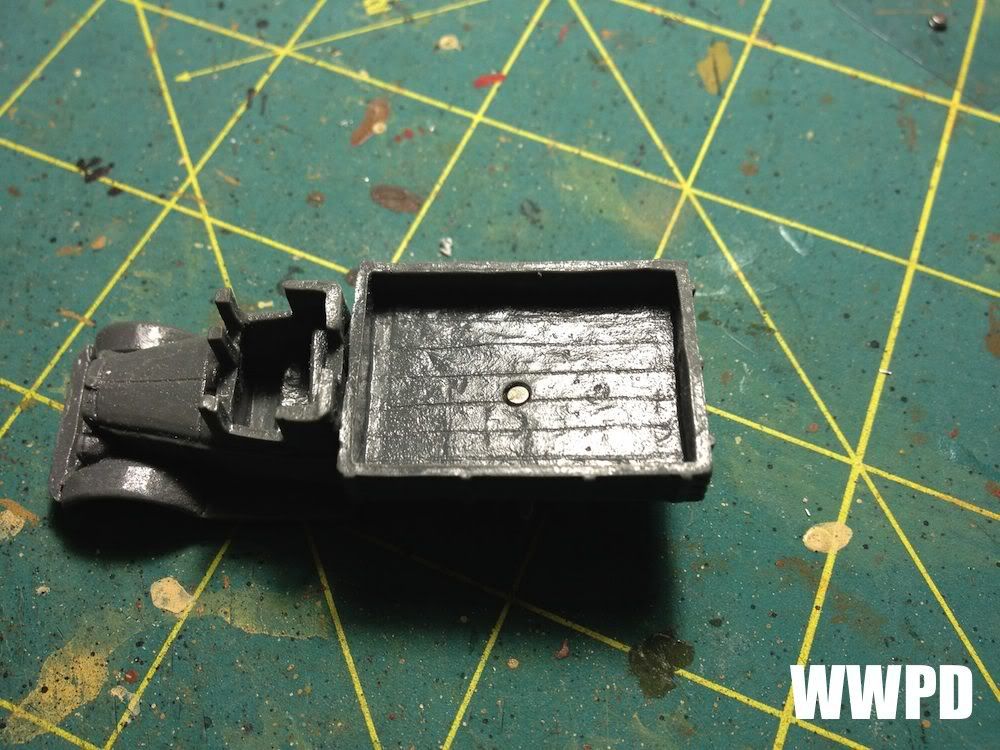
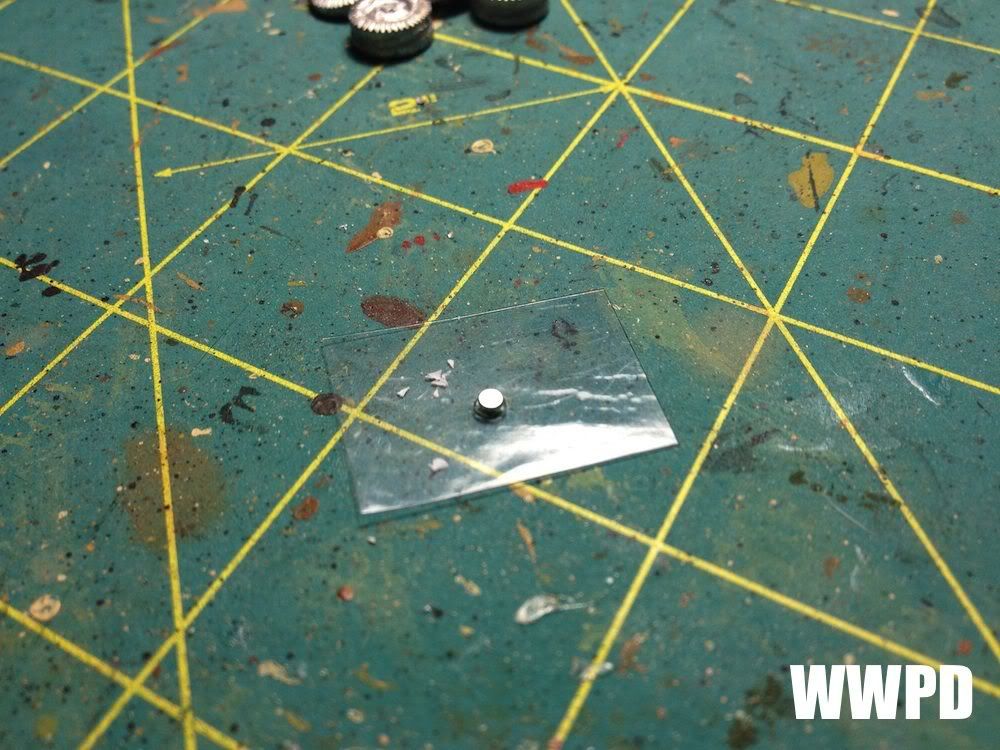
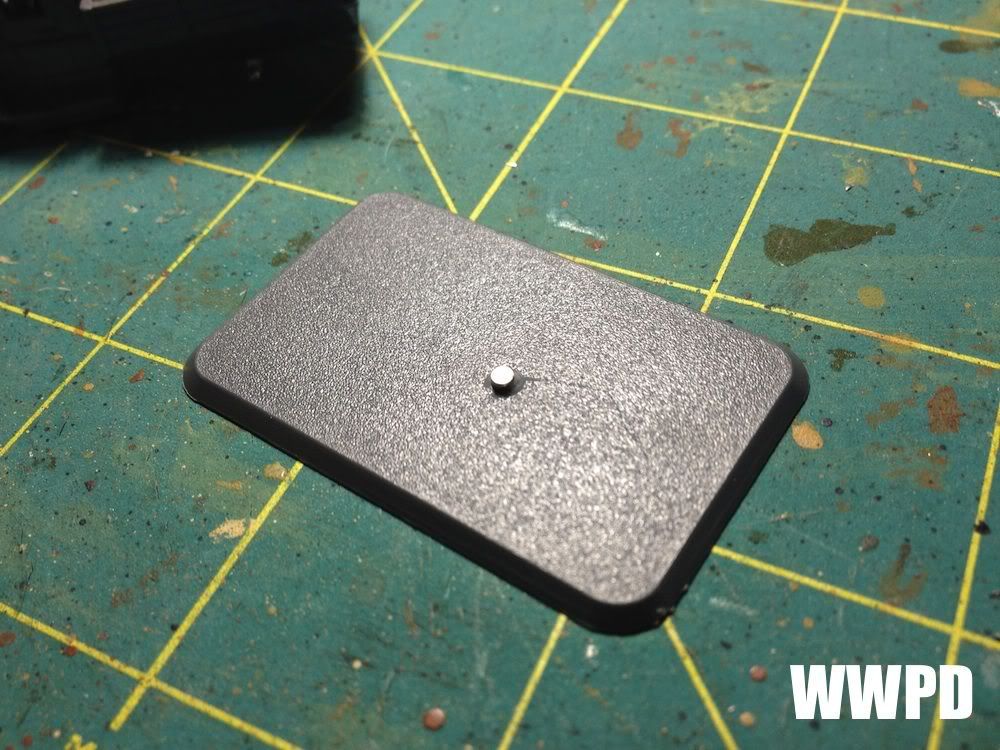
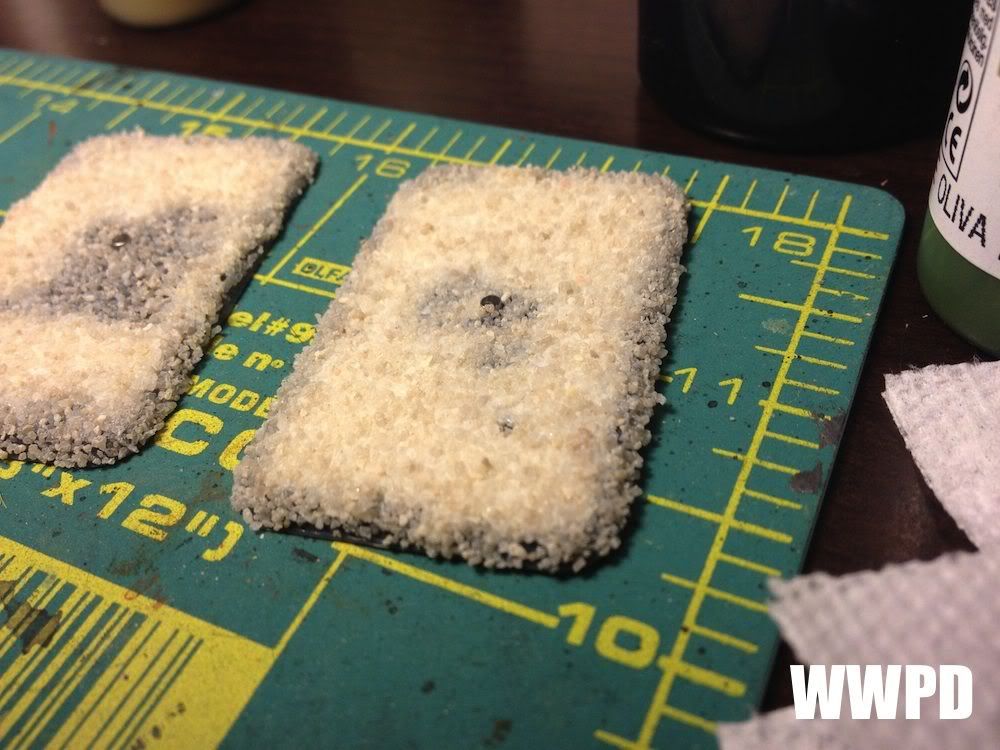
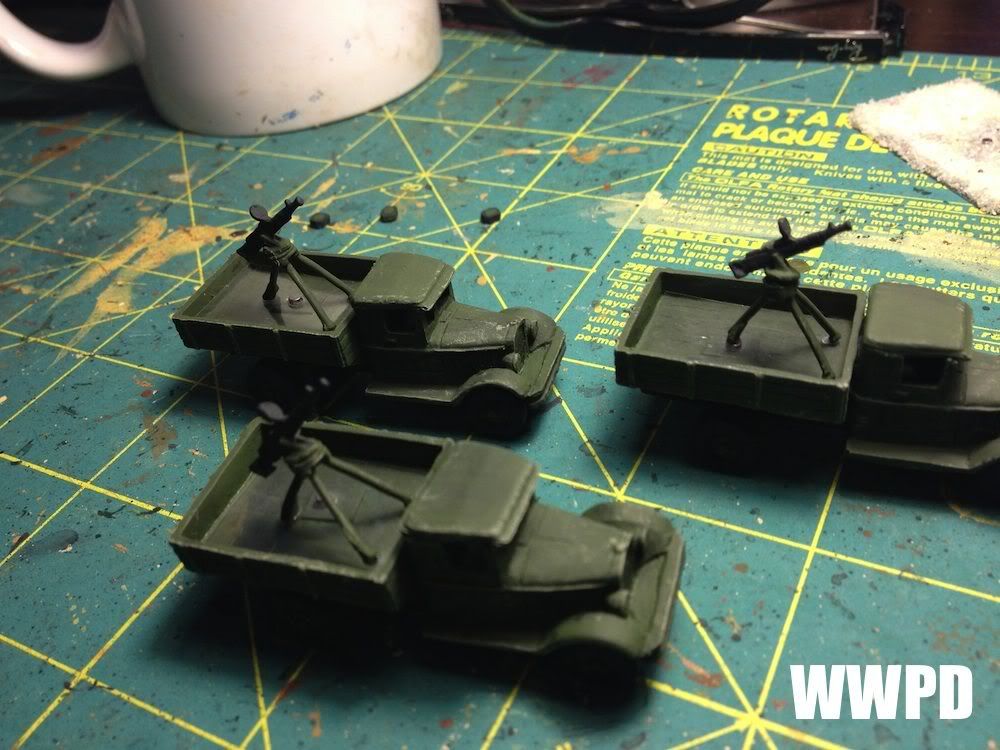
So the very first thing I did was use a 3/32" drill bit to put some holes in the backs of the trucks. Once completed I carefully tracked to ensure the polarity of all my magnets was the same, and placed the magnets in the truckbed. A nail head probably would've worked just as well, and I wouldn't have needed to worry about the polarity!
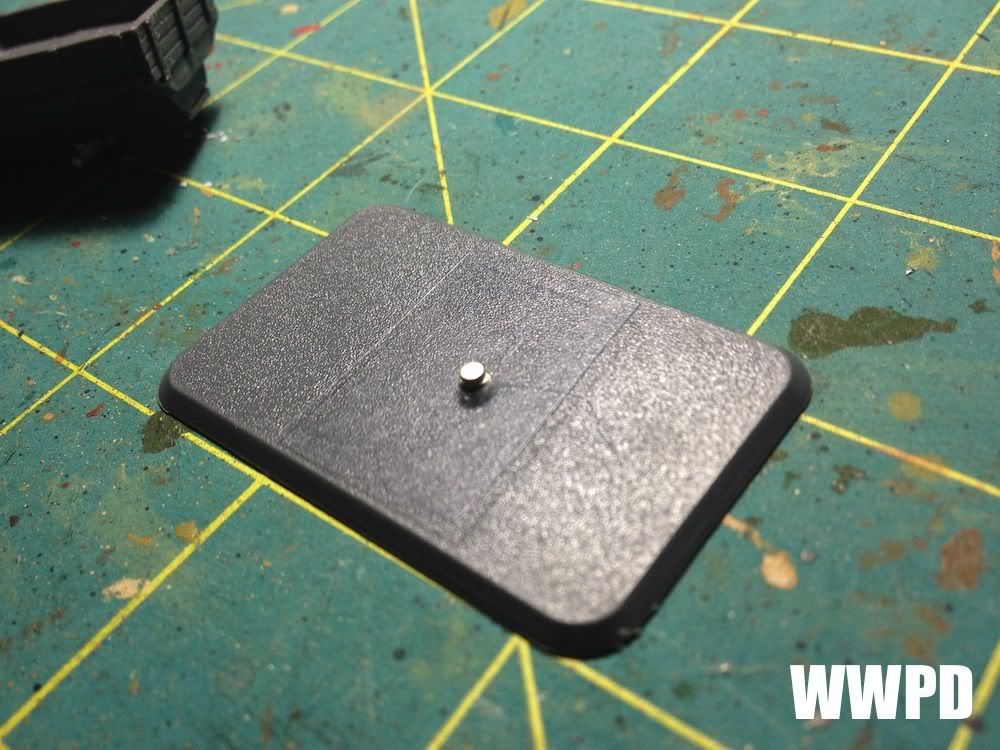
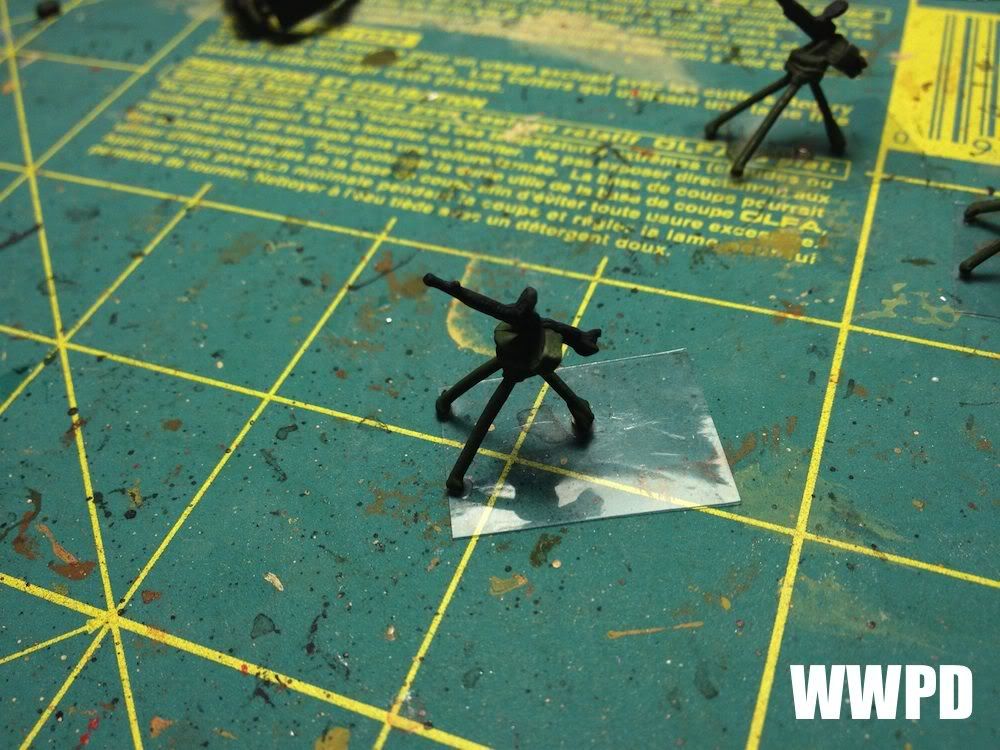
Next I decided to use the clear blister material as the base for the guns and crew. I thought long and hard about this. If you wanted to get really clever you could make the base look like wood planks so it would match the back of the truck, and have the medium base modeled like a ruined house (with a wooden floor!) but I decided on the clear plastic for ease. This was cut to fit in the back of the truck.
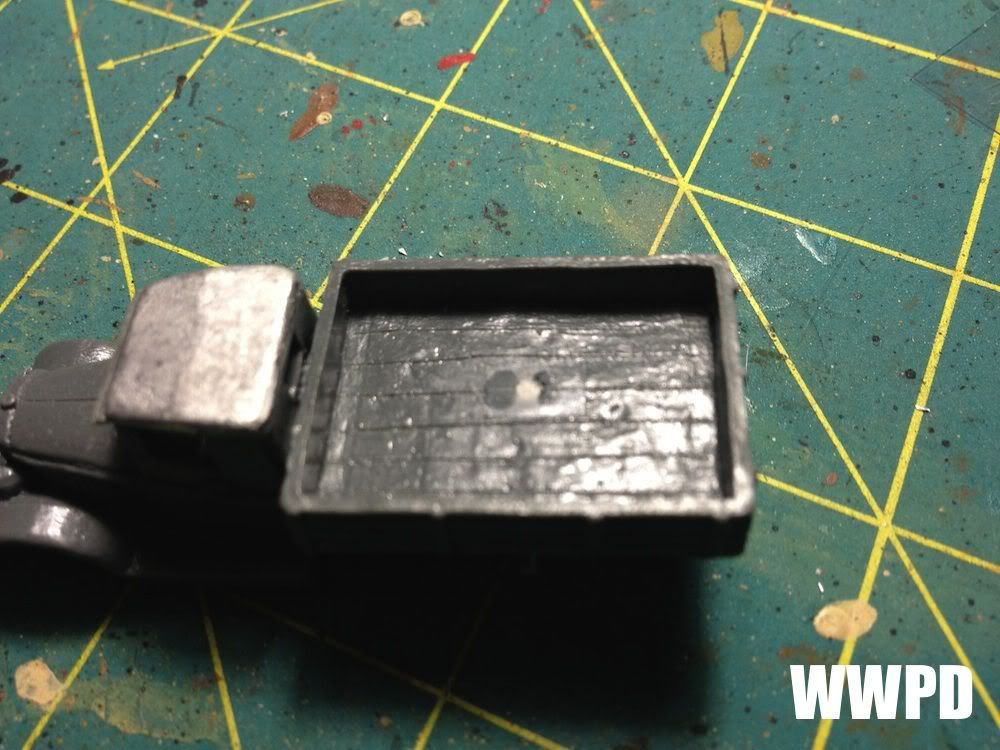
I then covered the magnet with another small piece of the plastic. This wasn't so much for looks as it was to just ensure the magnet stayed put!
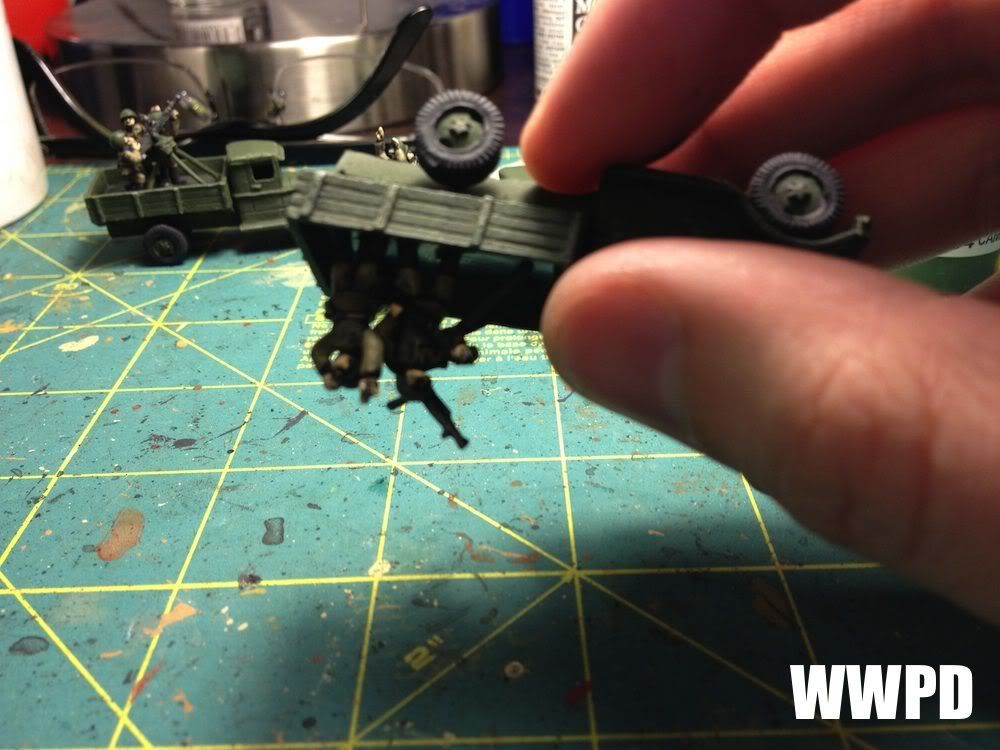
Just making sure it all works!

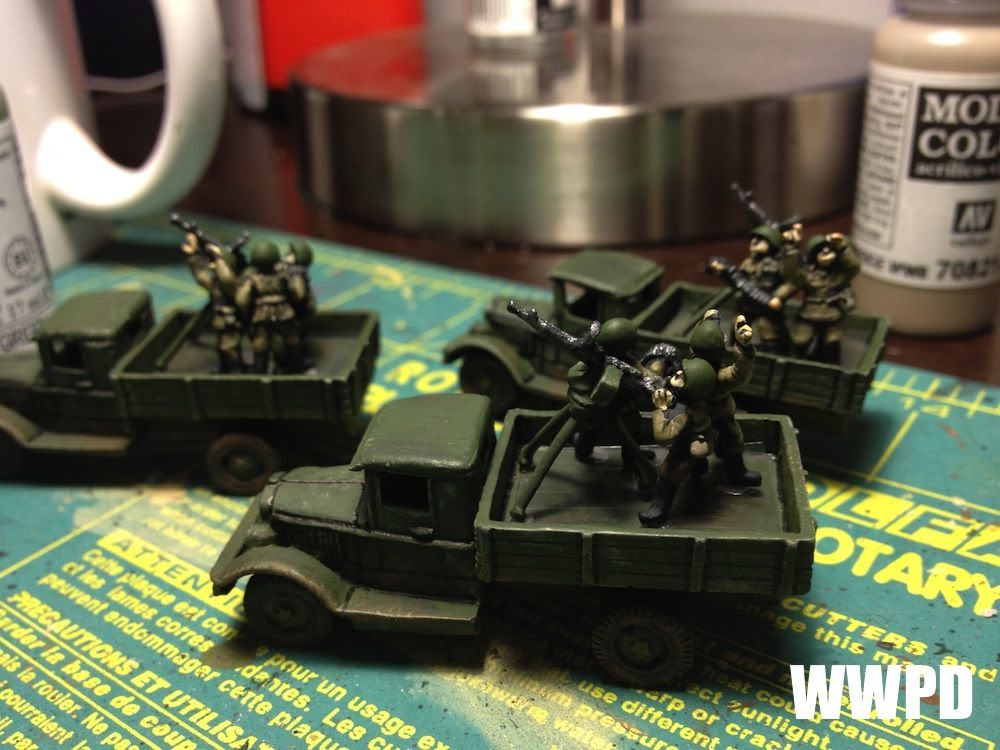
Part 2 will be up shortly with the finished trucks, pics in better lighting, and the dismounted base options!


