


 This is Game 4 of our Firestorm Campaign. The Germans are counter attacking at Lepel in an effort to cut off the Borizov Salient. German Firestorm troops are Heer Armored Panzergrenadiers. Soviets are SU-76s. I don't have any SU-76s so Sean graciously allowed me to replace them with 3 SU-85s. I decided to try out the Engineer Sappers. Sean went with SS Wiking Armor. The Engineer Sappers' auto attack rule would not make this a pleasant fight! Note- I also took Komissars our of habit, but missed that they weren't a part of the list. Sorry Sean! Thankfully, they didn't do much... This would be our first game using the Version 3 rules. We rolled on the new mission table and got Hasty Attack. We were both very pleased with the changes to Hasty Attack. The Attacker now has the first turn and the defender's reserves are scattered. I think this went a long way to balance the mission. |
Steven's Soviet Engineer Sappers
| Sean's SS Wiking Panzers
|
SETUP AND DEPLOYMENT
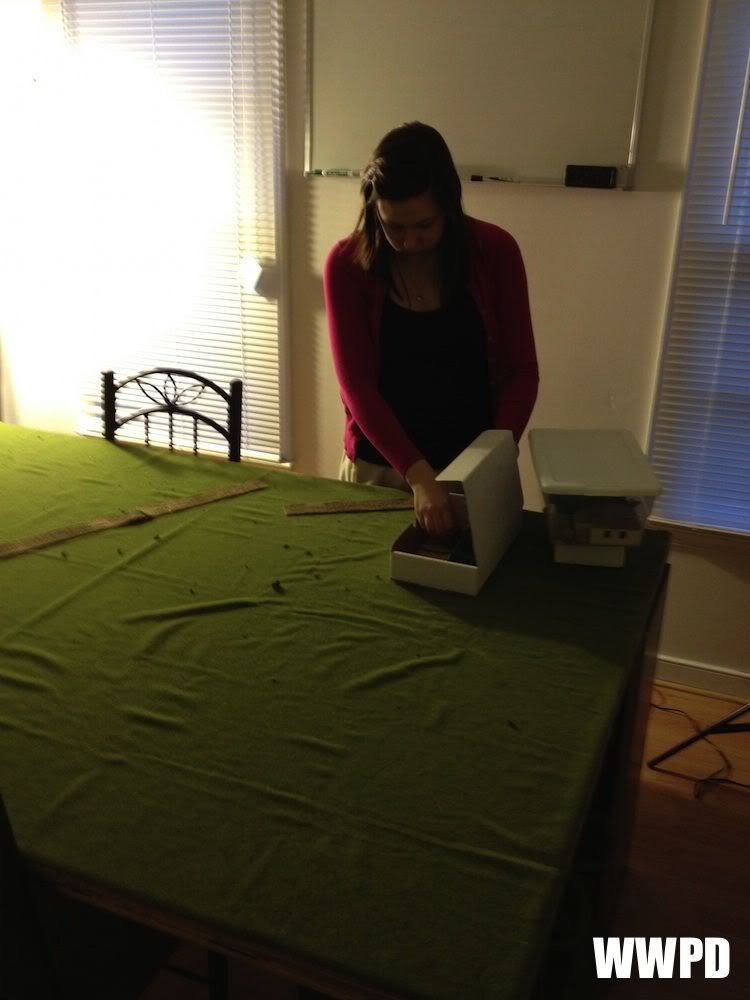 |
| We let my wife set the board up for us! We decided on a zero intervention policy. |
 |
| The board is taking shape. |
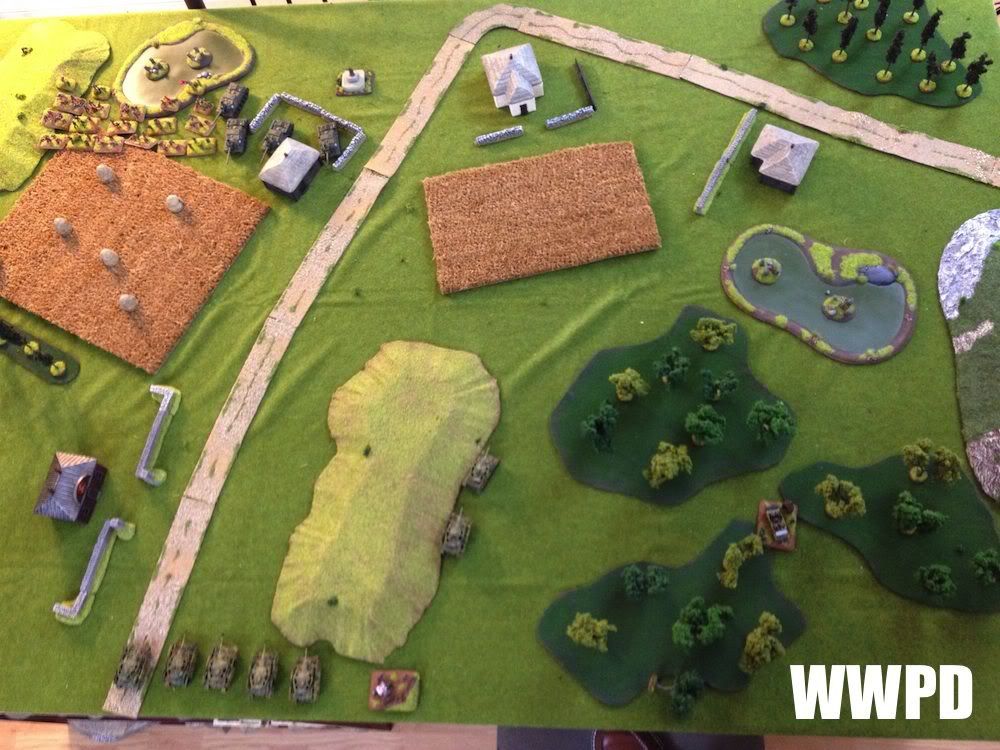 |
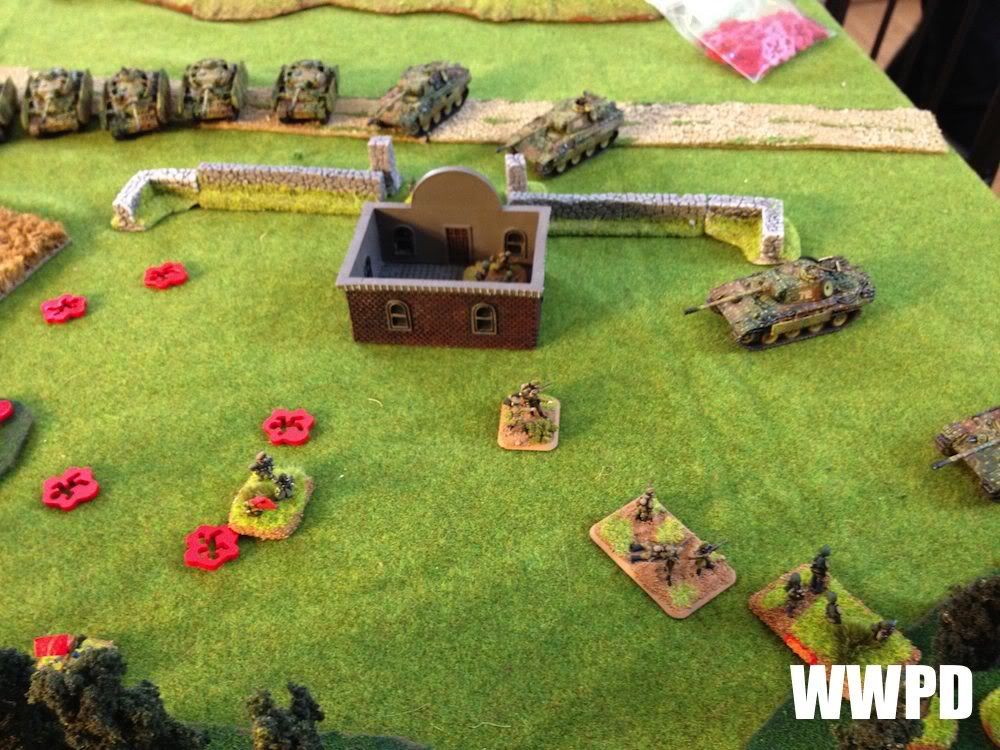
| The board post setup and deployment. The building in the lower left is an objective. Sean starts with his 4 Panthers in Immediate Ambush, and 7 Panzer IVs. As I have 5 platoons, I start with ISUs and Engineer Sappers. I know this will be a hard fight, but if my ISUs can just get armored superiority, we'll be okay! |
 |
| Immediate Ambush now takes place right before the game starts. |
 |
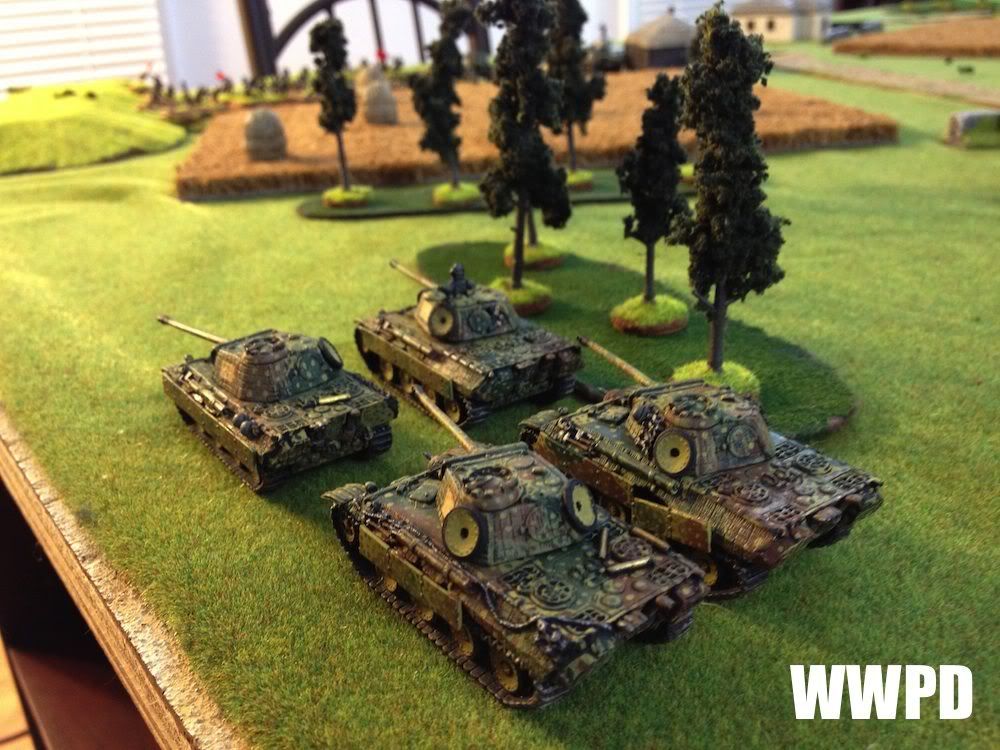
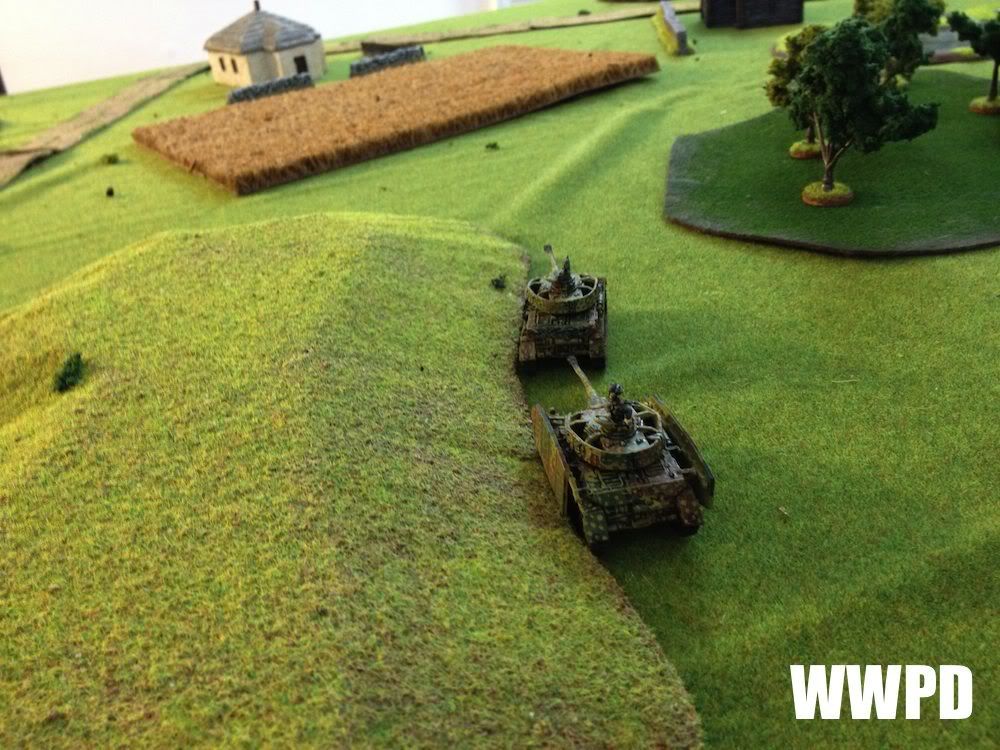
| Panzer IVs watch the road. |
 |
| The Wiking Company Command. |
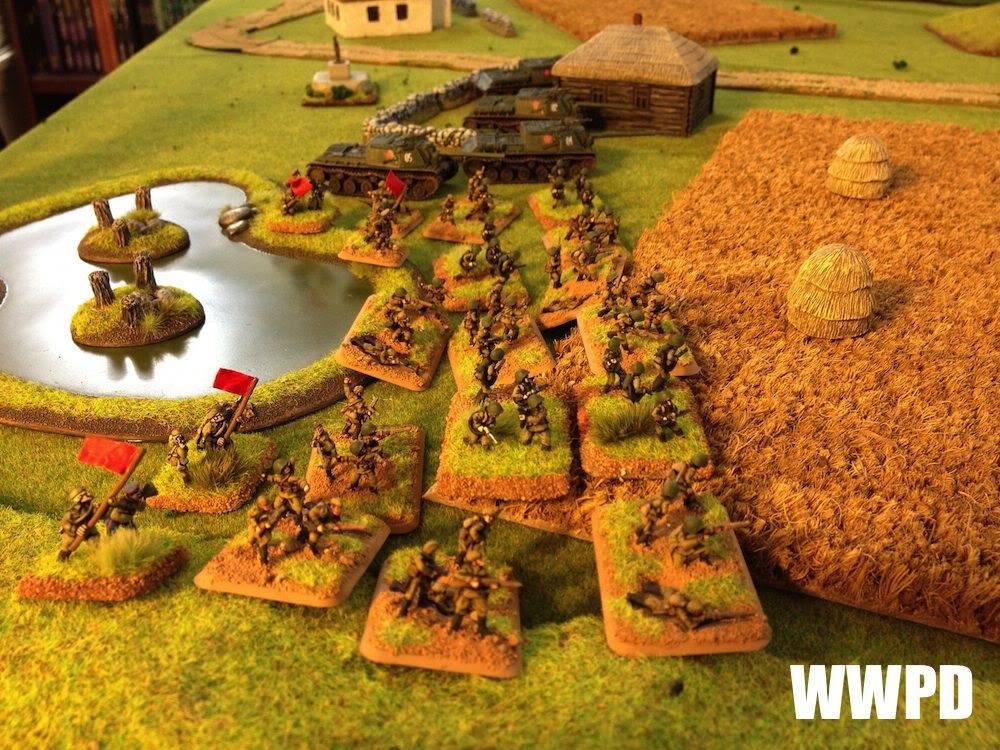 |
| Engineer Sappers prepare to roll out. |
 |
| ISU-122s support the advance. |
 |
| The Soviet view. |
Steven's Soviet Engineer Sappers
| Sean's SS Wiking Panzers
|
| Steven's Soviet Engineer Sappers: Engineer Sappers and ISUs begin the game, prepared to cross the open ground against Panthers and Panzer IVs! Sean's SS Wiking Panzers: Tanks line up ready to defent the line! | |
TURN 1
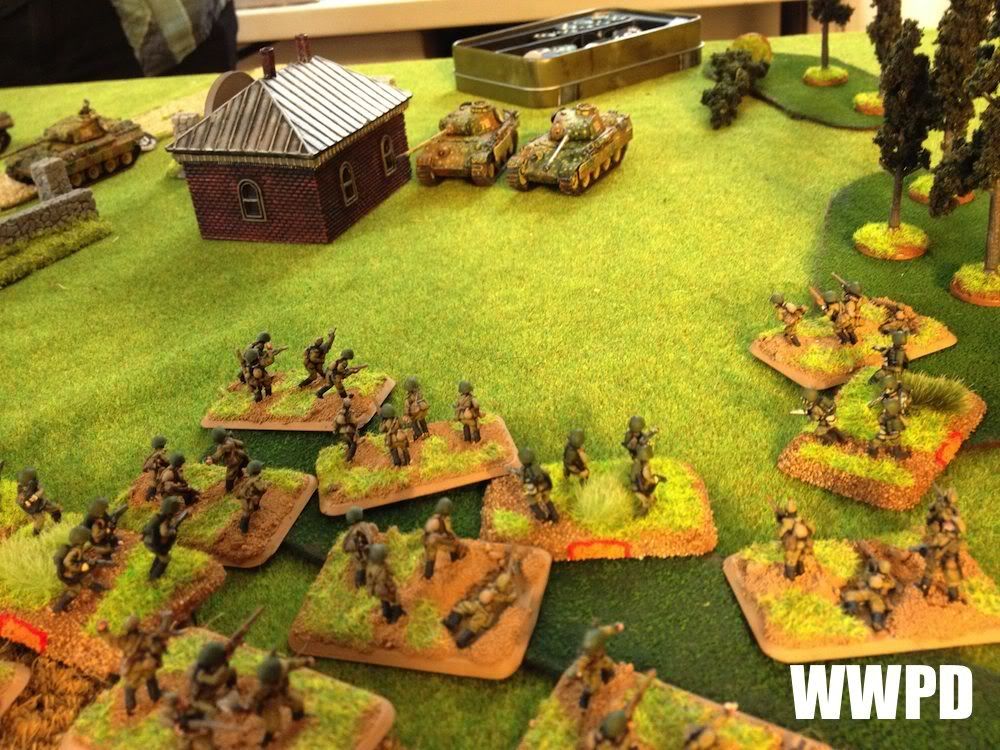
| Everyone, forward! The wheatfield is slow going, so no double timing through it! |
| ISUs line up in the wheat. |
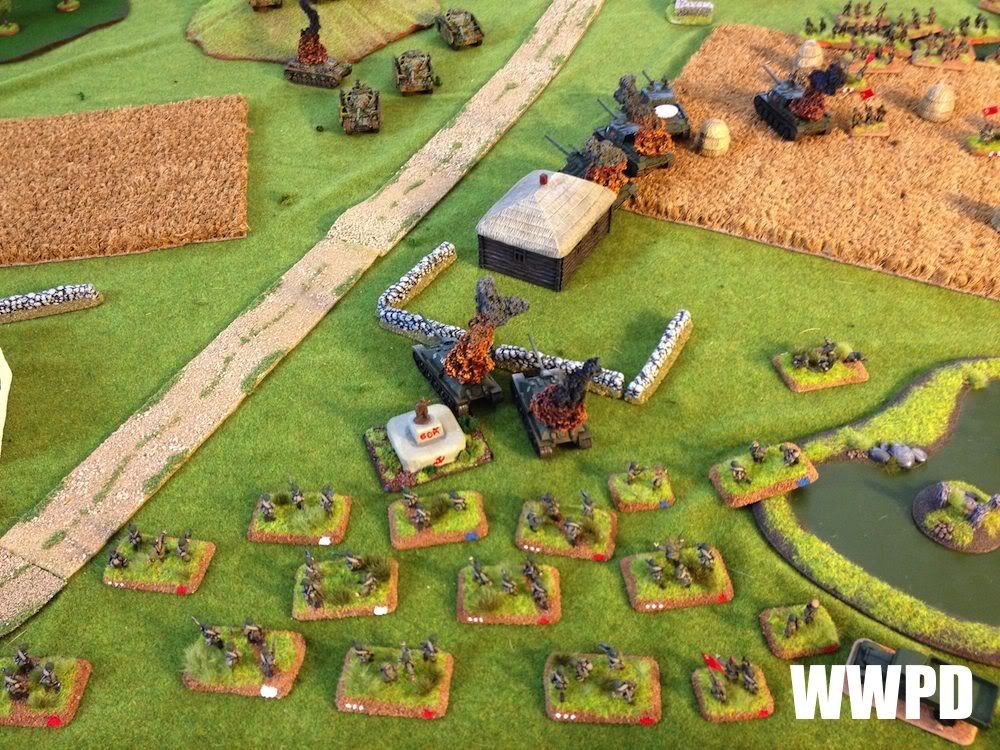
| Panthers roll boldly forward, and immediately wipe out 2 ISU-122s. |
Steven's Soviet Engineer Sappers
| Sean's SS Wiking Panzers |
| Steven's Soviet Engineer Sappers: Everyone advances! Sean's SS Wiking Panzers: 2 ISUs are knocked out in the opening volley. | |
TURN 2
| Panzer IVs are waiting to spring their attack. |
| Rat moves up and fires, but misses his mark. |
| Return fire bails both ISUs, but they're fearless and hang on! |
Steven's Soviet Engineer Sappers
| Sean's SS Wiking Panzers |
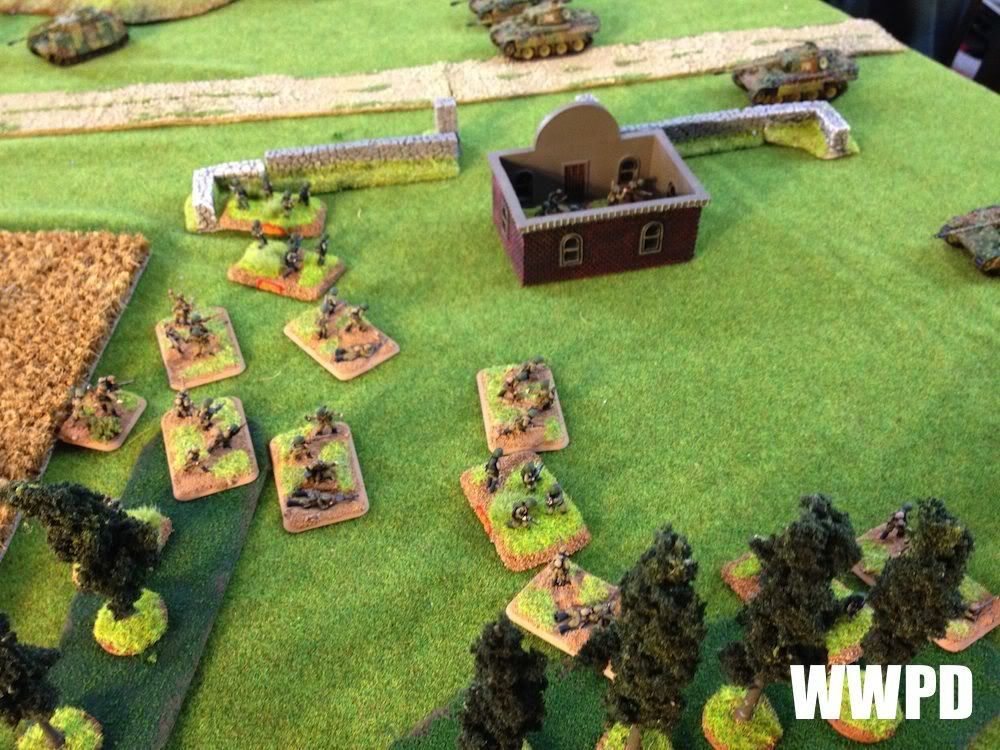
| Steven's Soviet Engineer Sappers: Infantry continues forward! Sean's SS Wiking Panzers: Panthers blaze away on the ISUs | |
TURN 3
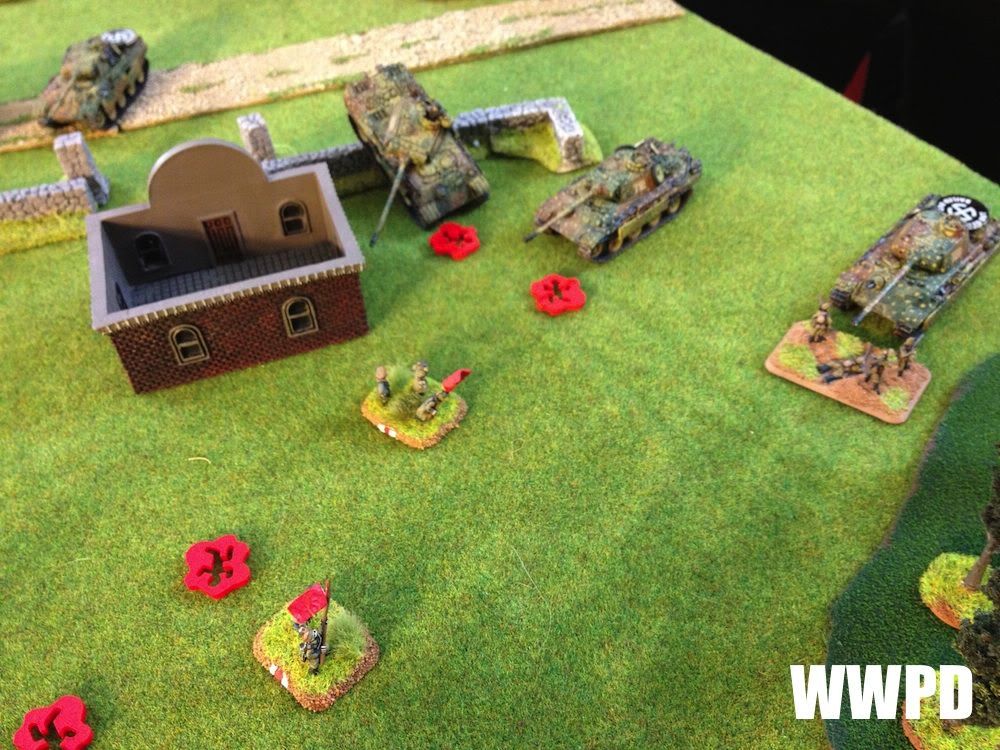
| The advance is not going well. I am thinking the left flank would've been better- but I consider it a lesson learned. |
| I roll 3 dice and fail to get any reserves, but in version 3 if you roll 3 or more dice for reserves you always get one! I bring on my SU-85s who knock out Sean's CO. |
| Assault Guns keep firing on the panthers, hoping to get lucky. |
 |
| Infantry presses the objective. |
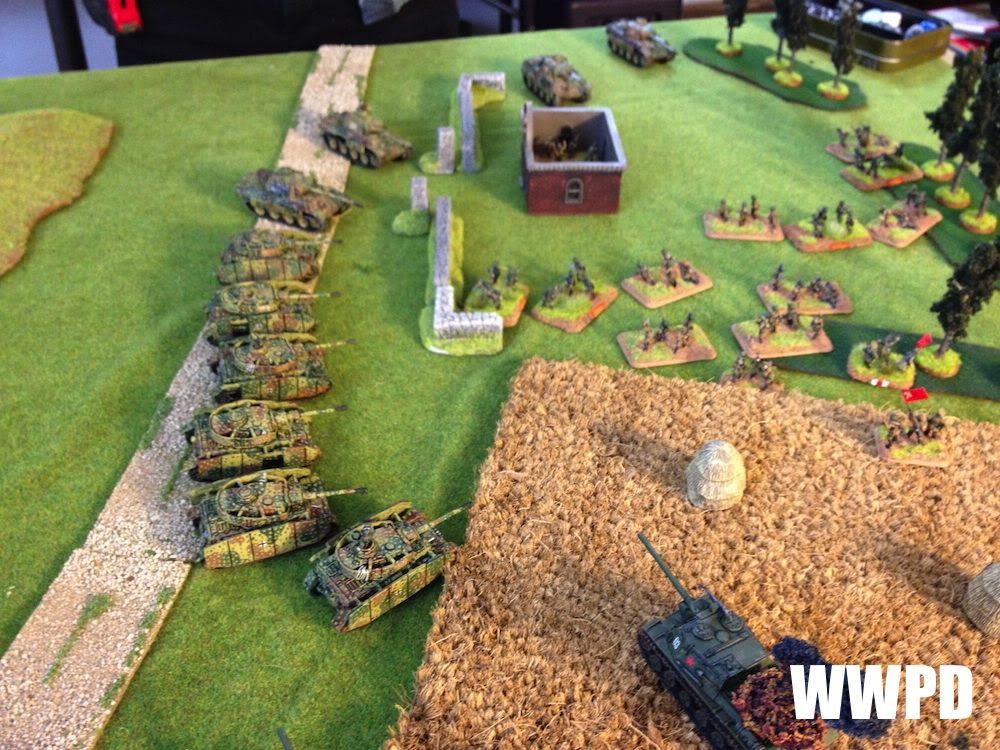
 |
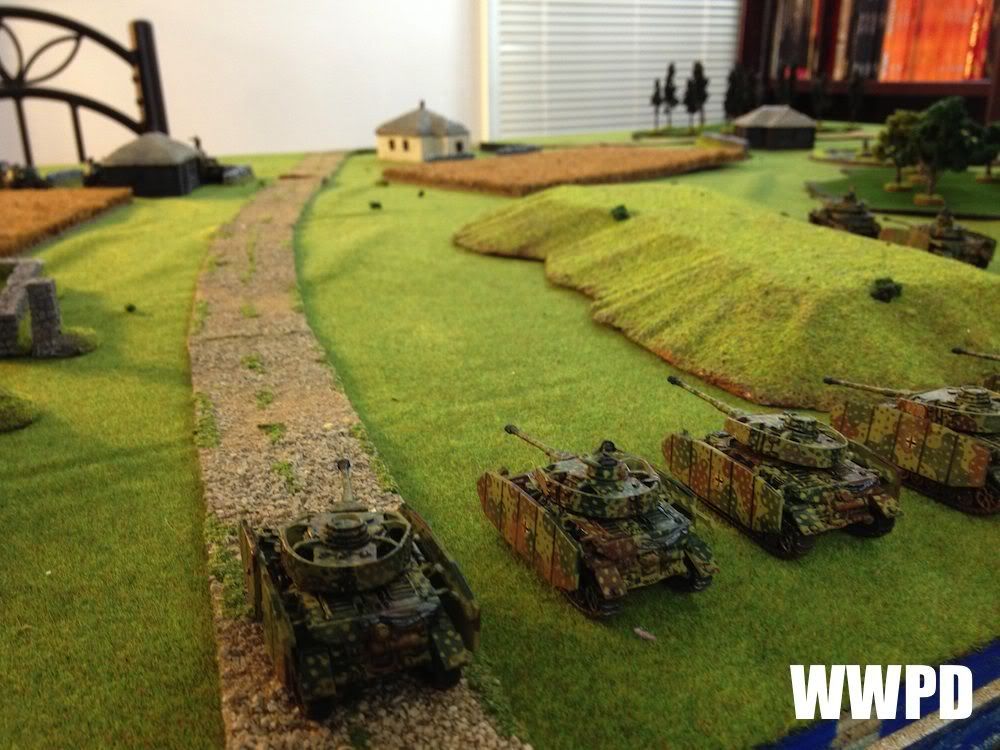
| More Panzer IVs arrive on the other flank. |
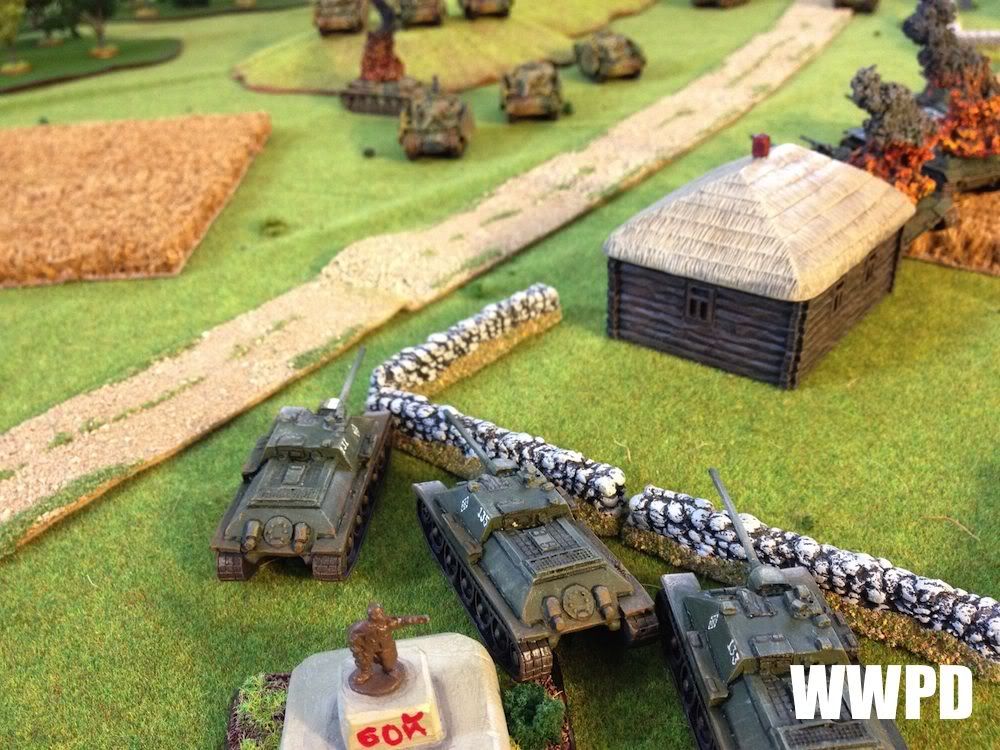 |
| Panzer IVs hunt down the SU-85s |
 |
| Panthers knock out a 3rd ISU-122 and bail Rat. |
 |
| The SU-85s are completely eliminated. |
Steven's Soviet Engineer Sappers
| Sean's SS Wiking Panzers
|
| Steven's Soviet Engineer Sappers: SU-85s arrive from reserve and knock out Sean's CO only to be knocked out in return. Sean's SS Wiking Panzers: More reserves arrive as Panthers knock out another Assault Gun. | |
TURN 4
 |
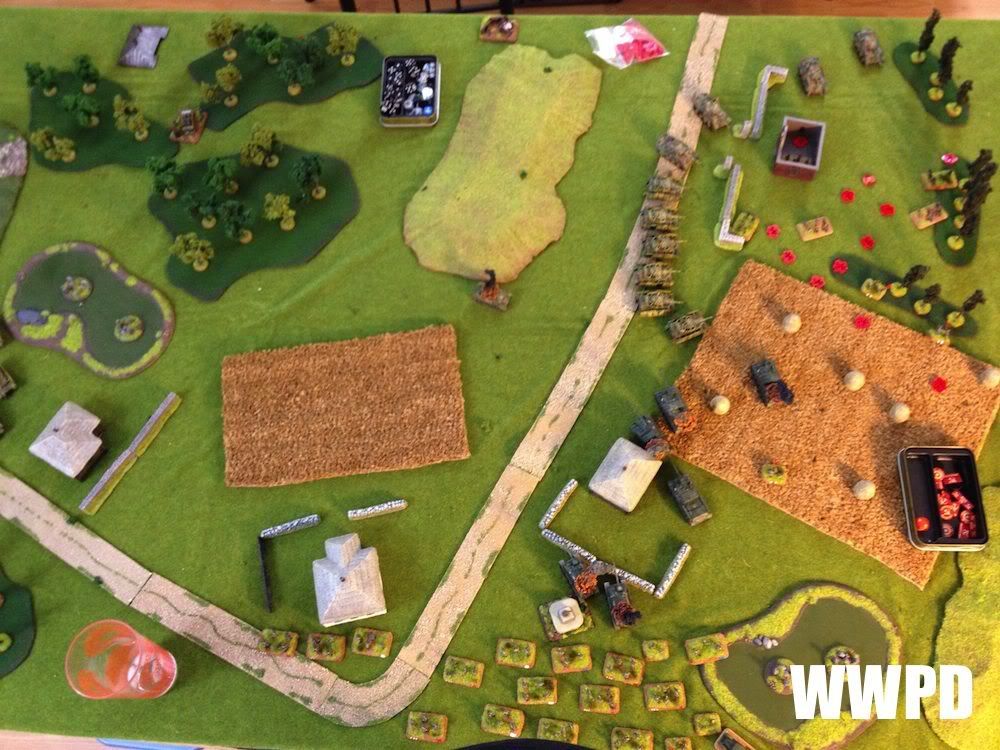
| Turn 4. |
 |
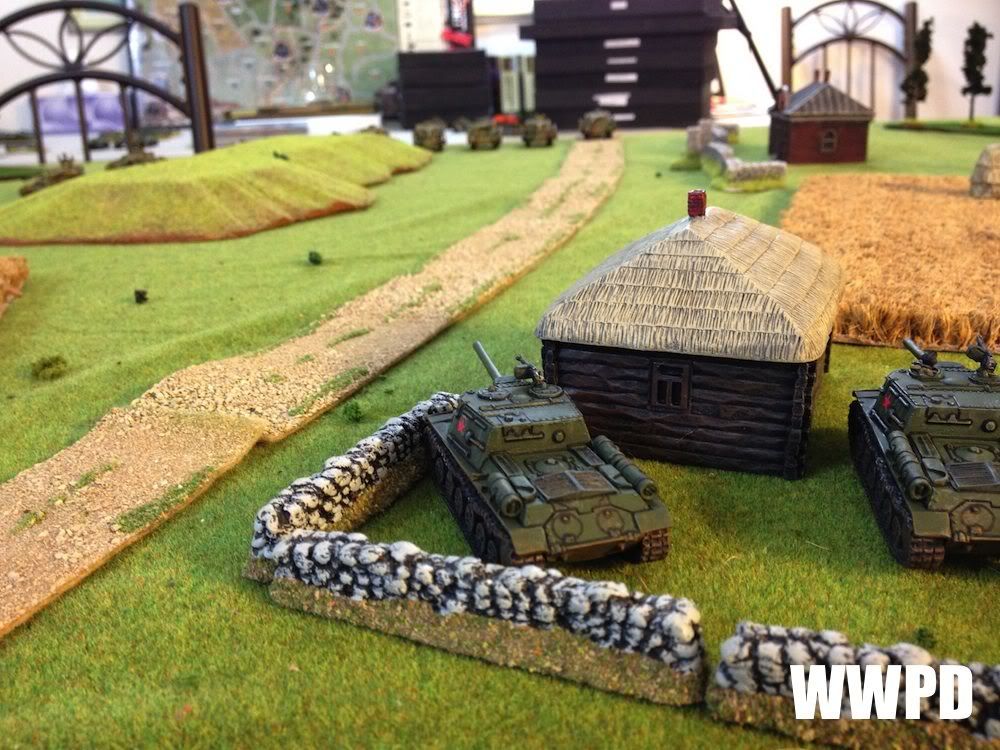
| The rest of the Soviet reserves arrive. They must guard our rear objective before Sean swipes it from underneath us! |
 |
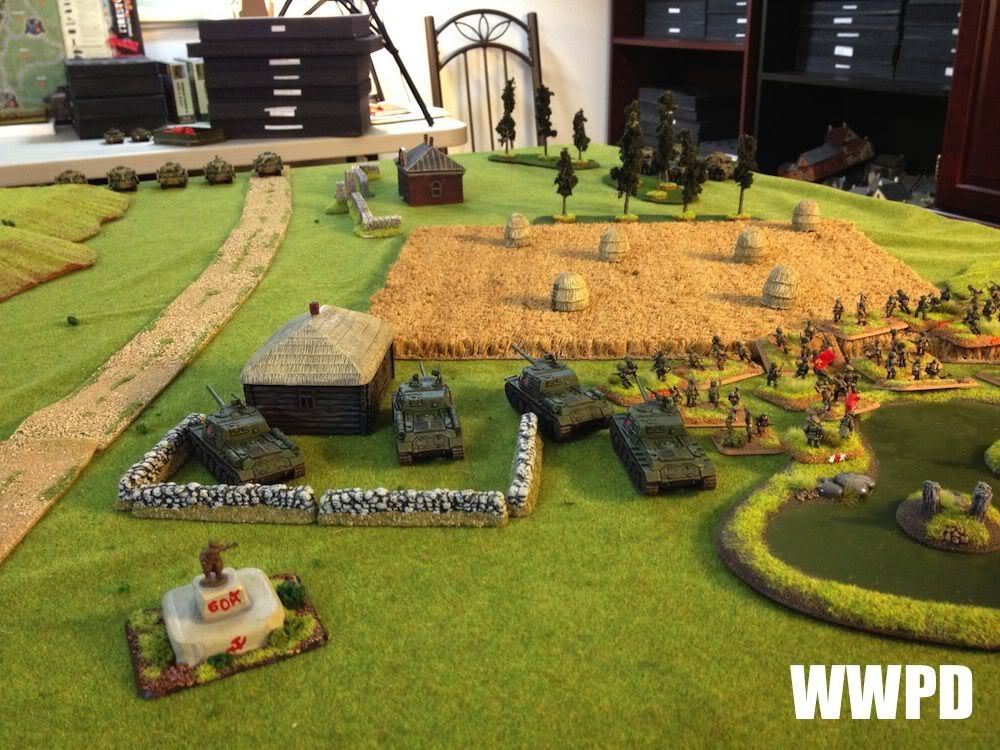
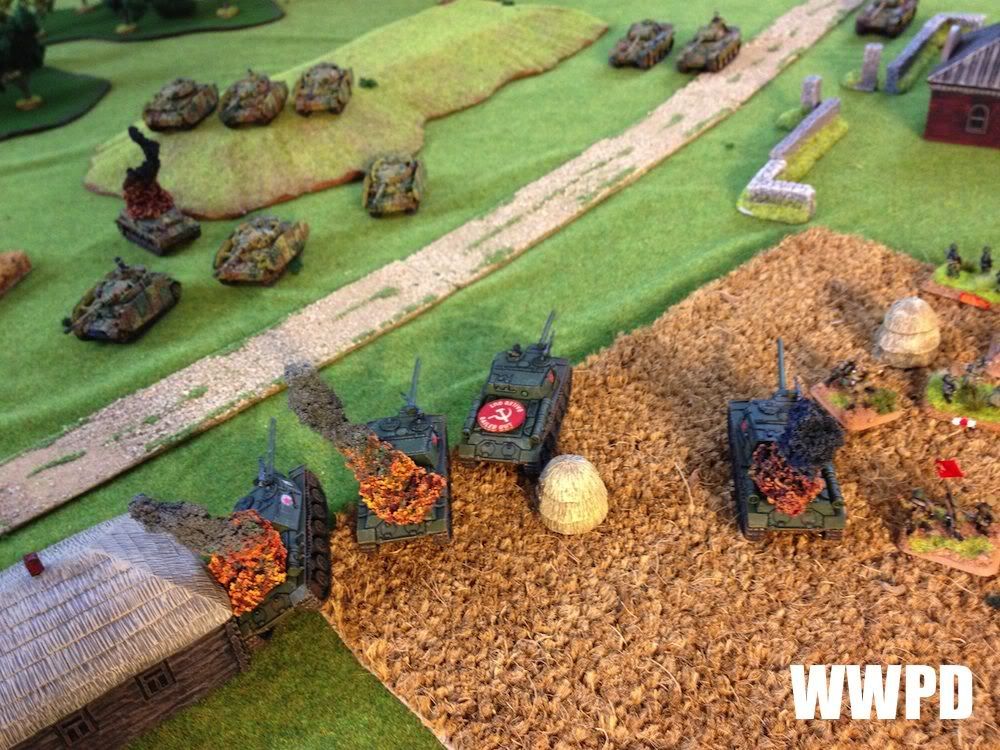
| Soviet Infantry swarm forward. After passing a skillcheck, we're able to enter the building this turn! |
 |
| This is not going to end well... |
 |
| Ouch. |
Steven's Soviet Engineer Sappers
| Sean's SS Wiking Panzers
|
| Steven's Soviet Engineer Sappers: Reserves arrive to secure the rear objective. The forward units advance under fire. Sean's SS Wiking Panzers: All of the tanks ocus on the approaching Engineers. MGs cut them down horribly. | |
TURN 5
 |
| It's do or die! If we can knock out the Panthers, I believe 1 ISU can at least scare the remaining Panzer IVs... |
 |
| We setup the assault to make sure we won't be within 8" of Panzer IVs after the charge into contact. |
 |
| 2 Panthers are bailed, but the counter attack knocks out 2 soviets! I then totally fail to counter attack. |
 |
Steven's Soviet Engineer Sappers
| Sean's SS Wiking Panzers
|
| Steven's Soviet Engineer Sappers: We launch our last desperate attack, but fail. Sean's SS Wiking Panzers: | |
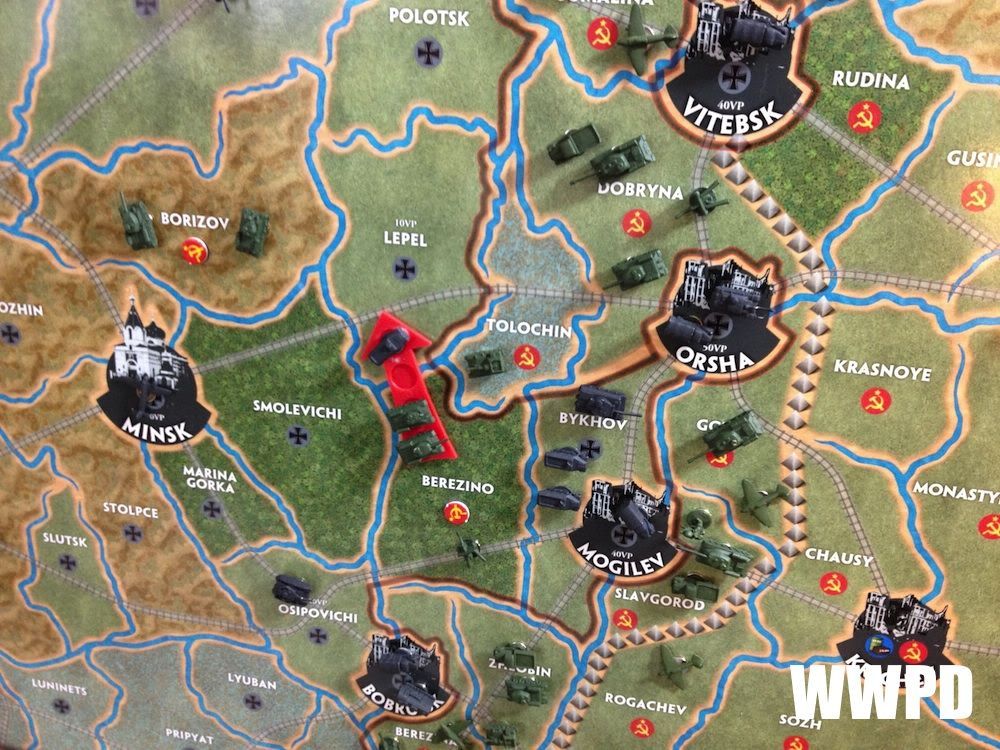
| We gave it a good shot, but Sean straight up outplayed me and thoroughly got me! My winning streak with my soviets came to a crushing halt. In fact, Sean is the only person to defeat my Reds to date (The first time: T-34s vs T-34s in mid war)! We were quite happy with Version 3. The hills were slow going which made sense, the wheatfields made sense. The assault rules were simple to follow and far more streamlined. My flamethrowers were drastically toned down (2 flame throwers squirted those Panthers, and still managed to score 2 bails!), which hurts soviet infantry for sure but it is certainly a move towards more realism. Most importantly, the mission itself felt much more balanced. The campaign rolls on! My Firestorm troop was destroyed, but I won the initiative for the next battle. With my forces in Lepel now cut off, I decided to attack from Berezino to Lepel. With luck this will destroy Sean's firestorm troop and leave the way to Minsk wide open!  |
Generated by WWPD's BatRepper Software.


