


 We rolled for mission and got "Hold the Line". Ouch! Luke's army list is approximate- I don't remember it 100%. But it's close. |
Steven's KG Peiper
| Luke's 2nd ID
|
SETUP AND DEPLOYMENT
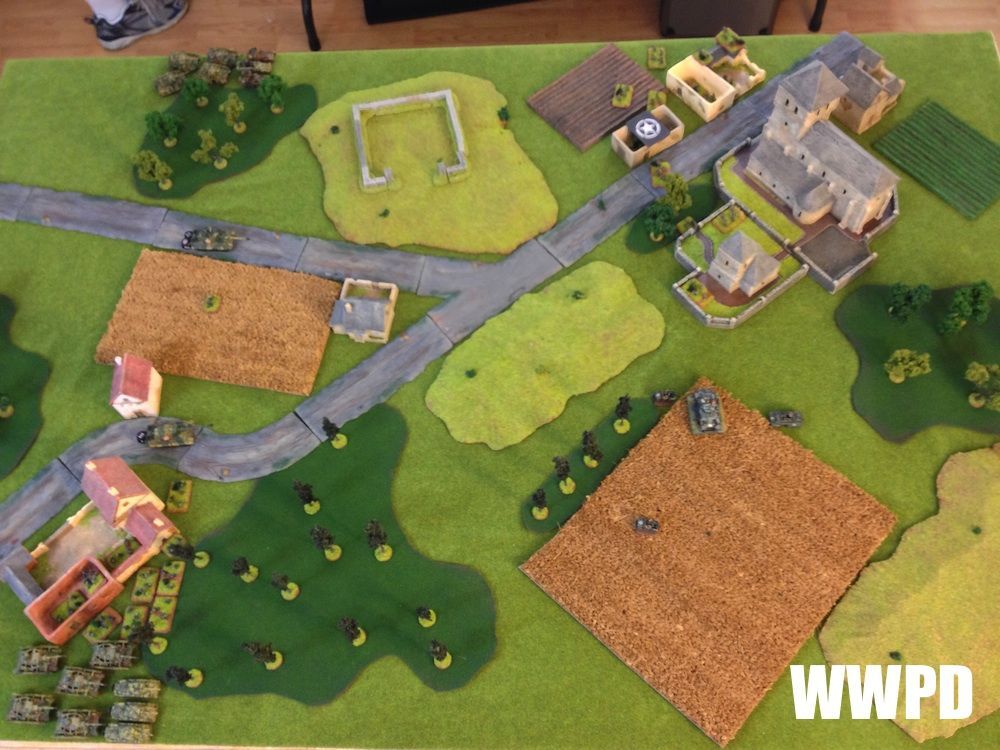 |
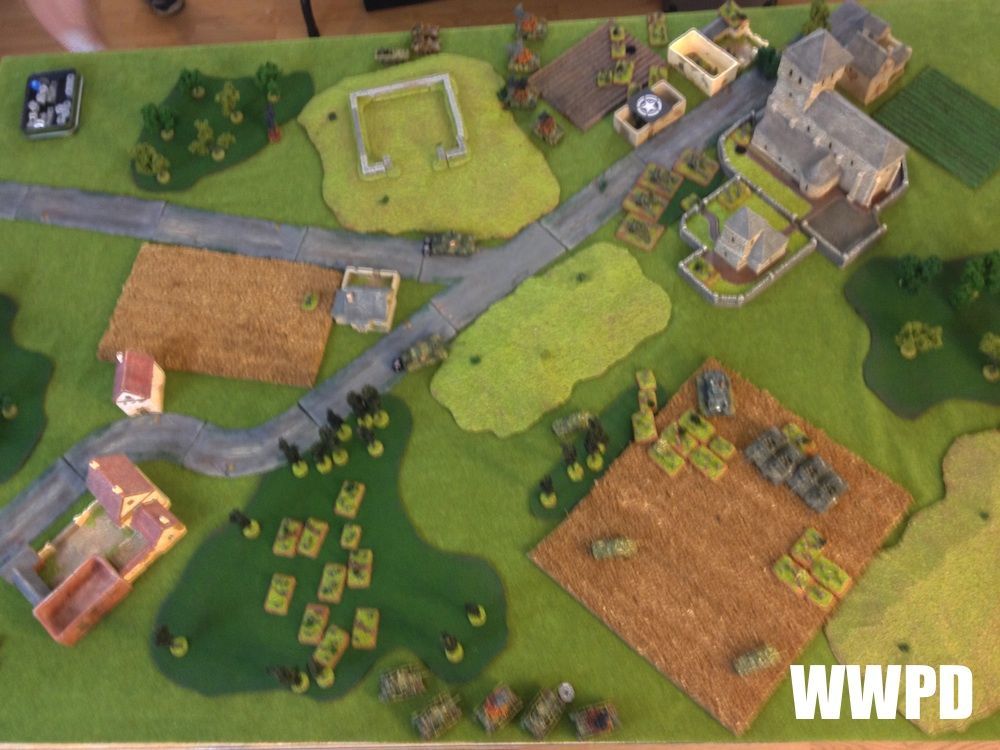
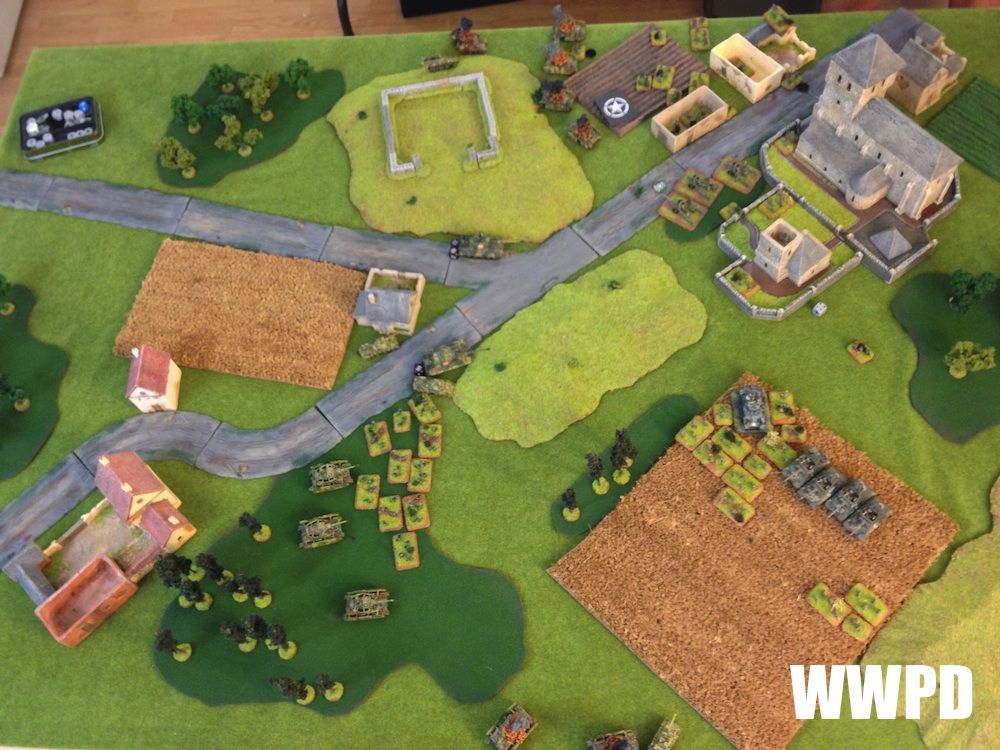
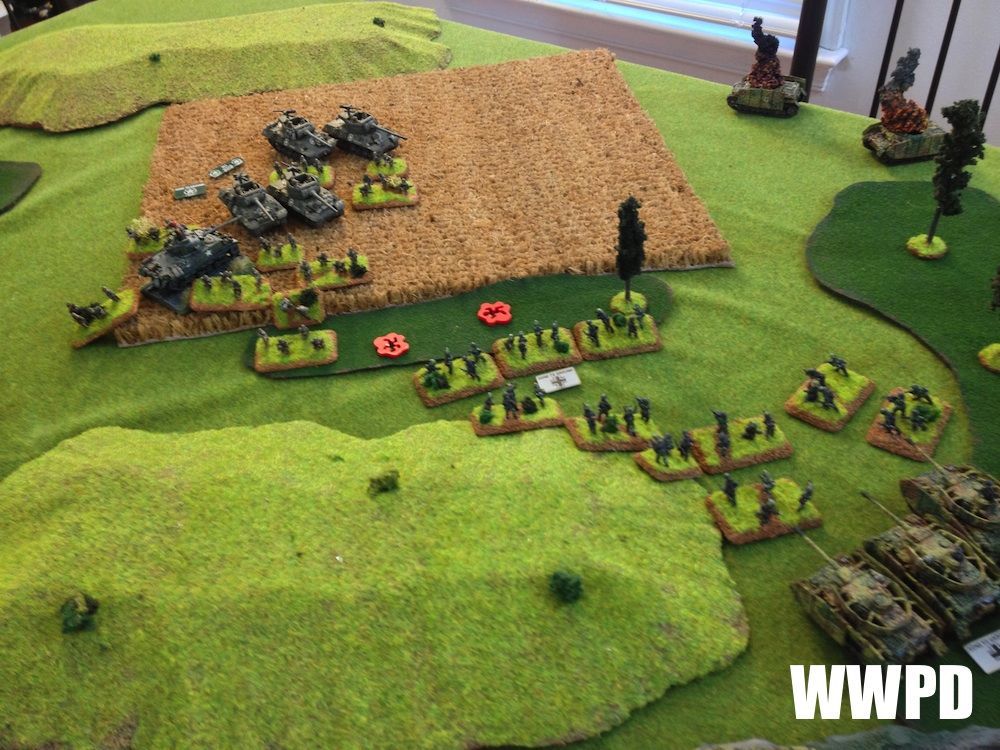
| Deployment. |
 |
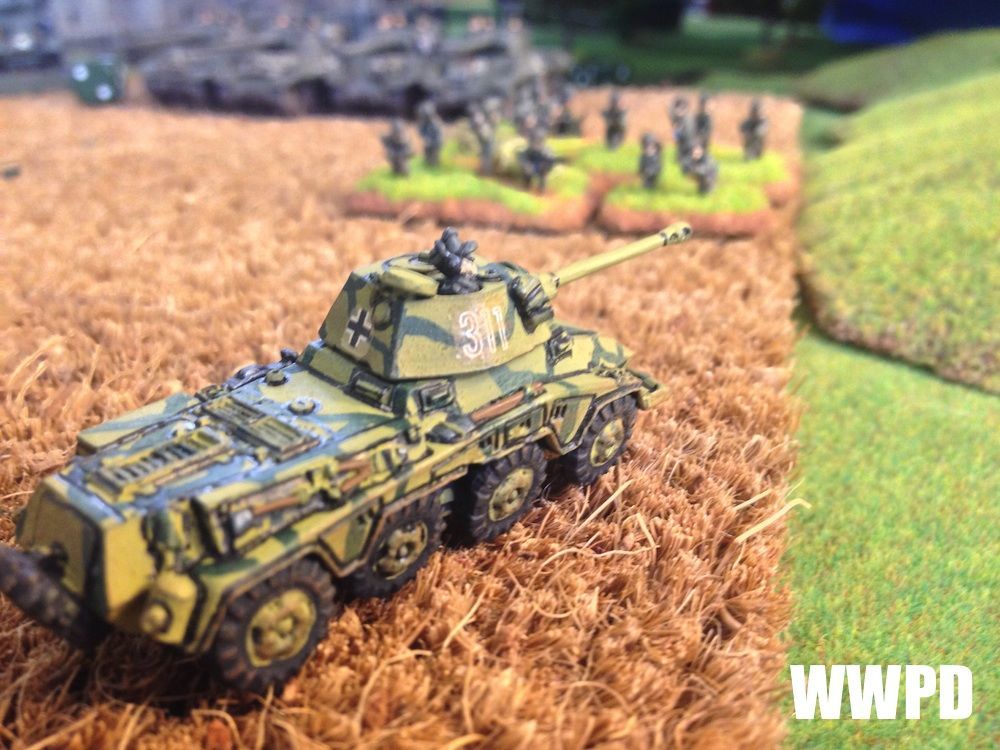
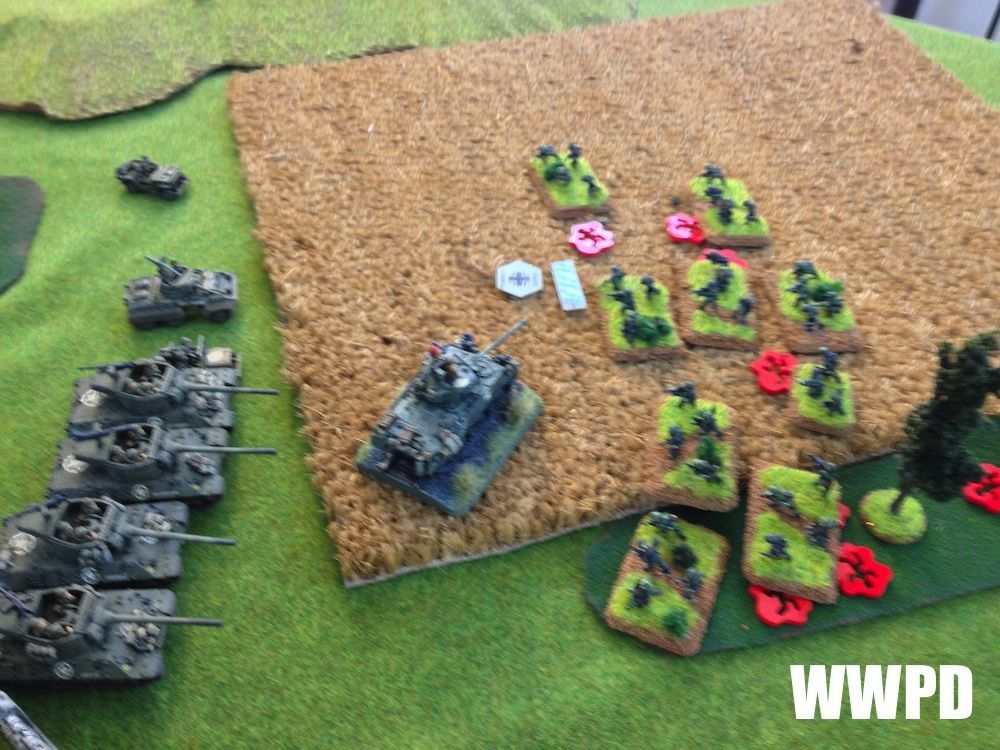
| Jackson Security section (which should be 2 M8s, and 1 Jeep), Oddball objective- all wonderfully painted by CGR! |
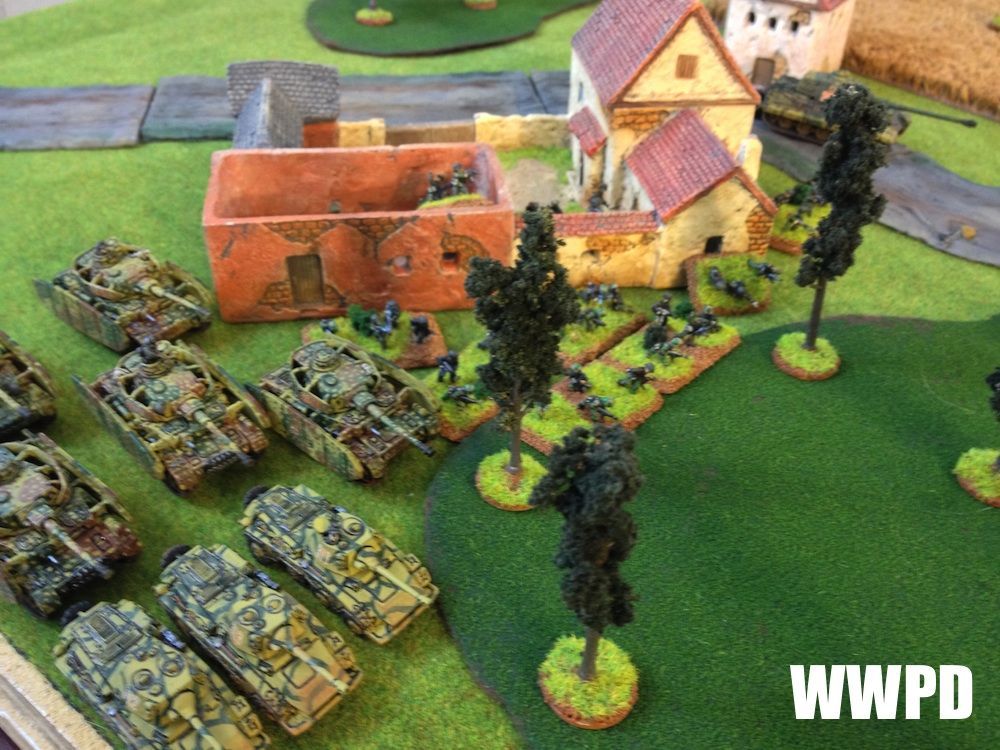 |
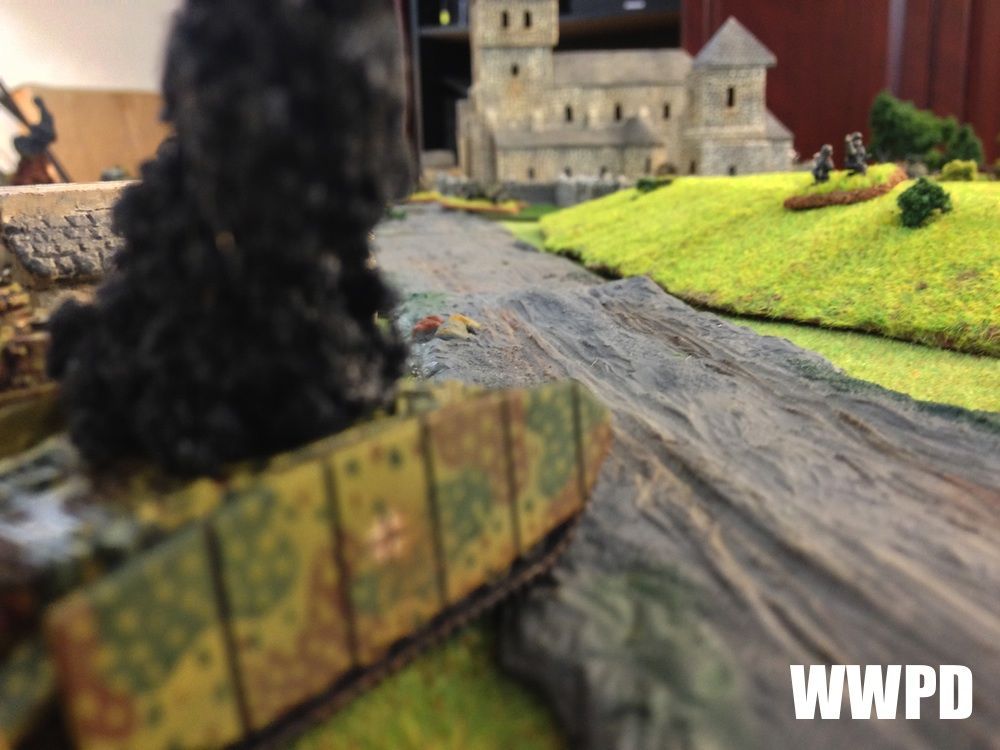
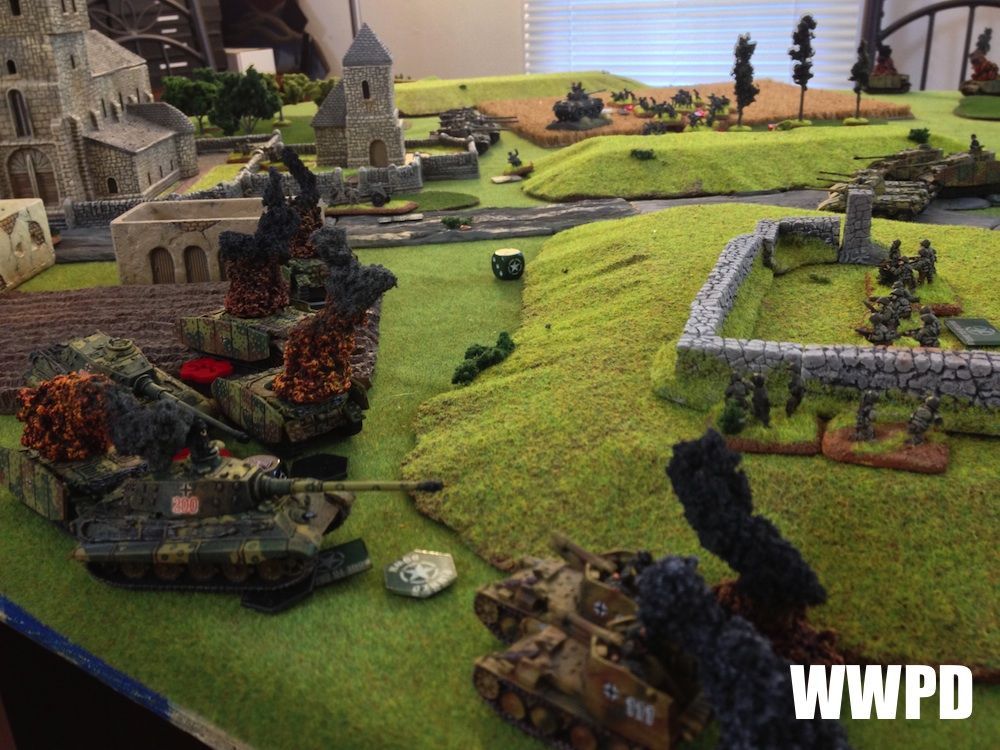
| The German starting line |
 |
| Hail to the King. |
 |
| Also the other King... |
 |
| The other flank |
 |
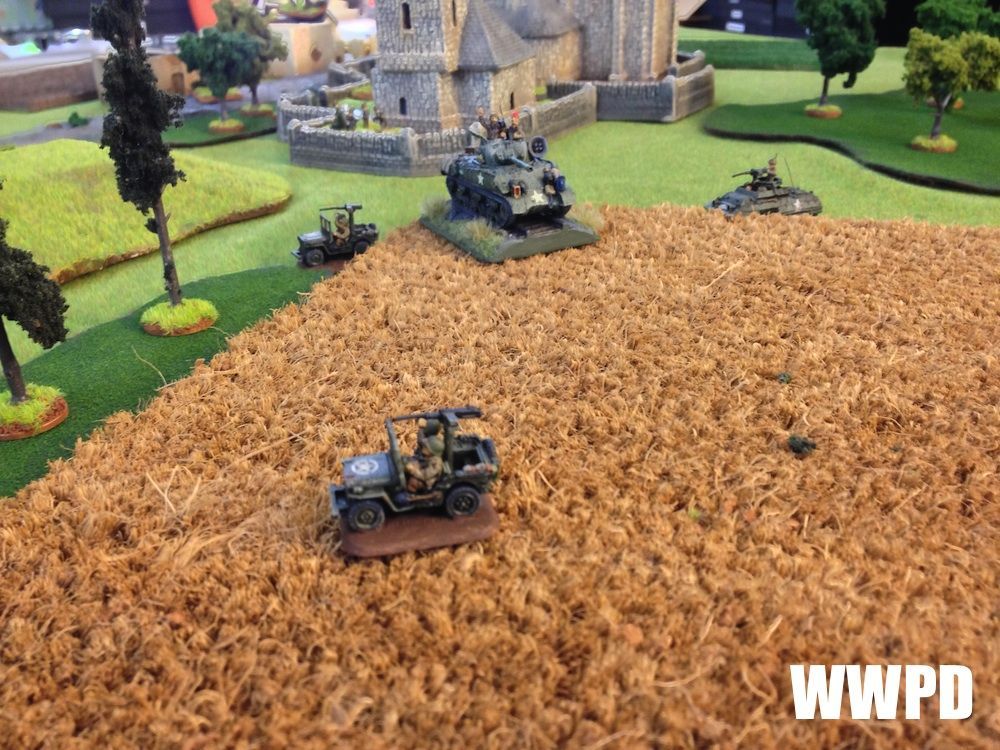
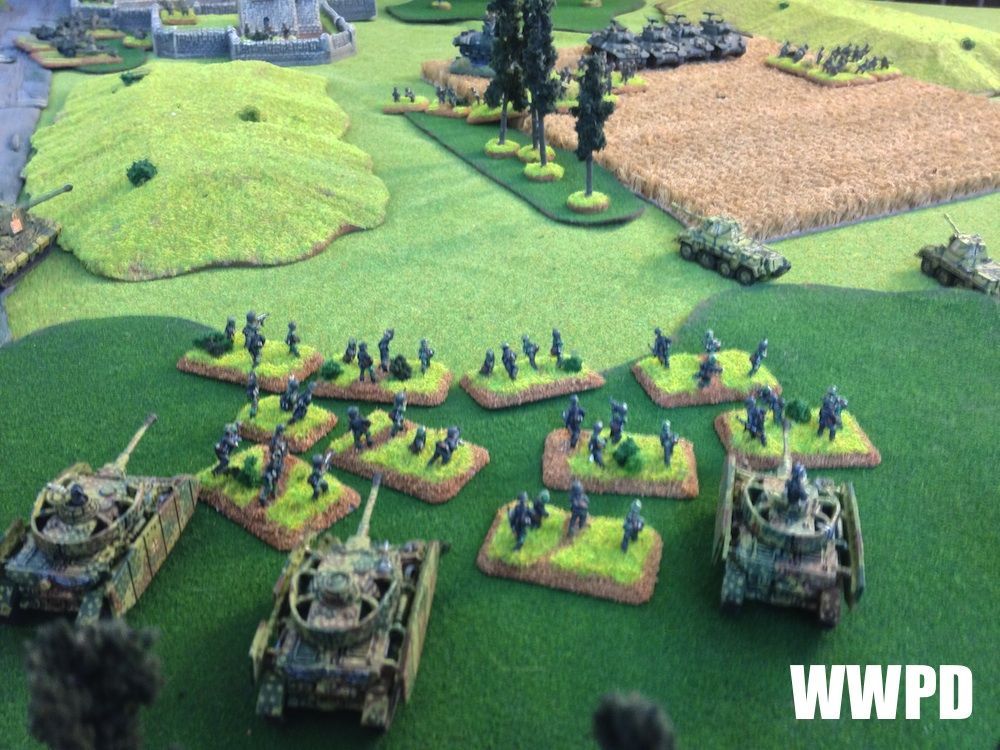
| US Rifles hold the small village |
| Steven's KG Peiper | Luke's 2nd ID
|
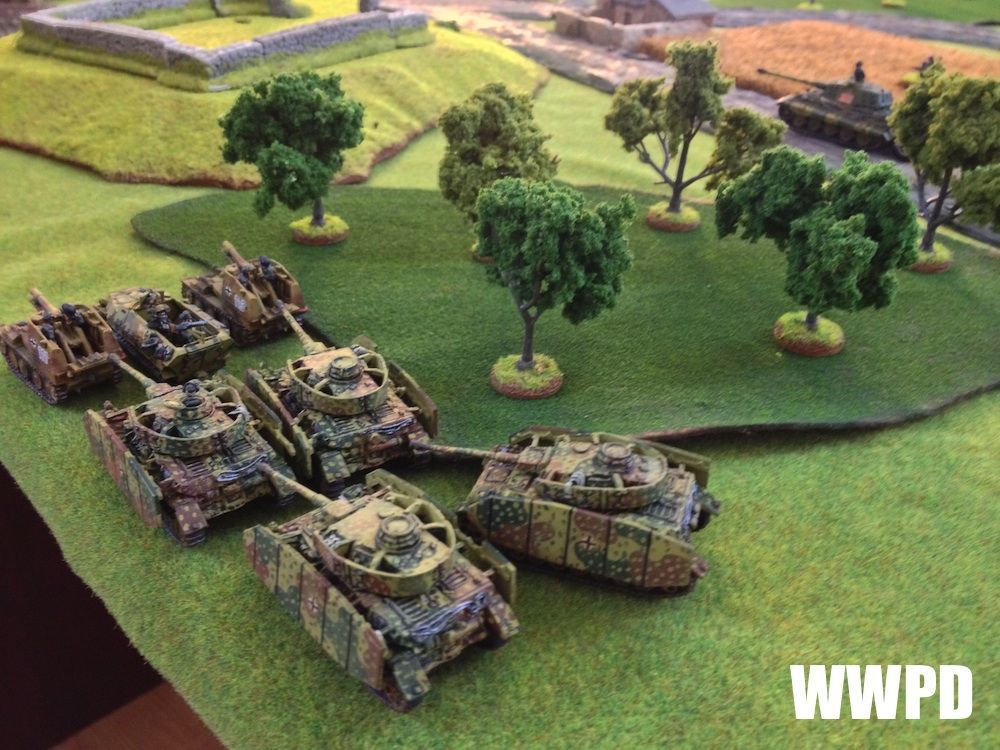
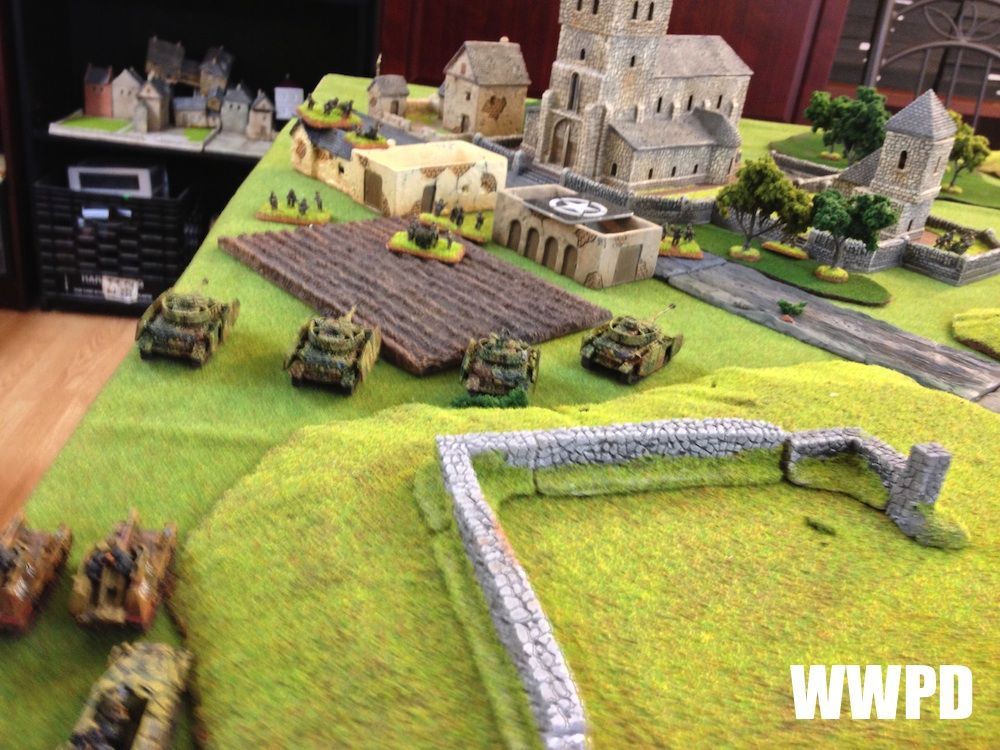
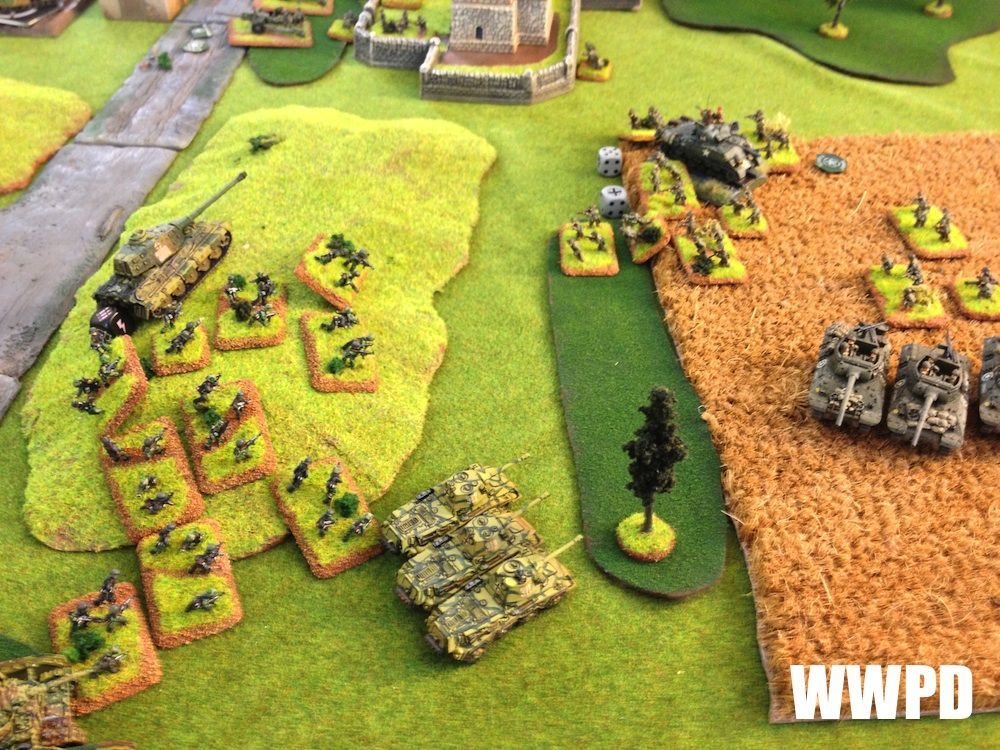
| Steven's KG Peiper: King Tigers deploy in the center, with Panzers and Pumas on the right flank and Panzers and Grilles on the left flank. Luke's 2nd ID: Luke begins the game with both Infantry Platoons on the board, each with 1 HMG and 1 bazooka attached from the HMG platoon(*). One of the infantry platoons is in ambush. M36 jacksons start with their security section while the towed TDs begin in ambush. (*)- We realized later that Luke attached too many teams out. He originally intended to attach out both Bazookas and only 1 HMG to keep his HMG platoon, thus staying at 9. (Editor's note: Luke is a filthy cheater) | |
TURN 1
 |
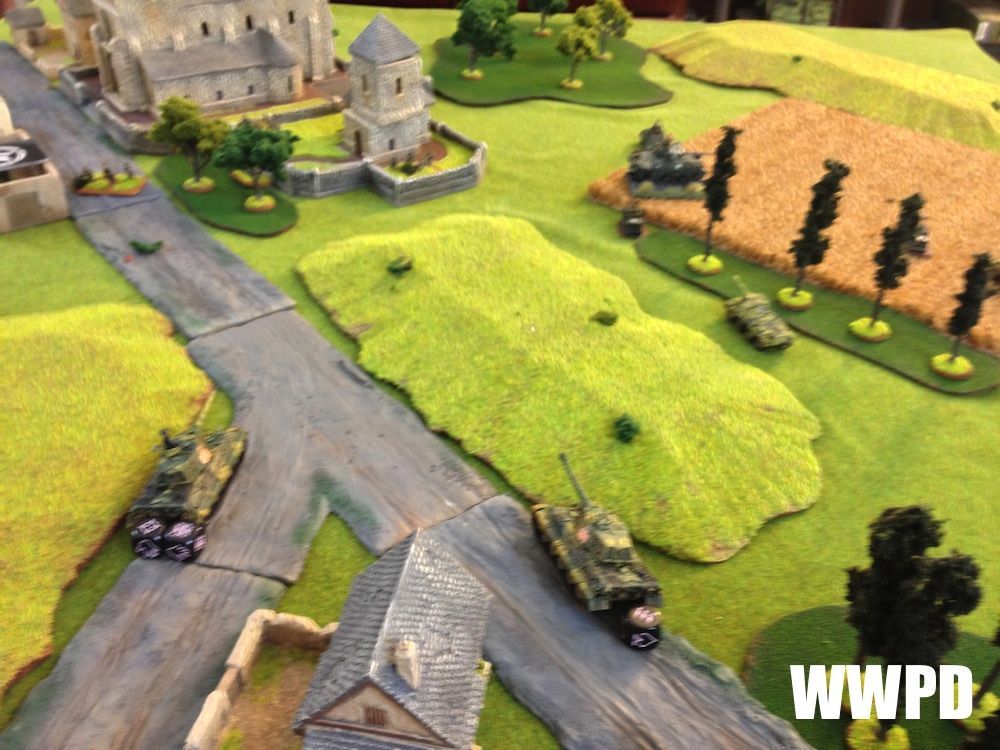
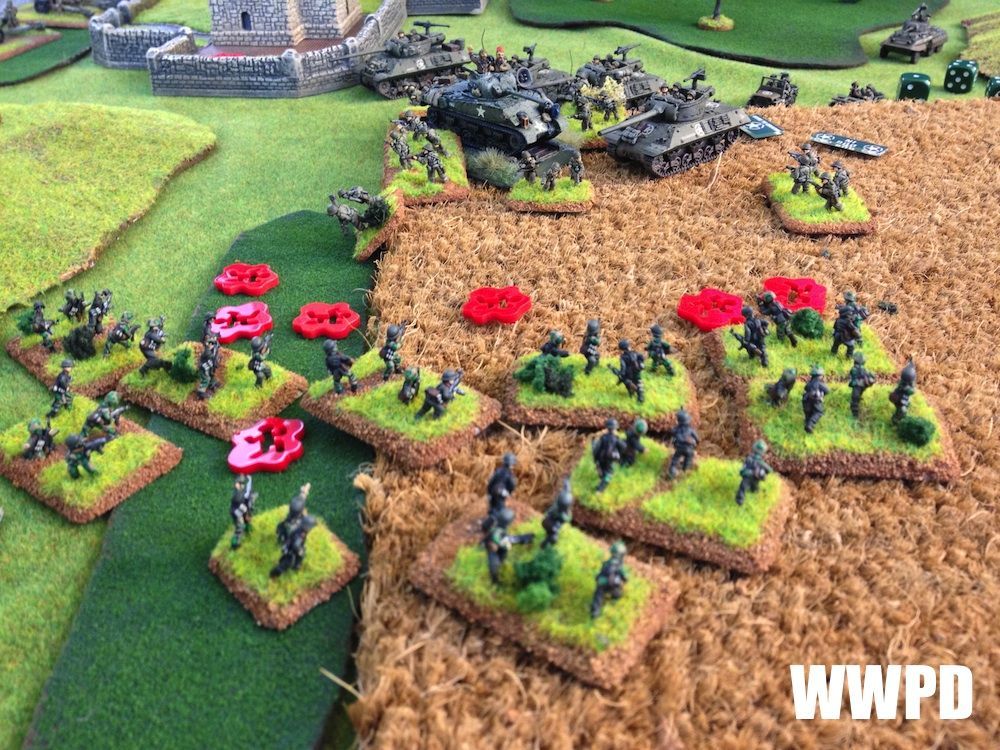
| Aggressive movement on turn 1 to flush out the jacksons. |
 |
| FJ move through a wood |
 |
| Kings rush forward! |
 |
| Panzer IVs move out aggressively! |
 |
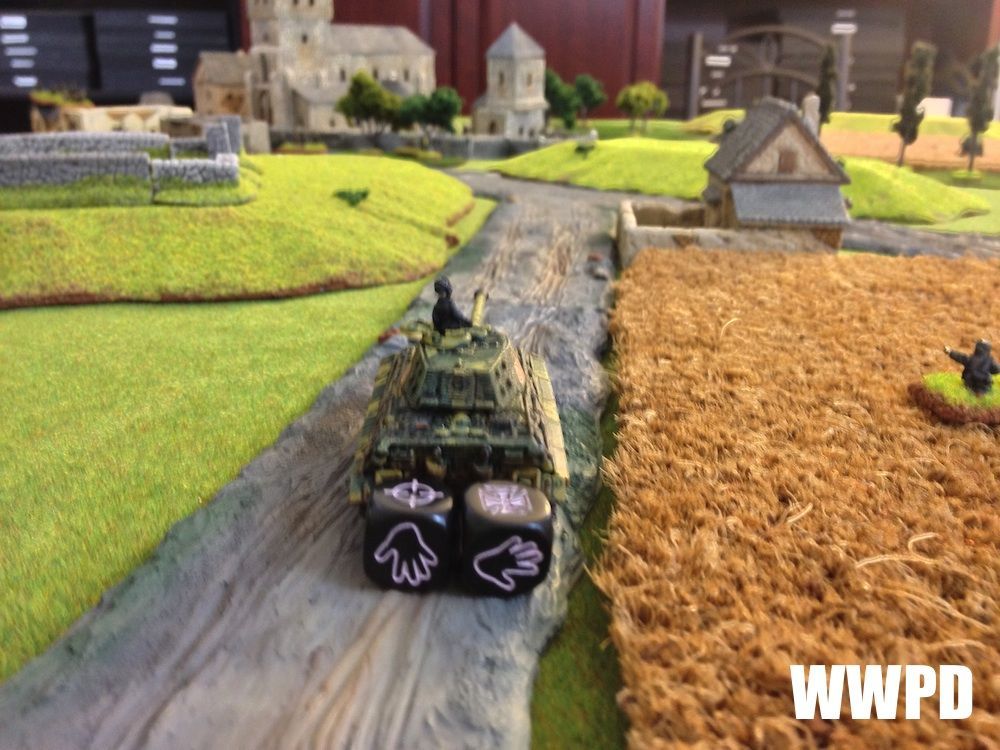
| Thanks to a miscalculation, Luke's Jacksons are able to be within 16" of my Panzer IVs! D'oh! |
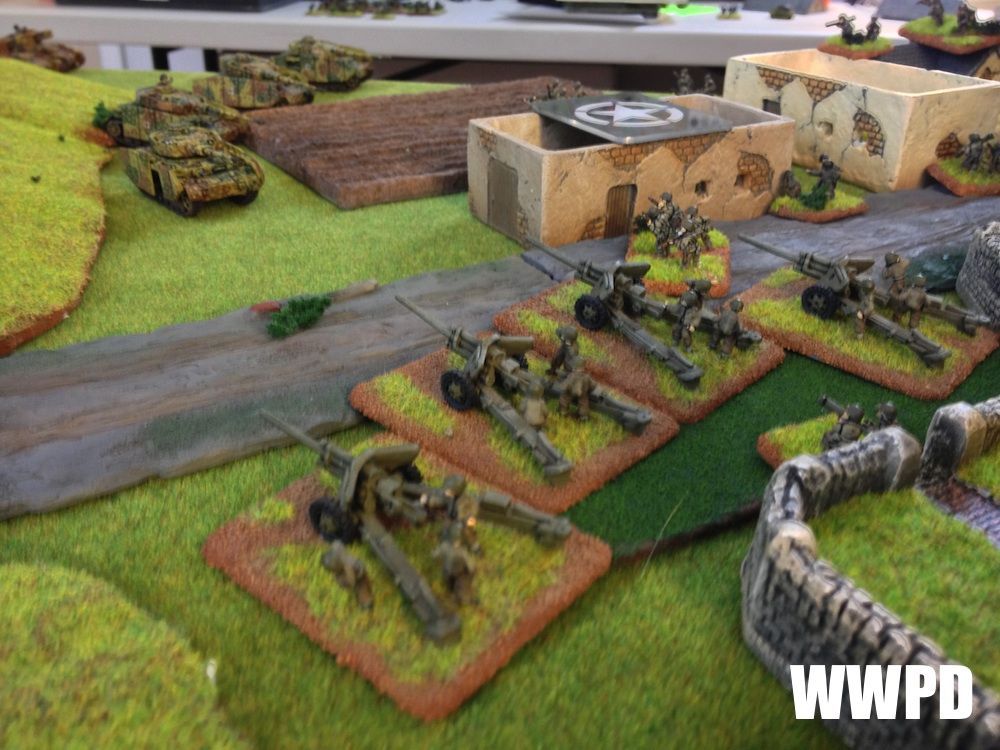 |
| Here's where we really mess up though. The M5 3in. Gun is immobile, and thus is not able to deploy from "regular" ambush within 16" of enemy teams. I had a reason for moving my panzers out aggressively, but future Steven forgot what it was. At this point I am cursing myself for playing so aggressively! |
 |
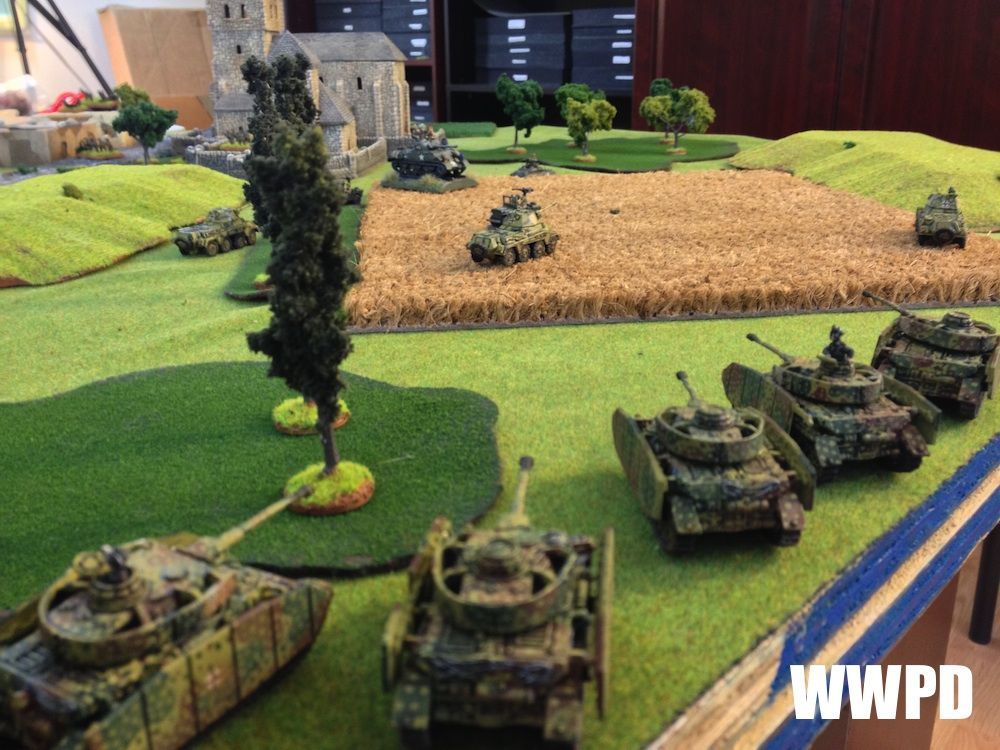
| US infantry also ambushes, advancing on the Puma in the wheat. |
 |
| Predictable results from the M5s. |
 |
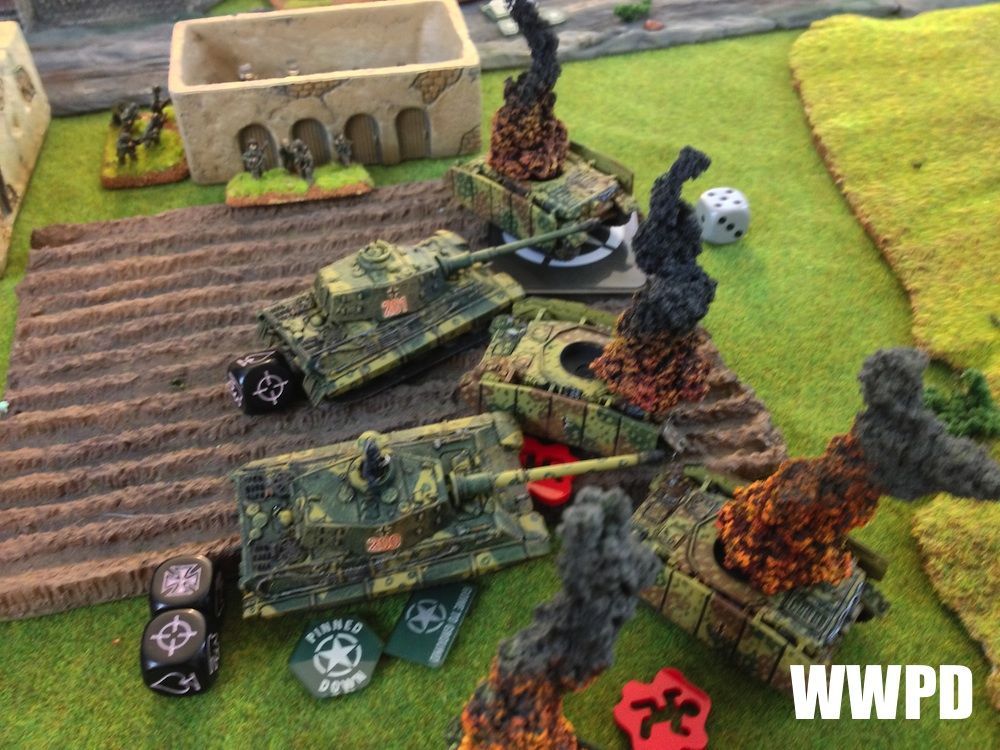
| Jacksons nail 2 Panzer IVs. |
 |
Steven's KG Peiper
| Luke's 2nd ID |
| Steven's KG Peiper: Everything moves up aggressively to force back the TD ambushes... Luke's 2nd ID: But due to some poor planning, overlooking of a key rule the TDs come out swinging! | |
TURN 2
|
| Turn 2 |
 |
| The King is not afraid. |
 |
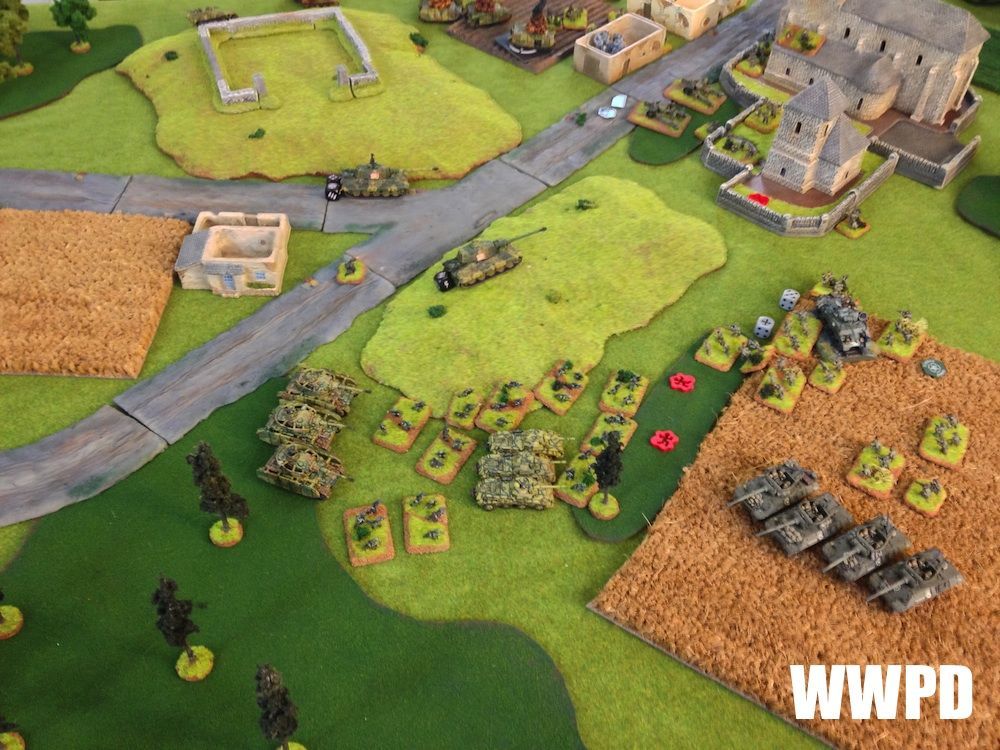
| The Grilles move up to discourage the infantry from hiding in buildings. |
 |
| With the Jacksons out and about, the Panzer IVs move into the woods as the Pumas escape the wheat. |
Steven's KG Peiper
| Luke's 2nd ID
|
| Steven's KG Peiper: The King Tigers move up to engage the M5 TDs, knocking out one gun. Luke's 2nd ID: Luke mostly holds the line. | |
TURN 3
 |
| Turn 3 |
 |
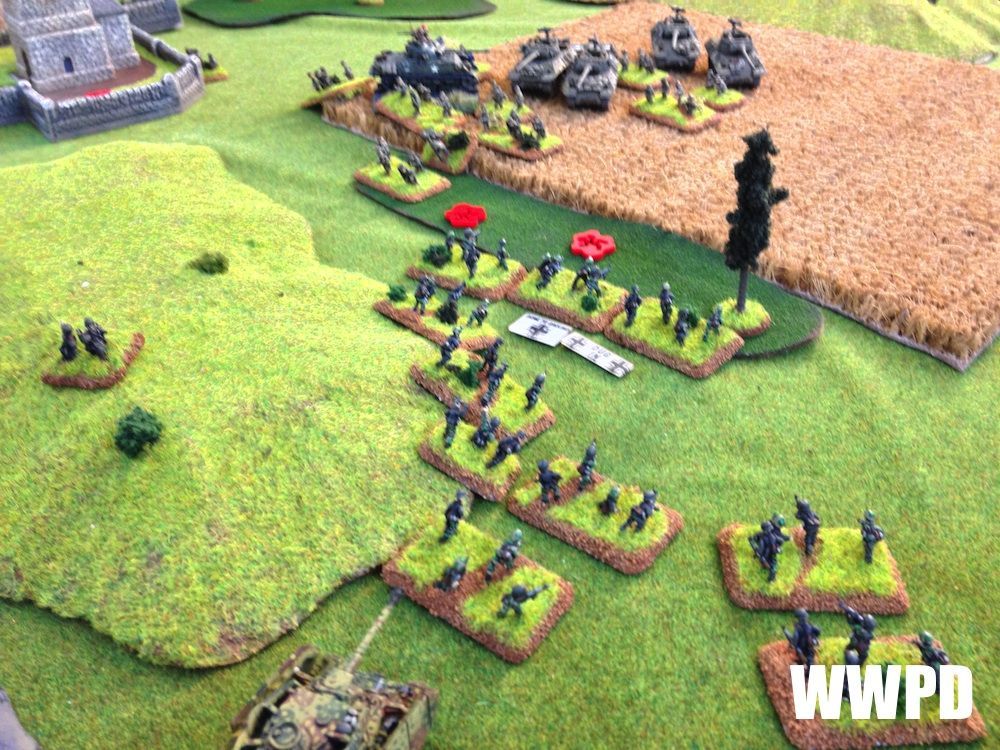
| FJ, Pumas, and the Kings shift their attack. |
Steven's KG Peiper
| Luke's 2nd ID
|
| Steven's KG Peiper: A general shift of direction. Grilles nail an HMG and a rifle stand in a building. Go go bunker buster! Luke's 2nd ID: On the left flank, bazookas chase the Grilles away. Luke vacates the buildings. | |
TURN 4
 |
| Turn 4 |
 |
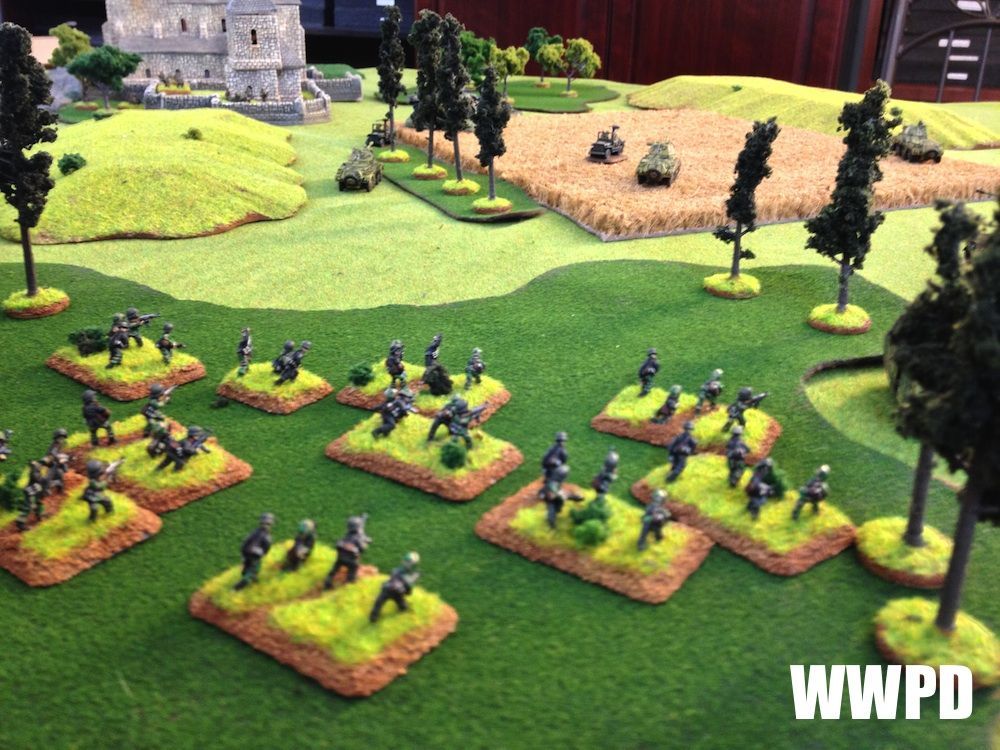
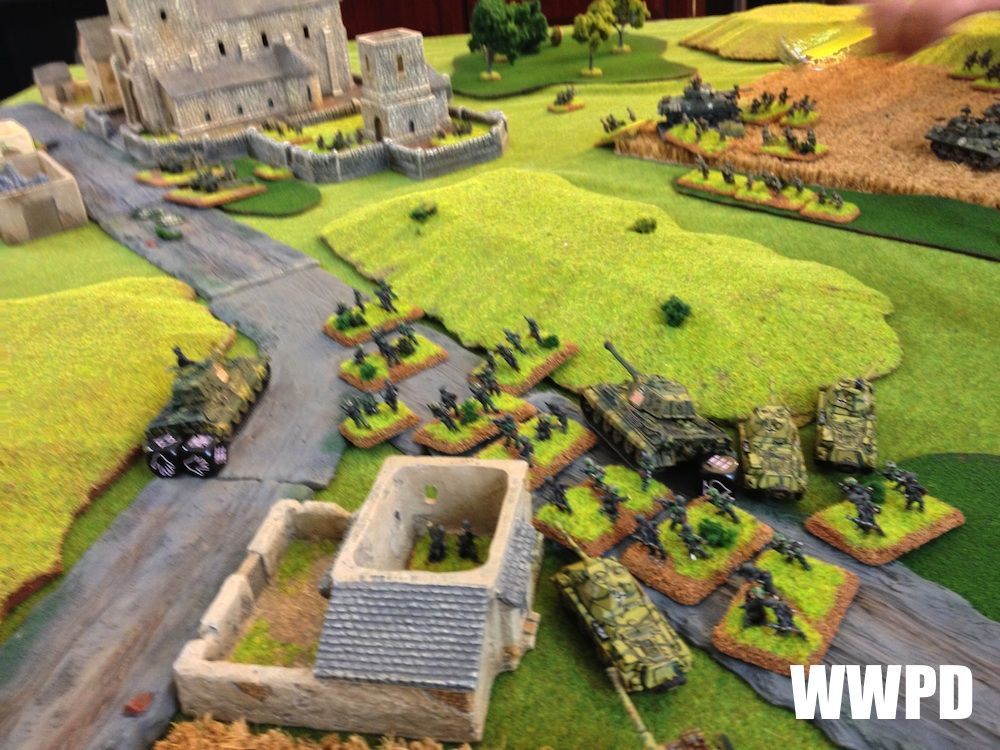
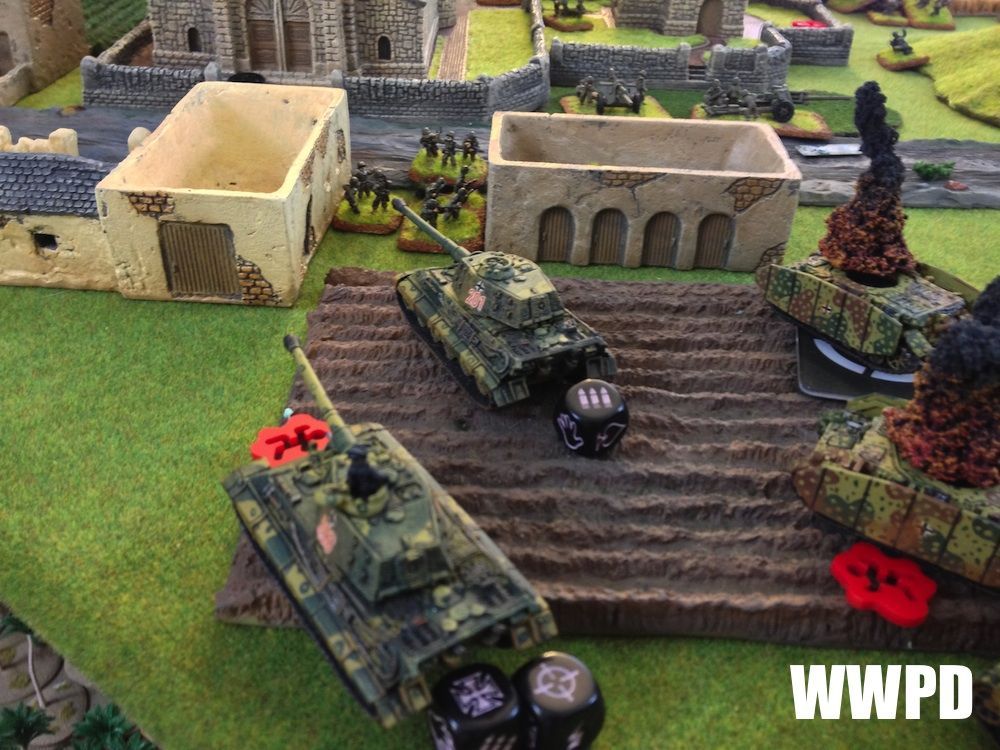
| Germans prepare to assault! |
 |
| The assault goes off without a hitch, knocking out 2 stands. |
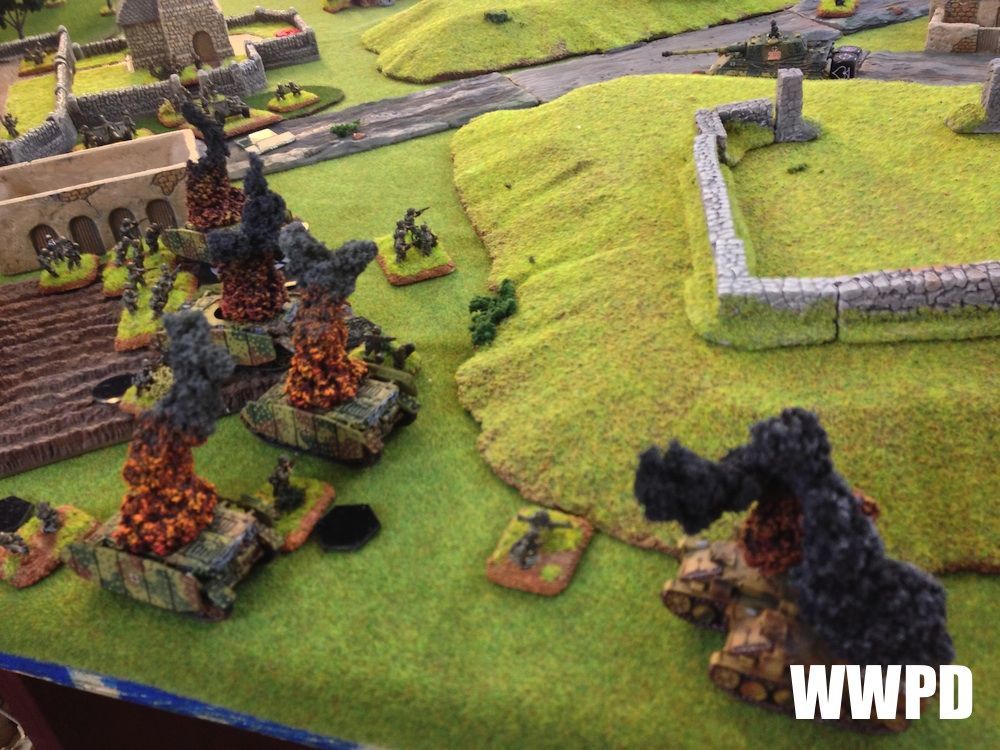 |
| Bazookas knock out the other Grille and the commander heads for the hills! |
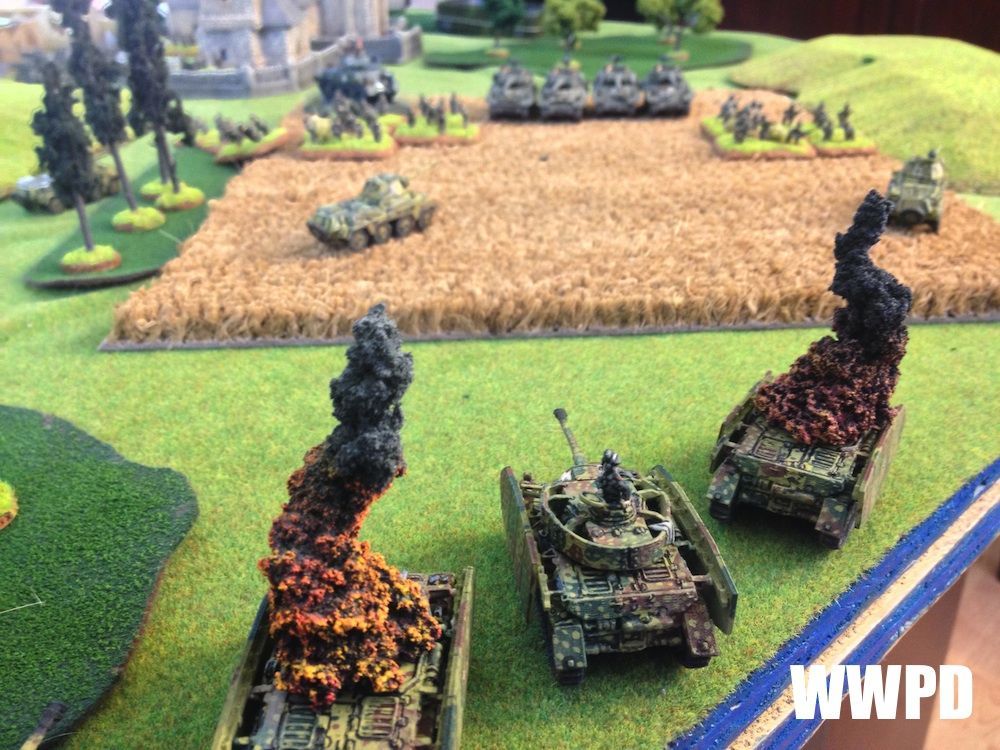
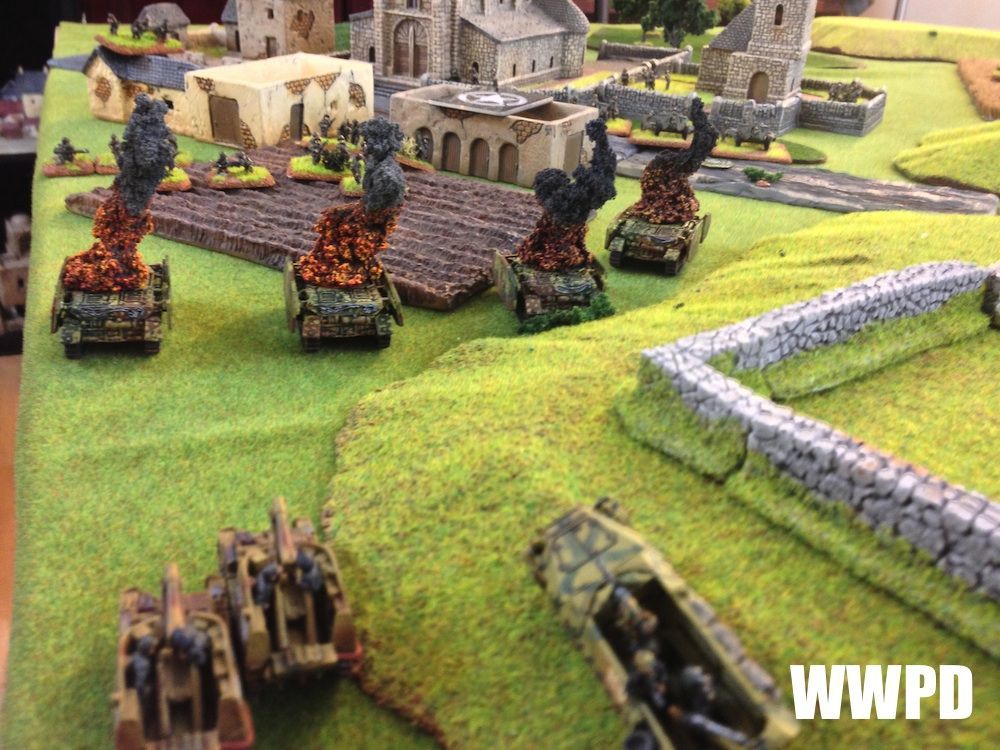
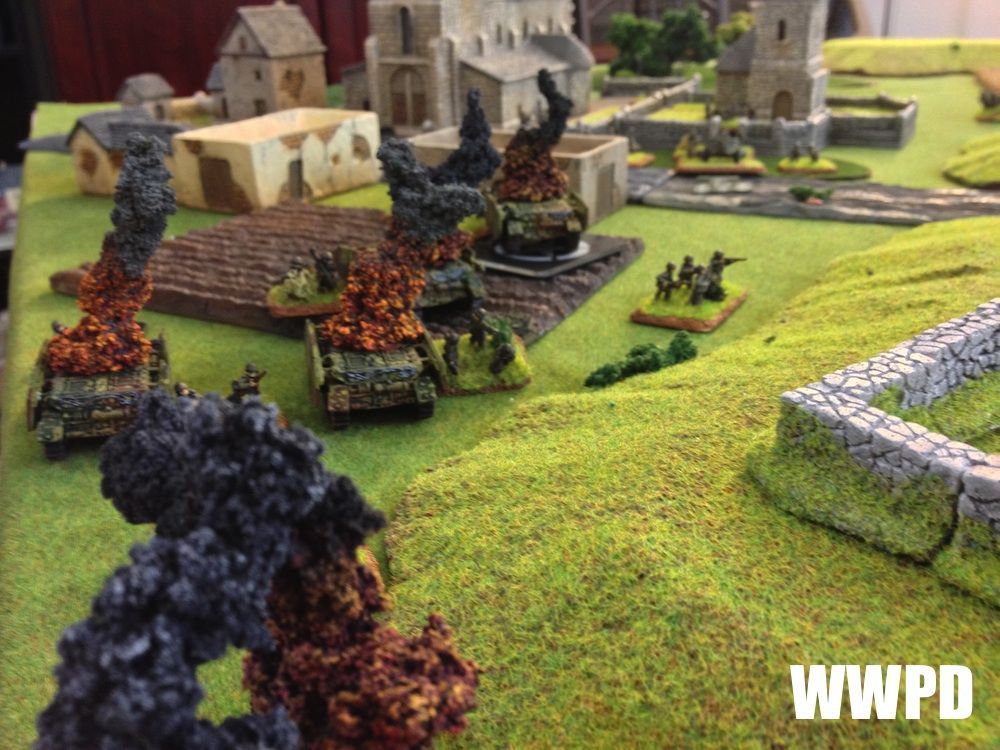 |
| Destruction field. |
Steven's KG Peiper
| Luke's 2nd ID
|
| Steven's KG Peiper: FJ nip at the heels of the infantry on the right, making some solid gains. The Kings continue to whittle down the M5s. Luke's 2nd ID: Bazookas chase off the Grilles! | |
TURN 5
 |
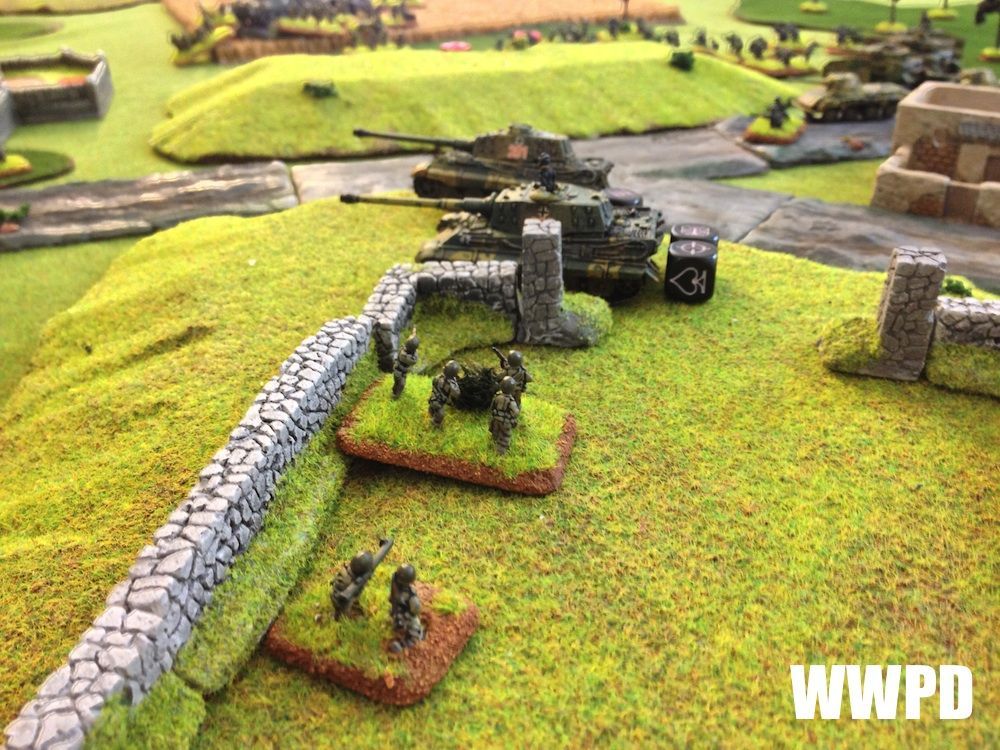
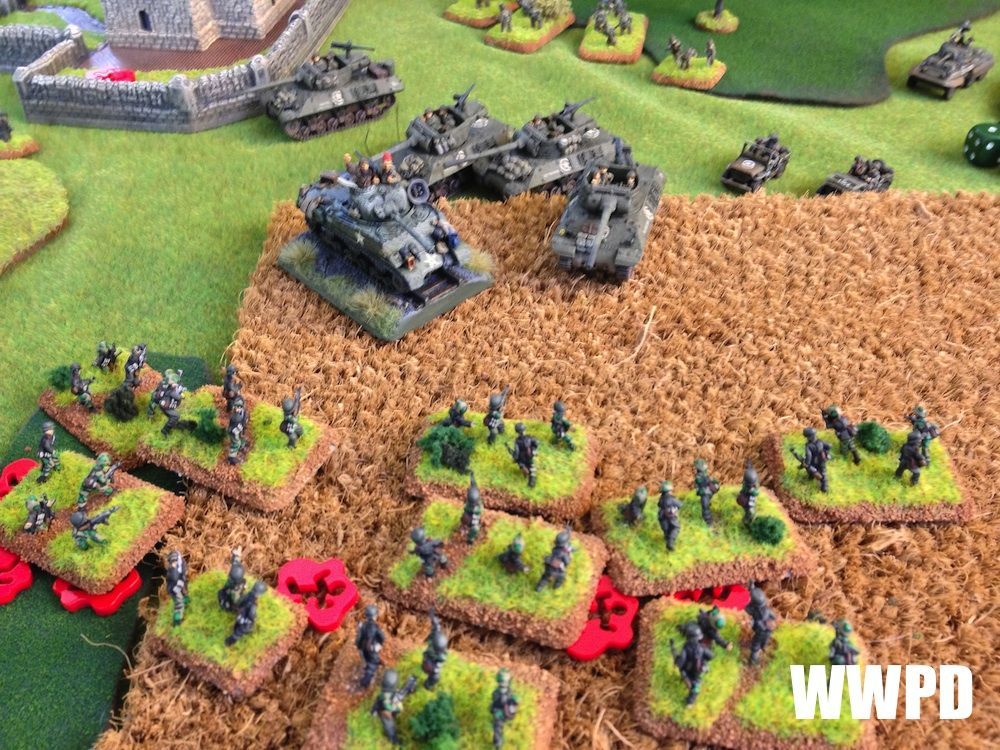
| The King Tigers move forward aggressively. |
 |
| FJ consolidate their gains, tying the Jacksons to the objective. |
 |
| Luke sends a small force to outflank the Kings. He tries to assault, but fails tank terror. |
Steven's KG Peiper
| Luke's 2nd ID
|
| Steven's KG Peiper: Gains on the right flank are consolidated as the King Tigers move out aggressively on the left. Luke's 2nd ID: Luke bolsters his defense of the right flank, and tries to assault the Kings to no avail. | |
TURN 6
 |
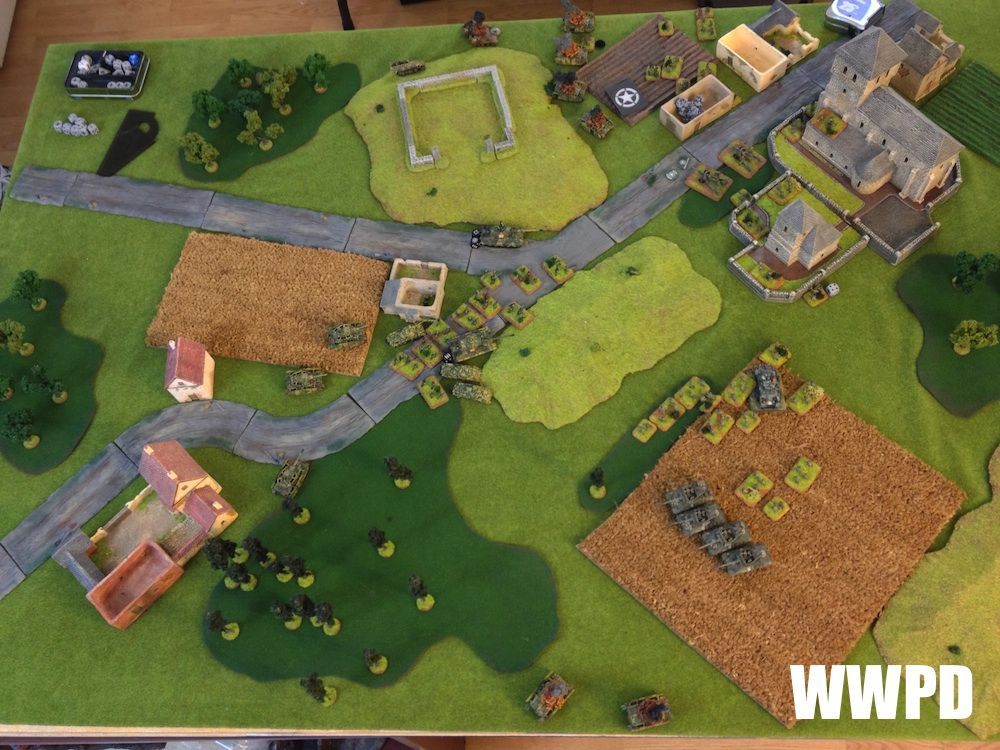
| Turn 6 |
 |
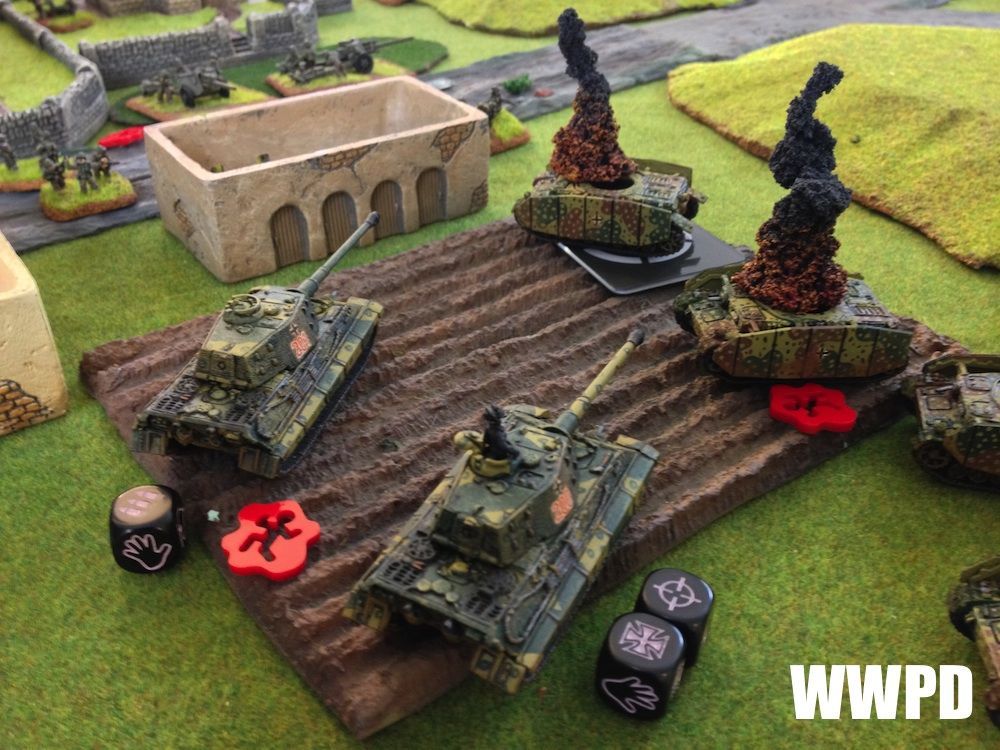
| In a typical "screw it" move, I assault with the King Tigers! |
 |
| The FJ prepare to move out |
 |
| An M5 gun pops a Panzer IV at range. |
 |
| The FJ execute a well placed assault, and devastates the US rifles! |
 |
| Similarly, the Kings push the infantry back! |
|
| And solidly contest the objective, but can't quite push the infantry back to hold it. |
 |
| The infantry breaks, leaving the Jacksons and some recon to hold the objective. |
Steven's KG Peiper
| Luke's 2nd ID
|
| Steven's KG Peiper: Successful assaults are launched on both flanks! Luke's 2nd ID: Luke's reserves are now pouring in, but his losses are mounting | |
TURN 7
 |
| King Tigers lash out at anything in range including some stands from the Towed TDs. The Towed TDs are knocked to halfway, but stick around. |
 |
| They've significantly whittled the Rifles down, but can't break them. |
 |
| The FJ are unable to unpin, but solidly contest the objective. |
Steven's KG Peiper
| Luke's 2nd ID
|
| Steven's KG Peiper: The Kings go for a point, but can't quite break either the Rifles or the M5 TDs. Luke's 2nd ID: | |
| At this point we've been playing for a while and we decide to call it. In all honesty, I think given a few more turns I could pull it off. The following turn I intended to hit Luke's Jacksons with 3 Pumas and 2 Panzer IVs, hoping to follow up with an FJ assault. The Kings are forcing checks on both the TDs and the Rifles every turn so things aren't looking so bad! Despite the game being a 1-6 (Luke had 9 platoons and only lost 1), I think it really came down to the wire. Obviously the M5 ambush within 16" was a huge mistake we overlooked, but it was still a really fun game. Kudos to Luke on running the 2ID well! A bit embarrassed that we messed up so many rules this game, but it *was* an early morning game, so I blame my lack of caffeine. -S |


