


 |
8th Army Desert Rats
| Afrika Korps Panzergrenadiers
|
SETUP AND DEPLOYMENT
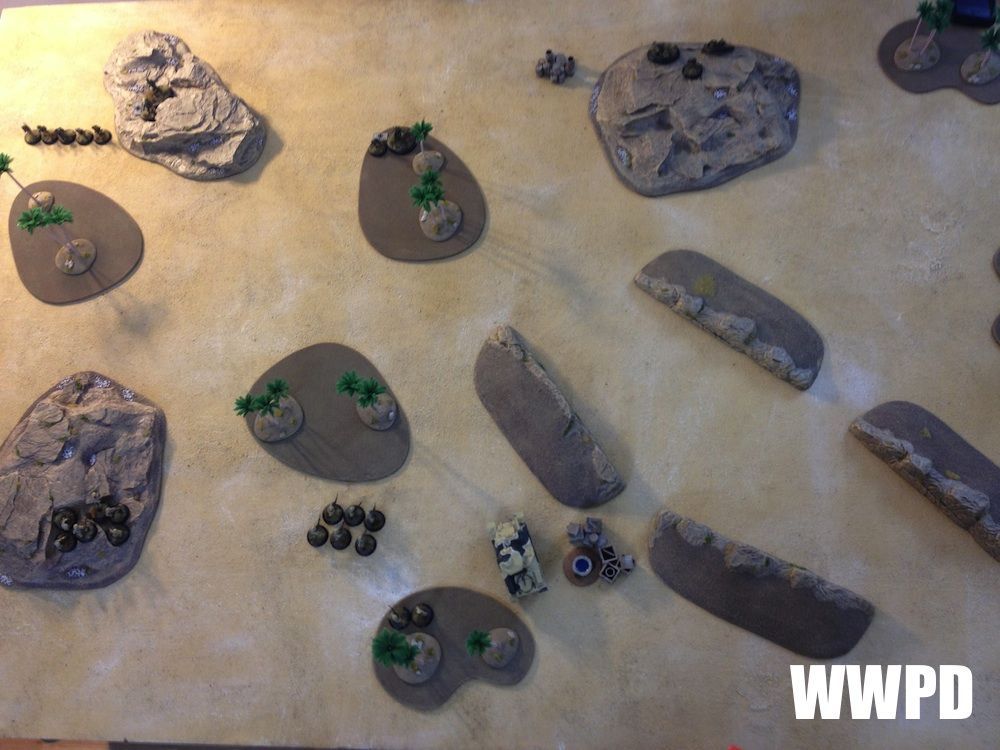 |
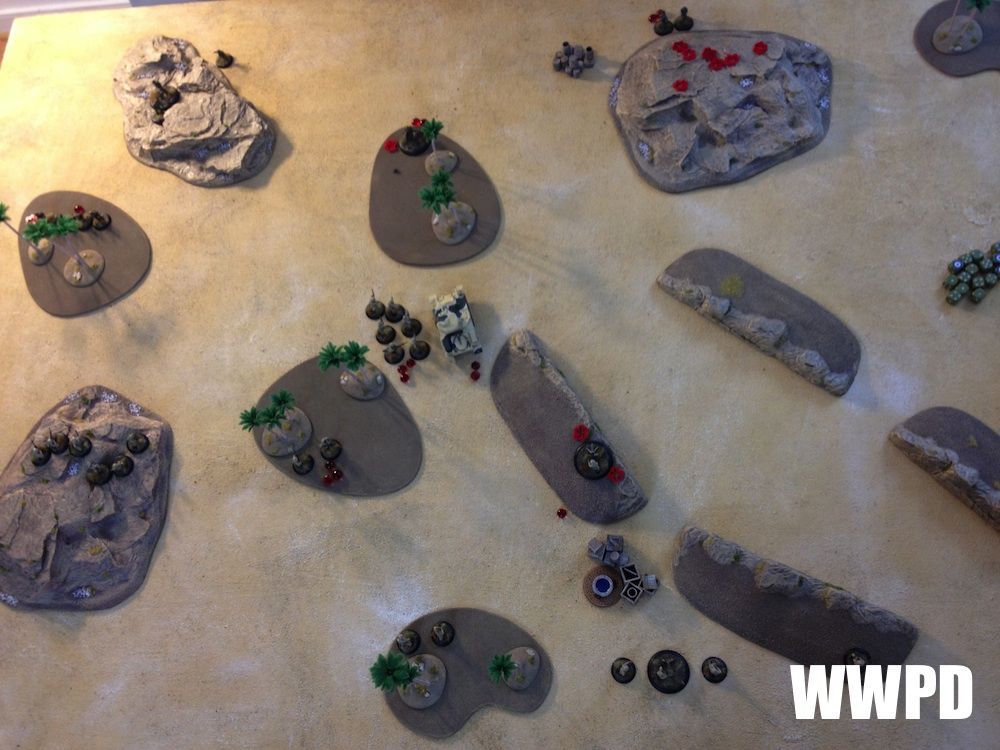
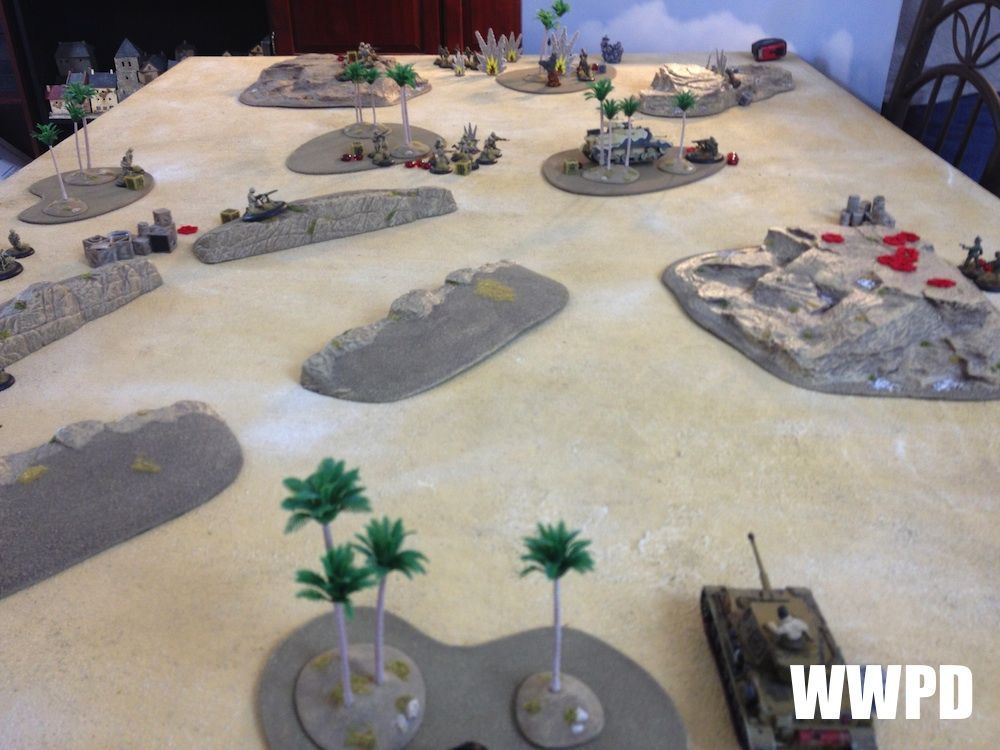
| The board. British HQ in the South near the well, German HQ in the north (weapons cache) |
 |
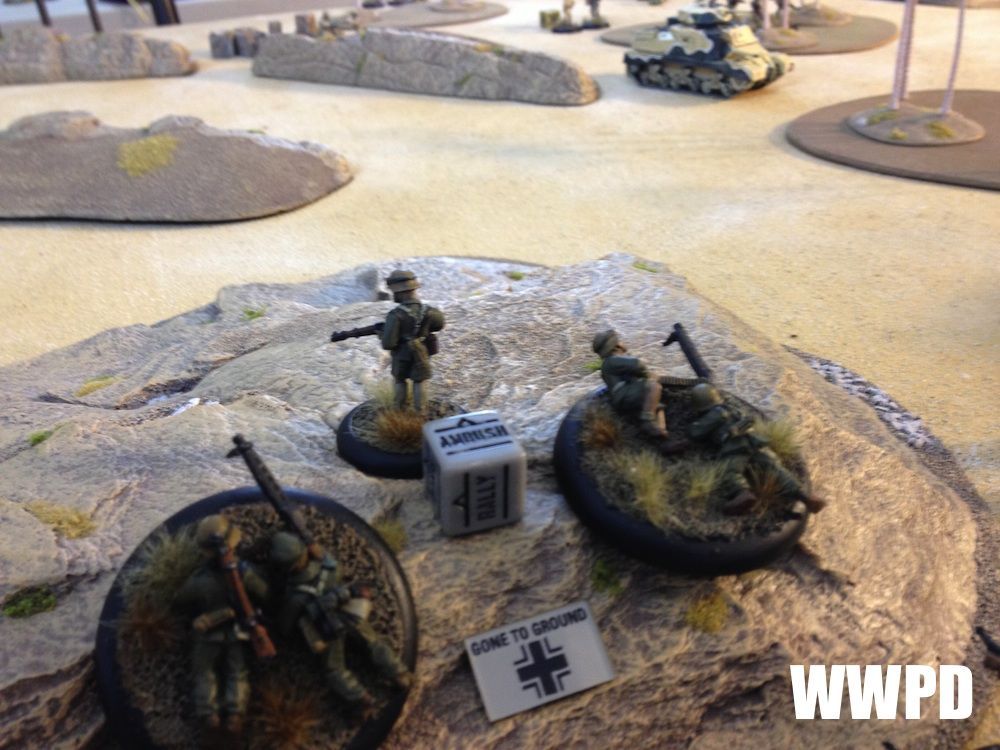
| Joe's Squad B holds his center, dug in on a ridge. |
 |
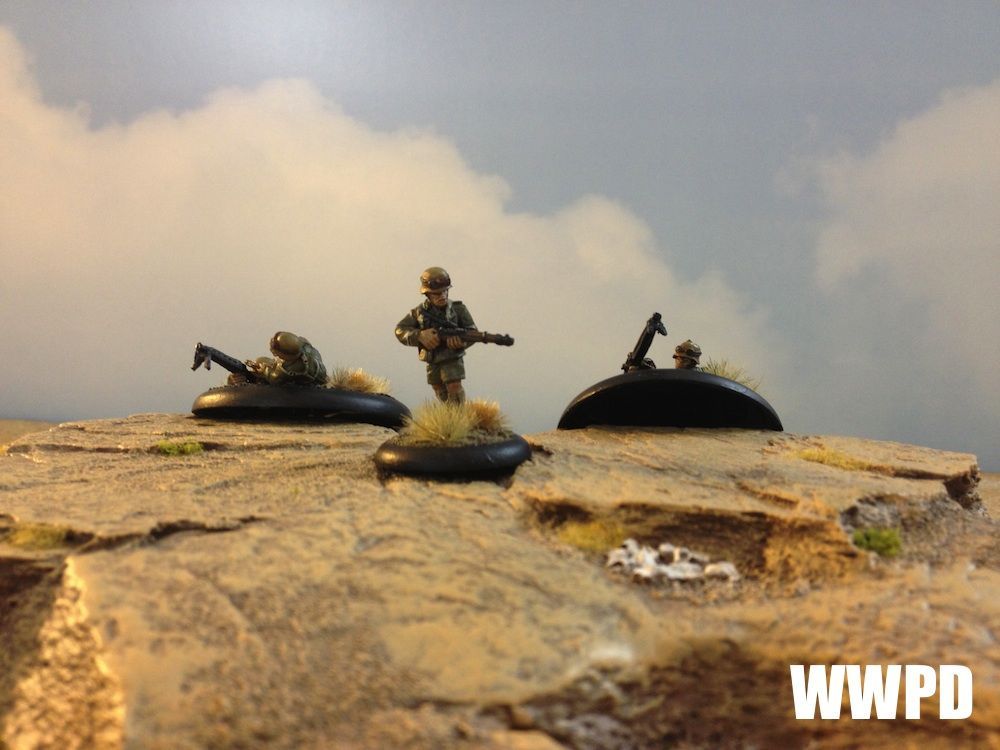
| An MMG deploys in Joe's center. |
 |
| On Joe's right flank, 2 LMGs in Squad C and a light mortar stand ready. |
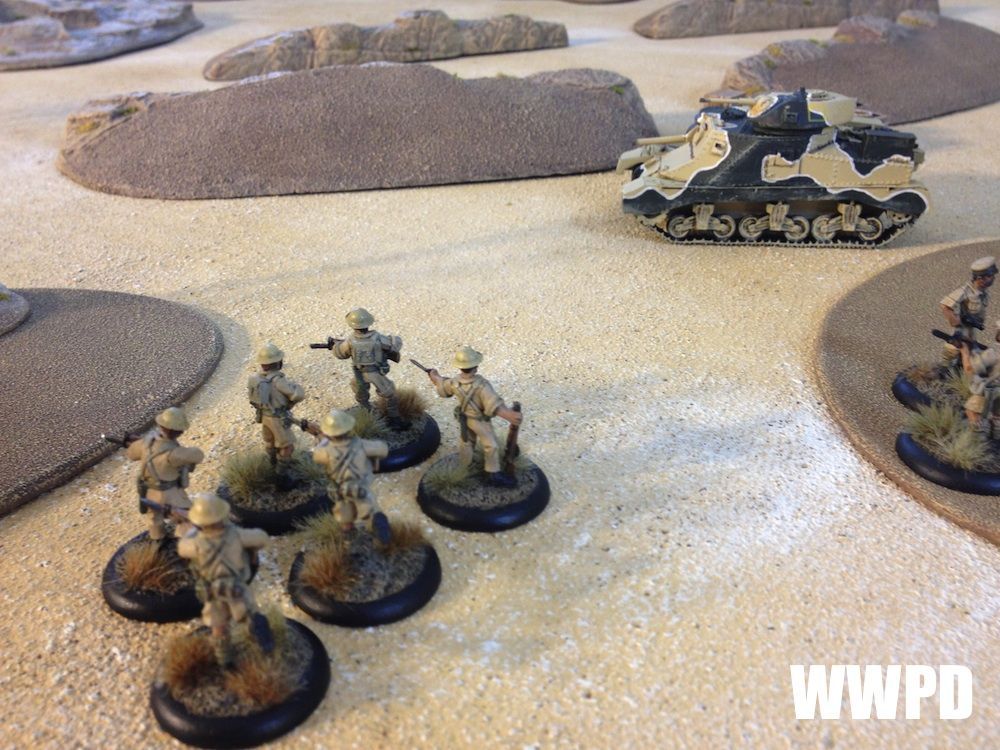 |
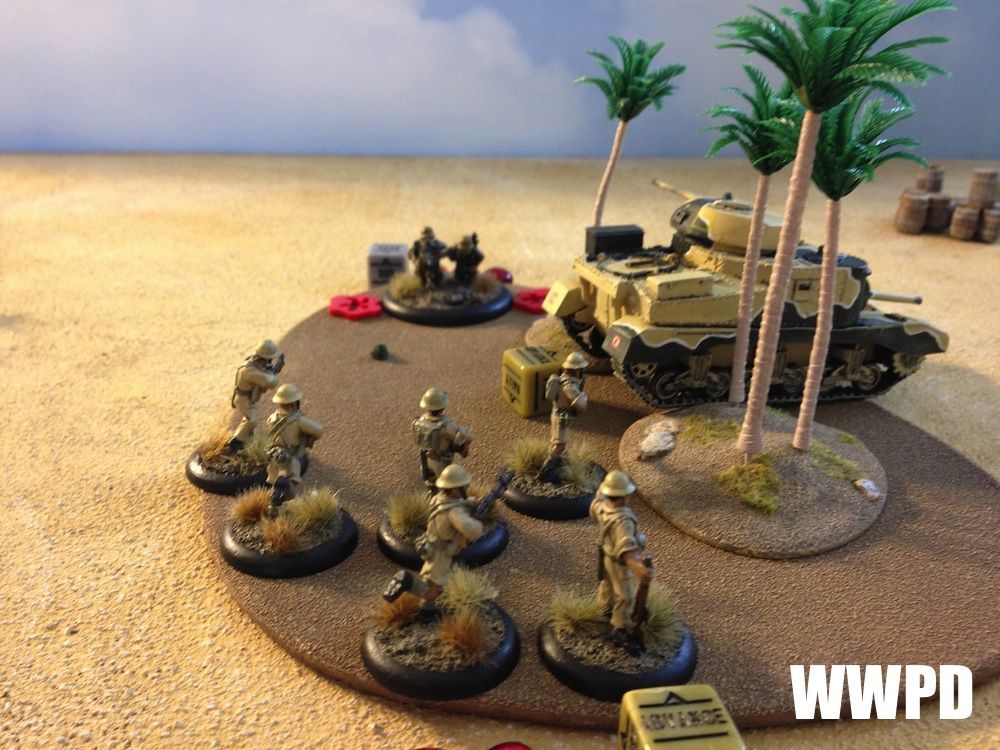
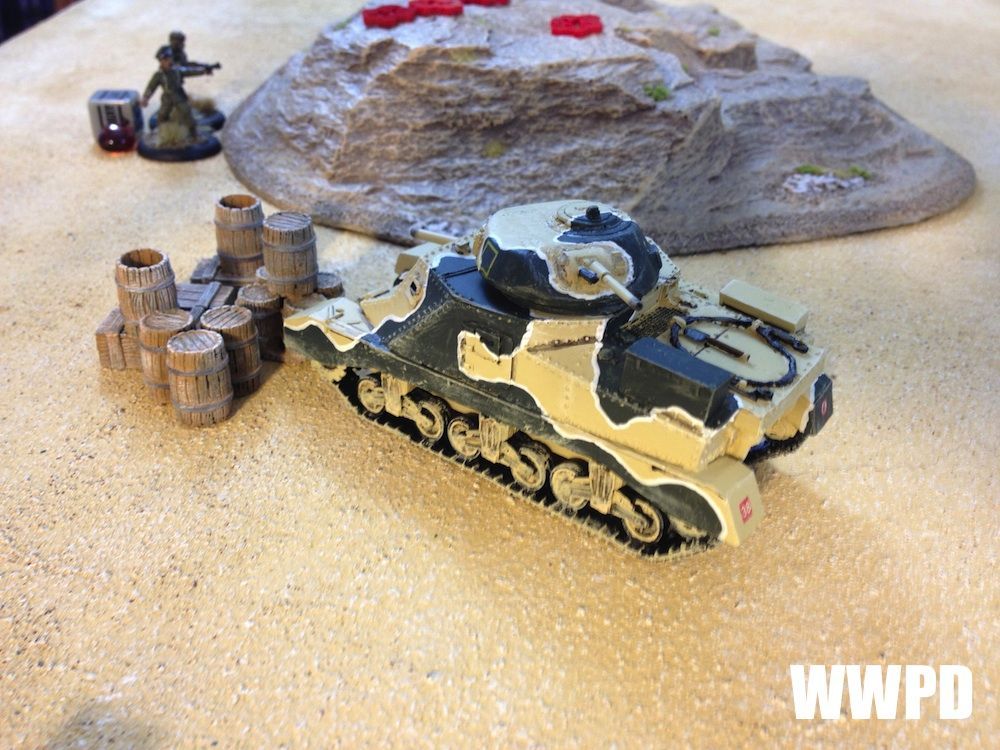
| Squad A, the LT, and the Grant are prepared to launch their attack. |
 |
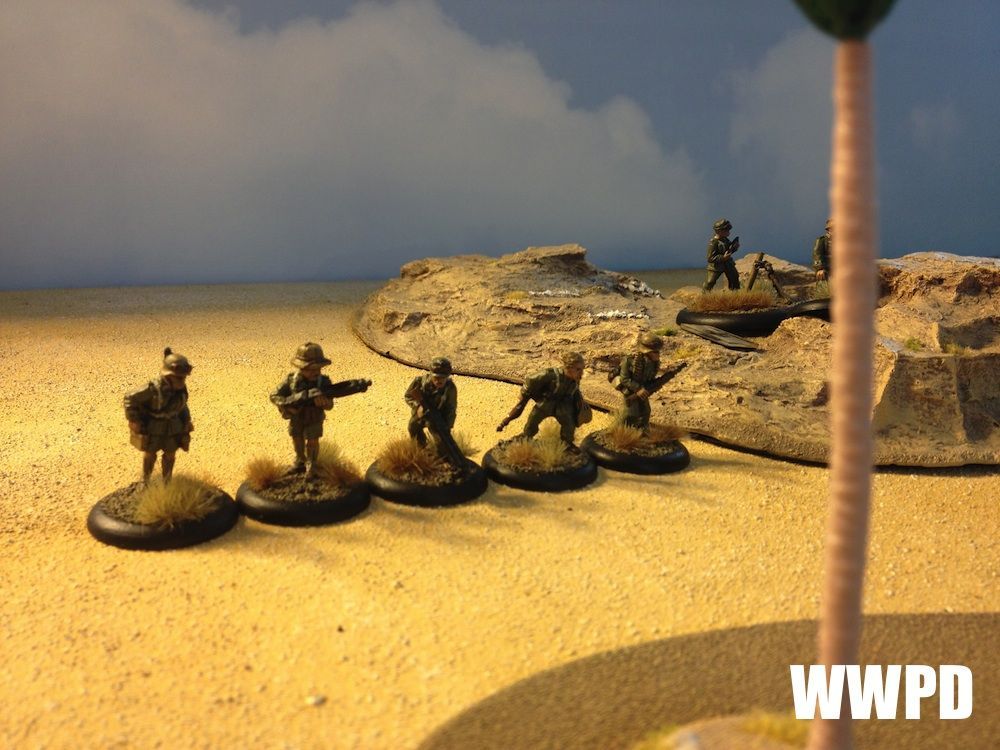
| Squad B holds the left flank. |
8th Army Desert Rats
| Afrika Korps Panzergrenadiers
|
| 8th Army Desert Rats: The British begin with their Grant I, 2 squads of infantry, and the LT on the board. The LT, Grant, and Squad A are prepared to push forward. Squad B deploys on the left flank to anchor any flanking maneuvers. Afrika Korps Panzergrenadiers: Joe starts with all of his machine guns on the board, and his light mortar ready to drop fire on the British. | |
TURN 1
 |
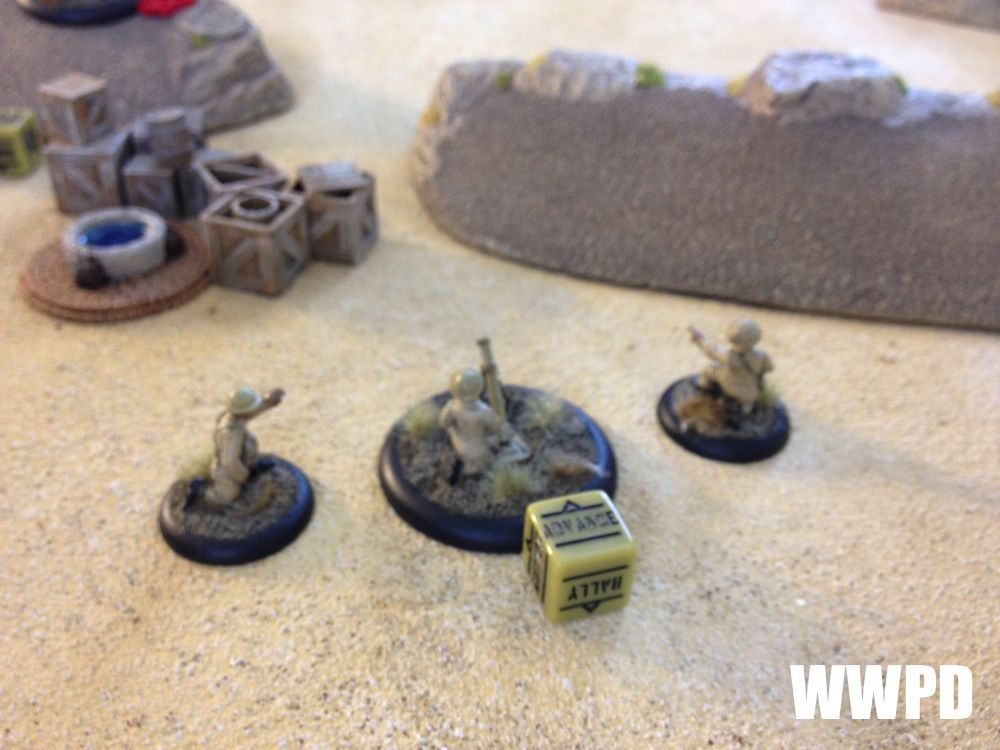
| The Grant races forward! The British infantry advances behind it. The German MMG loses a crewman to a wild potshot from the CO's assistant. |
 |
| The Grant lines up on the MMG |
 |
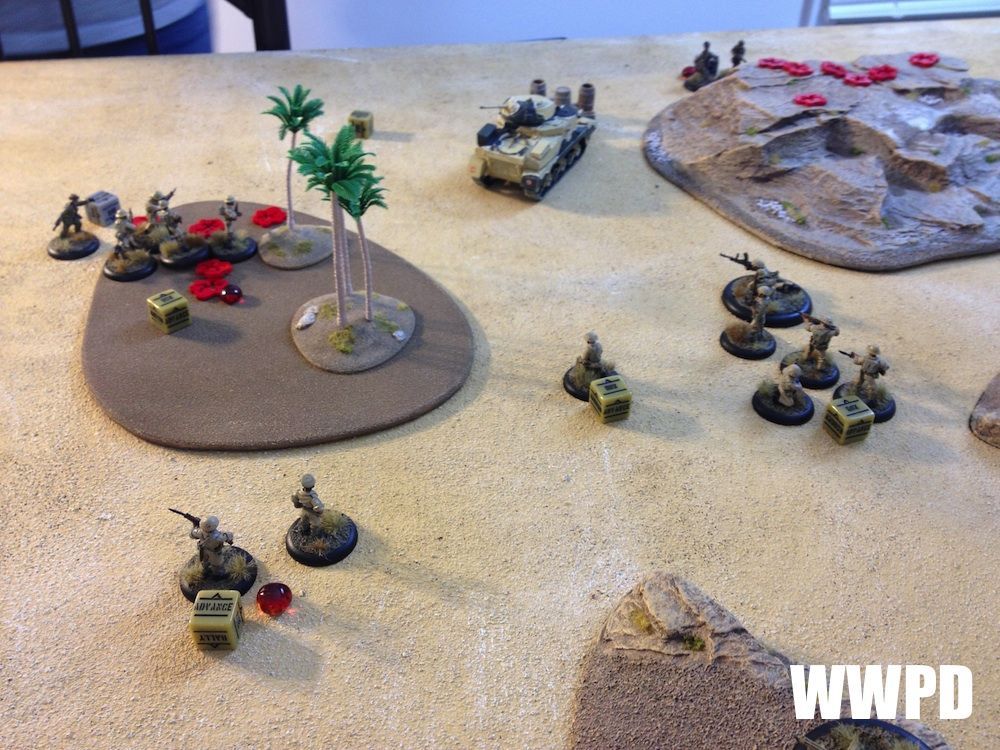
| After the German light mortar tries to range in on the British left flank, they move out to get out of the barrage zone. |
|
| The British MMG runs forward |
 |
| The German center holds |
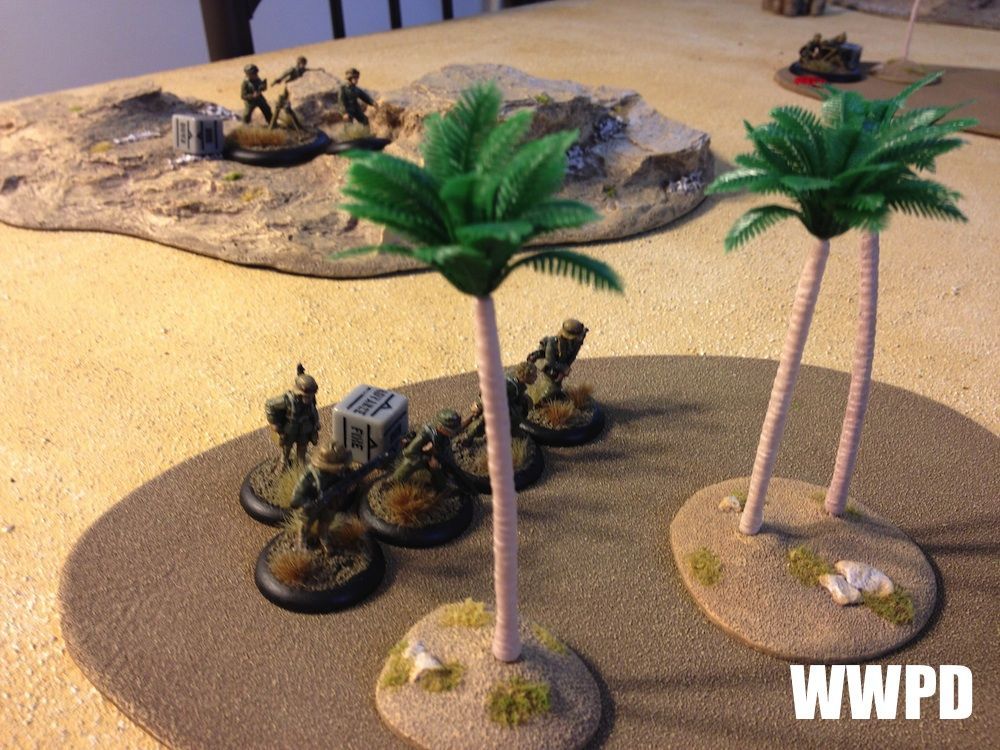 |
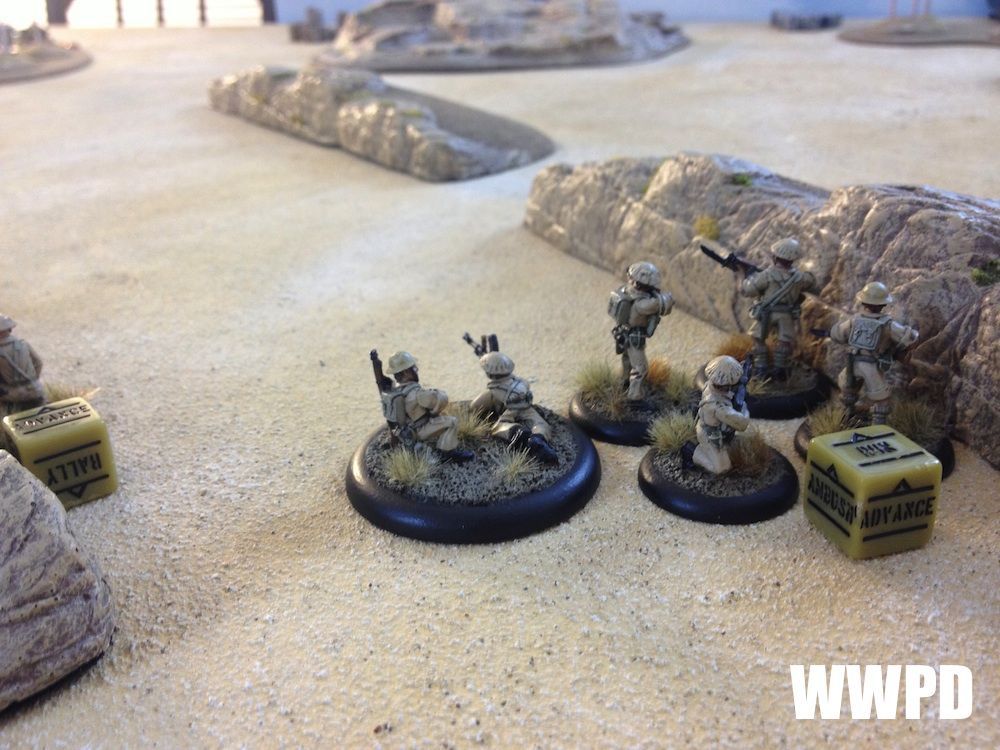
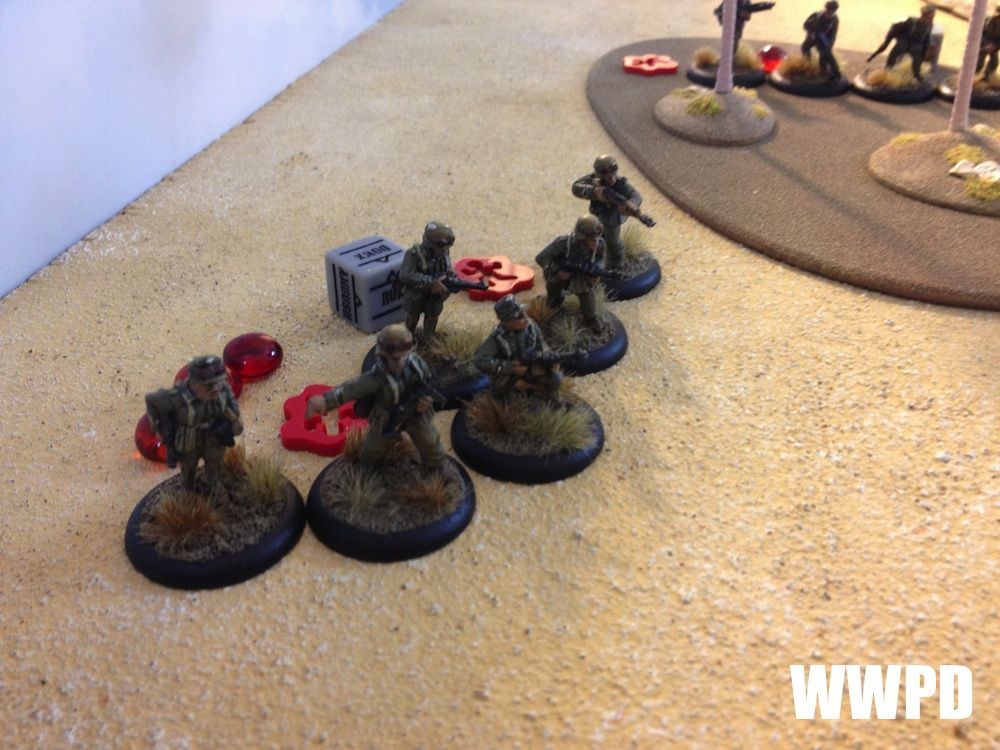
| German Squad B advances. |
| 8th Army Desert Rats | Afrika Korps Panzergrenadiers
|
| 8th Army Desert Rats: The Assault force (The Grant, Squad A, and the LT) advance! Both observers arrive, behind the MMG. Squad B on the left flank repositions. Afrika Korps Panzergrenadiers: The MMG opens up on the British Squad A, forcing their heads down but not stopping them. the LT arrives behind the central ridge and the observer arrives behind the light mortar. | |
TURN 2
 |
| Top of 2 |
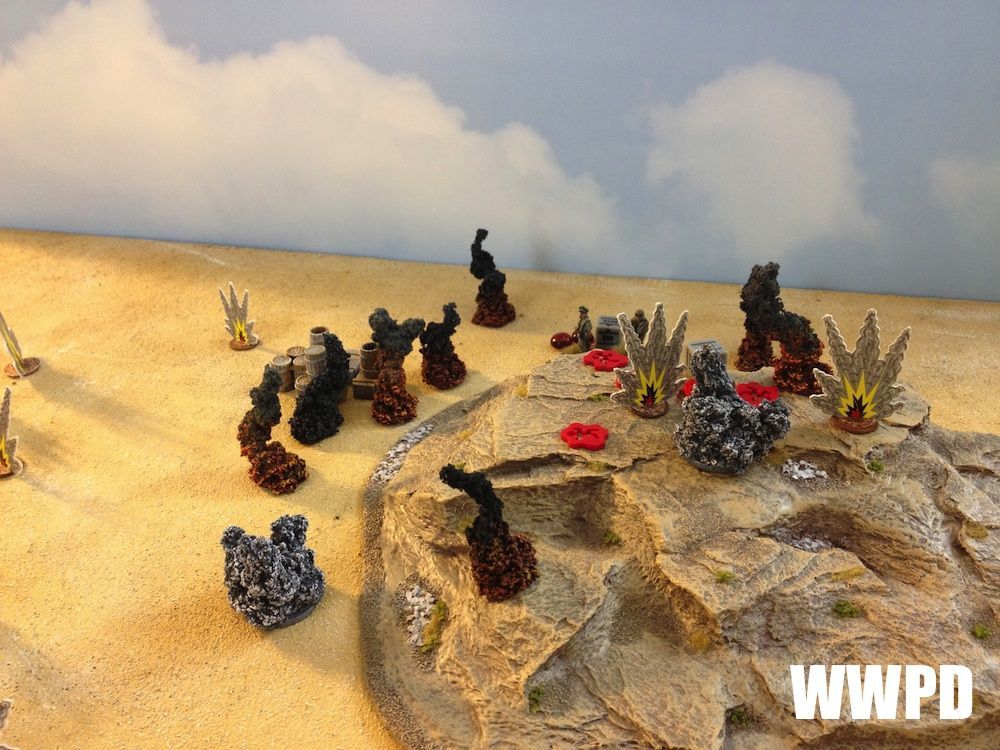 |
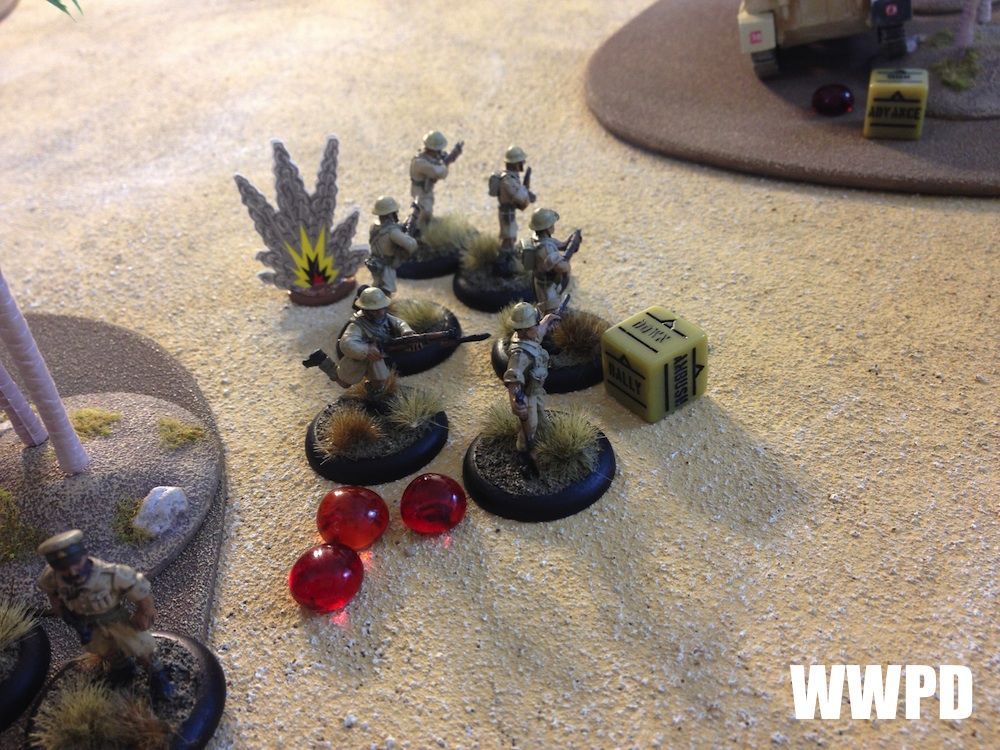
| British artillery lands on target, and a 5.5" shell completely annihilates the German Squad B on the ridge! Pins are dished out to the German LT and the German MMG. |
 |
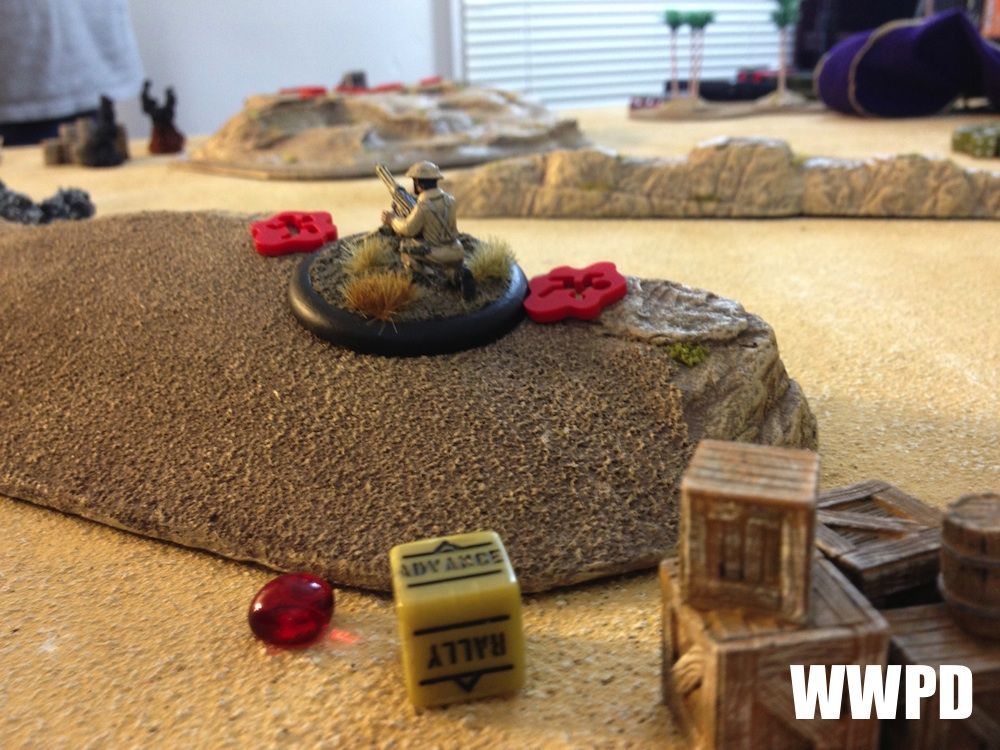
| The MMG crew puts their heads down |
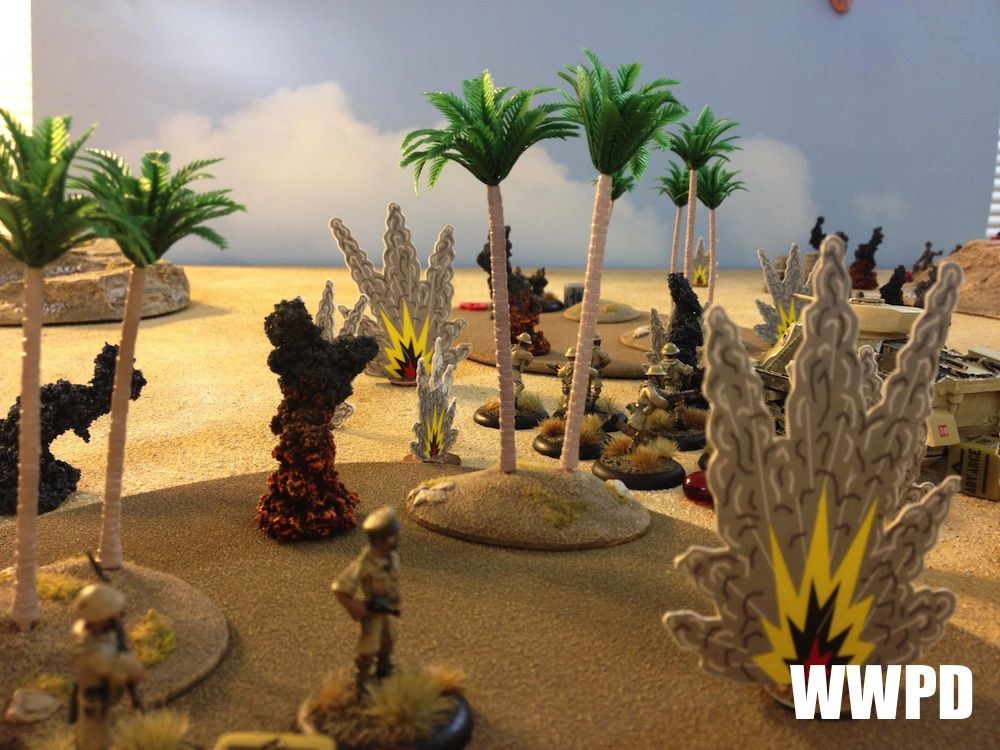 |
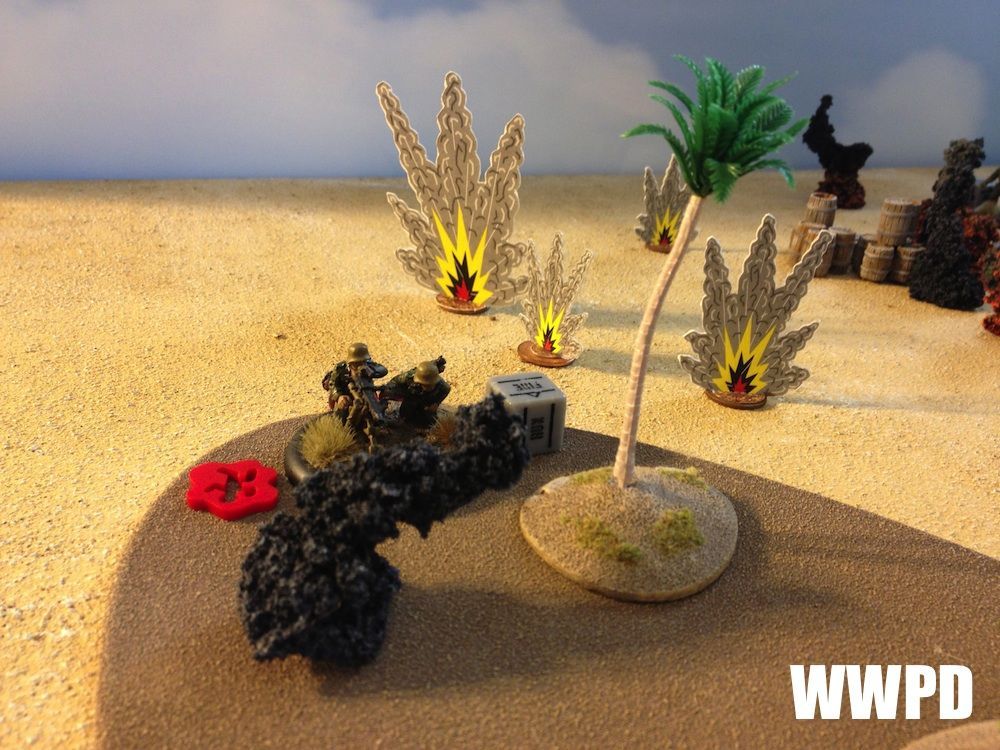
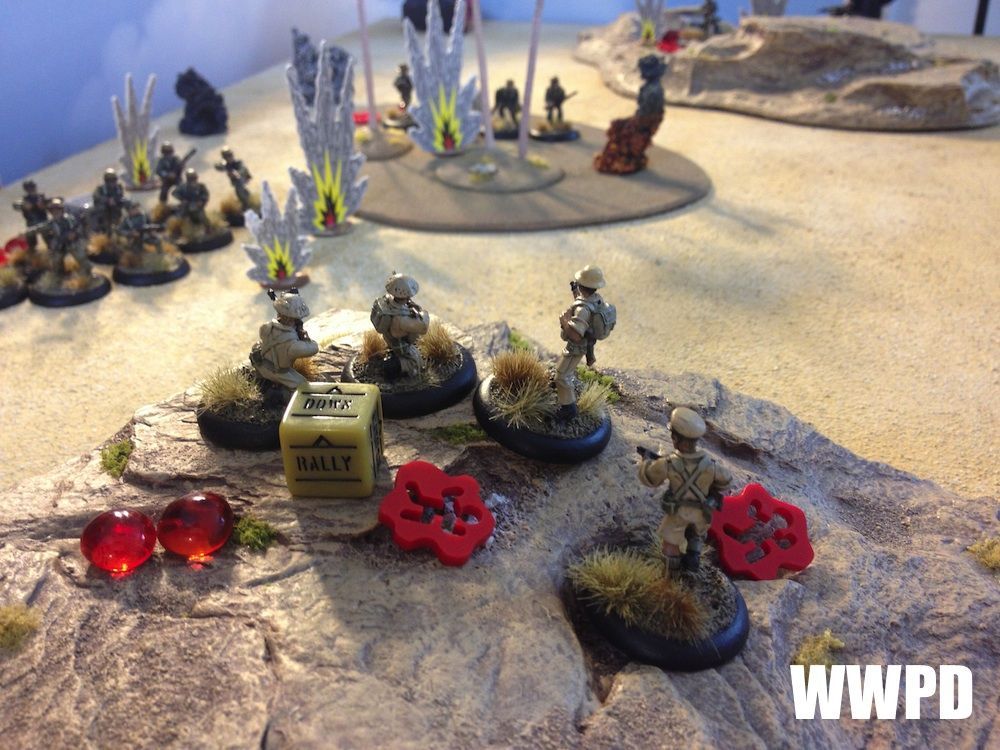
| Likewise, German artillery slams right into the British main attack, trying to break it up. |
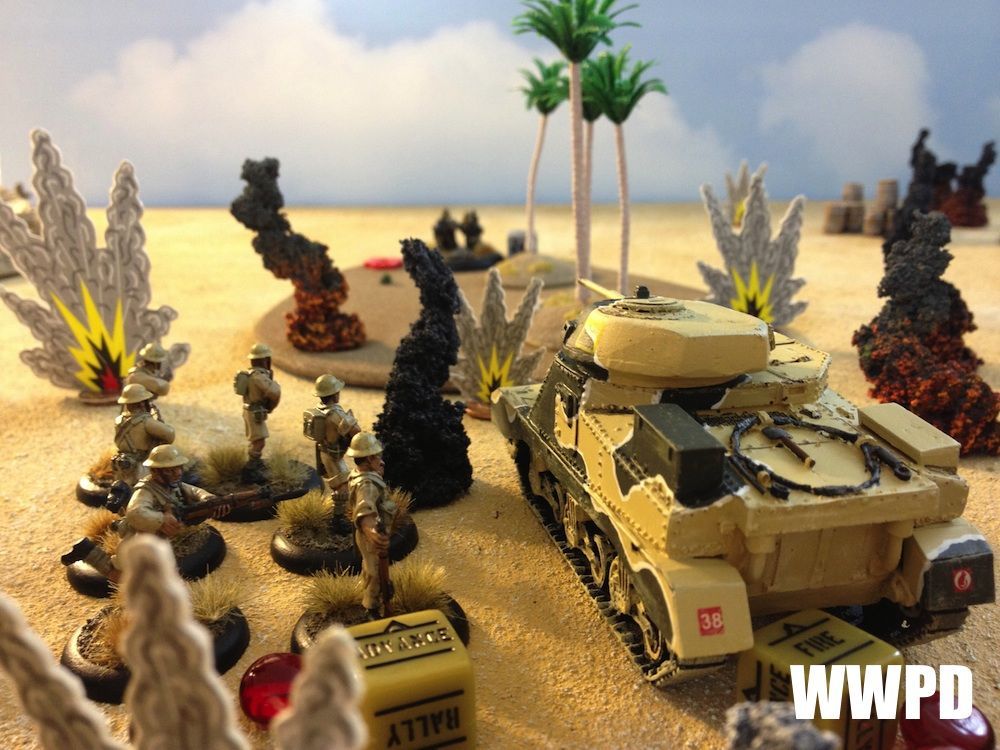 |
| Tommies taking cover behind the Yank Tank. |
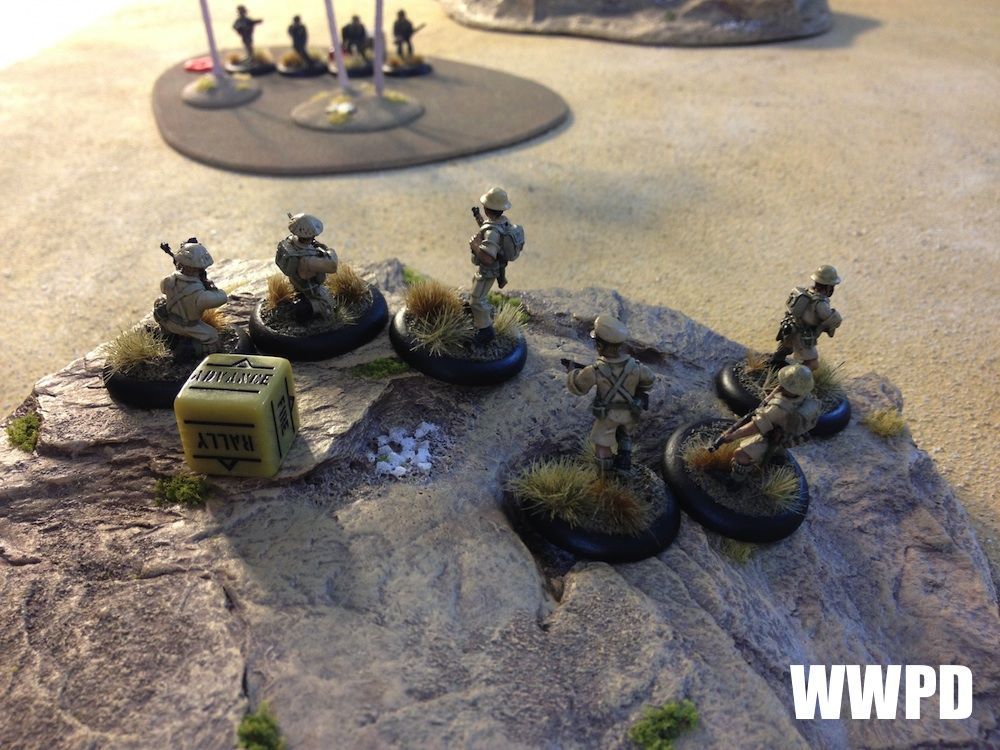 |
| Squad B advances to the edge of the ridge. |
 |
| Fire from the German Squad B moments before a 5.5" shell slams into them knocks out 2 clumsy crewmen. |
 |
| The British mortar moves into place. |
8th Army Desert Rats
| Afrika Korps Panzergrenadiers
|
| 8th Army Desert Rats: The central advance continues under the cover of an artillery barrage. Afrika Korps Panzergrenadiers: German artillery tries to break up the attack spearheaded by the Grant. | |
TURN 3
 |
| Turn 3 |
 |
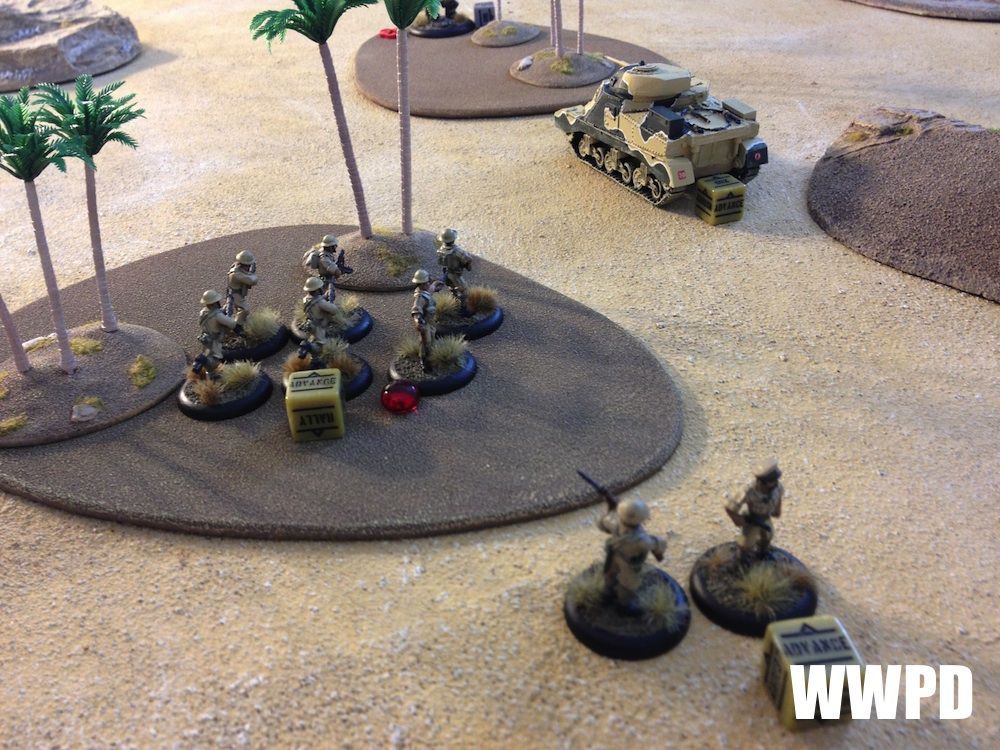
| Another barrage lands on the British left flank just as the assault squad arrives from the flank. |
 |
| Squad B is hit by the assault squad moments before artillery lands on them, saving their bacon! |
 |
| The Grant tries to bear down on the MMG! |
 |
| Squad A has been lucky enough to not take any casualties, but the pins are adding up. |
 |
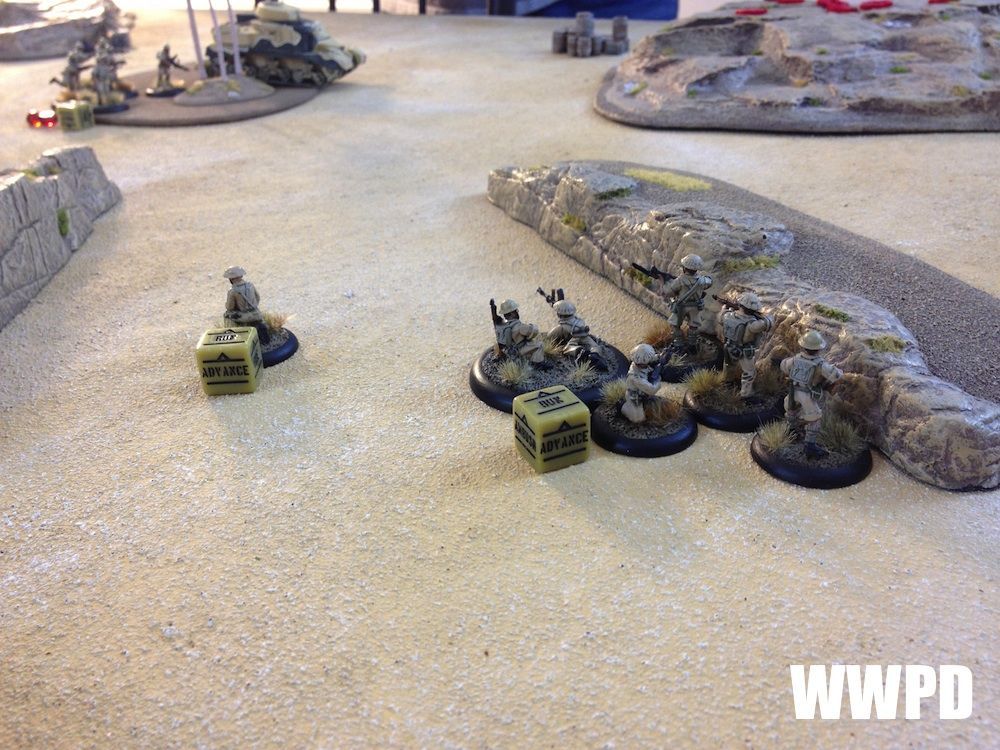
| British Squad C arrives and races up the ridge line. |
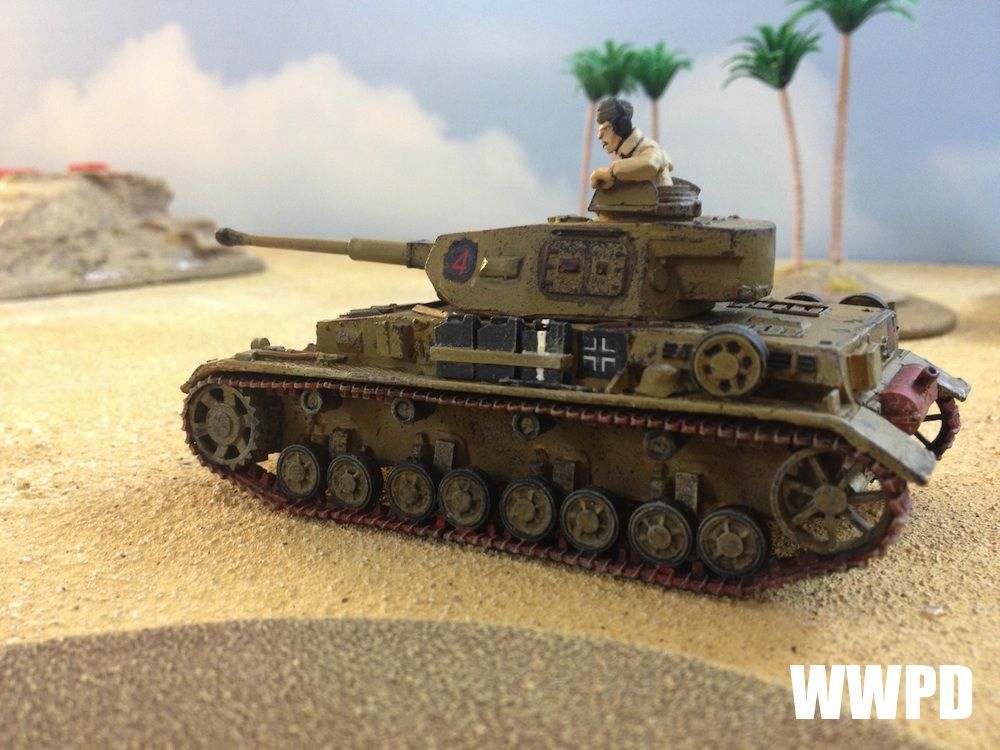 |
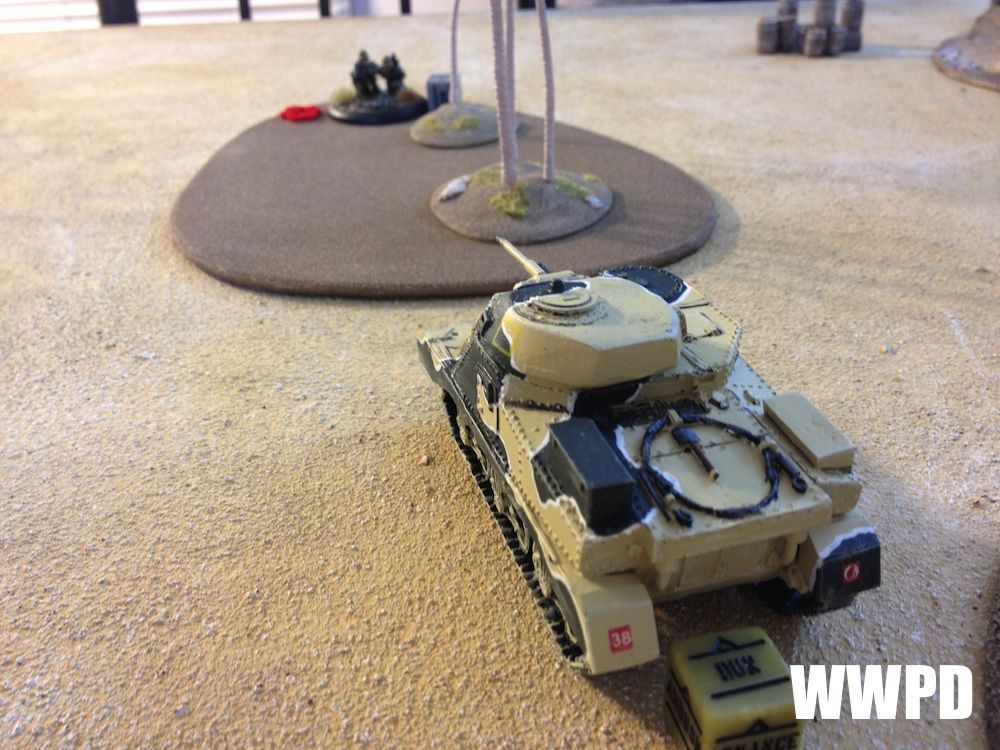
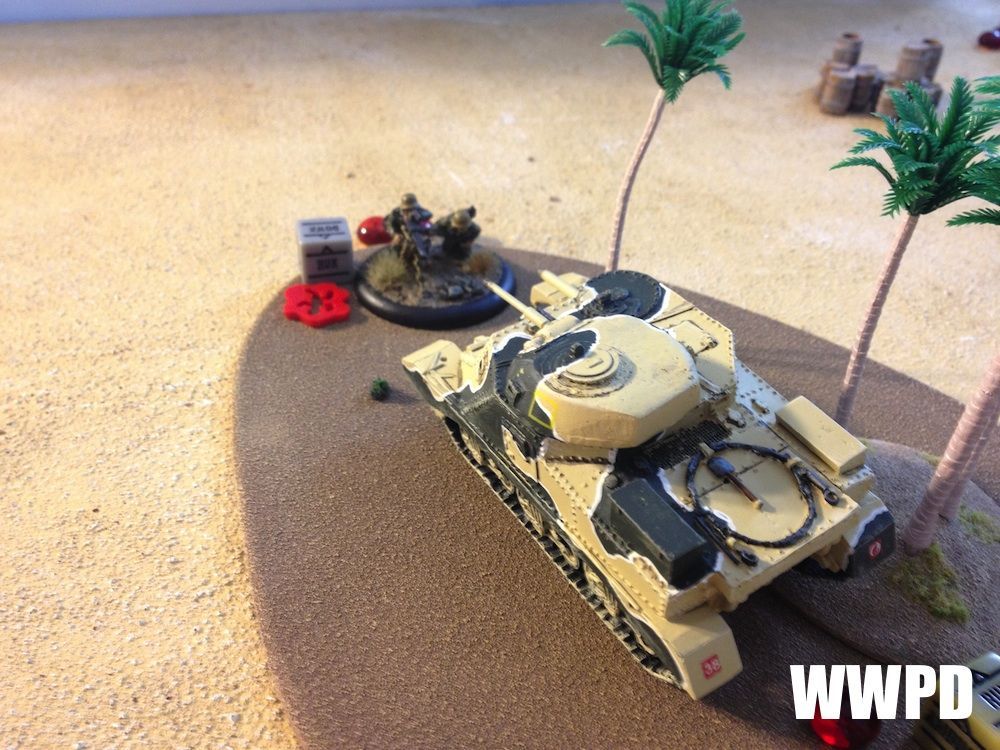
| The Panzer IV arrives, but can't score a hit on the Grant. |
 |
| The view from the British right flank. |
8th Army Desert Rats
| Afrika Korps Panzergrenadiers
|
| 8th Army Desert Rats: British Artillery slows the advance of the assault squad on the left flank. The Grant and Squad A continue their assault, poised to knock out the German MMG. The British medium mortar knocks out a crewman of the German light mortar. Afrika Korps Panzergrenadiers: The Panzer IV arrives, but fails to score a hit on the Grant. Pins everywhere keep the men in place. | |
TURN 4
 |
| The Brits cotninue surging forward, and knock out another crewman from the MMG. The Grant turns to engage the Panzer IV |
 |
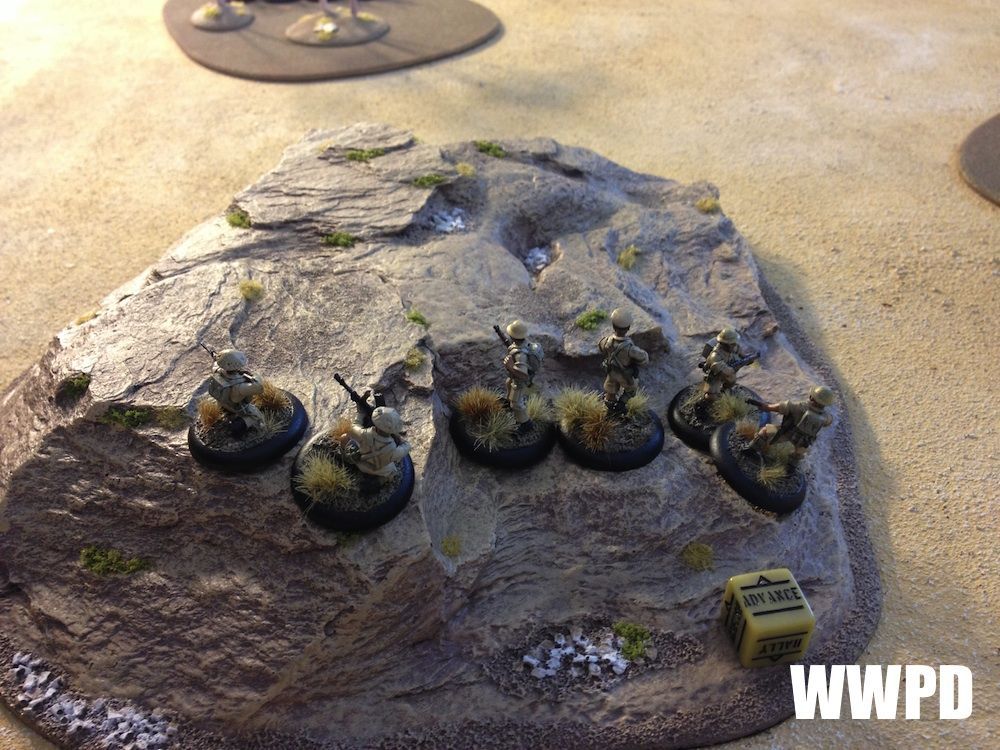
| The 4 Brits on the ridge face a superior foe, but keep firing. |
 |
| The German Squad A (Assault Squad) loses all 3 rifles. |
 |
| Riflemen and an observer keep running down the ridge line, heading towards the objective. |
8th Army Desert Rats
| Afrika Korps Panzergrenadiers
|
| 8th Army Desert Rats: The center is mostly open and the British troops aren't slowing! Artillery has pinned the Germans in place, making it possible to keep advancing. Afrika Korps Panzergrenadiers: The Panzer IV again misses the Grant. Fire elsewhere is largely ineffective. | |
TURN 5
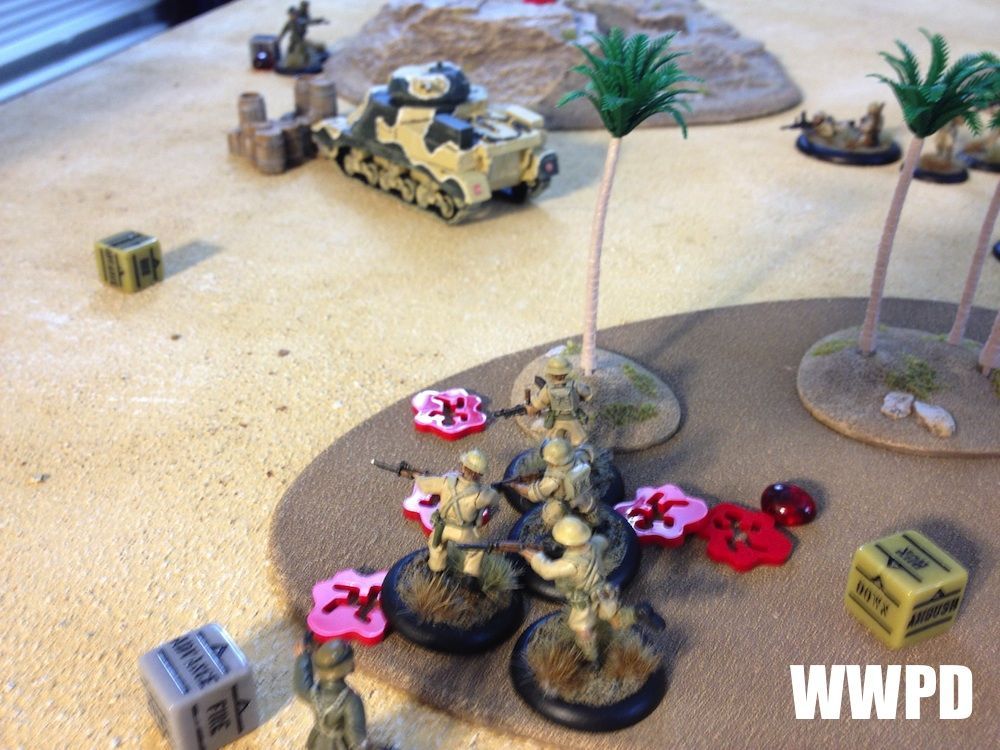 |
| Squad A assaults the MMG. Under fire from a desperate observer, they lose 2 men. |
 |
| The Grant has slammed into the supply cache. |
 |
| The center is solidly held by the British. |
 |
| The British are caught offguard by an overzealous artillery observer. |
 |
| Prettiest girl at the ball, and not one dance. |
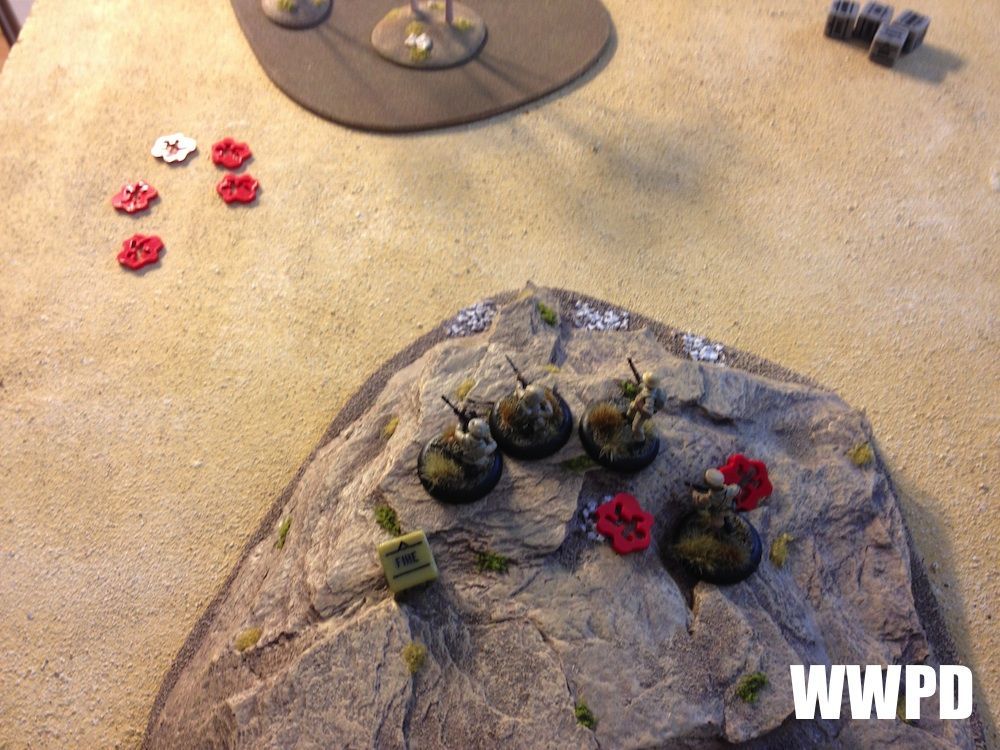 |
| Brave Squad B holds their little hill, even managing to knock out the German assault force! |
8th Army Desert Rats
| Afrika Korps Panzergrenadiers
|
| 8th Army Desert Rats: The British pour everything into the center, securing the objective with the Grant and plenty to follow up. Afrika Korps Panzergrenadiers: The Germans just can't stop the massive British assault in the center! | |
| With that, I end my turn with the Grant holding the objective and that's the game! This was a fun one, with a lot of crazy outcomes. I rolled pretty well most of the game, and like last game- my artillery was on fire! Thanks Joe for an awesome time! |
Generated by WWPD's BatRepper Software.


